Start with the print, not the frame
Framing a desert photograph works best when the frame follows the image rather than the other way around. This particular print, Afternoon Shadows: California Desert Dunes, is a limited edition of 10, hand-signed on the reverse and supplied with a certificate of authenticity. Those details matter for framing because they tell you what to protect: the print's surface, its signature and its paperwork.
The catalog also states that the print is made on acid-free 100% archival photo paper and carries a lifetime warranty against fading. That warranty is about the print, not the glass or the room, so the choices you make after purchase still influence how long the image looks its best. The catalog does not confirm whether the print ships flat or rolled, so confirm that with the store before you buy a frame or book a framer.
What the catalog confirms about this print
-
California desert sand dunes late afternoon | Limited Edition of 10: Limited edition of 10, hand-signed on the reverse side of the print. The signature sits on the back, so any framing method that permanently covers or adheres to the reverse could hide or damage the authentication detail.
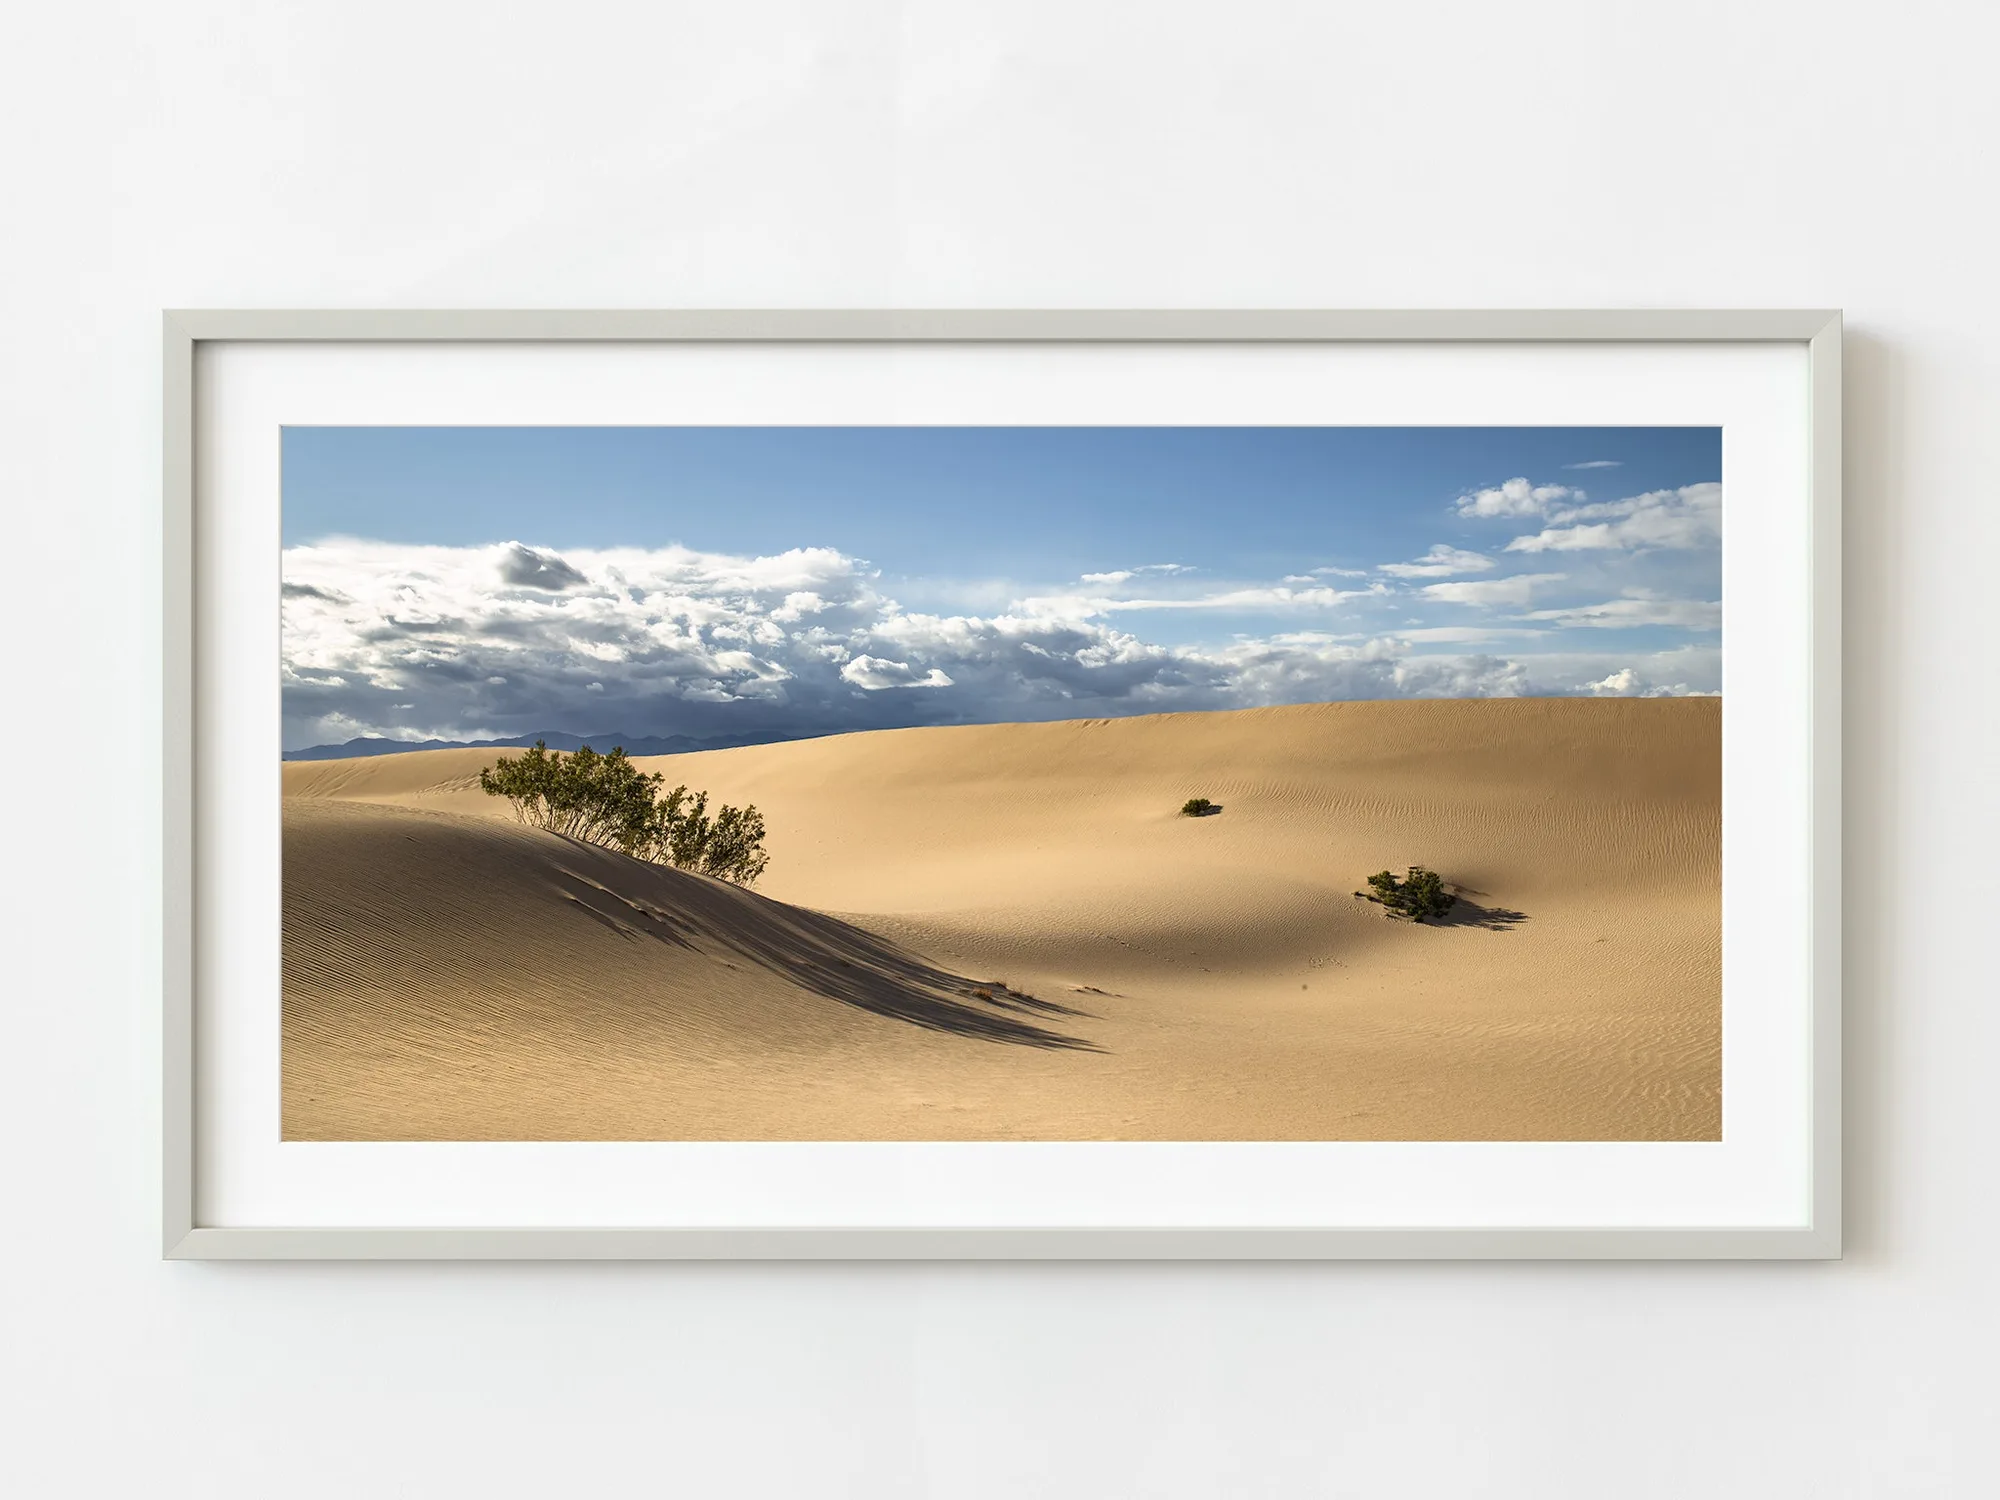
California desert sand dunes late afternoon | Limited Edition of 10
-
California desert sand dunes late afternoon | Limited Edition of 10: Printed on acid-free 100% archival photo paper. Acid-free paper is a good starting point, but framing materials that are not acid-free can still introduce problems over time.
-
California desert sand dunes late afternoon | Limited Edition of 10: Accompanied by a certificate of authenticity and backed by a lifetime warranty against fading. Keep the certificate with the print rather than taping it to the back of the frame, and treat fading protection as a shared job between the print and your display choices.
-
California desert sand dunes late afternoon | Limited Edition of 10: Frame is not included; the listing sells the image only. You will need to source a frame and any mat separately, so budget and measure before ordering.
A framing sequence that protects the edition
Work through these in order. Each step depends on the one before it, and the size you choose changes every measurement that follows.
- Confirm the exact print size you ordered: The print is available in 8 × 10, 11 × 14, 12 × 16, 16 × 20, 20 × 24, 24 × 30 and 30 × 40 inches, plus A4, A3, A2 and A1. Measure the paper when it arrives rather than relying on the listing name, because a framer needs the actual sheet dimensions.
- Decide whether to mat the print: A mat keeps the glass off the print surface and gives the image breathing room. For a landscape with soft shadows and a wide horizon, a generous mat often suits the composition better than a tight one. The catalog does not specify a recommended mat width, so let the framer advise based on your chosen size.
- Choose a frame that supports the desert palette: The scene is built on beige sand with blue and violet shadows. A warm neutral frame, such as natural wood or a soft black, tends to stay out of the way of those colors. A very bright or highly ornate frame can compete with the subtlety of the image.
- Specify UV-protective glazing: The print carries a fading warranty, but that does not make it immune to light. Ask for glazing with UV protection, and consider anti-reflective glass if the print will face a window. The catalog does not name a specific glazing product, so this is a framer conversation, not a manufacturer instruction.
- Ask the framer to preserve access to the signature: Because the print is hand-signed on the reverse, ask how the framing will be finished so the back can be opened later without damaging the sheet. Avoid dry-mounting or any method that permanently bonds the print to a board.
- Plan the hanging point before you drill: The catalog does not include hanging hardware or a recommended hanging height. Use the frame's own hardware and a level, and check the wall for studs or suitable fixings for the weight of the finished piece.
Match the frame weight to the print size
The size you choose changes the framing job more than any other decision. An 8 × 10 or A4 print can sit in a simple off-the-shelf frame with a modest mat. At 24 × 30 or 30 × 40 inches, the glass and frame become heavy enough that you should plan for proper wall fixings and possibly a framer's advice on backing and hanging hardware.
The mid-range sizes, 16 × 20 and 20 × 24, are often the easiest to live with: large enough to carry the wide desert horizon, small enough to hang above a sofa or console without dominating the room. If you are unsure, measure the wall space first and mark the intended outline with painter's tape before ordering the frame.
Where the print works best, and where it fights the room
- Good fit: a wall that receives indirect daylight: The subtle beige and violet shadows read best in soft, even light. A north-facing wall or a spot away from direct sun keeps the contrast gentle.
- Good fit: a calm, uncluttered room: The image is quiet and spacious. A room with neutral walls and few competing patterns lets the dunes hold attention.
- Poor fit: directly opposite a bright window: Strong direct sun and glare will wash out the shadows and put the print under more light stress than it needs. If the only available wall faces a window, UV glazing and a blind or sheer curtain become more important.
- Poor fit: a busy gallery wall of many small frames: A limited edition of 10 deserves room to be seen. Crowding it among many other pieces can make the desert scene read as background rather than the focal point.
What the catalog does not confirm
The listing does not state whether the print arrives flat or rolled, what border allowance is included around the image, or which specific glazing or hanging hardware to use. It also does not give a recommended frame style, mat width or hanging height. Treat those as decisions to make with your framer and your own wall measurements, and confirm shipping format with the store before you buy a frame in advance.