You don’t need an expensive espresso machine or a dedicated milk frother to create velvety, cloud-like foam for your morning latte or cappuccino. Whether you’re camping, traveling, or simply working with a minimalist kitchen setup, learning how to froth milk without a machine is a game-changer for any coffee lover. With a few everyday tools and a little technique, you can achieve a creamy texture that rivals your favorite café.
In this guide, we’ll walk you through five proven methods—from the classic jar shake to the French press trick—and share pro tips for choosing the right milk, controlling temperature, and avoiding common pitfalls. By the end, you’ll be frothing like a barista, no plug-in required.
Why Froth Milk Without a Machine?
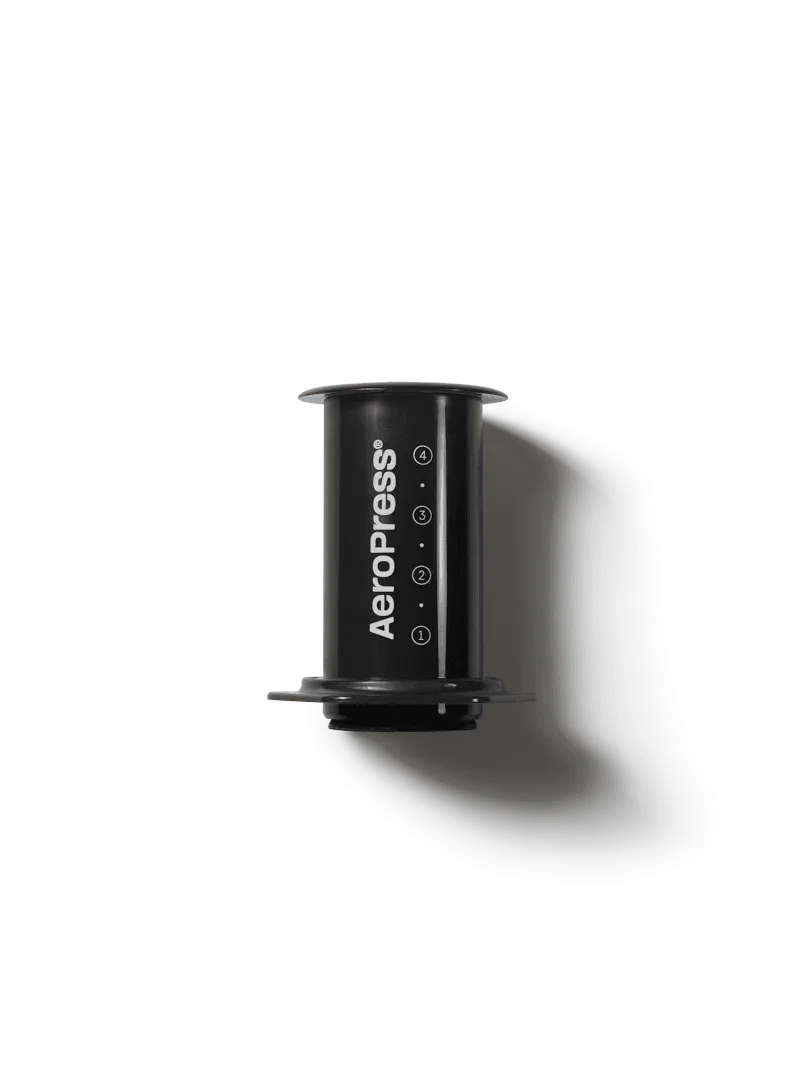
Many home brewers assume that silky microfoam is only possible with a steam wand or an electric frother. But the truth is, manual methods can produce surprisingly good results—often with less cleanup and more control. Frothing milk without a machine is also ideal for those who enjoy pour-over coffee, French press, or AeroPress, where a separate milk foamer isn’t standard equipment.
Plus, manual frothing allows you to experiment with different milk types and temperatures without investing in another appliance. Whether you’re making a flat white or a hot chocolate, these techniques will help you create a luxurious mouthfeel that elevates every sip.
- No extra counter space needed—use tools you already own.
- Perfect for travel, office, or outdoor brewing setups.
- Great for testing milk alternatives like oat or almond before buying a frother.
Method 1: The Jar Shake (Simplest and Fastest)
The jar shake method is the most accessible way to froth milk without a machine. All you need is a clean mason jar or any sealable container, some milk, and a little elbow grease. Fill the jar no more than halfway to leave room for expansion, screw the lid on tightly, and shake vigorously for 30 to 60 seconds. You’ll see the milk double in volume as air is incorporated.
Once you have a thick foam, remove the lid and microwave the jar (without the metal lid) for 30–45 seconds. This stabilizes the bubbles and separates the foam from the liquid milk. Pour the warm milk into your coffee, using a spoon to hold back the foam, then spoon the foam on top. This method works best with whole or 2% milk for a rich, stable froth.
- Use a wide-mouth jar for easier cleaning and pouring.
- Shake in a steady, rhythmic motion—not too fast or you’ll create large bubbles.
- For cold foam, skip the microwave and shake with ice-cold milk.
Method 2: French Press Frothing (Barista-Level Microfoam)
If you already own a French press, you’re just a few pumps away from café-quality foam. Heat your milk to around 150°F (65°C)—warm but not boiling—then pour it into the French press. Place the plunger on top and pump it up and down vigorously for 30 to 45 seconds. The mesh filter aerates the milk beautifully, creating a dense, velvety microfoam.
This method is especially effective for lattes and cappuccinos because it produces a fine, uniform texture that blends seamlessly with espresso. For best results, use a stainless steel French press (it retains heat better) and avoid overfilling—leave at least an inch of headspace. Clean the plunger immediately after use to prevent milk residue from clogging the mesh.
- Pump at a steady pace—too fast creates large bubbles, too slow yields thin foam.
- Works with both dairy and plant-based milks, though oat milk froths especially well.
- A great way to repurpose your French press when you’re not brewing coffee.
Method 3: Whisk or Hand Frother (Low-Tech Control)
A simple wire whisk can produce decent foam if you’re willing to put in a minute of effort. Heat your milk in a small saucepan or microwave, then whisk vigorously in a back-and-forth motion (not circular) to incorporate air. Tilt the bowl slightly to increase surface contact. Within 60–90 seconds, you’ll have a light, airy foam—perfect for topping a mocha or hot chocolate.
For even faster results, use a handheld battery-powered frother (often called a milk whisk). These inexpensive tools are widely available and create surprisingly good foam in just 15–20 seconds. Submerge the frother just below the surface and move it in a gentle up-and-down motion to avoid splashing. This method is especially handy when you’re making a single serving and don’t want to dirty a blender or jar.
- Use a narrow, deep container to minimize splatter and maximize aeration.
- For a richer foam, start with cold milk and whisk as it heats.
- Handheld frothers are compact and easy to store—great for small kitchens.
Choosing the Right Milk for Frothing
Not all milk froths equally. Whole milk (3.25% fat) is the gold standard because its protein and fat content create stable, creamy bubbles. Skim milk produces a lighter, stiffer foam but can taste watery. Among plant-based options, oat milk and barista blends (often fortified with gums and oils) froth beautifully, while almond and coconut milks tend to separate or produce thin foam.
Temperature also matters. Overheating milk (above 160°F) denatures the proteins, making it impossible to create stable foam. Aim for 140–150°F (60–65°C)—warm to the touch but not scalding. If you don’t have a thermometer, heat until small bubbles form around the edges of the pan or until the jar feels hot to the touch after microwaving.
- Fresh milk froths better than milk nearing its expiration date.
- For extra creaminess, try a splash of heavy cream in low-fat milk.
- Store milk in a cool, airtight container to preserve protein structure.
Pro Tips for Perfect Foam Every Time
Even with manual methods, small tweaks can dramatically improve your results. First, always start with cold milk—cold milk holds more air bubbles and expands more during frothing. Second, avoid over-frothing: stop as soon as the milk doubles in volume and the bubbles are uniform. Overworking the milk can cause it to collapse or become grainy.
Finally, let the foam rest for 10–15 seconds before pouring. This allows large bubbles to rise and pop, leaving a silky microfoam. Swirl the milk gently to integrate the foam and liquid layers before adding it to your coffee. With practice, you’ll develop a feel for the perfect texture—whether you’re making a latte for one or frothing for a crowd.
- Tap the container on the counter after frothing to release large bubbles.
- Pour milk down the side of the cup first, then spoon foam on top for a layered effect.
- Clean all tools immediately after use—dried milk is tough to remove.
Elevate Your Coffee Ritual with the Right Tools
While manual frothing methods are wonderfully accessible, having the right equipment can take your home coffee experience to the next level. For example, the Fellow Stagg EKG Electric Kettle gives you precise temperature control (ideal for heating milk to the perfect 150°F without guessing), while a high-quality coffee like Rwamatatu from Rwanda offers a clean, fruity profile that pairs beautifully with frothed milk.
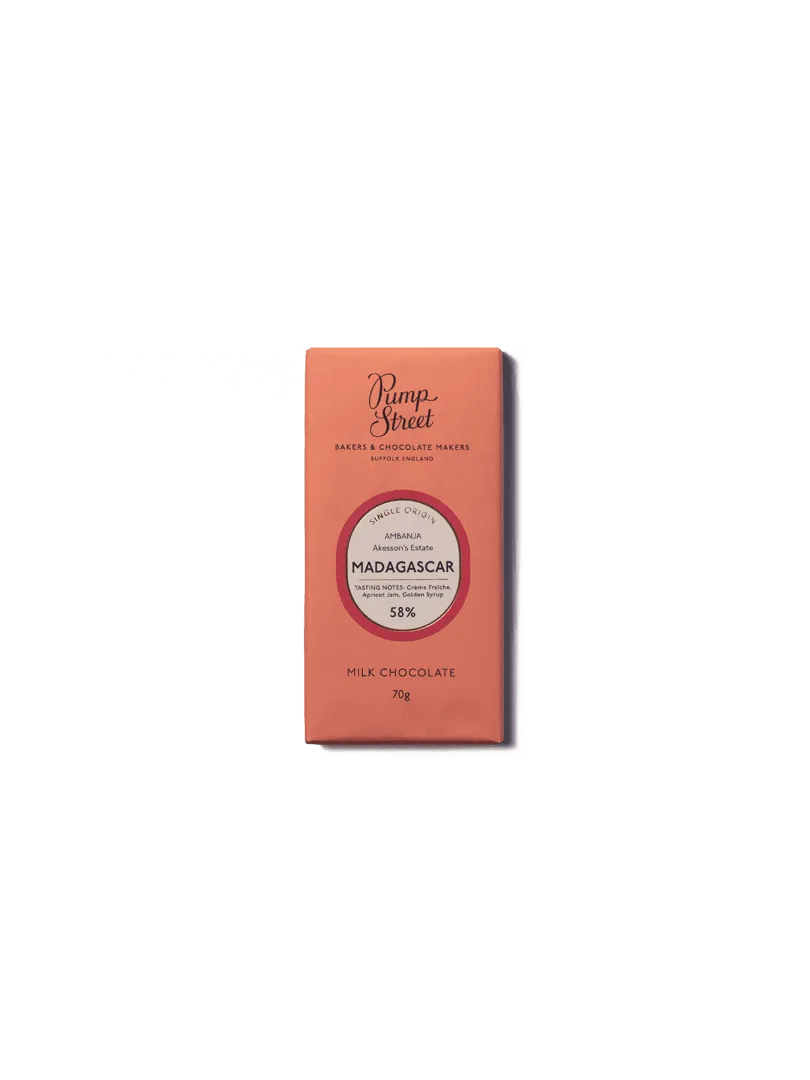
If you’re a chocolate lover, try pairing your frothed latte with a bar of Pump Street Ecuador sourdough & sea salt 66% dark chocolate—the saltiness contrasts the creamy foam and bright coffee notes. And for those who prefer a no-fuss approach to fresh coffee, a 3 Month Coffee Gift Subscription ensures you always have specialty beans on hand to practice your frothing skills.

3 Month Coffee Gift Subscription
- Temperature-controlled kettles remove the guesswork from milk heating.
- Single-origin coffees like Rwamatatu highlight the sweetness of frothed milk.
- A coffee subscription keeps your pantry stocked with fresh, seasonal roasts.
Frothing milk without a machine is not only possible—it’s a rewarding skill that deepens your connection to the craft of coffee. Whether you shake, whisk, or pump your way to foam, each method offers a unique texture and learning experience. Ready to perfect your pour-over? Explore the Rwamatatu coffee beans and discover how a bright, complex single origin can transform your homemade latte into a moment of pure indulgence.