Quick answer
Improve airflow by giving cool air an unobstructed path in and hot air a clear path out. Start with cable management and filter cleaning, then set a slight positive-pressure fan layout, and tune fan curves so intake and exhaust ramp together. Verify with temperature logging before and after, not by feel.
Most airflow problems are not caused by a weak fan. They come from blocked paths, mismatched fan directions, and dust that quietly builds up on filters and fins. If your gaming PC runs hotter or louder than it used to, work through the steps below in order.
This guide is written for standard ATX and micro-ATX builds, including MAINGEAR systems and DIY builds. You will need a screwdriver, a soft brush or compressed air, and a way to read temperatures. If your case has a front panel with restricted vents, treat that as a design constraint you plan around rather than fight.
Map your case before you change anything
Open the side panel and identify every intake and exhaust point. Note which fan mounts are filtered, which are blocked by drive cages or radiators, and where the power supply pulls air. Draw a simple sketch or take a photo with your phone.
This map prevents the most common mistake: flipping fans randomly and creating a fight between intake and exhaust. You want one clear direction of travel, front or bottom to top or rear.
- Check whether your front panel is mesh, solid, or partially vented; that determines how much intake you can realistically pull.
- Note the GPU and CPU cooler orientation so you do not push hot air into a component that just expelled it.
Clear the path: cables, dust, and obstructions
Route cables behind the motherboard tray where possible and bundle the rest low and out of the main chamber. A single loose cable bundle in front of an intake fan can cut effective airflow more than adding another fan would help.
Clean filters and heatsink fins with a soft brush or short bursts of compressed air. Hold fans still with a finger while you blow air so they do not spin backwards and generate static.
- Checkpoint: after cleaning, look through the front intake with a light; if you cannot see light passing through, airflow is still restricted.
- Do not remove filters permanently to gain airflow; clean them more often instead.
Set a balanced intake and exhaust fan setup
A reliable starting point is two or three intake fans at the front or bottom and one or two exhaust fans at the rear or top. Slightly more intake than exhaust creates positive pressure, which pushes dust toward your filters instead of pulling it in through gaps.
Match fan sizes to your mounts and keep airflow direction arrows consistent. If you use a top-mounted radiator, decide whether it exhausts hot air or intakes cool air, and adjust the rest of the layout so you are not recycling the same heated air.
- Common mistake: installing all fans as exhaust. That starves components of cool air and raises GPU temperatures.
- If your case supports it, keep the front intake unobstructed by removing unused drive cages.
Tune fan curves so intake and exhaust ramp together
In your motherboard or fan software, set intake and exhaust fans to respond to the same temperature source, usually CPU or a system sensor. If intake fans stay at low speed while exhaust fans ramp up, you create negative pressure and pull dust through unfiltered seams.
Aim for a curve that stays quiet at idle and rises steadily under load. Avoid sudden jumps that make the system sound like it is taking off, and avoid a flat 100 percent curve unless you are benchmarking.
- Checkpoint: listen at idle and under load; if the noise changes abruptly, smooth the curve.
- Group fans by role in software so you can adjust intake and exhaust as pairs.
Verify with temperatures, then adjust one variable at a time
Run a repeatable load such as a game benchmark or a stress test for 15 to 20 minutes and record CPU and GPU temperatures. Change one thing, such as adding an intake fan or raising a fan curve, then repeat the same test.
If temperatures do not improve, the bottleneck is likely a restricted front panel, a dust-clogged cooler, or a component that needs its own airflow rather than more case fans.
- Keep a simple log of ambient room temperature, since a warm room raises every reading.
- If your case has a decorative front panel, confirm it is not blocking the intake vents before buying more fans.
Airflow improvement steps at a glance
- Map intakes, exhausts, and obstructions: Photograph the inside of the case and note every fan mount, filter, and blockage before moving anything. Checkpoint: you can point to one intended front-to-back or bottom-to-top air path.
- Clean filters and clear cable clutter: Brush or blow out filters and heatsink fins, then route cables behind the tray so the main chamber is open. Mistake to avoid: leaving a cable bundle directly in front of an intake fan.
- Set more intake than exhaust: Use two or three filtered intakes and one or two exhausts, keeping airflow arrows consistent. Checkpoint: slightly positive pressure pushes dust to your filters, not through case seams.
- Tune fan curves together: Group intake and exhaust fans to the same temperature source and smooth the ramp so they rise together. Mistake to avoid: exhaust fans at full speed while intakes idle, which creates negative pressure.
- Test, log, and change one thing: Run the same load test for 15 to 20 minutes, record CPU and GPU temperatures, then adjust a single variable. If temps do not move, the restriction is likely the front panel, a clogged cooler, or dust rather than fan count.
Parts and accessories that affect airflow
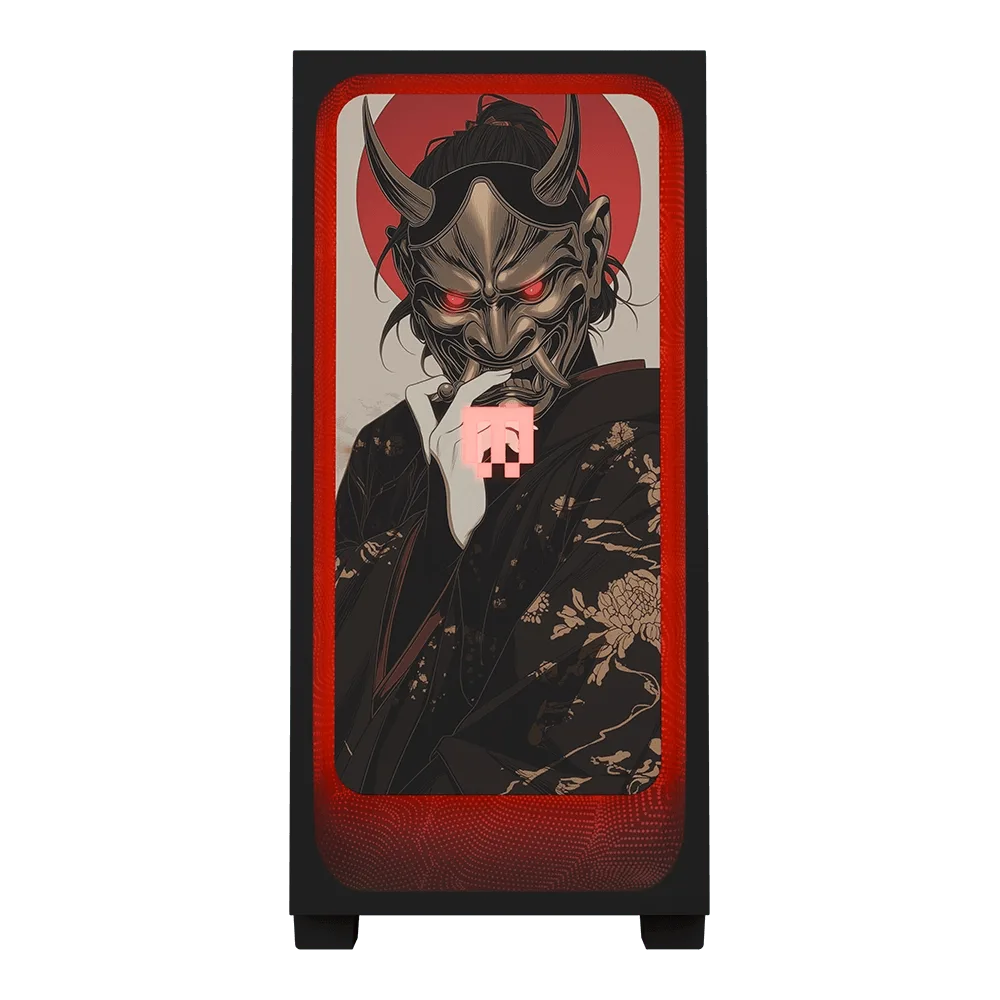
- Fire: The MAINGEAR Fire Front Panel is a front panel accessory for the MG-1 that adds a bright neon red glow, available in versions for the all-new MG-1 and Classic MG-1. If you change your MG-1 front panel, check that the new panel does not reduce intake clearance; a decorative panel can change how much cool air reaches your fans.
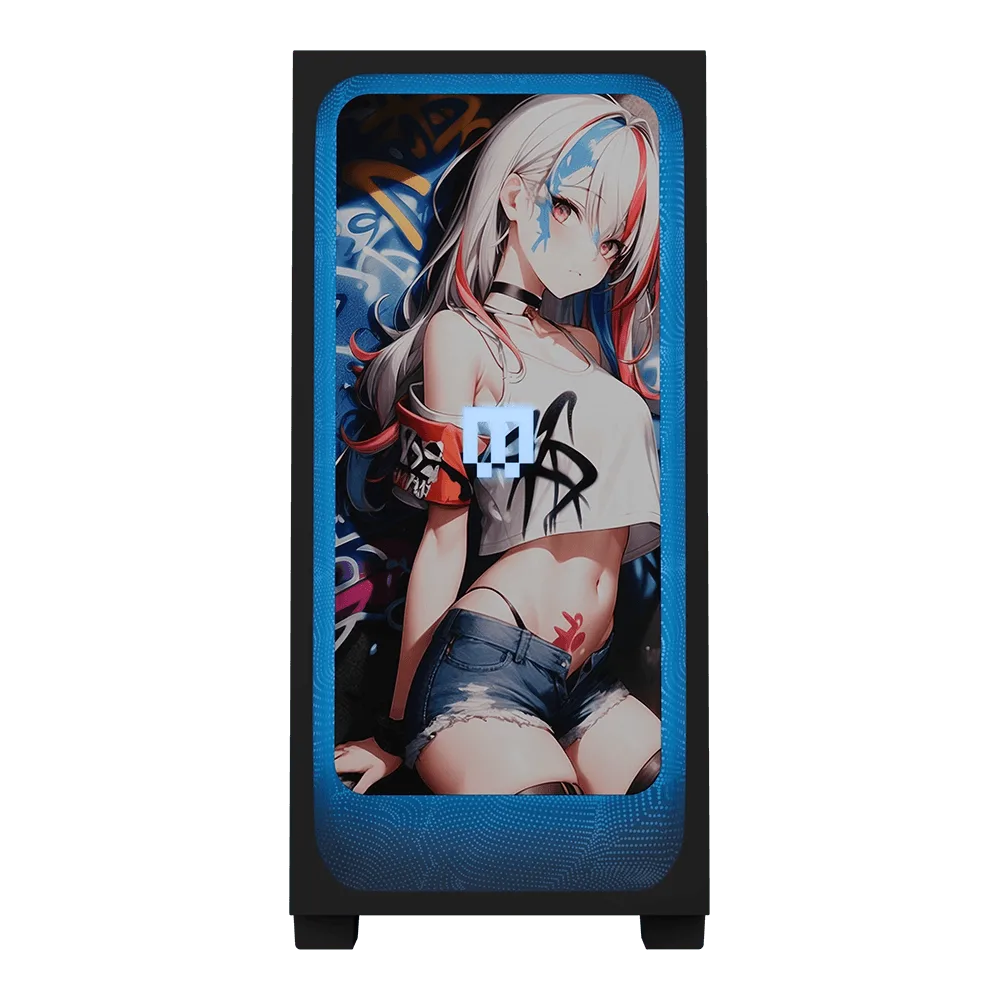
- Duck Girl: Duck Girl is a custom front panel artwork for MAINGEAR MG-1 systems, available in versions for the all-new MG-1 and Classic MG-1. Custom front panels are a visual upgrade, but they still sit in front of your intake path, so keep filters clean and confirm airflow is not blocked after installing one.
- Logitech G733 LIGHTSPEED Wireless Gaming Headset: The G733 is a wireless headset with LIGHTSPEED wireless over USB, up to 65 ft range, 40 mm drivers, and up to 20 hours of battery life with RGB or 29 hours without RGB. A wireless headset removes a cable from your desk area, which does not change case airflow directly but reduces clutter and makes it easier to keep intake vents clear.
Airflow is a path problem more than a fan-count problem. Map the case, clear the path, balance intake and exhaust, tune curves together, and verify with temperatures. If you change a front panel on an MG-1, keep the intake clear and clean filters regularly so the visual upgrade does not cost you cooling.