Quick answer
Inspect every rubber exhaust hanger for cracks, stretching, or missing isolators, and check each flange and manifold joint for black soot trails that signal a blown gasket. Replace worn rubber exhaust hangers before they drop the pipe onto the chassis, and swap any exhaust leak gasket at the same time. Support the system with a jack stand, use penetrating oil on rusty bolts, and tighten fasteners evenly so the exhaust stays aligned.
Exhaust hangers and gaskets are small, inexpensive parts that quietly keep your exhaust system in place and sealed. When a rubber exhaust hanger dries out or a gasket burns through, you get rattles, drone, and a leak that can trip a check engine light. Catching both early is far cheaper than replacing a cracked pipe or a damaged catalytic converter later.
This guide walks through a practical inspection and replacement process you can do in a driveway with hand tools. It covers how to identify a failing exhaust mount, how to separate rusted joints without breaking studs, and how to choose replacement hardware that fits your vehicle.
What hangers and gaskets actually do
Exhaust hangers hold the pipes, muffler, and converter in position while allowing the system to expand and move slightly as it heats up. Most factory hangers use a rubber isolator that absorbs vibration; when that rubber hardens or tears, the metal bracket can contact the body and create a buzz or clunk. Gaskets seal the joints between flanges, manifolds, and pipes, and they fail when heat cycling and corrosion eat away the sealing material.
A worn hanger rarely fails alone. The extra movement it allows stresses nearby gaskets and can pull a flange slightly out of alignment, which is why an exhaust vibration fix often means replacing both the mount and the gasket at that joint. Inspecting them together saves a second teardown.
- Rubber isolators crack with age even if the metal bracket still looks fine.
- A soot trail around a flange is the clearest sign of an exhaust leak gasket failure.
- Broken hangers can let the system rest on a crossmember, causing a persistent rattle.
Tools and parts to gather first
You will need a floor jack and jack stands, penetrating oil, a wire brush, and a basic socket set. A pry bar helps separate stuck flanges, and a torque wrench is worth having so you do not overtighten small studs. For gasket replacement, have new gaskets and, if the old bolts are badly corroded, new flange hardware on hand before you start.
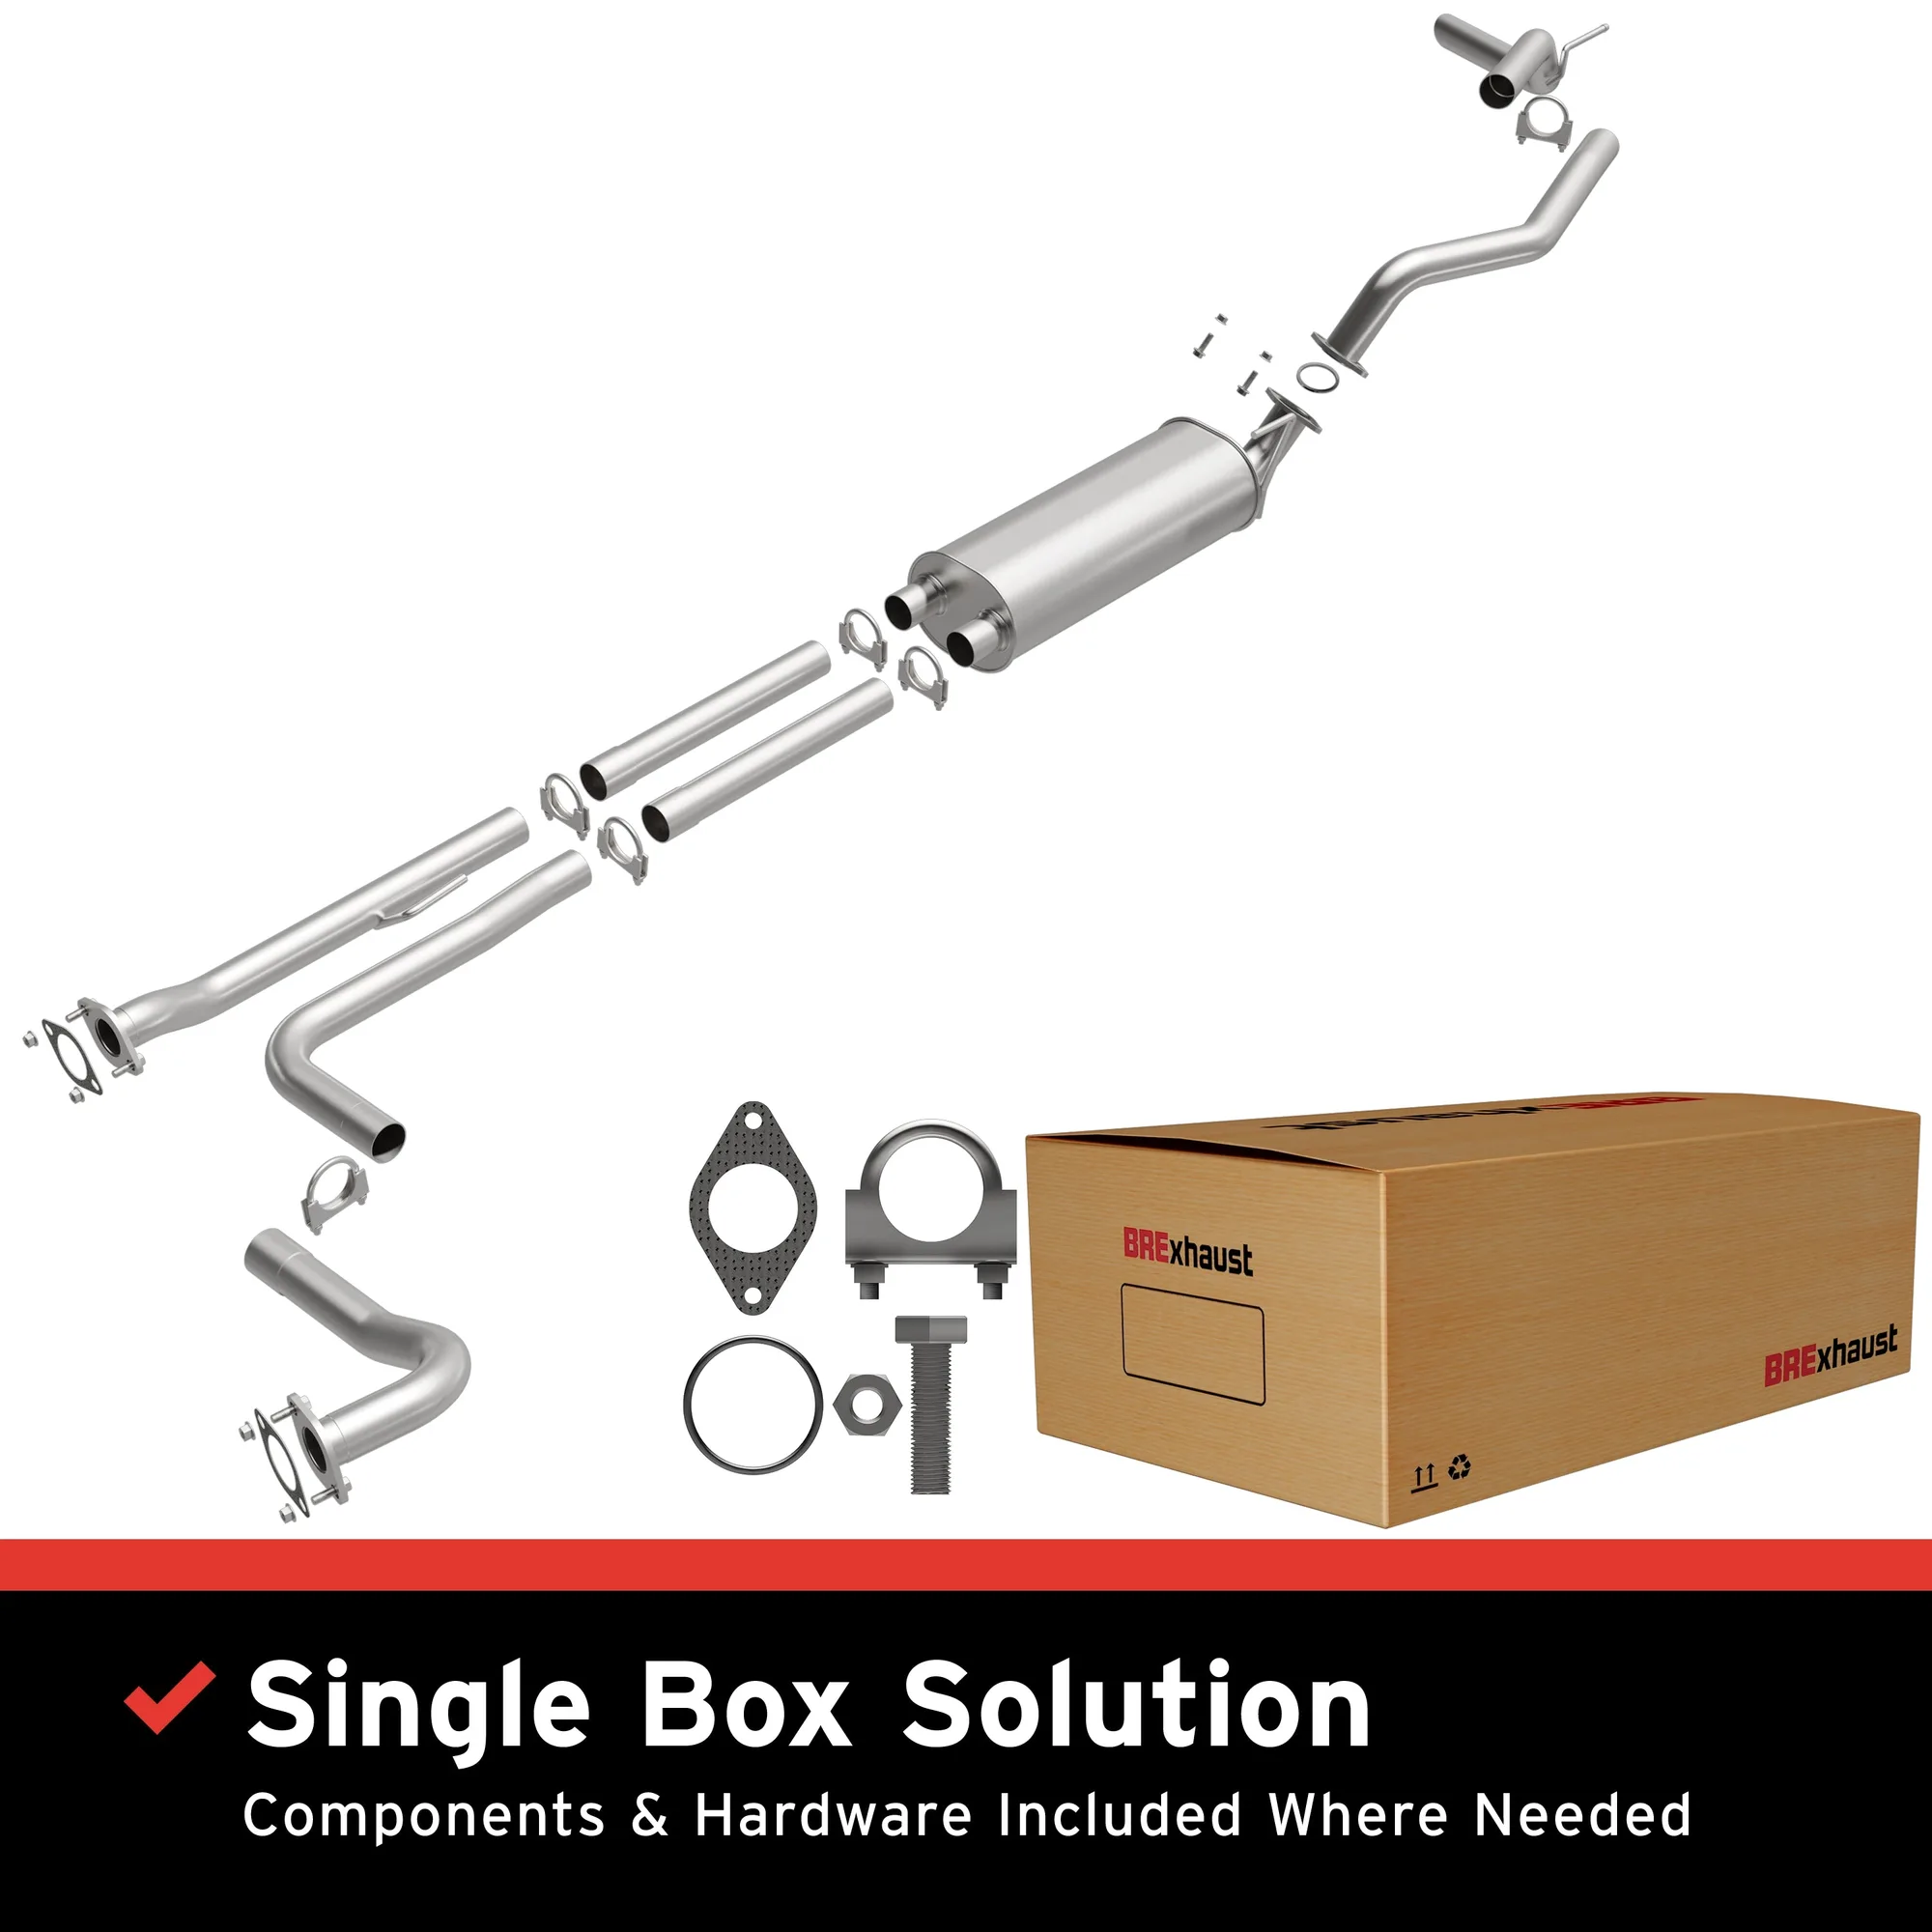
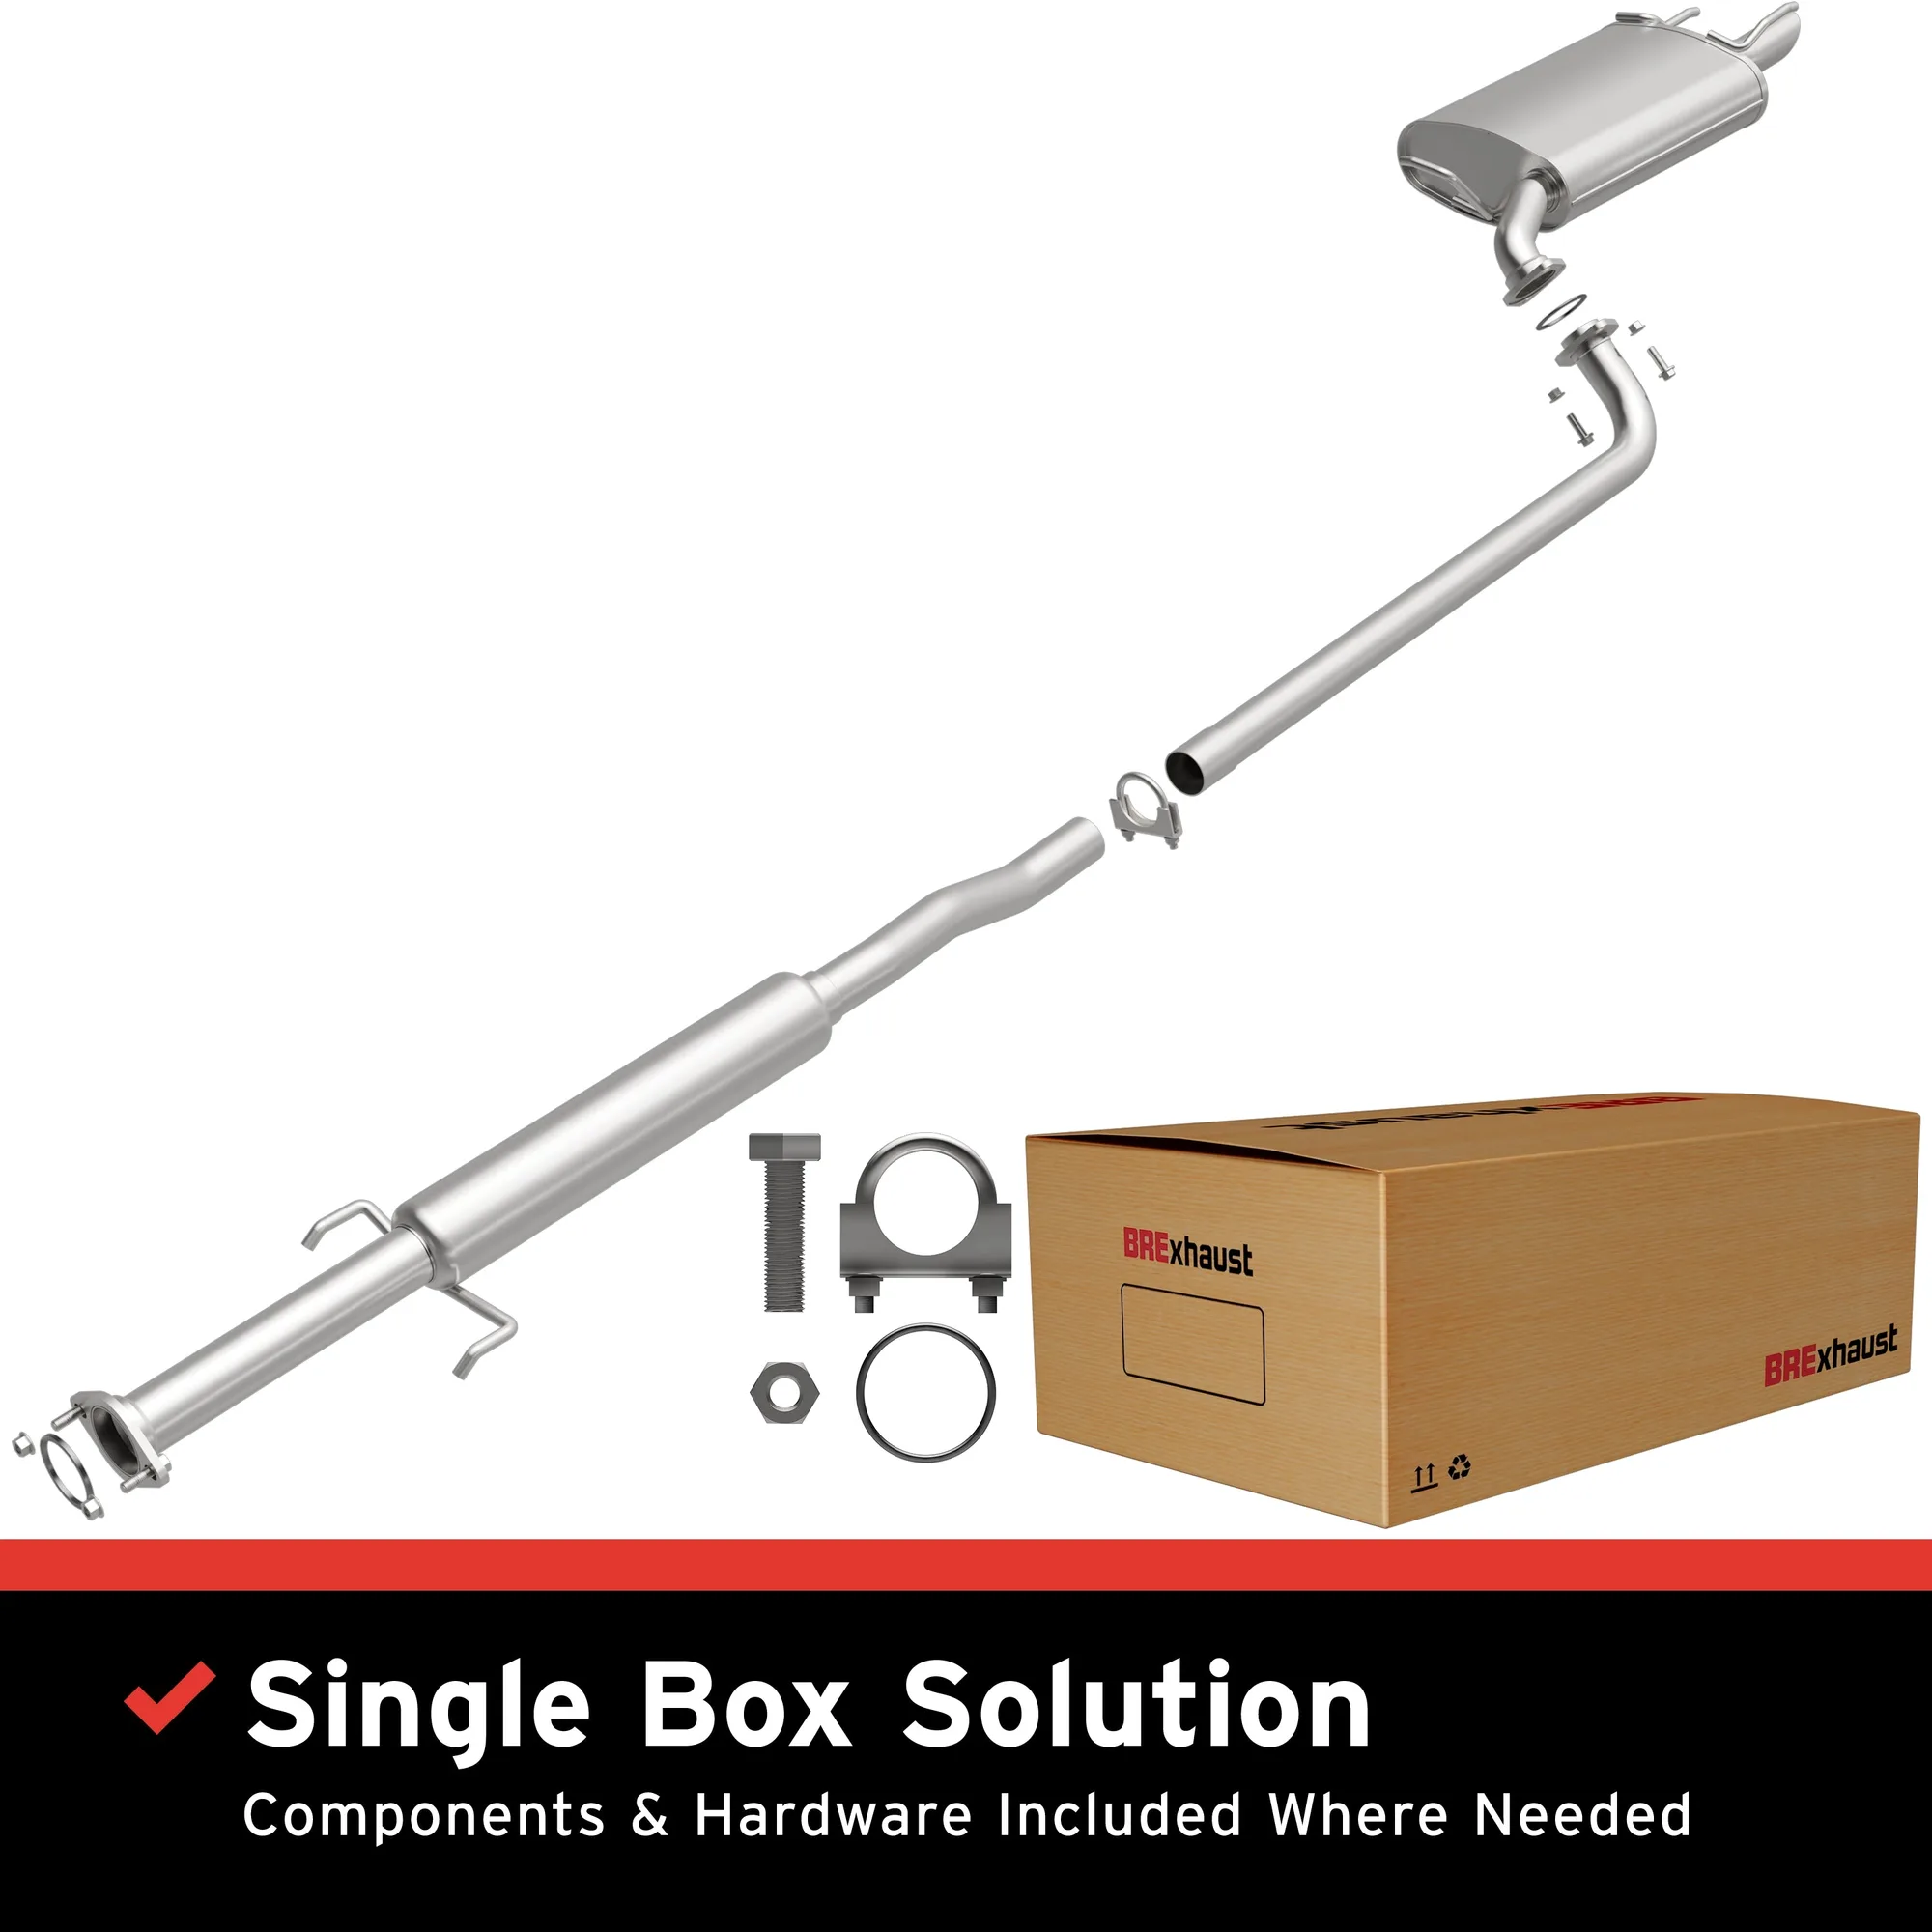
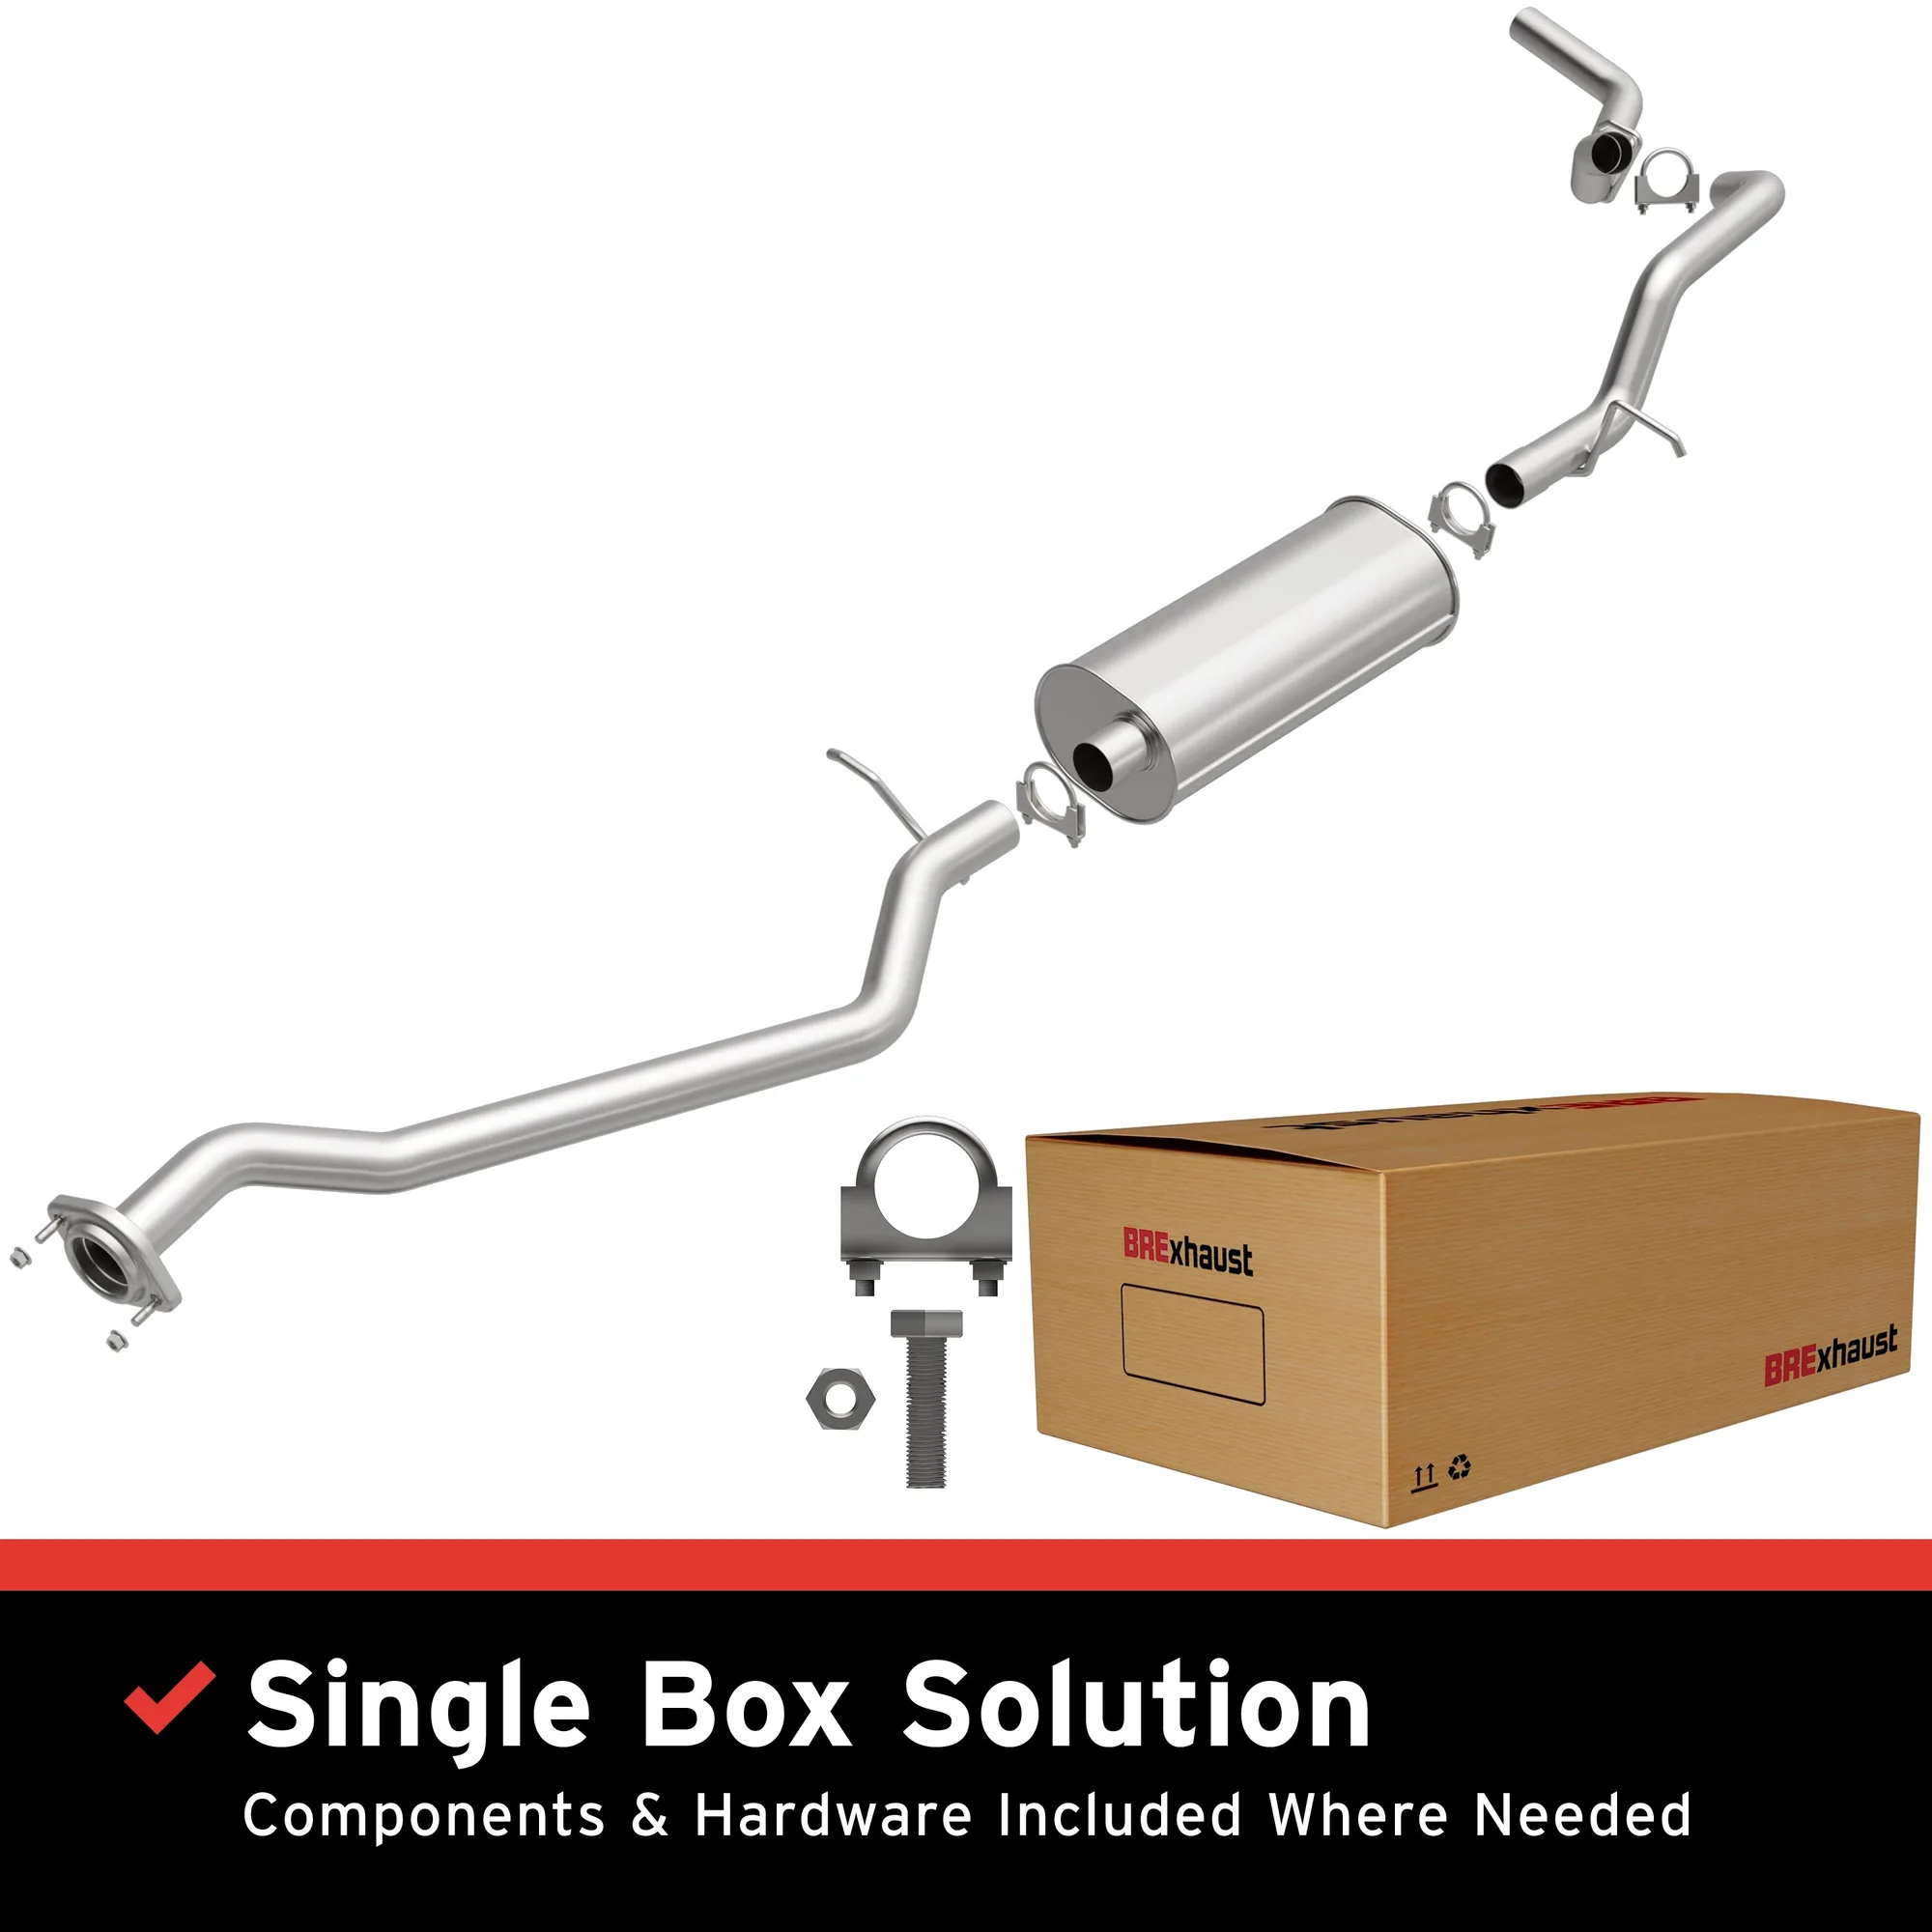
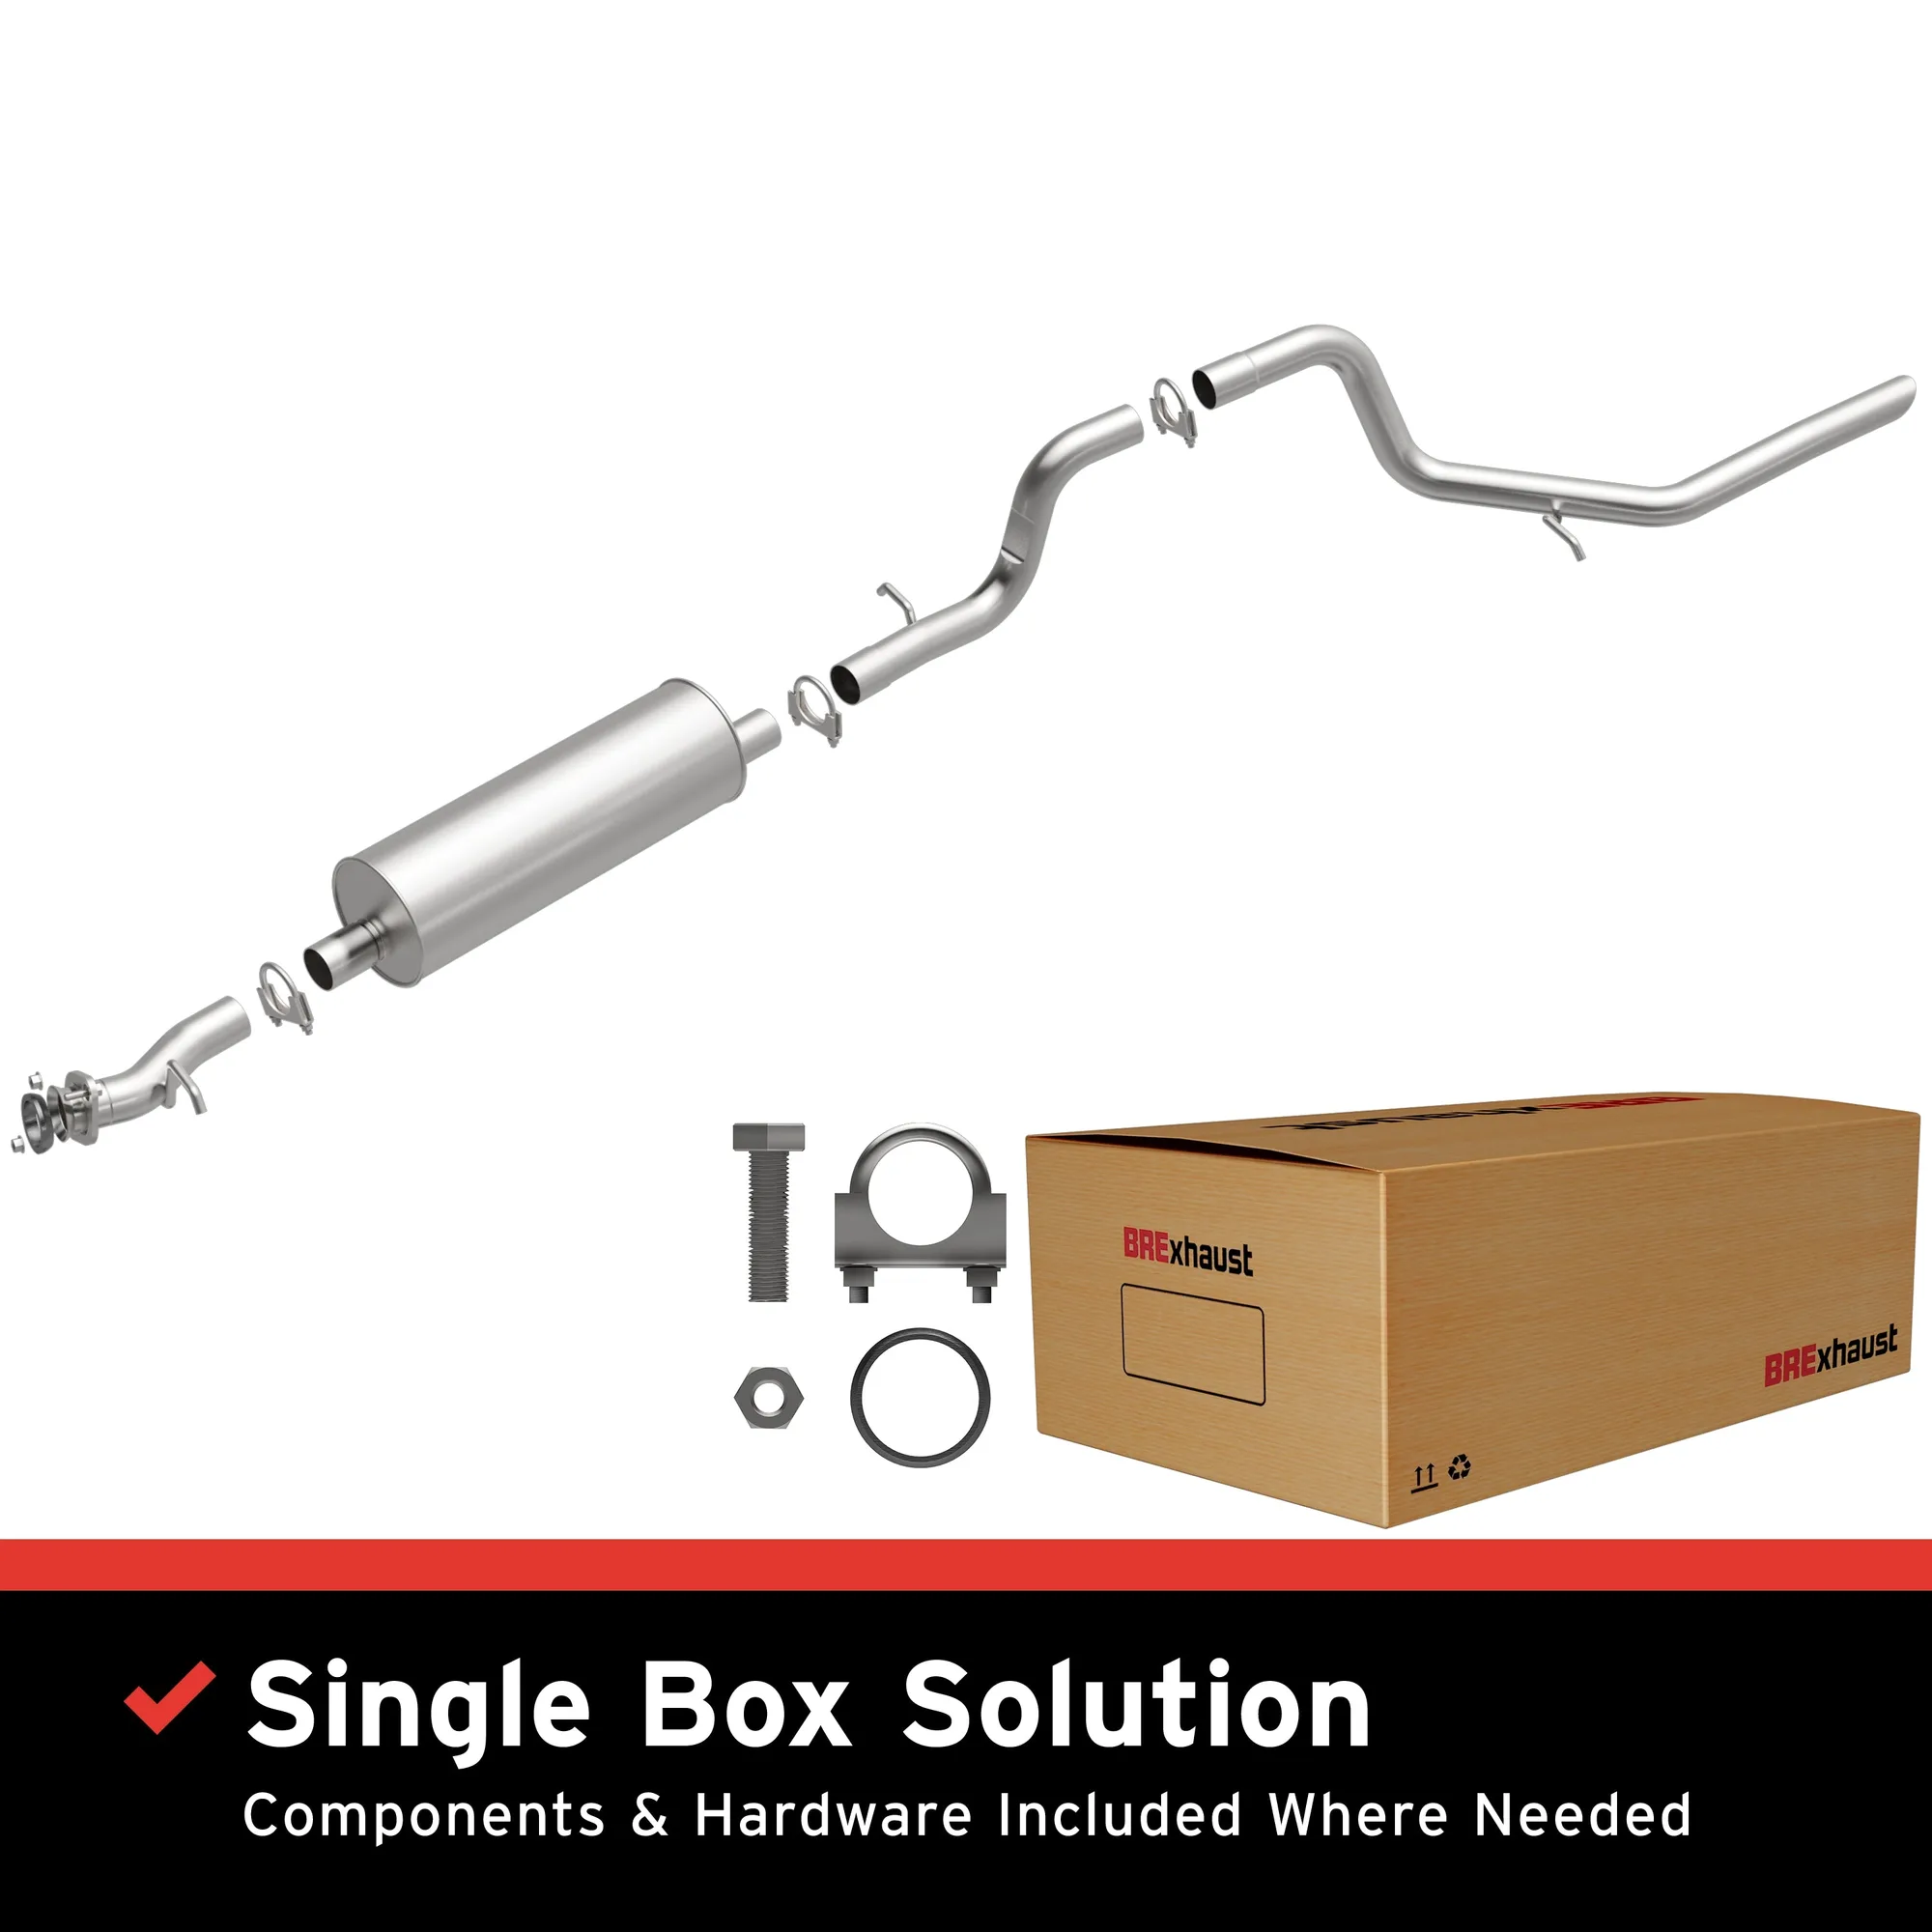
Replacement hangers come in several styles, so match the shape and mounting points to what is currently on the vehicle. If you are refreshing a full system, direct-fit kits often include the clamps and gaskets you need. The https://magnafloweb.com/products/106-0742-brexhaust-direct-fit-exhaust-system-kit-106-07-7dbafcdbe57d219ed2e94f4e-2681896https://magnafloweb.com/products/brexhaust-direct-fit-exhaust-system-kit-2-73fd2fa124aab8b8c8cdc546-2677833https://magnafloweb.com/products/brexhaust-direct-fit-exhaust-system-kit-3-602d358c0030bf5eb23a2b57-2677839https://magnafloweb.com/products/brexhaust-direct-fit-exhaust-system-kit-4941c9d01f498b711561ed6e-2677844BRExhaust Direct-Fit Exhaust System Kit 106-0742, for example, is packaged with all of the gaskets and clamps needed for the job, which removes a trip to the parts store.
- Soak exhaust bolts with penetrating oil the night before if possible.
- Wear eye protection; rust flakes fall when you brush a flange clean.
- Keep a magnet tray nearby so dropped nuts do not disappear into the frame.
Step-by-step inspection and replacement
Work on a cold exhaust system. Raise the vehicle and support it on jack stands, then slide underneath with a light. Grab each pipe near a hanger and try to move it up and down; excessive play points to a stretched or broken isolator. Look at every rubber exhaust hanger for cracks, missing chunks, or a bracket that has slipped out of the rubber.
Next, inspect each joint. A dark soot streak, a ticking sound at idle, or a faint exhaust smell in the cabin all point to a leaking gasket. Mark the joints you plan to open, then remove the fasteners. If a flange is stuck, use a pry bar gently and avoid hammering on the converter or manifold. Clean both mating surfaces with a wire brush, fit the new gasket, and snug the hardware evenly in a cross pattern before final torque.
- Replace hangers in pairs when they are the same age; the second one is usually close behind.
- Never reuse a crushed or delaminated gasket, even if it looks intact.
- After reassembly, start the engine and listen for ticks before lowering the vehicle.
Choosing replacement parts that fit
Hangers and gaskets are vehicle-specific in shape even when they look generic. A direct-fit replacement reduces guesswork because the bends, flanges, and mounting points are designed for a particular application. The BRExhaust 1999-2002 Mercury Villager 3.3L / 1999-2002 Nissan Quest 3.3L Direct-Fit Exhaust System Kit 106-0641 is an example of a kit that includes the gaskets and clamps, so the sealing hardware arrives matched to the pipes.
If you are only replacing a front pipe or a section, a direct-fit component like the BRExhaust Direct-Fit Exhaust Front Pipe Kit 107-0047 is built from premium stainless steel and engineered to meet or exceed original specifications, with a bolt-on design. That matters because a front pipe that does not line up can load the hangers unevenly and shorten the life of new rubber isolators.
- Verify the part number against your year, make, model, and engine before ordering.
- Stainless steel hardware resists corrosion better in salty climates.
- Keep the old gasket as a size reference until the new one is fitted.
Your hanger and gasket replacement checklist
- 1. Cool and lift the vehicle safely: Let the exhaust cool completely, then raise the car and support it on jack stands. Never work under a vehicle held only by a jack. Checkpoint: the system should be cool to the touch before you grab any pipe.
- 2. Inspect every rubber exhaust hanger: Wiggle each pipe and look for cracked, stretched, or missing rubber isolators and brackets that have slipped out of position. Common mistake: assuming a hanger is fine because the metal bracket is intact; the rubber usually fails first.
- 3. Check joints for exhaust leak gasket signs: Look for black soot trails, listen for ticking at idle, and smell for exhaust in the cabin. Mark any suspect flange before opening it. Checkpoint: a clean, dry joint with no soot is usually sealed.
- 4. Free rusted fasteners carefully: Apply penetrating oil, brush threads clean, and use steady pressure. A pry bar can separate a stuck flange, but avoid hammering on the converter or manifold. Common mistake: forcing a seized bolt and snapping a stud, which turns a small job into a welding repair.
- 5. Fit the new gasket and hanger: Clean both mating surfaces, install the new gasket, and seat the replacement hanger in its mount. Replace hangers in pairs when they are the same age. Checkpoint: the pipe should sit in the hanger without being stretched or pinched.
- 6. Tighten evenly and verify: Snug flange hardware in a cross pattern, then torque to spec. Start the engine and listen for ticks or rattles before lowering the vehicle. Next step: recheck the fasteners after the first few heat cycles.
Parts that include the right hardware
- BRExhaust Direct-Fit Exhaust System Kit 106-0742: BRExhaust Direct-Fit Replacement Exhaust Kit 106-0742 takes the guesswork out of replacing your exhaust system and includes all of the gaskets and clamps needed in the box. You avoid matching gaskets and clamps separately, which reduces the chance of a leak at reassembly.
- BRExhaust 1999-2002 Mercury Villager 3.3L / 1999-2002 Nissan Quest 3.3L Direct-Fit Exhaust System Kit 106-0641: BRExhaust Direct-Fit Replacement Exhaust Kit 106-0641 is a reliable alternative to the OEM exhaust and comes with the gaskets and clamps needed for installation. For those specific vans, the sealing hardware is already matched to the pipes, so hanger and gasket replacement stays straightforward.
- BRExhaust Direct-Fit Exhaust Front Pipe Kit 107-0047: BRExhaust Direct-Fit Front Pipe Kit 107-0047 is crafted from premium stainless steel and designed to meet or exceed original specifications with a bolt-on installation. A correctly aligned front pipe keeps the hangers from carrying uneven load, which helps new rubber isolators last longer.
Replacing exhaust hangers and gaskets is one of the most affordable ways to quiet a rattle and stop a leak before it damages expensive components. Inspect the rubber and every joint at each oil change, replace worn parts in pairs, and choose direct-fit hardware that matches your vehicle. A little attention here keeps the whole system aligned and sealed for the long run.