Quick answer
Inspect your wheels for damage after every off-road trip, not just when a tire loses air. Wash the wheels first, then check the bead area, spokes, and rim edges for cracks, bends, and impact marks. If you run beadlocks, inspect the ring and hardware before you torque anything. Catching a small crack or bent lip early is far cheaper than replacing a wheel or tire on the trail.
Off-road wheel damage rarely announces itself with a sudden flat. More often it shows up as a slow leak, a vibration at highway speed, or a hairline crack you only notice weeks later. That is why a wheel inspection after off-road use should be part of your regular post-trip routine, right alongside washing the mud off.
This guide walks through an ordered inspection you can do in your driveway with basic tools. It focuses on the areas that actually fail on off-road wheels: the bead seat, the rim edges, the spokes, and the hardware on beadlock wheels. Work through the steps in order and you will catch most problems before they strand you.
Why post-trip wheel inspection matters
A wheel that survives a rocky trail can still be compromised. Impacts bend outer lips, pinch the bead area, and stress spoke-to-rim junctions. Those defects often stay hidden under dirt and mud until air pressure or a hard hit turns them into a full failure. Inspecting after off-road use gives you a clean baseline so you can tell normal wear from new damage.
The same logic applies to beadlock wheels and UTV setups. Beadlock rings and bolts take direct abuse, and a bent ring or stretched bolt can cause a leak even if the wheel itself is fine. Checking wheels for cracks and ring damage early keeps small issues from becoming tire-destroying ones.
- Inspect within a day or two of the trip, before corrosion sets in on bare aluminum.
- Keep a notebook or phone note of any new marks so you can track whether they grow.
What you need before you start
You do not need a shop to do a solid inspection. A bright flashlight, a rag, a stiff brush, a tire pressure gauge, and a torque wrench cover most of it. A small pick or flathead screwdriver helps probe suspect areas, and a jack and stands let you spin the wheel to check for bends and wobble.
If your wheels use beadlock rings, have the correct torque spec and a calibrated torque wrench on hand. Do not guess torque values. Check the manufacturer documentation for your specific wheel before you loosen or tighten anything.
- Work on a cool wheel and tire, not one that just came off a hot highway run.
- Photograph anything suspicious before you clean it, so you have a record of the original condition.
Step 1: Clean the wheel so damage is visible
Mud and brake dust hide exactly the kind of hairline cracks you are looking for. Wash the wheel with mild soap and water, then dry it. Pay attention to the bead area and the back of the wheel, where grime tends to collect and where cracks often start.
Skip harsh acidic cleaners on bare or machined finishes, since they can dull the surface and make it harder to spot real damage. Once the wheel is clean and dry, you can actually see the metal.
- Common mistake: inspecting a dirty wheel and mistaking caked mud for a crack, or missing a crack under it.
- Checkpoint: the wheel should be clean enough that you can see bare metal at the bead and spoke edges.
Step 2: Check air pressure and look for slow leaks
Start with pressure. Compare each tire to its normal setting and to the others on the vehicle. A single tire that is consistently low points to a bead leak, a cracked rim, or a damaged valve rather than normal pressure loss.
If one tire keeps dropping, spray soapy water around the bead, valve stem, and any beadlock hardware. Bubbles show you where air is escaping. This simple test often finds the problem before you ever see a crack.
- Common mistake: topping off a leaking tire and calling it fixed instead of finding the source.
- Checkpoint: all tires hold steady pressure within a day of being set.
Step 3: Inspect the bead area and rim edges
The bead seat and outer lip take the hardest hits off-road. Run your fingers along the inside and outside edges of the rim and feel for bends, flat spots, or rough gouges. Then use a flashlight to look closely at the bead area for cracks running inward from the edge.
On beadlock wheels, inspect the ring and the bolts that clamp the tire. Look for a bent or dented ring, missing or loose bolts, and cracks around the bolt holes. A damaged ring can usually be replaced on its own, which is why it pays to identify ring damage separately from wheel damage.
- Common mistake: assuming a bent outer lip is cosmetic. It can break the bead seal under load.
- Checkpoint: no visible cracks, no sharp bends, and no missing beadlock hardware.
Step 4: Check spokes, welds, and the wheel face
Cracks often start where the spoke meets the rim or the hub. Clean the wheel face and inspect each spoke junction with a light. Look for fine lines, discoloration, or paint cracking that can indicate a stress point underneath.
On cast or forged wheels, a true crack is usually a sharp, dark line, not a scratch. If you are unsure, probe gently with a pick. A scratch will not catch; a crack often will. When in doubt, have a professional inspect it before you drive at speed.
- Common mistake: dismissing a hairline at a spoke root as a casting mark.
- Checkpoint: every spoke-to-rim junction looks uniform, with no new lines or paint cracks.
Step 5: Spin the wheel and check for wobble
Jack the vehicle up, support it on stands, and spin each wheel. Watch the rim edge against a fixed reference point. A wheel that wobbles side to side or up and down may be bent, or it may just be a mounting issue. Recheck lug nut torque first before you blame the wheel.
If the wheel still wobbles after confirming proper mounting and torque, treat it as damaged until proven otherwise. A bent wheel can wear tires unevenly and put stress on suspension components.
- Common mistake: diagnosing a bent wheel when the real problem is a loose or unevenly torqued lug nut.
- Checkpoint: the rim edge tracks straight and true when the wheel spins.
Step 6: Inspect beadlock hardware and torque
If you run beadlocks, this step matters as much as any other. Check every beadlock bolt for tightness, corrosion, and thread damage. Loose bolts let the ring move and can cause a slow leak or a thrown bead. Do not simply crank them down; follow the manufacturer sequence and spec.
Inspect the ring surface where it contacts the tire. Deep gouges or a bent ring can prevent a proper seal even with correct torque. Replacement rings are available for common Method Race Wheels beadlock designs, so you can refresh the ring without replacing the whole wheel.
- Common mistake: over-torquing beadlock bolts to stop a leak, which can distort the ring.
- Checkpoint: all beadlock bolts are present, evenly torqued to spec, and the ring sits flat.
Post-trip wheel inspection checklist
- Wash and dry the wheels: Remove mud, brake dust, and debris so cracks and bends are visible. Avoid harsh acidic cleaners on bare or machined finishes. Checkpoint: bare metal is visible at the bead and spoke edges.
- Check pressure and test for leaks: Compare each tire to its normal setting, then use soapy water around the bead, valve, and beadlock hardware on any tire that is low. Checkpoint: no tire loses pressure after being set.
- Inspect bead area and rim edges: Feel along the inner and outer lips for bends and gouges, then use a flashlight to look for cracks running in from the edge. Checkpoint: no cracks, no sharp bends, no missing beadlock hardware.
- Examine spokes and welds: Look at each spoke-to-rim and spoke-to-hub junction for hairline cracks, paint cracking, or discoloration. Probe gently with a pick if unsure. Checkpoint: all junctions look uniform with no new lines.
- Spin the wheel for wobble: Jack up the vehicle, spin each wheel, and watch the rim edge against a fixed reference. Recheck lug torque before blaming the wheel. Checkpoint: the rim tracks straight and true.
- Verify beadlock torque and ring condition: Check every beadlock bolt for tightness and corrosion, follow the manufacturer sequence and spec, and inspect the ring for bends or deep gouges. Checkpoint: all bolts present, evenly torqued, ring sits flat.
Replacement parts that make sense after inspection
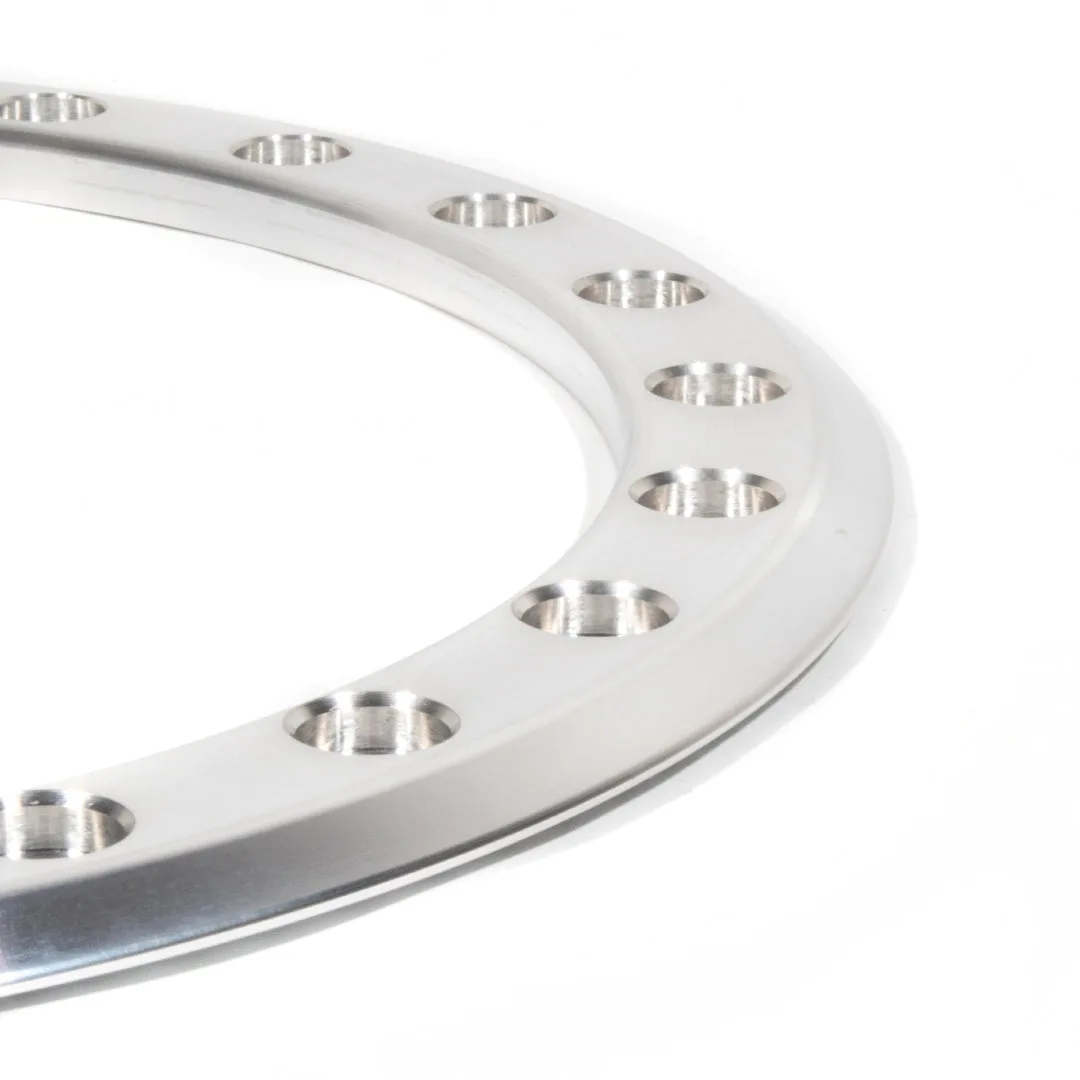
- V.1 Beadlock Ring | Machined - Raw: The V.1 Beadlock Ring is the original desert racing ring from Method Race Wheels, offered in multiple sizes with a machined raw finish. If your inspection finds a bent or deeply gouged ring, replacing just the ring is cheaper than replacing the wheel, and the original desert racing design keeps the same proven geometry.
- V.3 Beadlock Ring | Machined - Raw: The V.3 Beadlock Ring is described as the most rugged beadlock ring in the Method lineup, aimed at serious rock crawlers. If you regularly crawl rocks and keep damaging rings, a more rugged ring can reduce how often you need to replace hardware after trail impacts.
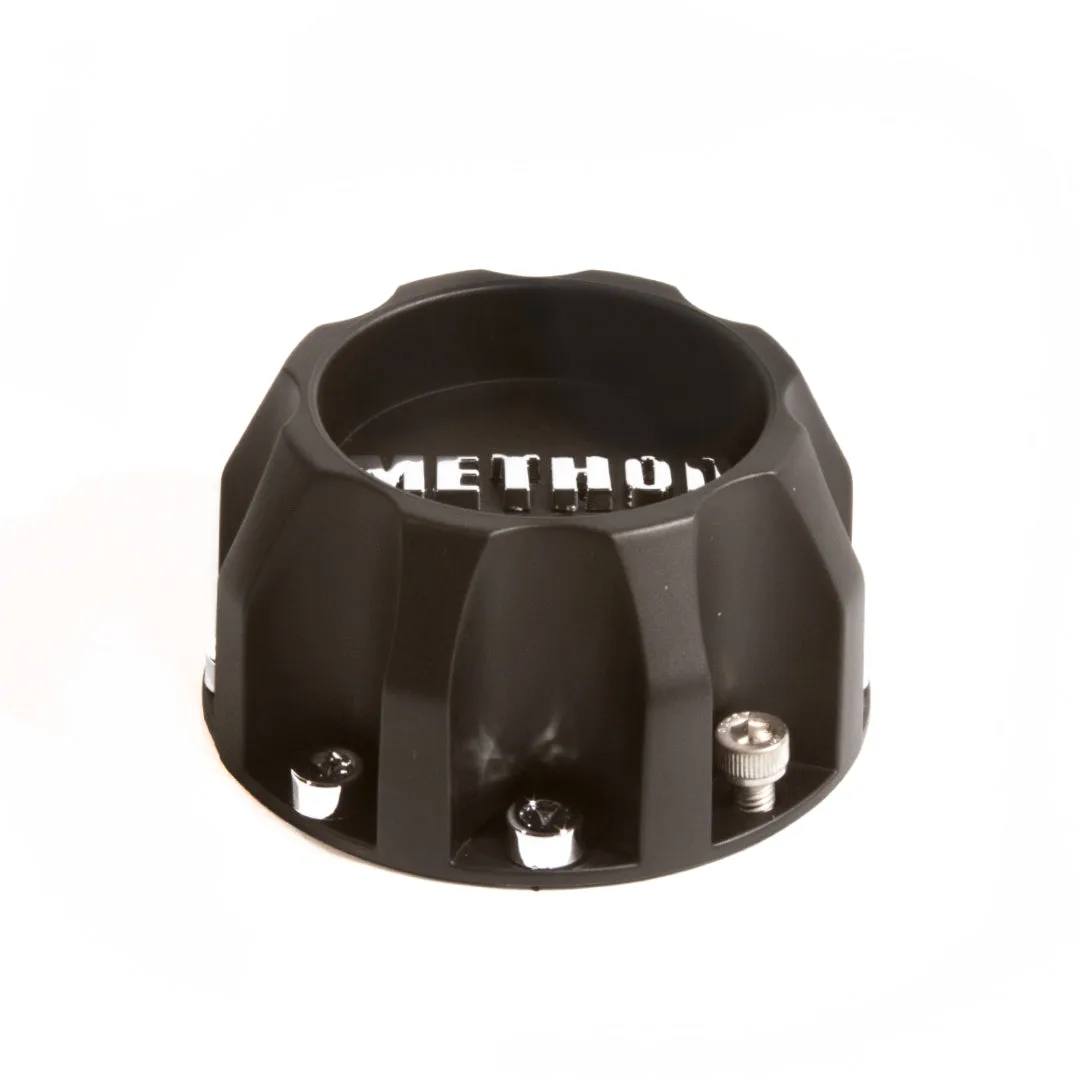
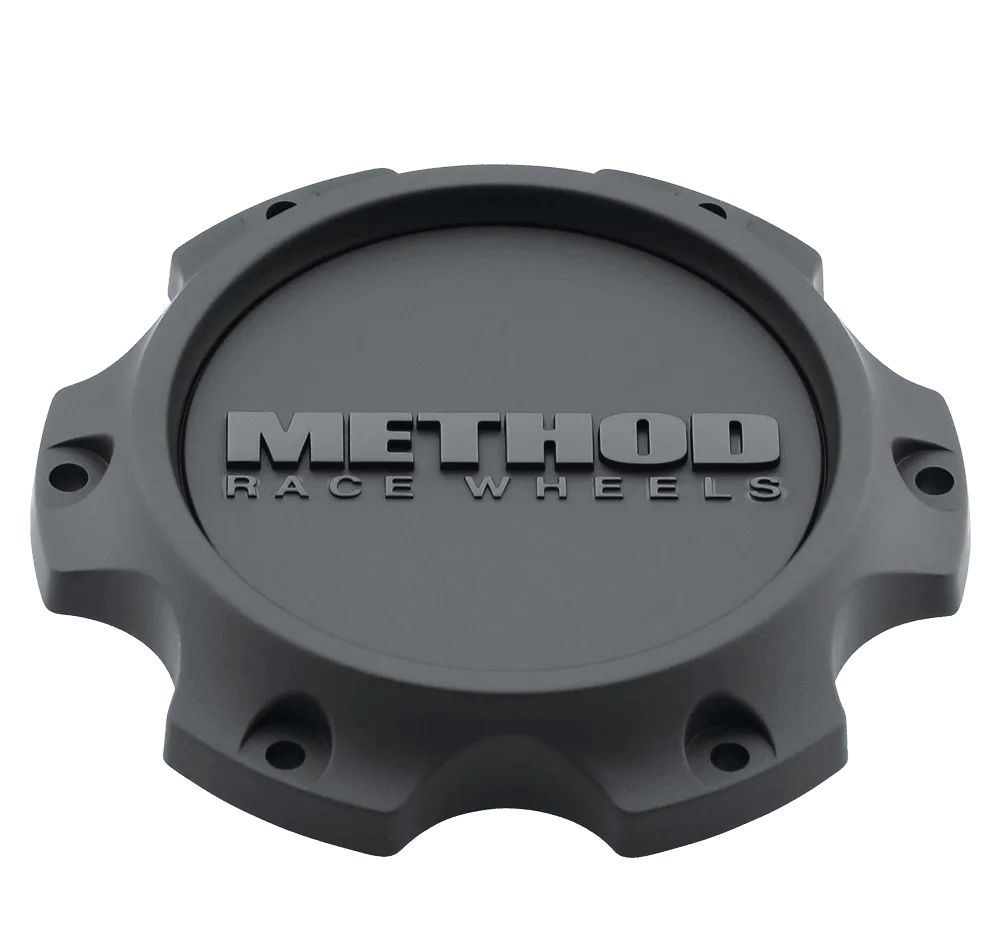
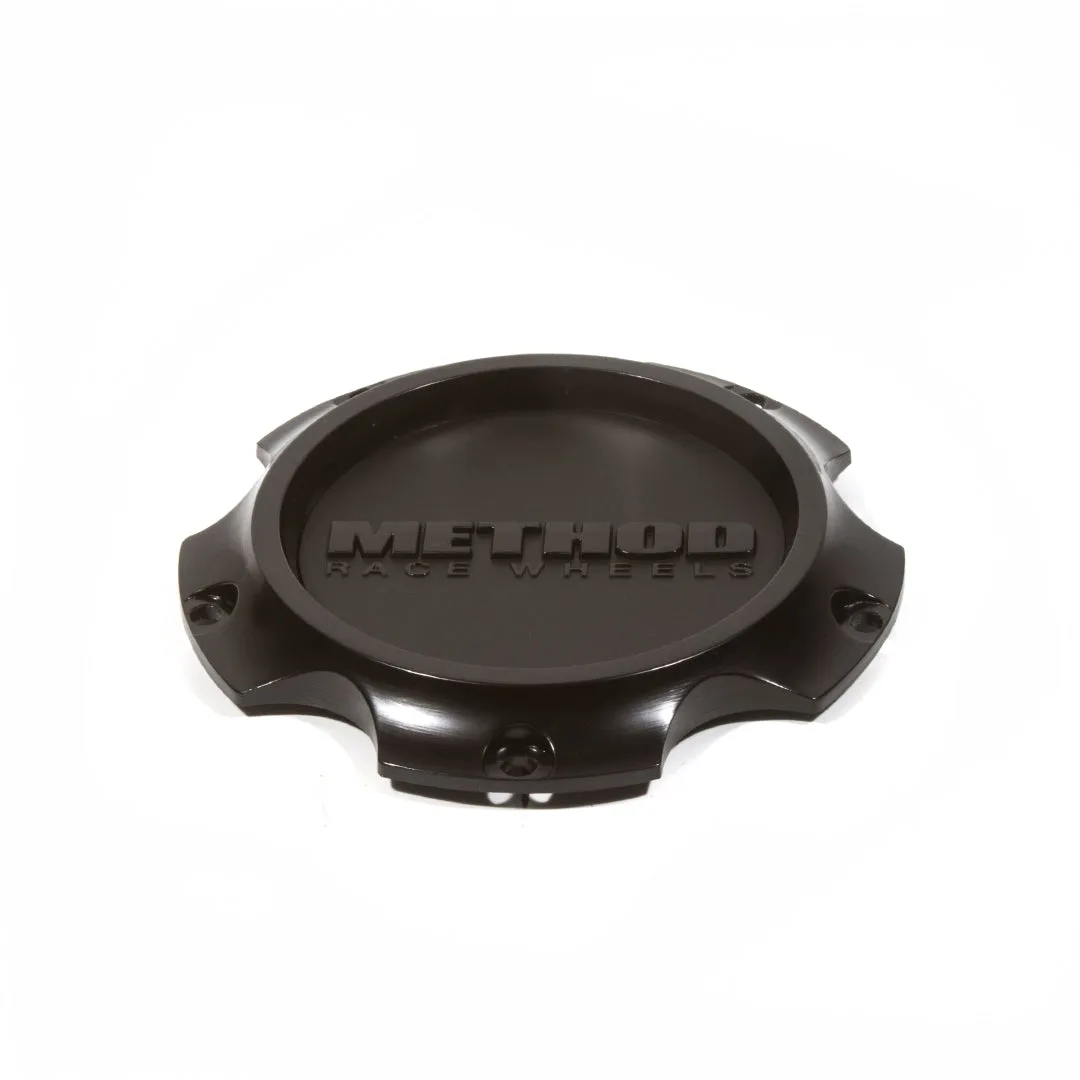
- https://methodracewheelsex.com/products/center-cap-screw-on-315-6713c797ea40dc37586877e9-2677539https://methodracewheelsex.com/products/center-cap-105-cp-t082l81-34d1a9e29005af642cf3f83e-2677585Center Cap | Screw-On | Black: This is the original screw-on replacement cap for the 315 wheel, and it can also replace caps on Method Standard wheels 310, 311, 312, 501, and 502. Center caps are easy to knock loose off-road. Knowing which cap fits your wheel lets you replace a missing one without buying a whole new wheel.
A 15-minute inspection after each off-road trip is the cheapest insurance you can buy for your wheels and tires. Work through the steps in order, fix what you find, and replace worn rings or caps before they turn into a trail failure. Your wheels will last longer, and you will spend less time fixing flats.