Quick answer
Install a 2G dimmer switch for 120W linear lighting by turning off power, identifying line and load wires, connecting the dimmer modules, and securing the metal plate. Ensure total load does not exceed 120W per gang to avoid overheating.
Understanding the 2G dimmer and load limits
A two-gang (2G) dimmer switch controls two separate lighting circuits from one wall plate. Each gang typically supports up to 120W for linear lighting, so the combined load across both gangs must not exceed 240W. Exceeding this can cause the dimmer to overheat or fail prematurely.
The Buster + Punch 2G DIMMER / 120W / LINEAR / BLACK is a solid metal switch with two rotary dimmer modules, designed for linear (LED) loads. Its brushed metal plate and signature linear knob provide a premium feel, but the installation process is similar to standard dimmers.
Tools and safety precautions
Before starting, gather a voltage tester, screwdrivers (flathead and Phillips), wire strippers, and electrical tape. Always turn off the circuit breaker and use a voltage tester to confirm power is off. Working on live circuits is dangerous and may damage the dimmer.
Step-by-step installation guide
- Turn off power and verify: Switch off the circuit breaker supplying the switch box. Use a voltage tester to confirm no voltage is present at the existing switch wires. Common mistake: assuming the wall switch alone cuts power — always test at the box.
- Remove the old switch and identify wires: Unscrew and pull out the existing switch. Identify the line (hot) wire (usually black or red) and the load wire (going to the light). In a 2G setup, you will have two sets of line and load wires — one for each gang. Label them clearly. Common mistake: mixing up line and load wires, which can cause the dimmer to malfunction. Use a multimeter or voltage tester if unsure; line wires are always live when the breaker is on.
- Connect the dimmer modules: For each gang, connect the dimmer's line wire to the line wire from the wall using wire nuts. Connect the dimmer's load wire to the load wire. If your dimmer has a ground wire (green or bare), connect it to the box's ground. The Buster + Punch dimmer uses solid metal construction, so grounding is essential for safety. Common mistake: leaving ground disconnected, which can lead to electric shock risk. Tighten wire nuts firmly and wrap with electrical tape for extra security.
- Mount the dimmer and attach the plate: Carefully push the wired dimmer modules into the gang box, ensuring wires are not pinched. Align the metal plate and secure it with the supplied screws. Attach the linear dimmer knobs and torx caps. Common mistake: overtightening screws, which can crack the plate or strip threads. Hand-tighten screws, then give a quarter turn with a screwdriver — no more.
- Restore power and test: Turn the circuit breaker back on. Test each dimmer by rotating the knob slowly. The lights should dim smoothly without flickering. If one gang does not work, turn off power and check wire connections. Common mistake: expecting instant full brightness — linear LEDs may take a moment to respond. If flickering occurs, ensure the LED bulbs are dimmable and within the 120W per gang limit.
Product facts
-
2G DIMMER / 120W / LINEAR / BLACK: This dimmer is part of the Custom Switches + Sockets collection, allowing future functional and aesthetic customization by swapping modules or changing the plate finish. You can upgrade or change the look of your dimmer without rewiring, making it a flexible choice for evolving spaces.
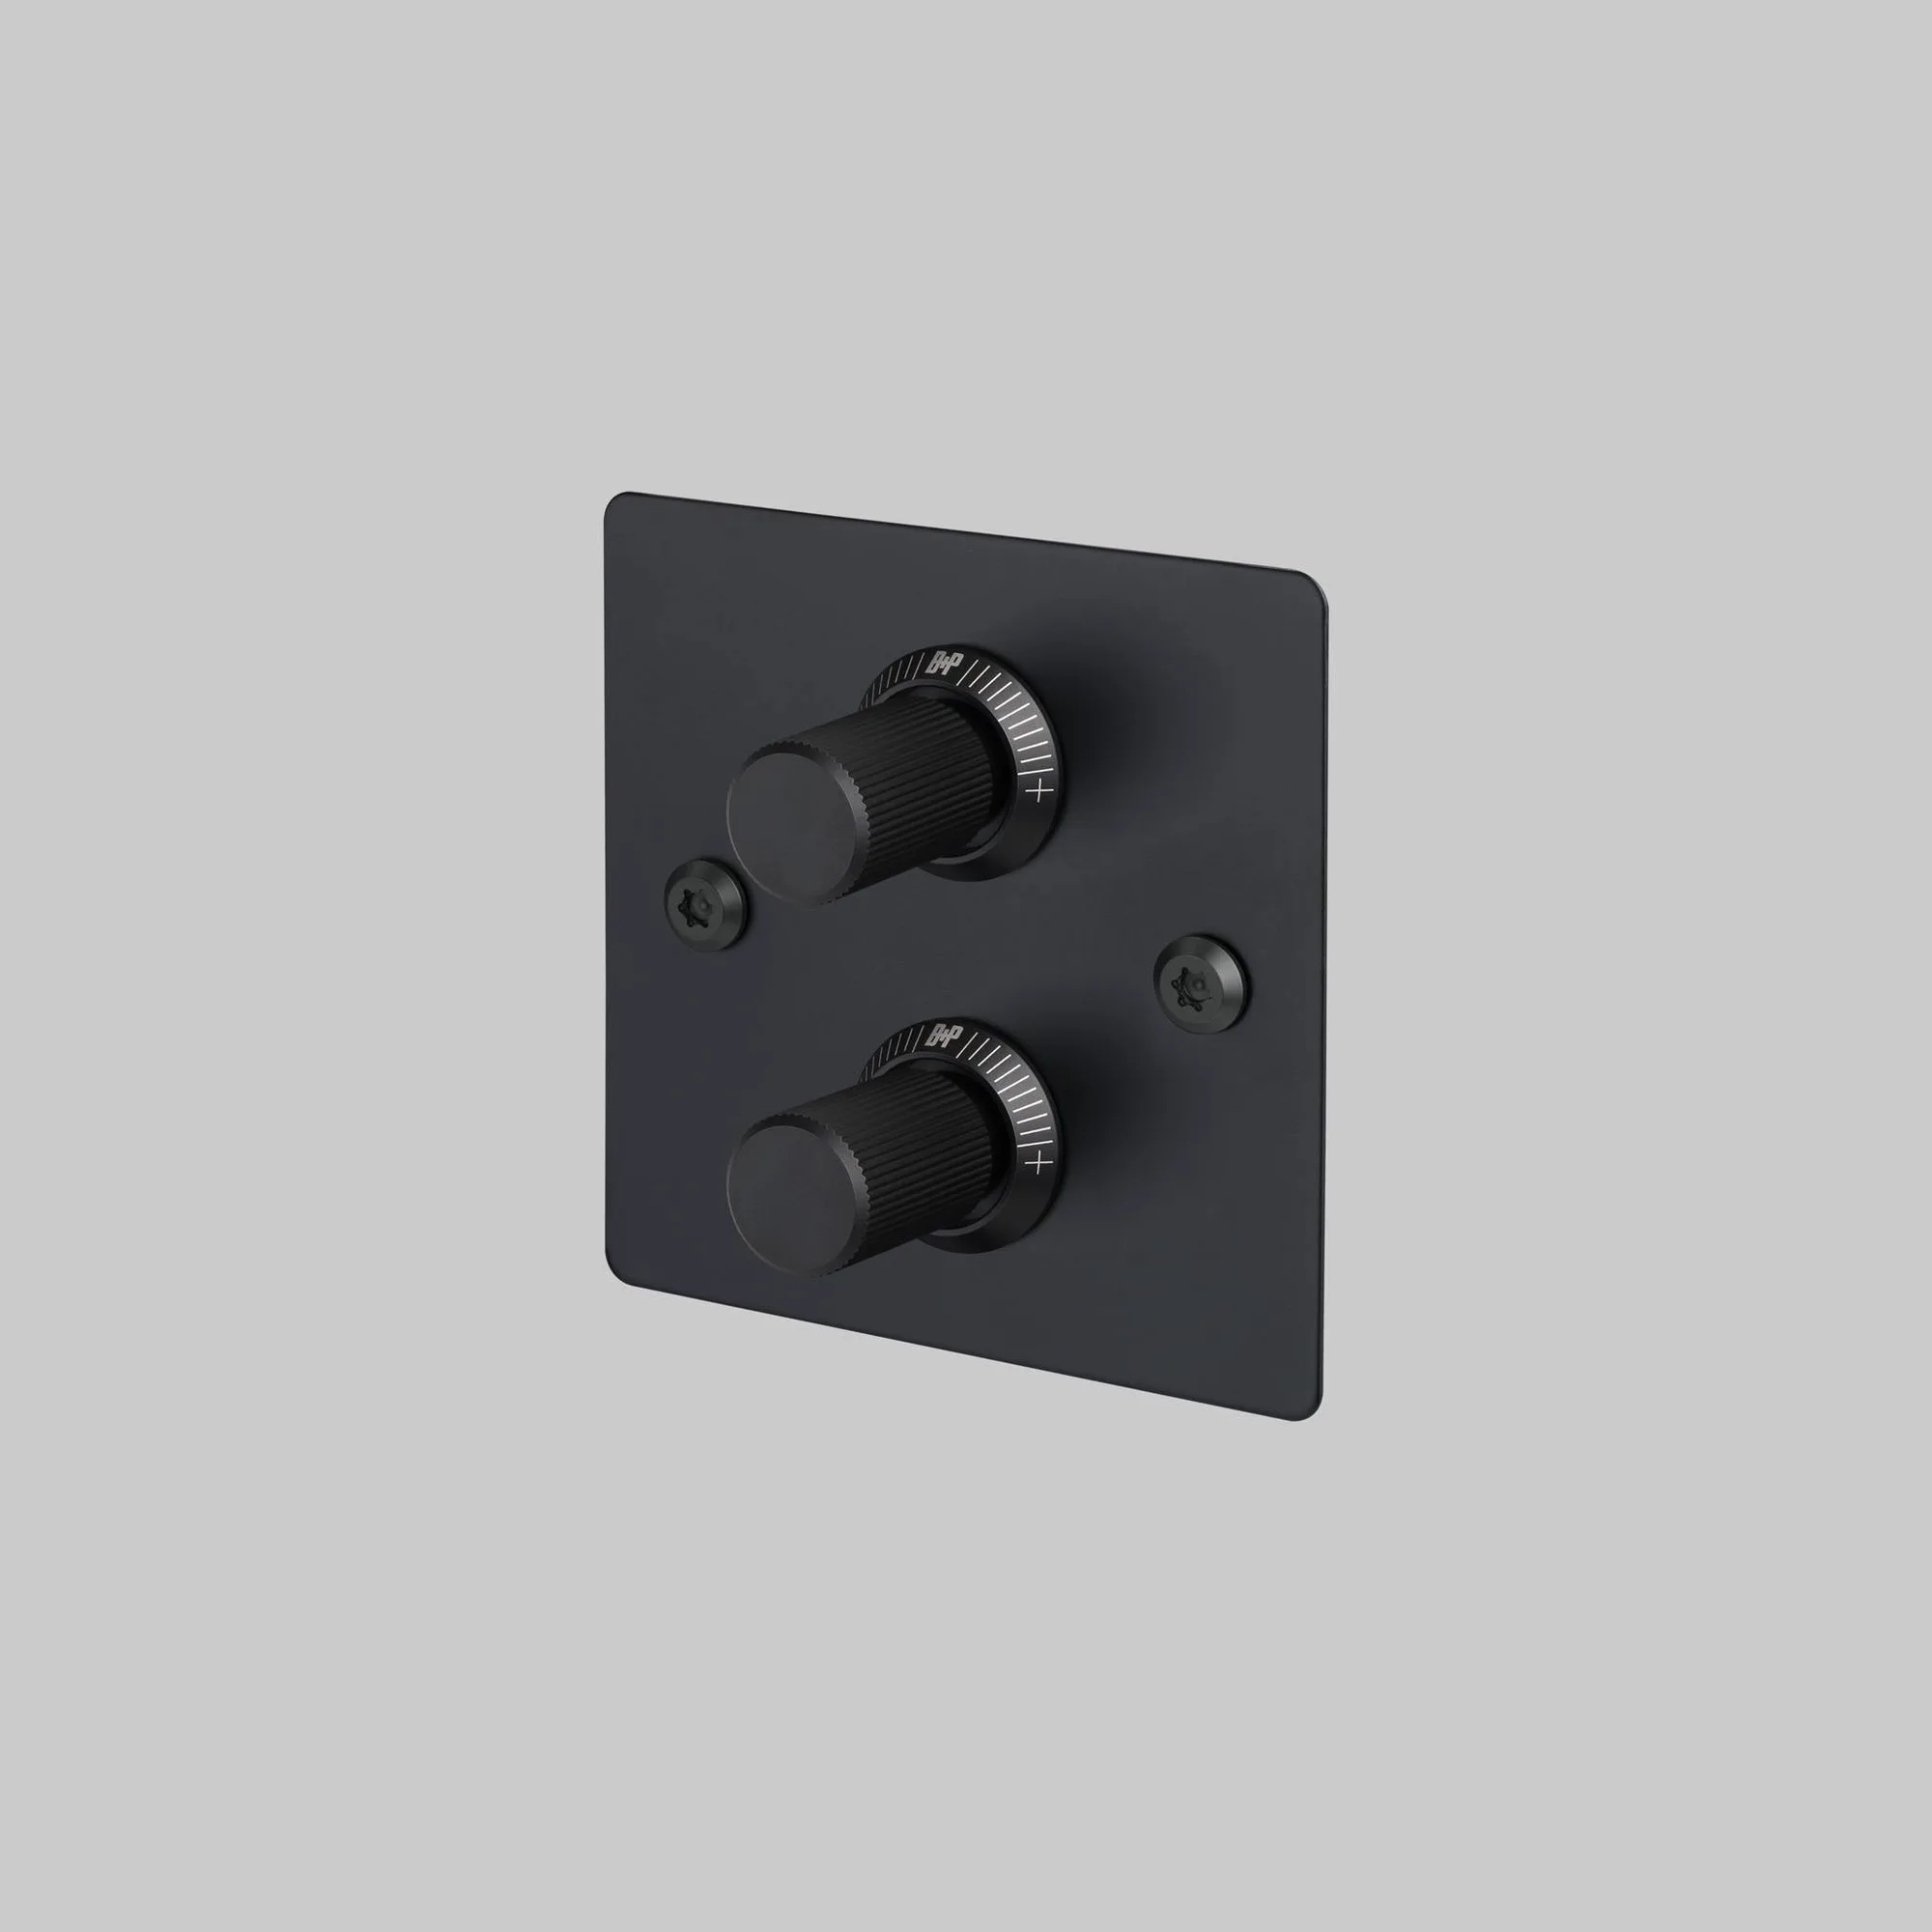
2G DIMMER / 120W / LINEAR / BLACK