Quick answer
Installing a 3G knurled dimmer switch requires a 35mm deep back box, correct wiring of the dimmer module, and careful plate alignment. This guide walks through each step with common pitfalls highlighted.
Before you start: back box depth and safety
A 3-gang dimmer switch like the KEPLER 3G Knurled Dimmer Light Switch needs a back box at least 35mm deep to accommodate the dimmer modules and wiring. A shallower box will cause the switch to protrude or overheat.
Always isolate the circuit at the consumer unit before touching any wires. Use a voltage tester to confirm the circuit is dead.
Why the KEPLER dimmer is different
The KEPLER dimmer uses auto-detect leading or trailing edge technology, which means it works with most dimmable LED bulbs without needing to set a mode. This simplifies wiring but requires correct load matching: check your bulb's wattage against the dimmer's rating.
The solid brass knurled dial is purely tactile; it does not affect wiring. Mount the plate flush to avoid scratching the finish.
Installation steps
- 1. Isolate power and remove old switch: Turn off the mains supply at the consumer unit. Remove the existing switch plate and carefully pull it forward to expose the wires. Take a photo of the current wiring for reference. Common mistake: forgetting to label wires. Use tape to mark each wire's function (live, neutral, switched live, earth).
- 2. Check and prepare the back box: Measure the back box depth. It must be at least 35mm for a 3-gang dimmer. If it's shallower, replace it before proceeding. Ensure the box is clean and free of debris. Common mistake: using a 25mm box. The dimmer modules will not fit, causing overheating or a loose plate.
- 3. Connect the dimmer module wires: Connect the live (brown) wire to the dimmer's L terminal, the switched live (black or blue with brown sleeve) to L1, and the neutral (blue) to the N terminal. If there is no neutral at the switch, you may need a different dimmer type. Common mistake: mixing up live and switched live. The dimmer will not work and may be damaged.
- 4. Secure the dimmer modules into the back box: Gently push the dimmer modules into the back box, ensuring wires are not pinched. Use the supplied screws to fix the modules to the box. Do not overtighten. Common mistake: forcing wires into the box. Fold them neatly to avoid stress on the terminals.
- 5. Attach the brass plate and knurled dials: Align the plate over the modules and secure with the screws. Push each knurled dial onto the spindle until it clicks. Rotate each dial to ensure smooth operation. Common mistake: cross-threading the screws. Start each screw by hand to avoid damaging the brass plate.
- 6. Restore power and test: Turn the mains back on. Test each dimmer by rotating the dial from off to full brightness. If a light flickers or does not dim smoothly, check the bulb compatibility and load. Common mistake: dimming non-dimmable LEDs. Only use dimmable bulbs with this switch.
Product details
-
KEPLER 3G Knurled Dimmer Light Switch - Brass: The KEPLER 3G Knurled Dimmer Light Switch in brass features a solid brass knurled dial and auto-detect leading or trailing edge dimming. Auto-detect means no manual mode switching for LED compatibility, but you must verify your bulbs are dimmable and within the rated load.
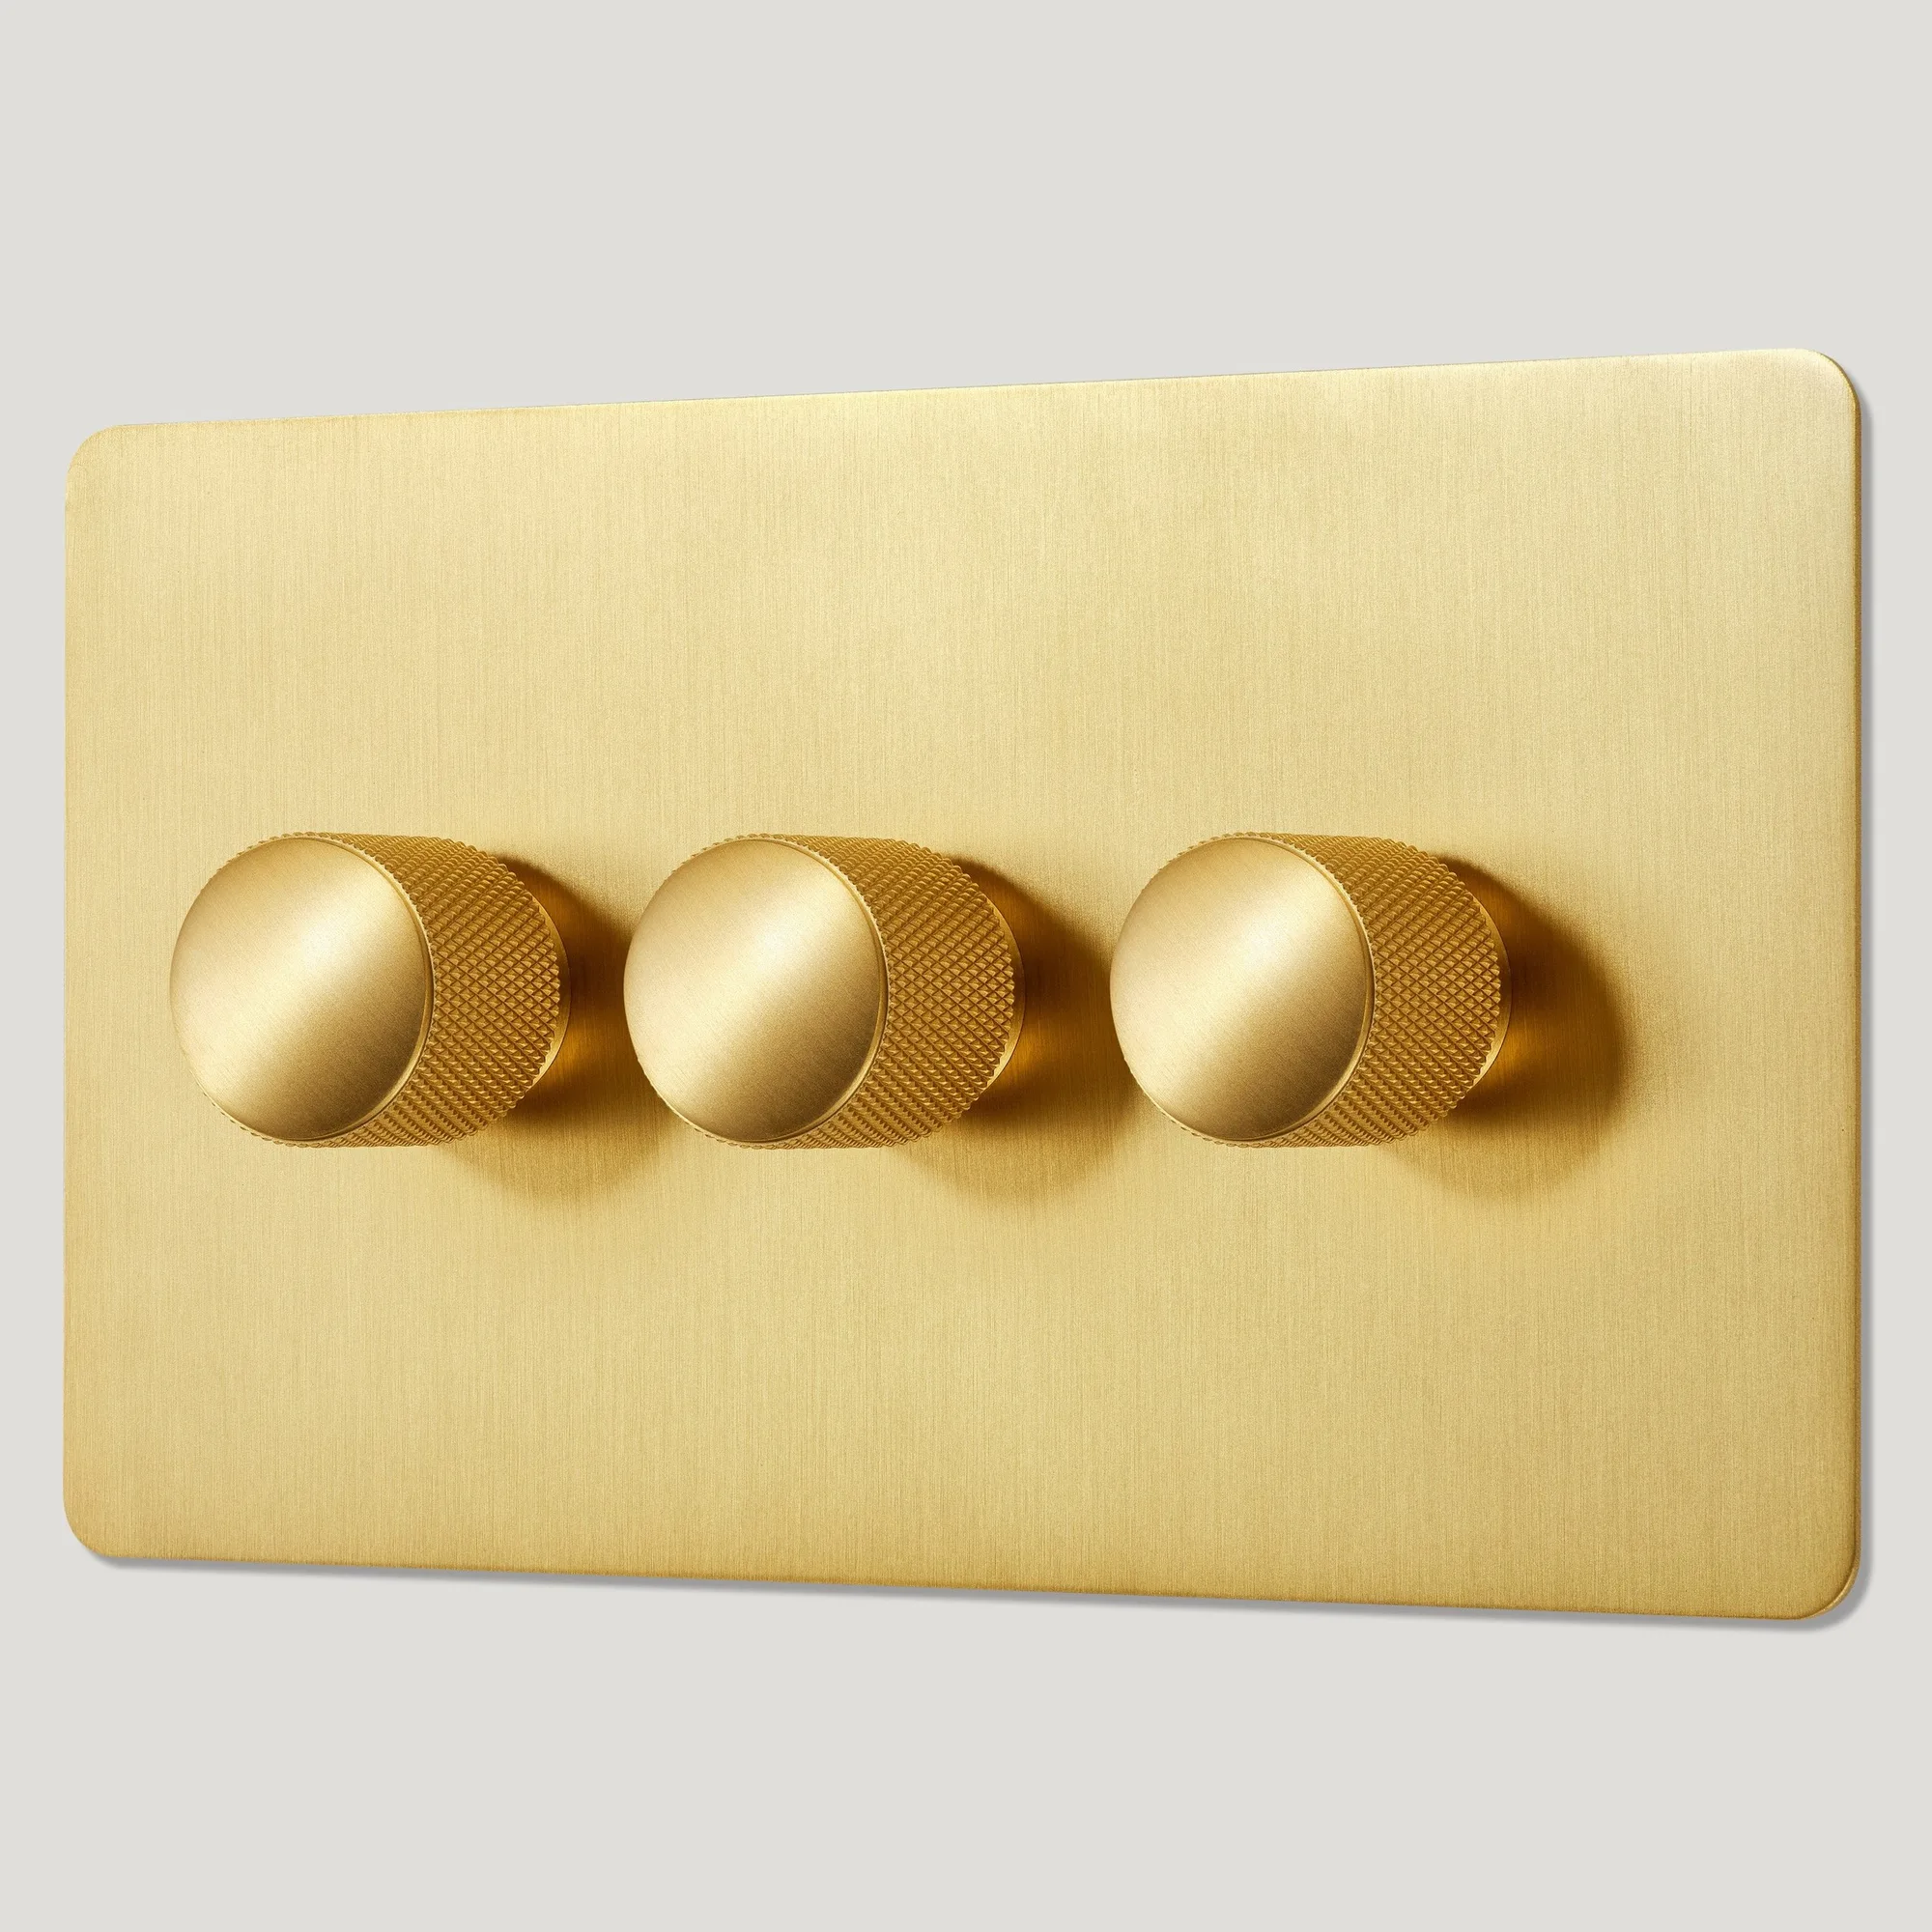
KEPLER 3G Knurled Dimmer Light Switch - Brass