Quick Answer
To install a base plate on a mini lathe or mill, align the plate with the mounting holes, secure it with the correct fasteners, and check for level before tightening fully.
Why a Properly Installed Base Plate Matters
A base plate provides a flat, stable foundation for your mini lathe or mill, reducing vibration and improving accuracy. A misaligned or loose plate can cause chatter, poor cuts, and inconsistent results.
Step-by-Step Installation
- 1. Prepare the Mounting Surface: Clean the bench top where the base plate will sit. Remove any debris, oil, or old adhesive. A clean surface prevents the plate from rocking.
- 2. Position the Base Plate: Place the base plate on the bench and align it with the mounting holes of your mini lathe or mill. Check that the holes line up exactly; misalignment here will cause binding. Common mistake: forcing the plate into position without checking alignment first.
- 3. Insert and Tighten Fasteners: Insert the bolts or screws through the base plate into the machine's mounting holes. Tighten them by hand first, then use a wrench or driver to snug them evenly in a crisscross pattern. Over-tightening can strip threads or warp the plate. Stop once the plate is firm and level.
- 4. Check for Level: Place a machinist's level across the base plate in both directions. If it is not level, loosen the fasteners, adjust with shims if needed, and retighten.
- 5. Final Tightening and Test: Once level, give each fastener a final quarter turn. Mount your mini lathe or mill and run it at low speed to check for unusual vibration. If vibration persists, recheck alignment and fastener torque.
Product Facts
-
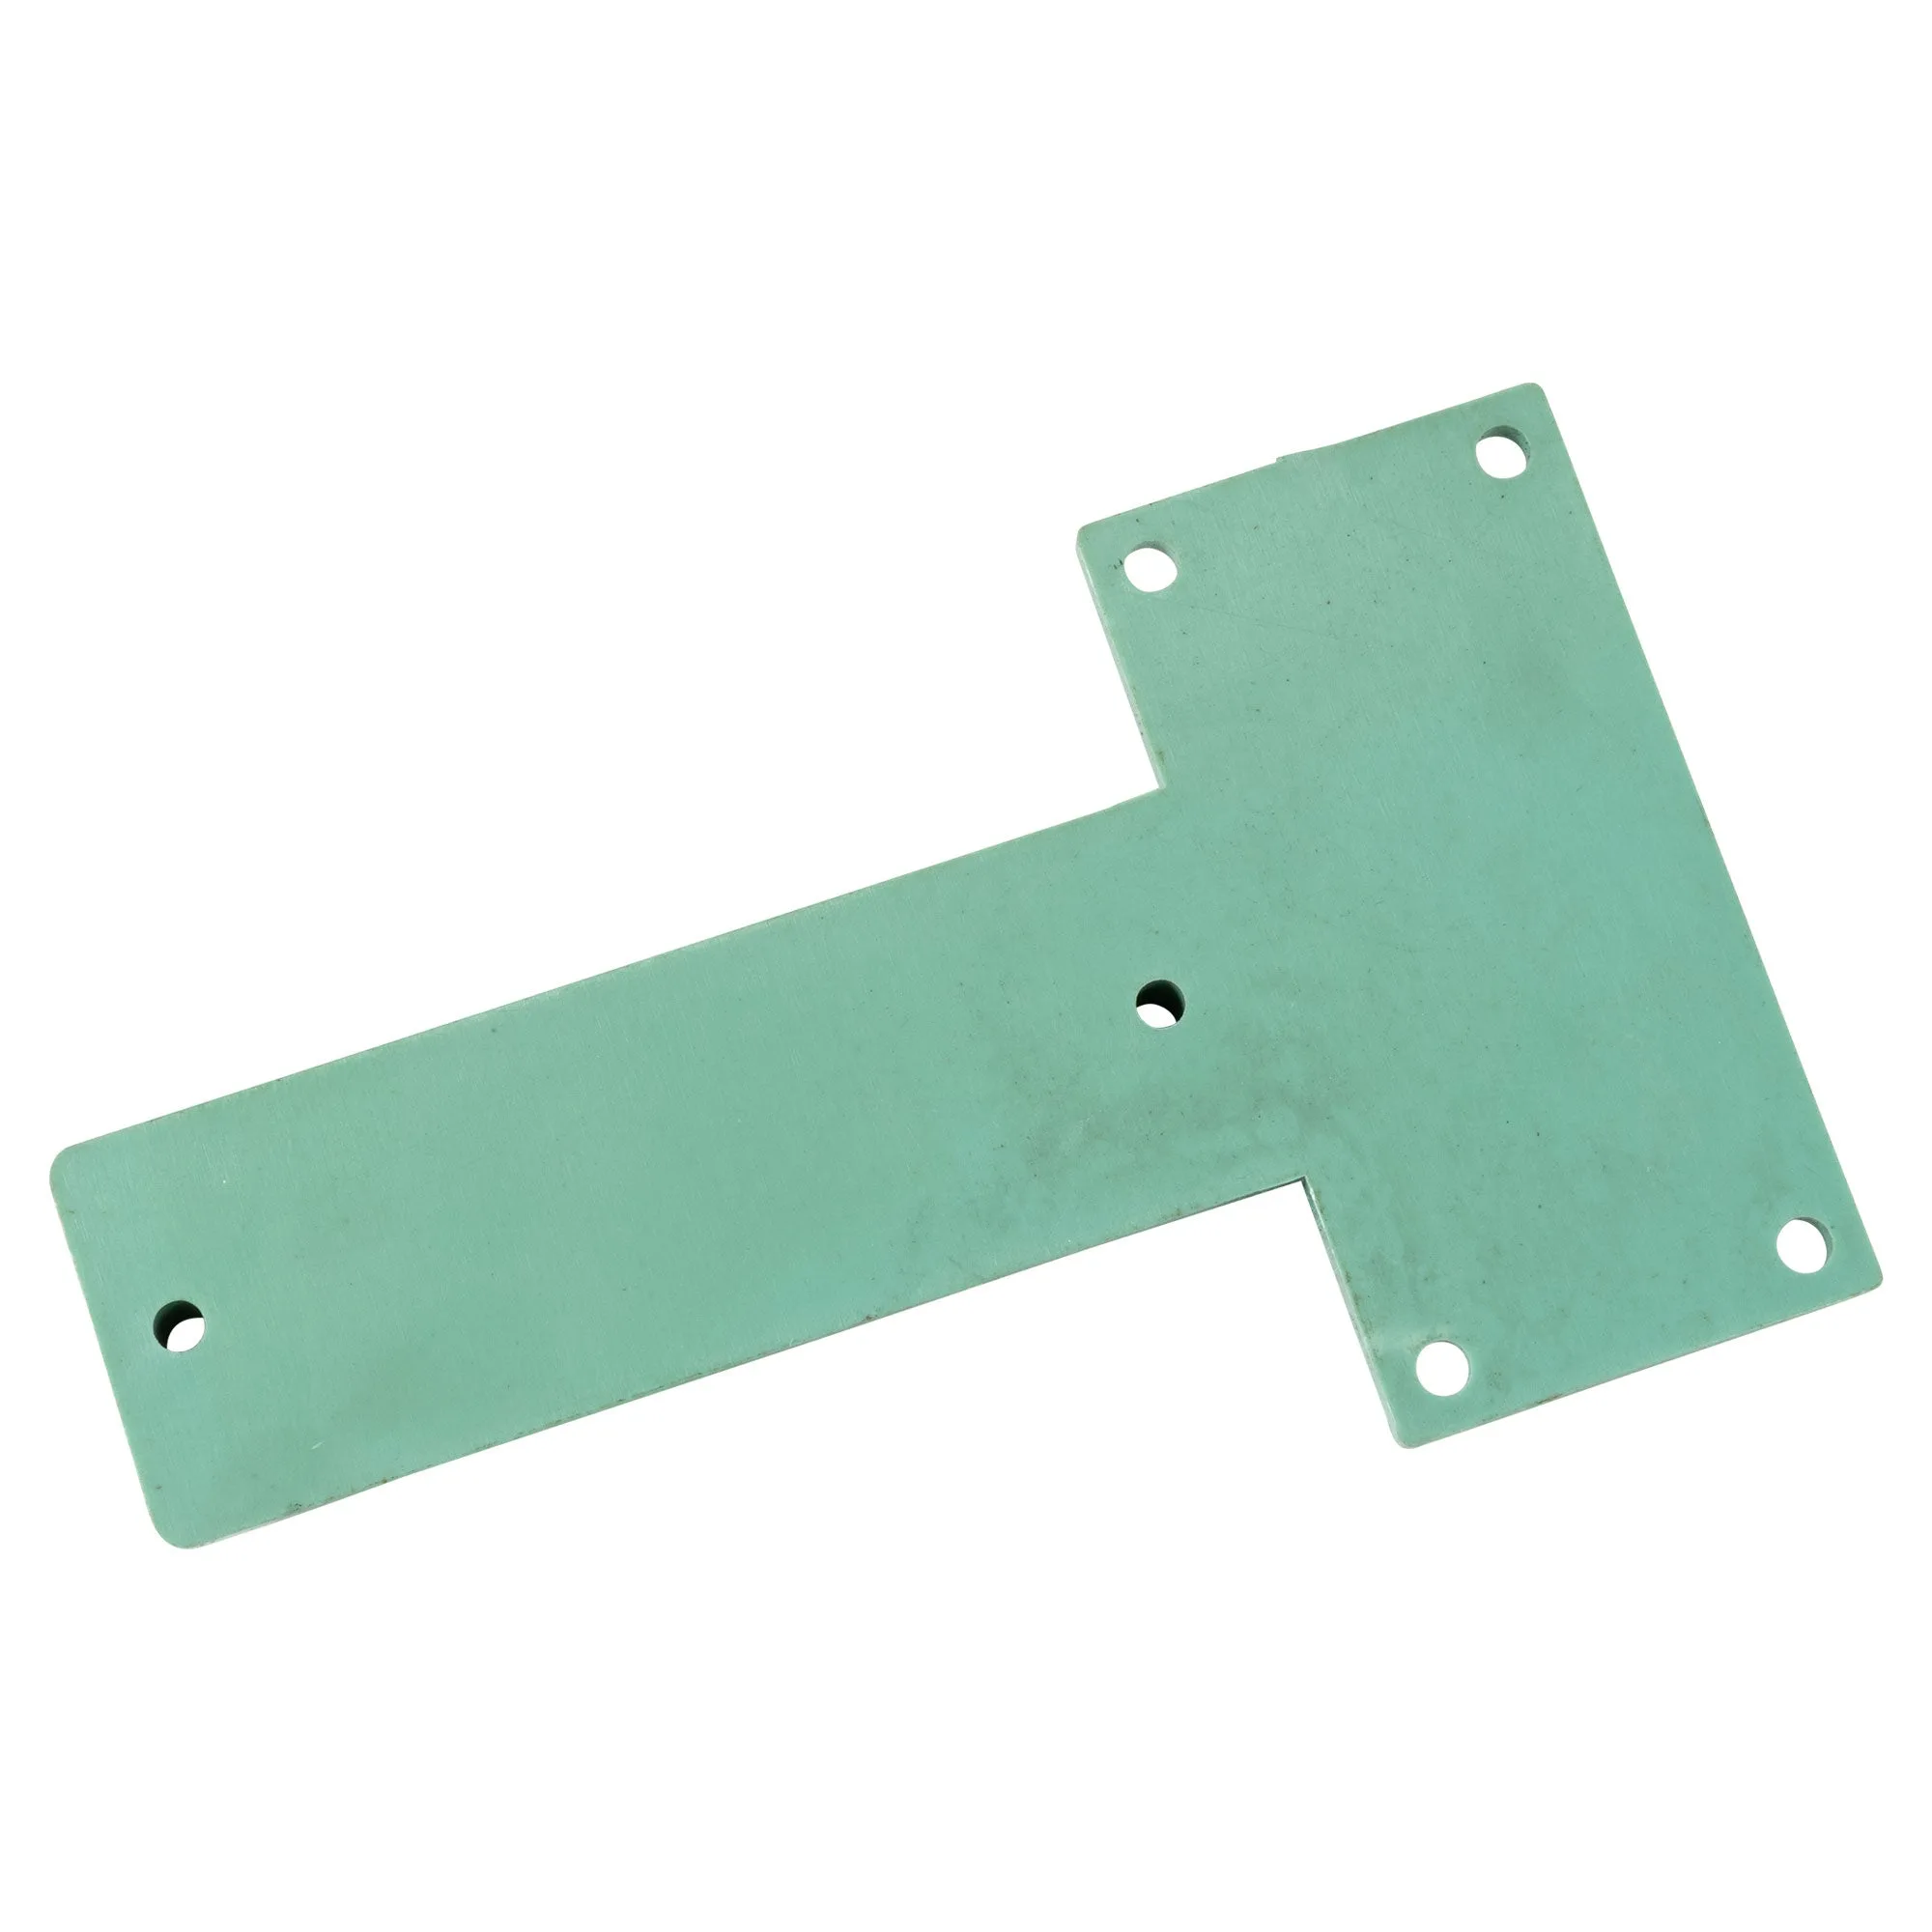
Base plate: The Base Plate from Sieg Industrial Group is designed for bench top machining use and is offered by LittleMachineShop.com with a catalog reference of 6570-D39 and SKU 6502. Its specific fit ensures that your mini lathe or mill sits securely without wobble, directly improving machining precision.
Base plate