Quick Answer
You can install most front mudguards in about five minutes with just a hex key or a screwdriver. The key is matching the mount to your fork type and tightening in the right order.
Before You Start: Know Your Fork
Front mudguards attach differently depending on your fork. Rigid forks usually have a small eyelet on the back of the fork crown. Suspension forks vary more — some have a single bolt under the arch, others have threaded inserts near the dropout, and reverse-arch designs need a mount that wraps around the fork. Check your fork before buying a mudguard. The Topeak Defender M1 is designed for standard forks including reverse-arch designs, while the Syncros Essential Fork Fender is built specifically for suspension forks.
Choosing Between a Full Guard and a Fork Fender
Full mudguards like the Topeak Defender M1 wrap around more of the wheel and offer better spray protection, especially on wet roads. They are stiffer and more durable, with a comolded flexible trailing edge. Fork fenders like the Syncros Essential Fork Fender are smaller, lighter, and clip directly onto the fork legs. They keep mud off your face and frame but don't protect riders behind you as well. Pick a full guard for commuting or road riding; pick a fork fender for trail riding where weight and clearance matter more.
Step-by-Step Installation
- 1. Position the Mudguard Against the Wheel: Hold the mudguard so it sits centered over the front tire, with the trailing edge close to the tire surface (about 5 mm gap). For a fork fender, slide it between the fork legs from behind, then rotate it into position above the tire. The gap should be even on both sides — an uneven gap means the mudguard is crooked.
- 2. Attach the Mounting Brackets: For full guards, slide the included brackets around the fork legs or into the fork crown eyelet. Tighten the bolts finger-tight only. For fork fenders, thread the straps through the slots and wrap them around the fork legs, then feed the strap end back through the buckle. Over-tightening the bolts now can crack the bracket or strip the thread. Leave them loose until the mudguard is aligned.
- 3. Align and Tighten All Fasteners: Check the mudguard is centered and the gap to the tire is consistent. Tighten the crown bolt first, then the fork leg brackets. For strap-style fenders, pull the strap snug but not so tight that it deforms the fork leg. Spin the wheel after tightening to make sure nothing rubs. If it rubs, loosen and adjust the position.
Products That Make Installation Easier
-
Topeak Defender M1 26inch Front Mudguard: The Topeak Defender M1 uses a quick-release attachment system that integrates with the front of the bike, compatible with all standard front forks including reverse arch designs. The quick-release system lets you install or remove the mudguard in seconds without tools, making it ideal if you only want a guard for wet days.
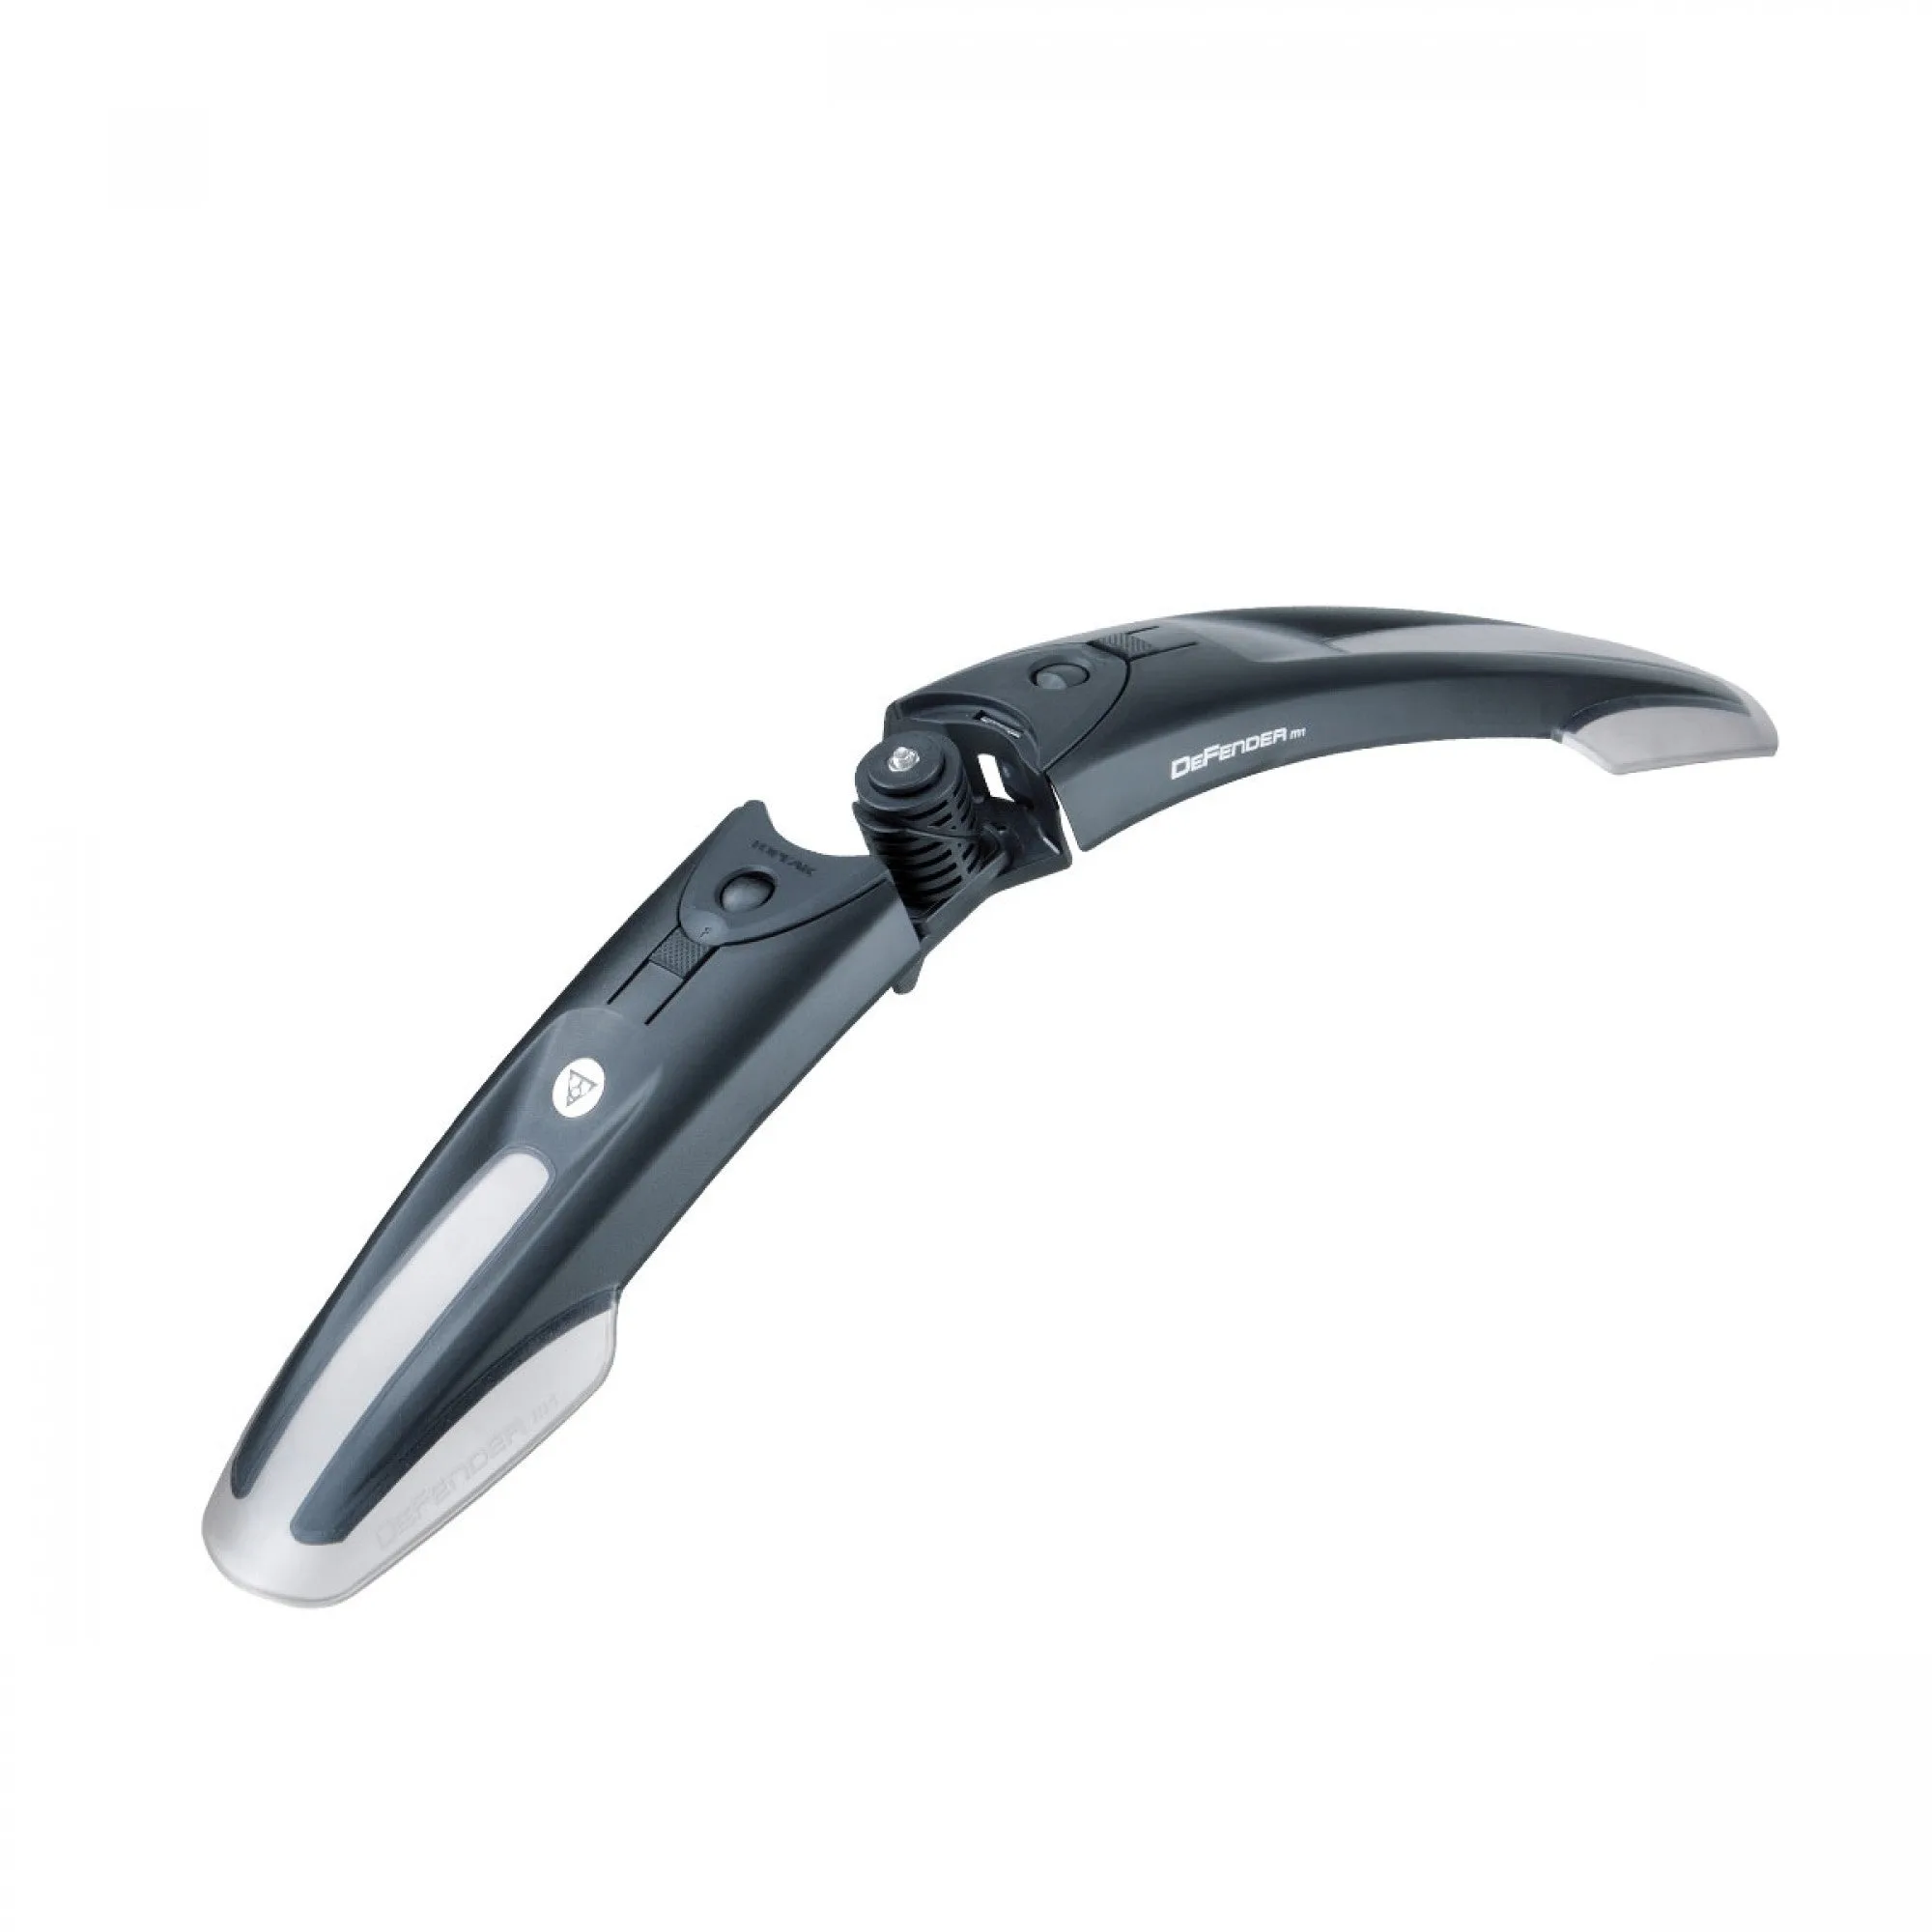
Topeak Defender M1 26inch Front Mudguard
-
Syncros Essential Fork Fender: The Syncros Essential Fork Fender is designed specifically for suspension forks to keep you and your frame clean. If you ride a mountain bike with a suspension fork, this fender clips on without needing eyelets, so it works even on forks without dedicated mounts.
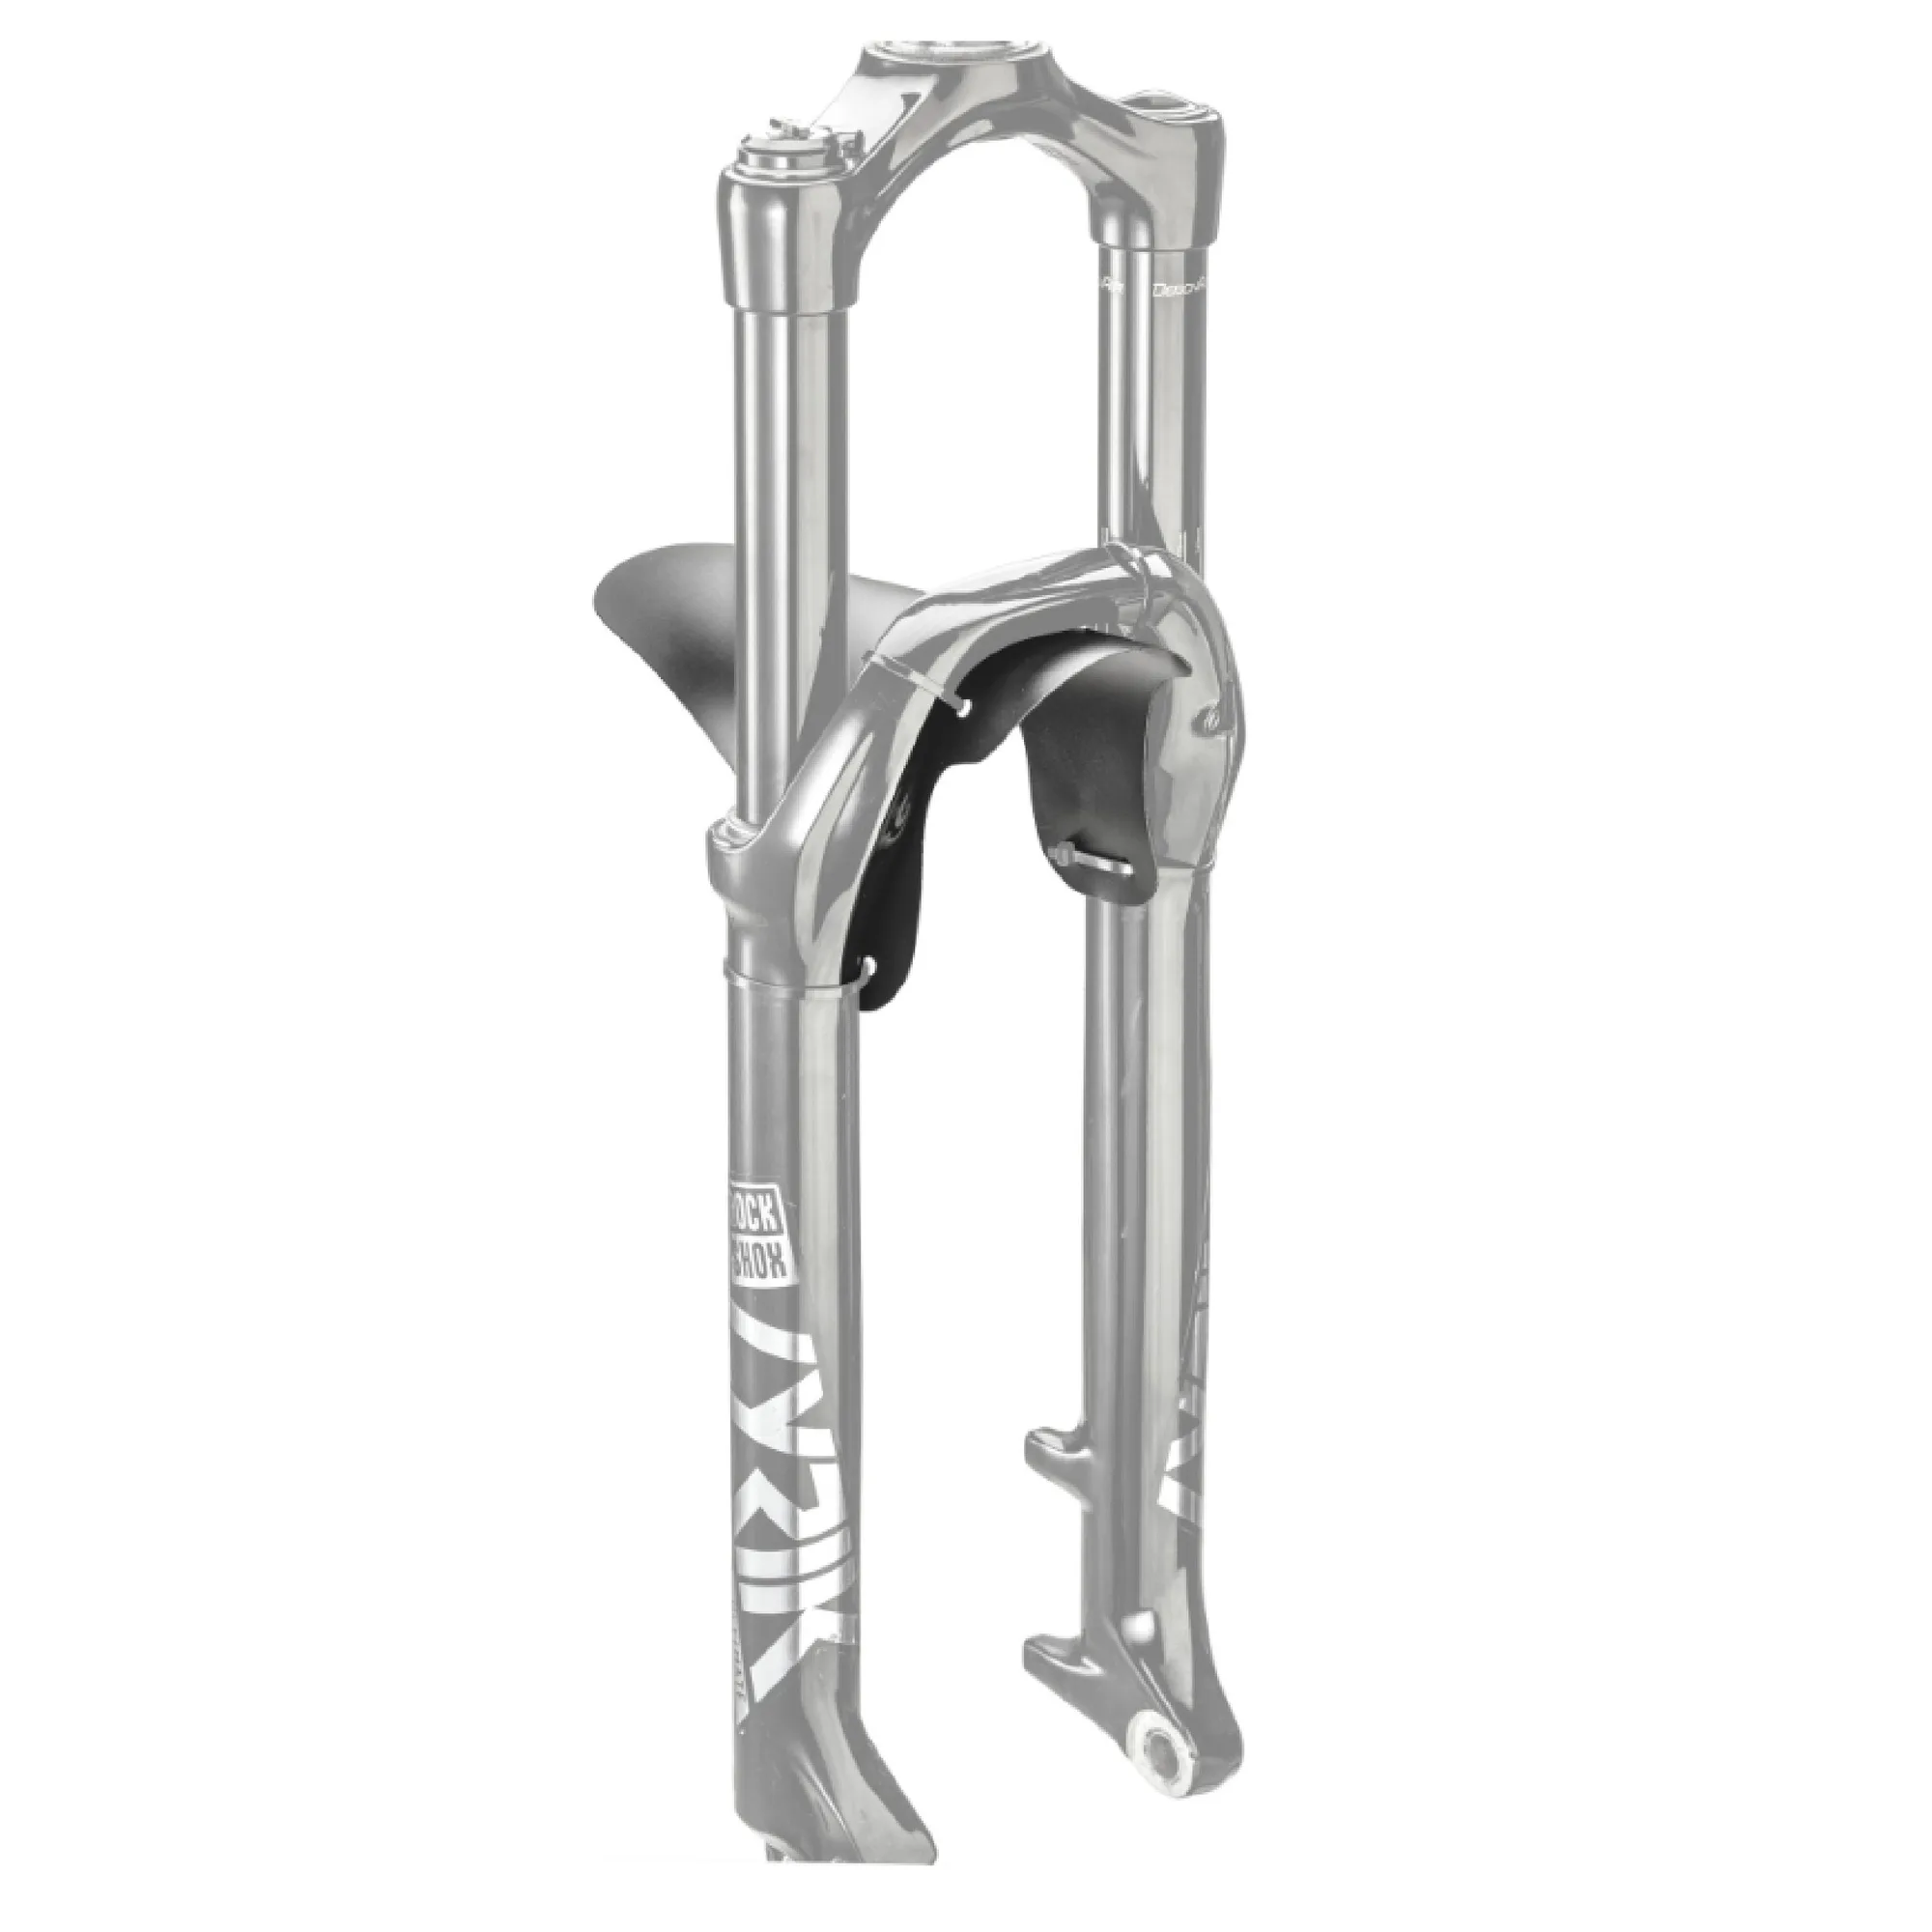
Syncros Essential Fork Fender