Quick Answer
To install a sloped ceiling mount bracket for a ceiling fan, first confirm your ceiling angle is 45 degrees or less, then securely attach the bracket to the ceiling joist using the included hardware. The Sofucor Steel Sloped Ceiling Mount Bracket is a durable, universal option that works with most standard downrods.
Why Use a Sloped Ceiling Mount Bracket?
Standard ceiling fan brackets are designed for flat ceilings. On a sloped or angled ceiling, a standard bracket can cause the fan to hang unevenly, leading to wobbling, noise, and premature wear. A sloped ceiling mount bracket compensates for the angle, keeping the fan motor and blades level for smooth operation.
The Sofucor Steel Sloped Ceiling Mount Bracket is specifically designed for ceilings angled up to 45 degrees. Its durable steel construction with anti-rust coating ensures long-lasting performance, even in humid environments like covered patios or bathrooms.
What You Need Before Starting
Before you begin, gather the following: a sloped ceiling mount bracket (like the Sofucor Steel Sloped Ceiling Mount Bracket), a compatible ceiling fan with a 1.04-inch diameter downrod (note: the bracket does not include a downrod), a screwdriver or drill, a level, and a helper to hold the fan during installation.
Make sure you have access to the ceiling joist or a suitable support structure. The bracket must be anchored to a solid structural member to safely support the weight of the fan.
Step-by-Step Installation Guide
- 1. Turn Off Power and Prepare the Ceiling: Switch off the circuit breaker to the room. Remove any existing light fixture or fan. Use a stud finder to locate a ceiling joist where you will mount the bracket. Mark the center of the joist. Common mistake: failing to turn off power at the breaker, not just the wall switch. Always double-check with a voltage tester.
- 2. Attach the Sloped Ceiling Mount Bracket: Position the Sofucor bracket over the ceiling joist so its mounting holes align with the joist. Use the included screws to secure the bracket firmly. Use a level to ensure the bracket is plumb (vertical) relative to the floor, not the ceiling slope. Common mistake: aligning the bracket with the ceiling slope instead of leveling it. This will cause the fan to hang crooked. Always use a level.
- 3. Install the Downrod and Fan Motor: Thread the fan's downrod through the bracket's opening. Attach the downrod to the fan motor following the fan's instructions. With a helper, lift the fan and hook the downrod ball into the bracket's slot. Ensure the ball is fully seated and the locking pin is engaged. Common checkpoint: verify the downrod diameter matches the bracket (1.04 inch). The Sofucor bracket is universal for this size, but always confirm compatibility.
- 4. Wire the Fan and Secure the Canopy: Connect the fan's wiring to the house wiring (black to black, white to white, ground to ground). Tuck wires neatly into the bracket. Slide the canopy up to cover the bracket and secure it with the provided screws. Common mistake: leaving excess wire that prevents the canopy from sitting flush. Trim or coil wires carefully.
- 5. Test the Fan and Check for Wobble: Restore power at the breaker. Turn on the fan using the remote or pull chain. Observe for any wobbling at low and high speeds. If wobble occurs, double-check that the bracket is level and all screws are tight. Common checkpoint: a slight wobble after installation often means the bracket is not perfectly level. Re-check with a level and adjust if needed.
Product Facts
-
Sofucor Steel Sloped Ceiling Mount Bracket: Fits sloped ceilings up to 45 degrees. Made of durable steel with anti-rust coating. Universal size works with most 1.04 inch diameter downrods. This bracket ensures your fan hangs level on angled ceilings, preventing wobble and extending fan life. The anti-rust coating makes it suitable for damp locations.
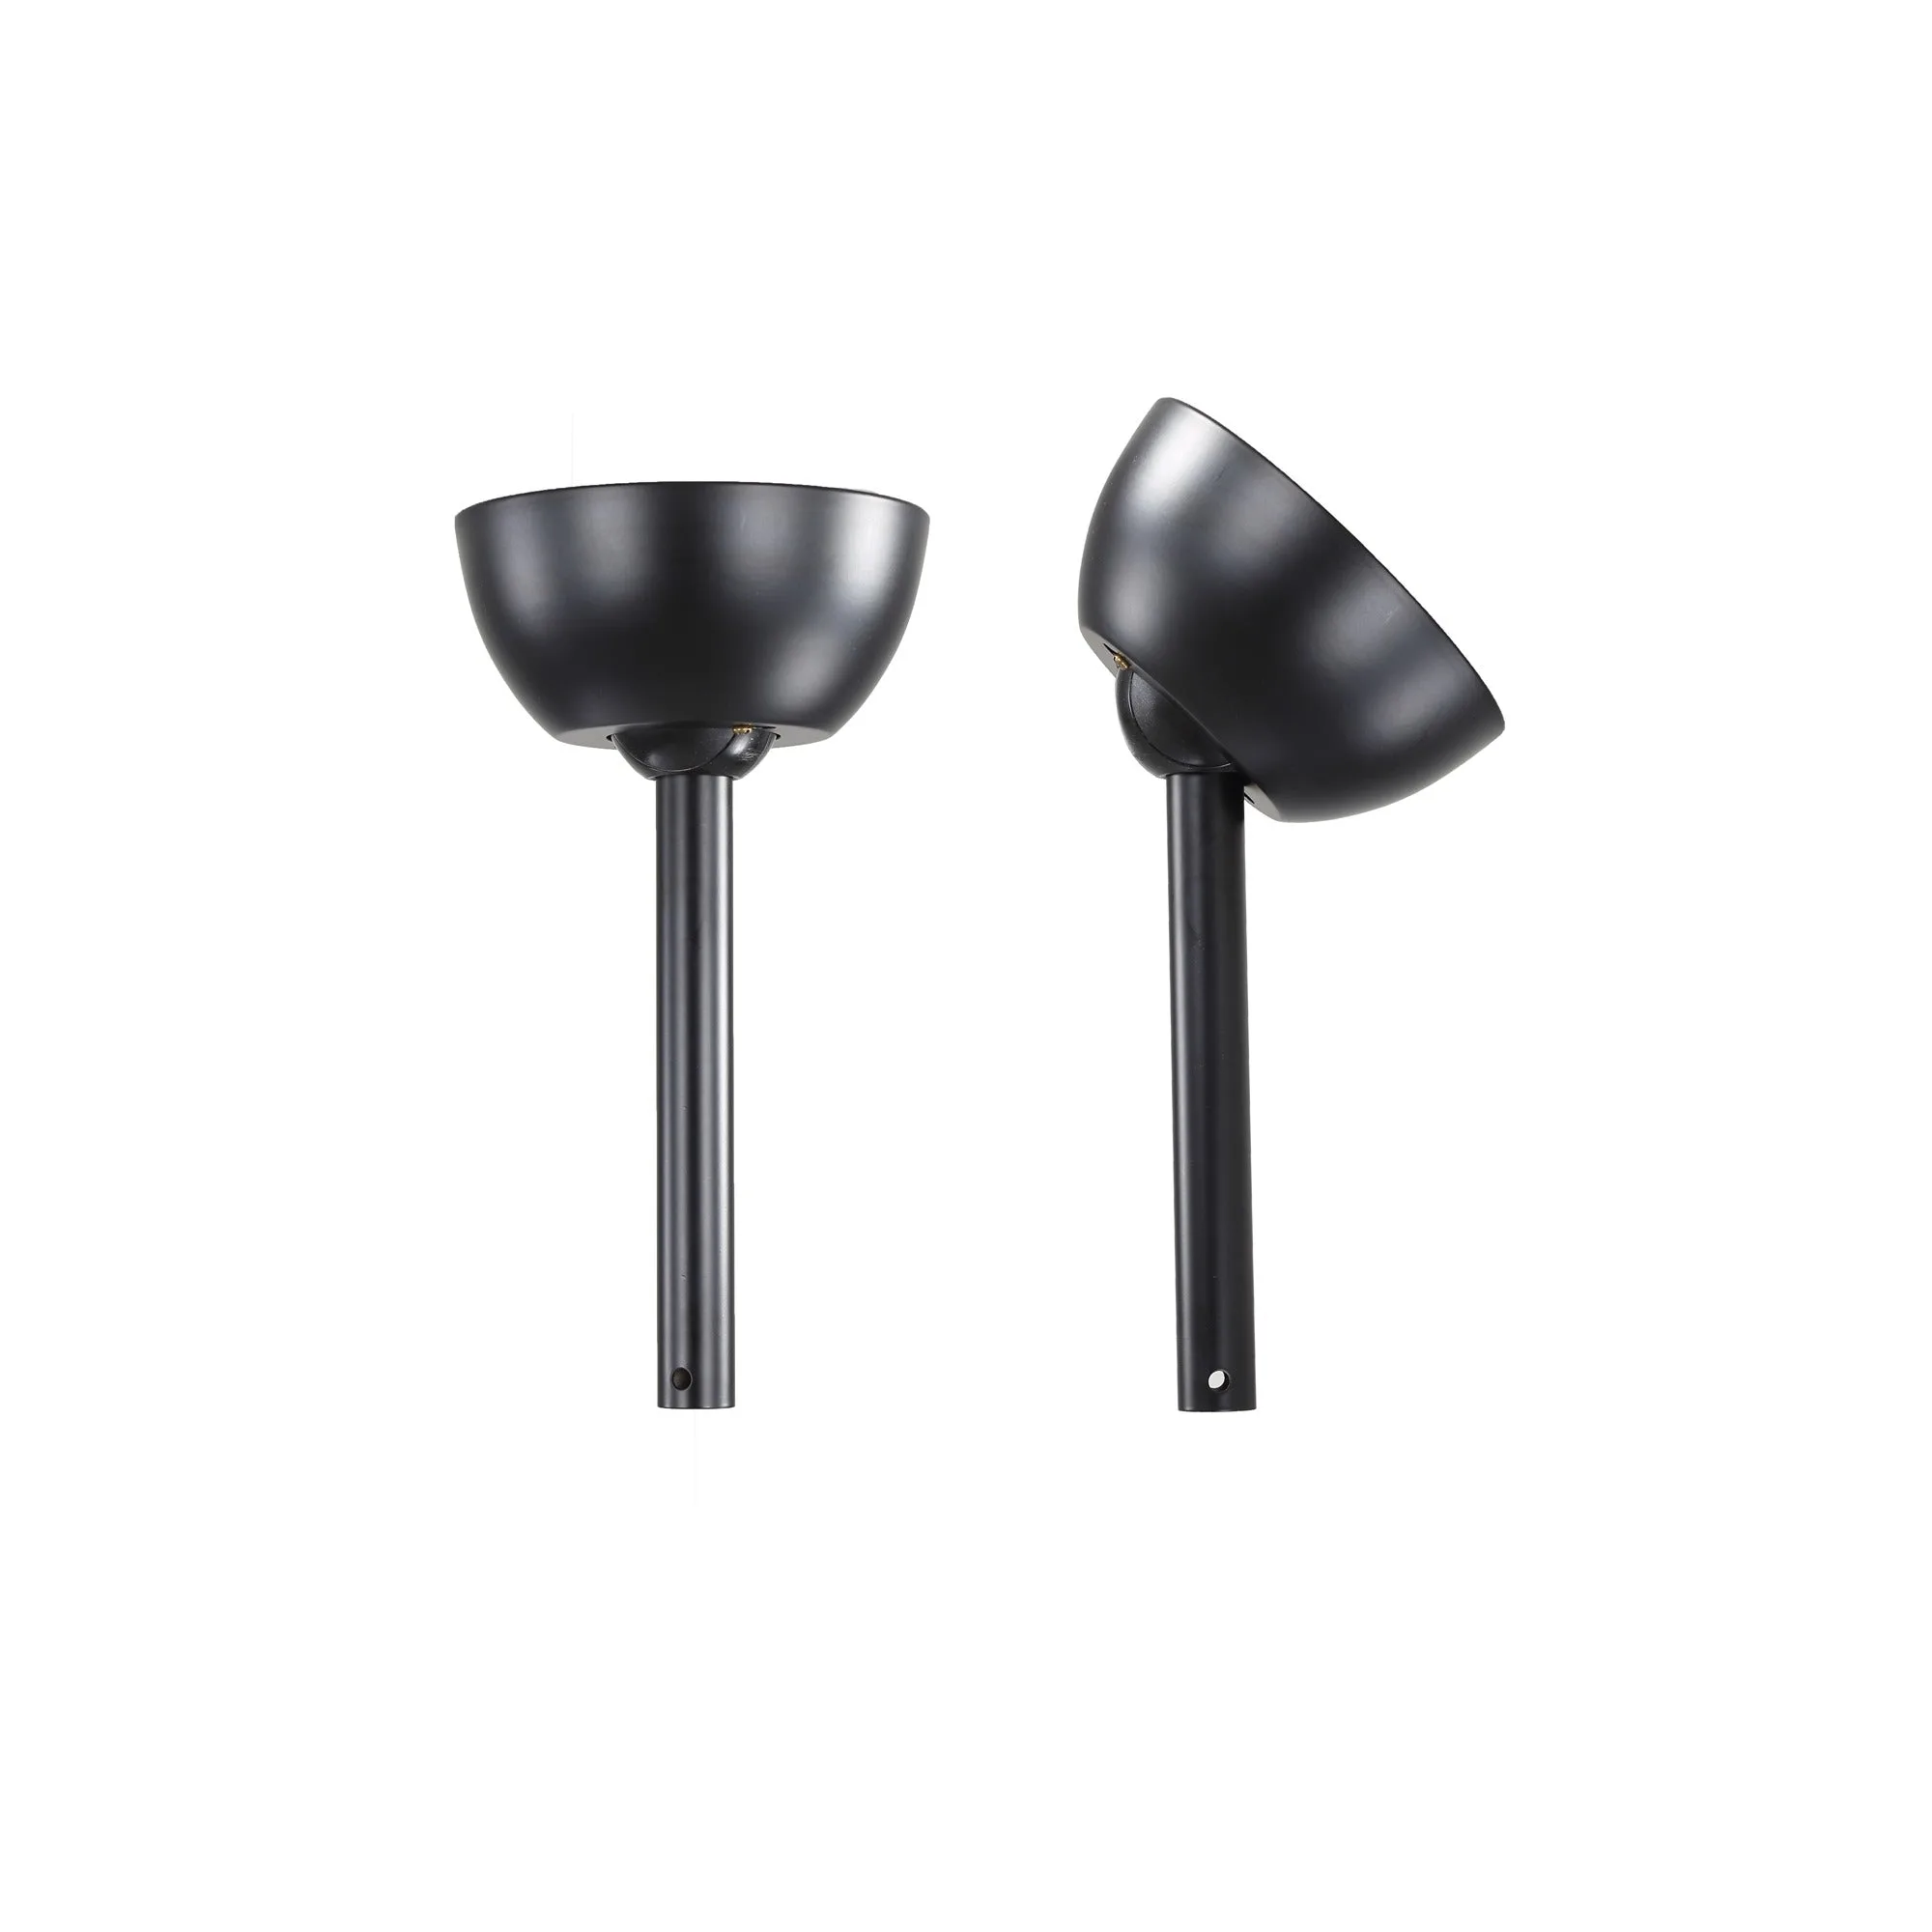
Sofucor Steel Sloped Ceiling Mount Bracket