Quick answer
Installing a truck top lifter takes about an hour with a helper. The key steps are mounting the rails securely to your camper shell, attaching the lifter brackets, and lifting evenly to avoid damage.
Before you start: check your rail system
The Garage Smart Truck Top Lifter connects to your camper shell through cargo rack rails. If your topper already has Yakima or Thule rails installed, you can choose the kit without rails. If not, you will need the version that includes mounting rails. Measure the spacing of your existing rails or plan where to install new ones—the brackets must align with the lifter arms for a balanced lift.
Installation steps
- 1. Prepare your workspace and gather tools: Clear the garage floor and make sure the truck is parked on level ground. You will need a socket set, a torque wrench, and a helper. Remove any loose items from the truck bed and camper shell. Common mistake: forgetting to clear the bed can cause the shell to shift during lifting.
- 2. Attach the mounting rails to the camper shell: If your kit includes rails, position them on the camper shell roof according to the manufacturer's spacing instructions. Use the provided bolts and torque them to spec. If you already have rails, skip this step but verify they are tight and undamaged. Checkpoint: ensure rails are centered left-to-right and parallel to each other for even weight distribution.
- 3. Install the lifter brackets onto the rails: Slide the lifter brackets onto the rails and tighten the locking screws. The brackets should be positioned so that the lifter arms will hang vertically when the shell is lifted. Double-check that the brackets are not tilted. Common mistake: brackets that are not level can cause the shell to bind or tilt during lifting.
- 4. Mount the lifter arms to the garage ceiling: Locate the ceiling joists above the truck. Use the included hardware to secure the lifter arms to the joists. Ensure the arms are spaced the same width as the brackets on the shell. Tighten all bolts to the recommended torque. Checkpoint: verify the arms are aligned with the brackets before tightening fully.
- 5. Connect the lifter arms to the brackets: With a helper, raise the lifter arms so they align with the brackets. Insert the locking pins or bolts to connect them. Do not fully lift yet—only attach the hardware. Common mistake: forcing the connection can strip threads; adjust arm height if needed.
- 6. Lift the camper shell evenly: Use the crank or winch mechanism on each lifter in small increments, alternating sides. Lift the shell just enough to clear the truck bed. Check that it rises evenly and does not contact the cab or tailgate. Checkpoint: stop and re-level if one side rises faster than the other.
- 7. Secure the shell in the raised position: Engage the safety locks on the lifters. Verify that the shell is stable before working underneath or moving the truck. If you need to store the shell long-term, consider adding a secondary strap for extra safety. Common mistake: relying solely on the crank without engaging locks can lead to accidental drops.
Product spotlight
-
Truck Top Lifter: The Garage Smart Truck Top Lifter kit attaches to your topper via cargo rack rails. You can order it with or without mounting rails depending on your setup. This means you don't need to buy extra hardware if you already have compatible rails, saving time and money. If you don't have rails, the included set ensures a proper fit.
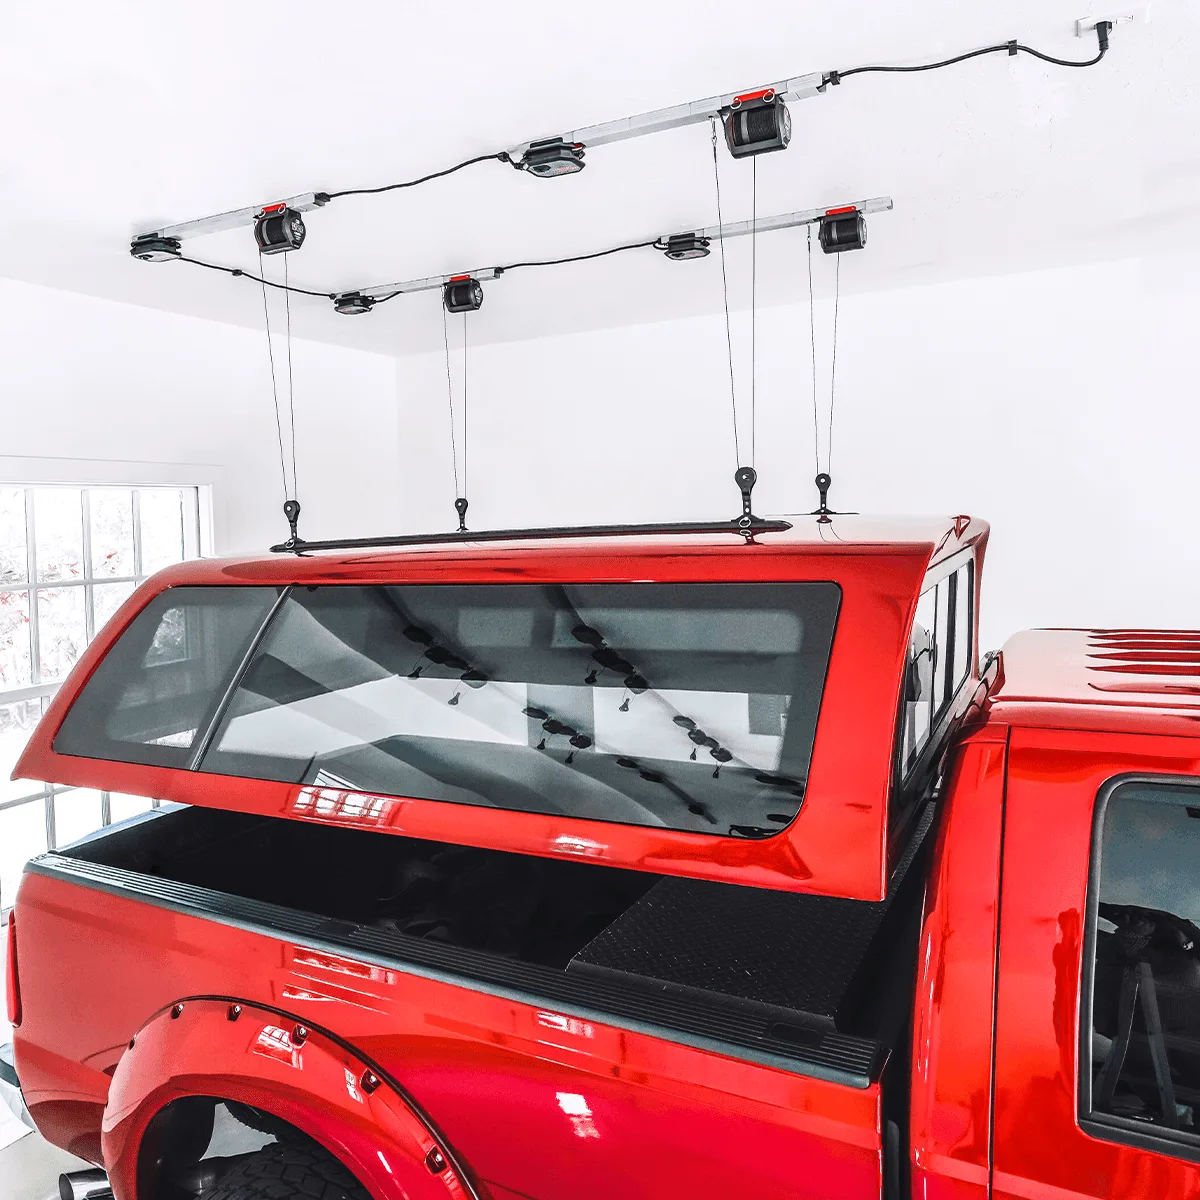
Truck Top Lifter