Quick answer
Install a wall-mounted mini split AC with heat pump by first mounting the indoor unit securely, running the refrigerant lines and wiring through a wall sleeve, connecting the outdoor condenser, and then purging the lines before testing.
Why choose a ductless inverter system
Ductless mini splits like the 18000Btu/H unit with inverter technology are efficient for heating and cooling rooms up to 1250 sq. ft. The inverter compressor adjusts speed to maintain temperature without frequent on-off cycling, saving energy. The heat pump function lets you use the same system for year-round comfort, eliminating the need for separate heating equipment.
Tools and preparation
Before starting, gather a stud finder, level, drill with masonry bits, wrench set, vacuum pump, manifold gauge, and electrical tester. The indoor unit requires a 3-inch hole through an exterior wall for the line set. Check local codes: some areas require a licensed electrician for the 208-230V connection. The system operates at 19 SEER, so proper installation is critical to achieve rated efficiency.
Installation steps
- Mount the indoor unit: Attach the mounting bracket to the wall using a level. Ensure the bracket is on a stud or use heavy-duty anchors. The unit must be level for proper condensate drainage. Common mistake: not checking for level, leading to water leaks. Use a level and secure the bracket to a stud or use rated anchors.
- Drill the wall hole and run the line set: Drill a 3-inch diameter hole slightly sloping downward toward the outside. Insert the wall sleeve. Run the refrigerant lines, drain hose, and control wiring through the sleeve. Common mistake: forgetting to wrap the lines with insulation tape before pulling, causing condensation. Wrap the refrigerant lines with foam insulation tape before inserting into the sleeve.
- Connect the indoor unit lines: Attach the refrigerant lines to the indoor unit using flare nuts. Tighten with a torque wrench according to manufacturer specs. Connect the drain hose and wiring. Common mistake: overtightening flare nuts, which can crack the fittings. Use a torque wrench and follow the specified tightening torque.
- Install and connect the outdoor condenser: Place the outdoor unit on a concrete pad or wall bracket, ensuring it is level and has clearance for airflow. Connect the refrigerant lines, drain, and wiring from the indoor unit. Common mistake: placing the unit too close to walls, restricting airflow and reducing efficiency. Leave at least 12 inches of clearance on all sides of the outdoor unit.
- Evacuate the lines and check for leaks: Connect a vacuum pump to the service port and pull a vacuum to below 500 microns. Hold the vacuum for 20 minutes to check for leaks. Common mistake: skipping the vacuum step, which leaves moisture and air in the lines, damaging the compressor. Always evacuate the lines with a vacuum pump before releasing refrigerant.
- Electrical connection and testing: Connect the 208-230V power supply to the outdoor unit following the wiring diagram. Turn on the system and test all modes (cool, heat, fan). Check for error codes. Common mistake: reversing the polarity on the control wires, causing the unit to not respond. Double-check wiring polarity against the diagram before powering on.
Product facts
-
18000Btu/H Mini Wall-Mounted AC Unit with Heat Pump & Ductless Inverter System Rooms up to 1250 Sq.Ft, 18000BTU, 208-230V, 19 SEER: The 18000Btu/H mini split offers 5 functions: automatic, cooling, drying, heating, fan, plus 4 air speeds and 4 intelligent modes including ECO and i-feel. These modes simplify operation and can reduce energy use, especially the ECO mode for steady cooling or heating without constant adjustments.
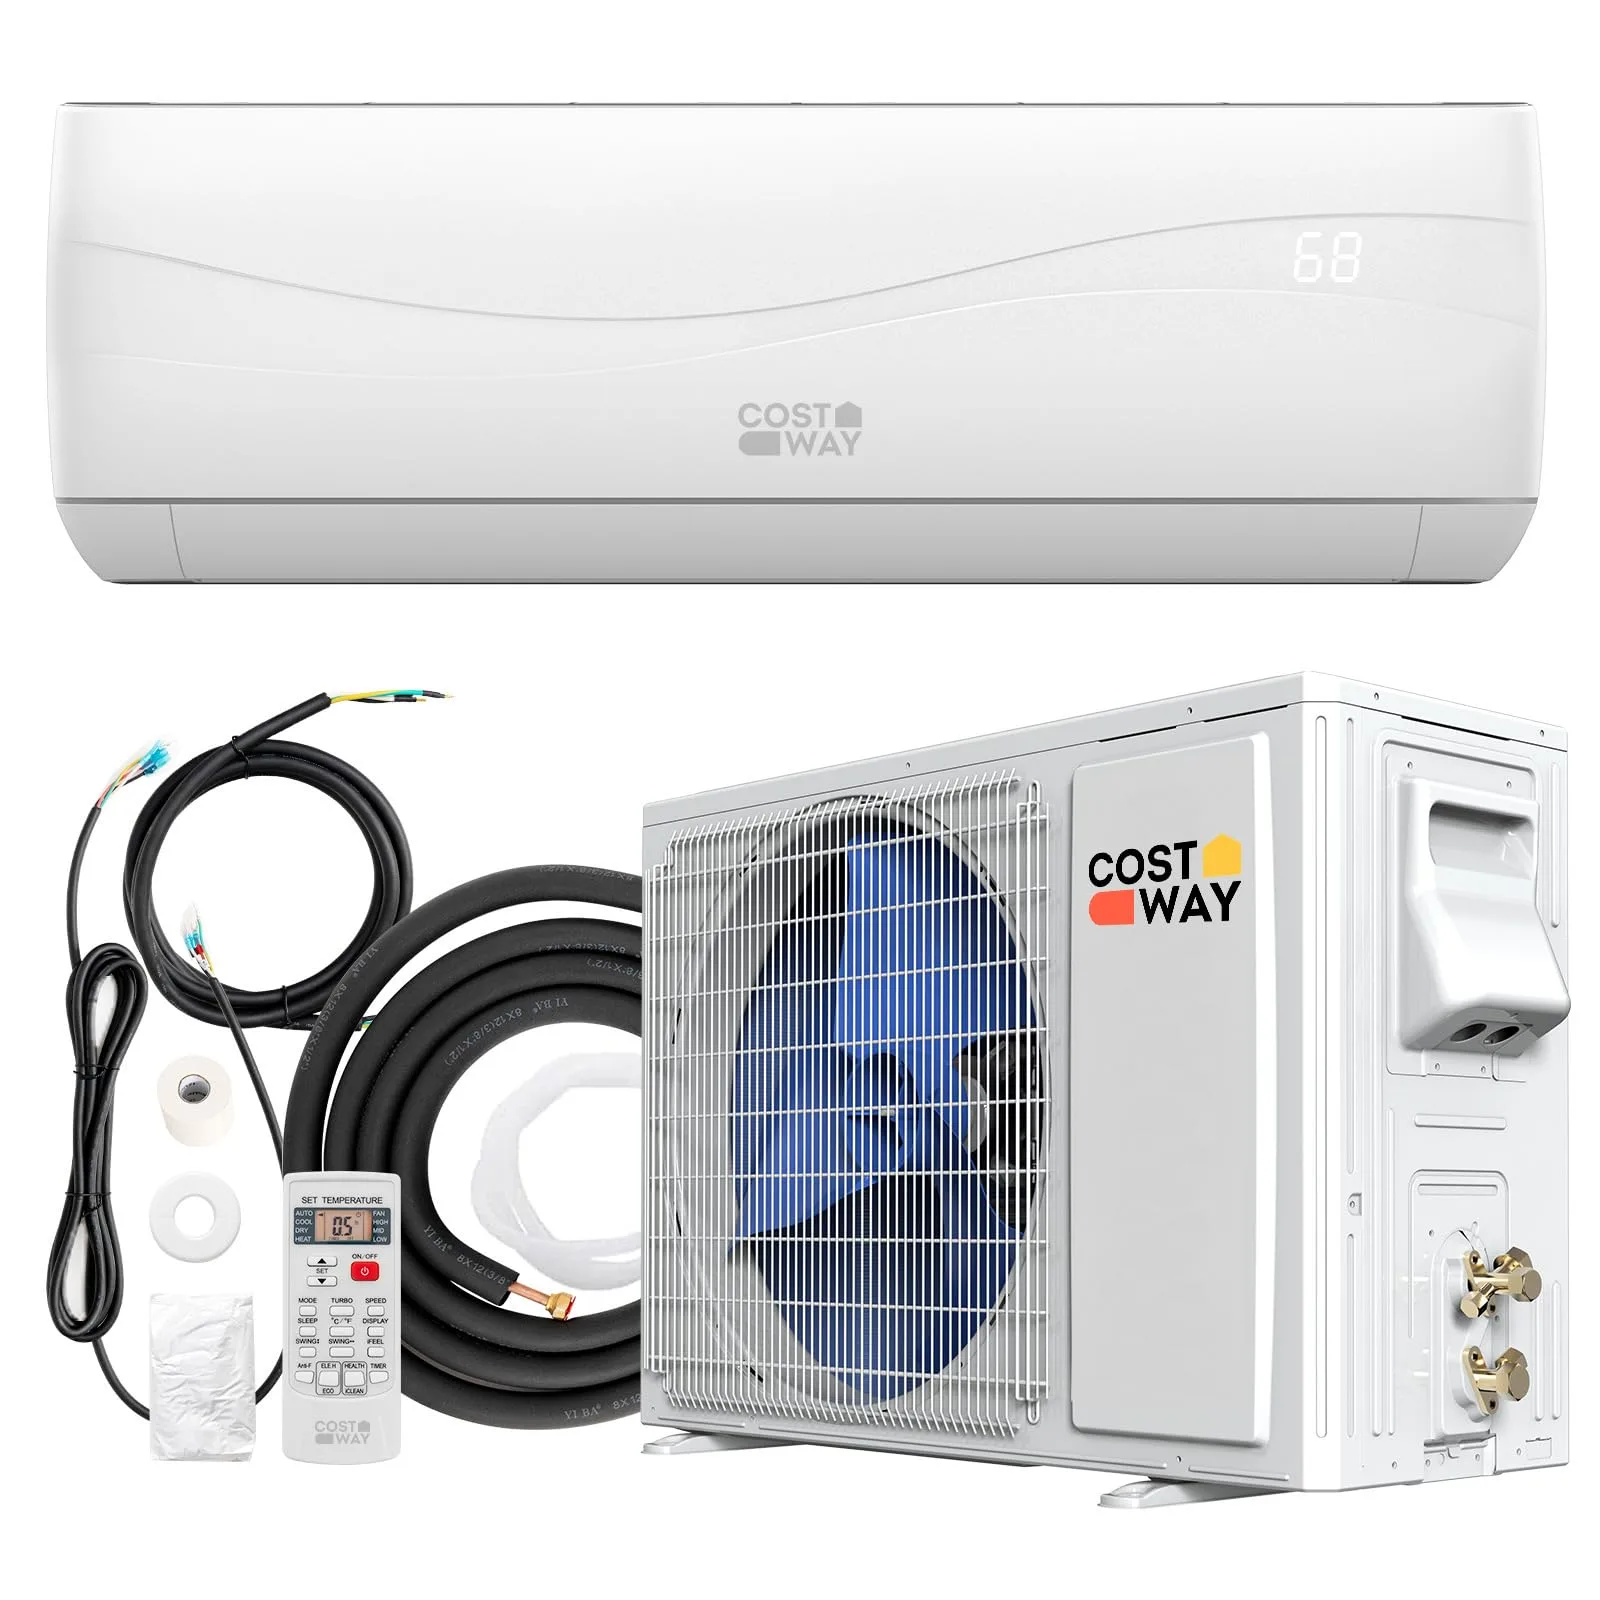
18000Btu/H Mini Wall-Mounted AC Unit with Heat Pump & Ductless Inverter System Rooms up to 1250 Sq.Ft, 18000BTU, 208-230V, 19 SEER