Quick answer
To install a wall mural without bubbles, prepare the wall, apply the mural from the center out, and use a squeegee or soft cloth to smooth out air as you go.
Why bubbles happen and how to prevent them
Bubbles usually form when air gets trapped between the mural and the wall. This can happen if the wall isn't smooth, if the mural is applied too quickly, or if you don't work the air out as you go. The key is to take your time and smooth the mural from the center toward the edges.
Tools you'll need for a smooth application
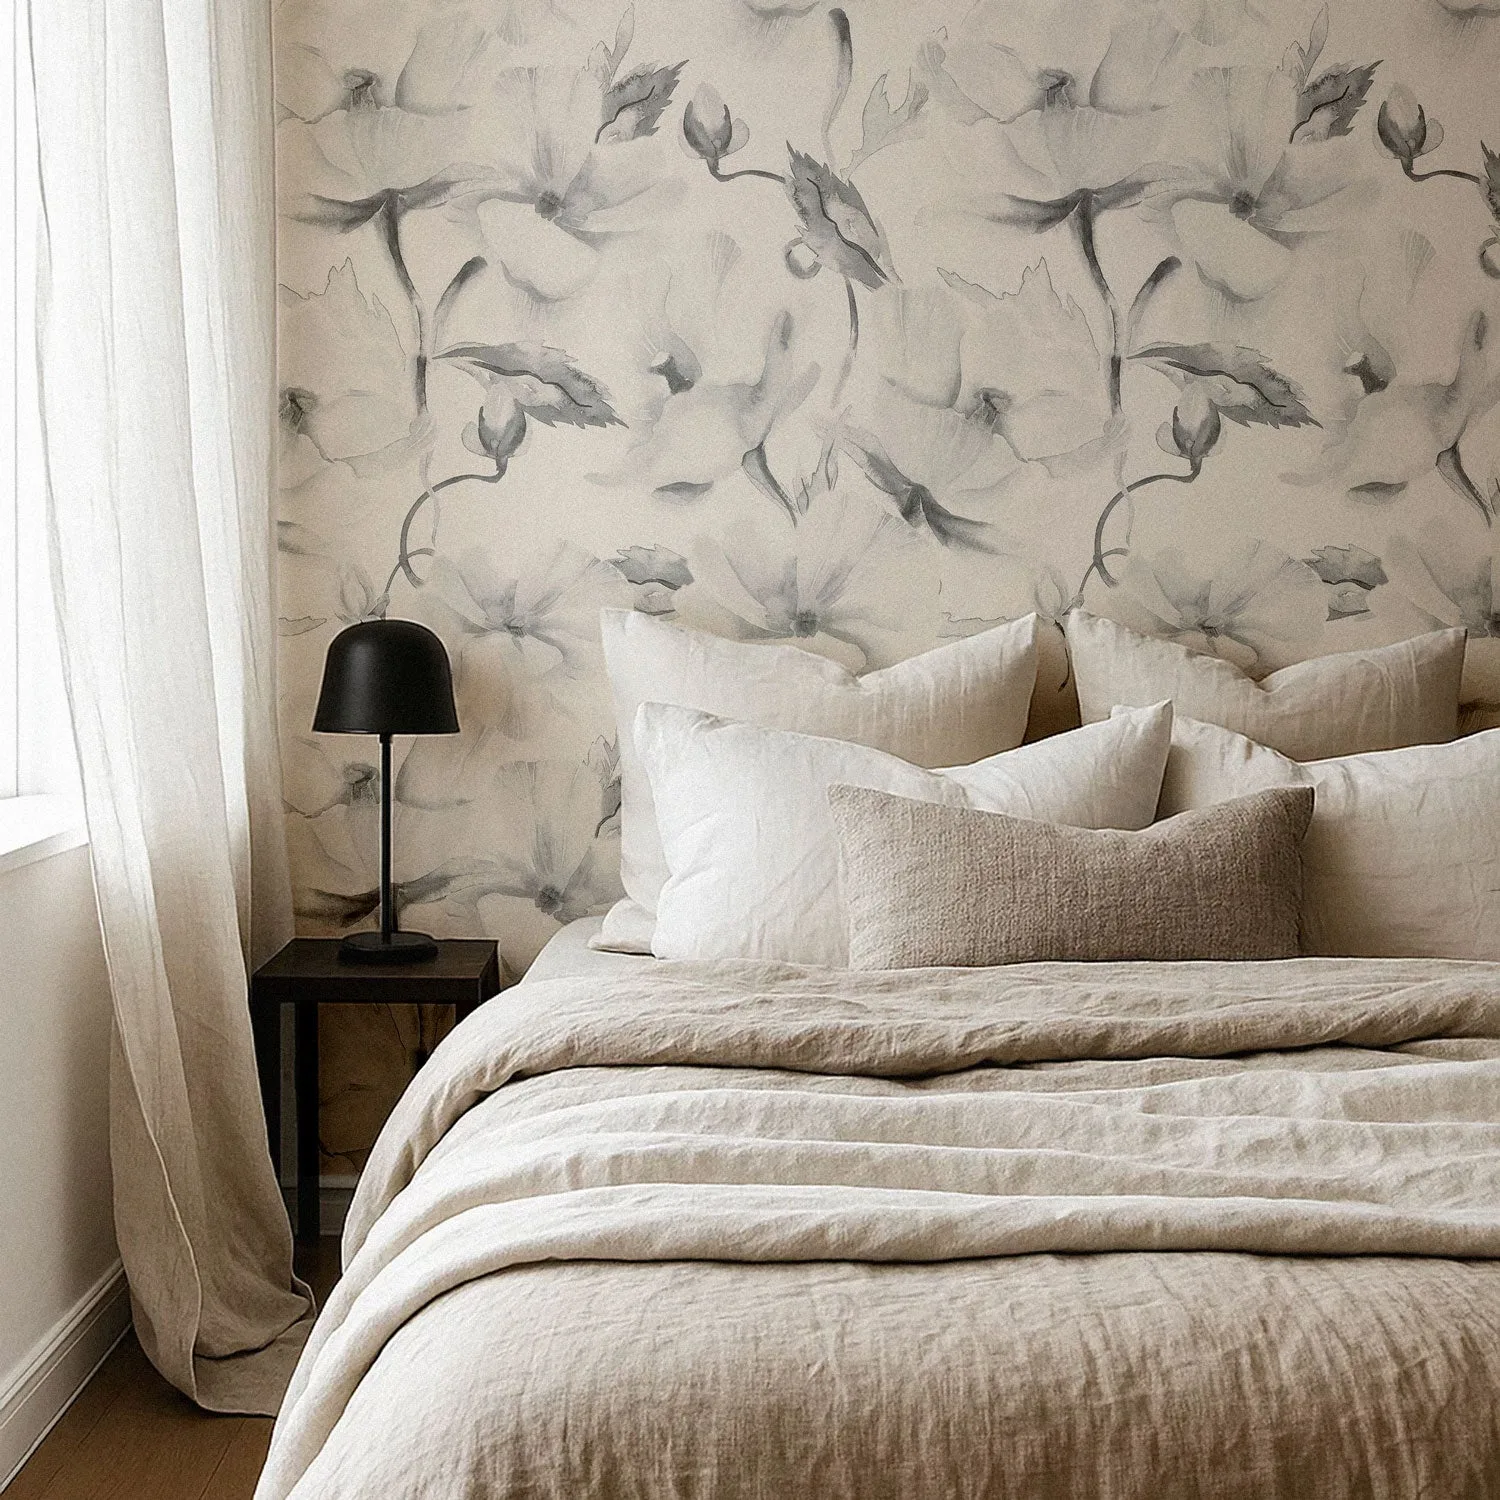
You'll need a clean, dry wall, a squeegee or a soft cloth, a utility knife or scissors, and a level. For self-adhesive murals like the Vintage floral wall mural or the Neutral Oversized Floral Wall Mural, no additional adhesive is required. Just peel and stick.
Step-by-step installation guide
-
Prepare the wall: Clean the wall with a damp cloth and let it dry completely. Fill any holes or cracks and sand smooth. A smooth, clean surface is essential to prevent bubbles. Check that the wall is dry and dust-free before starting.
-
Measure and mark the starting point: Use a level to draw a vertical line where you'll start. This ensures the mural hangs straight. For large murals like the Oversized Waves Silk Wall Mural, mark the center of the wall and work outward. Double-check your line with a level to avoid a crooked mural.
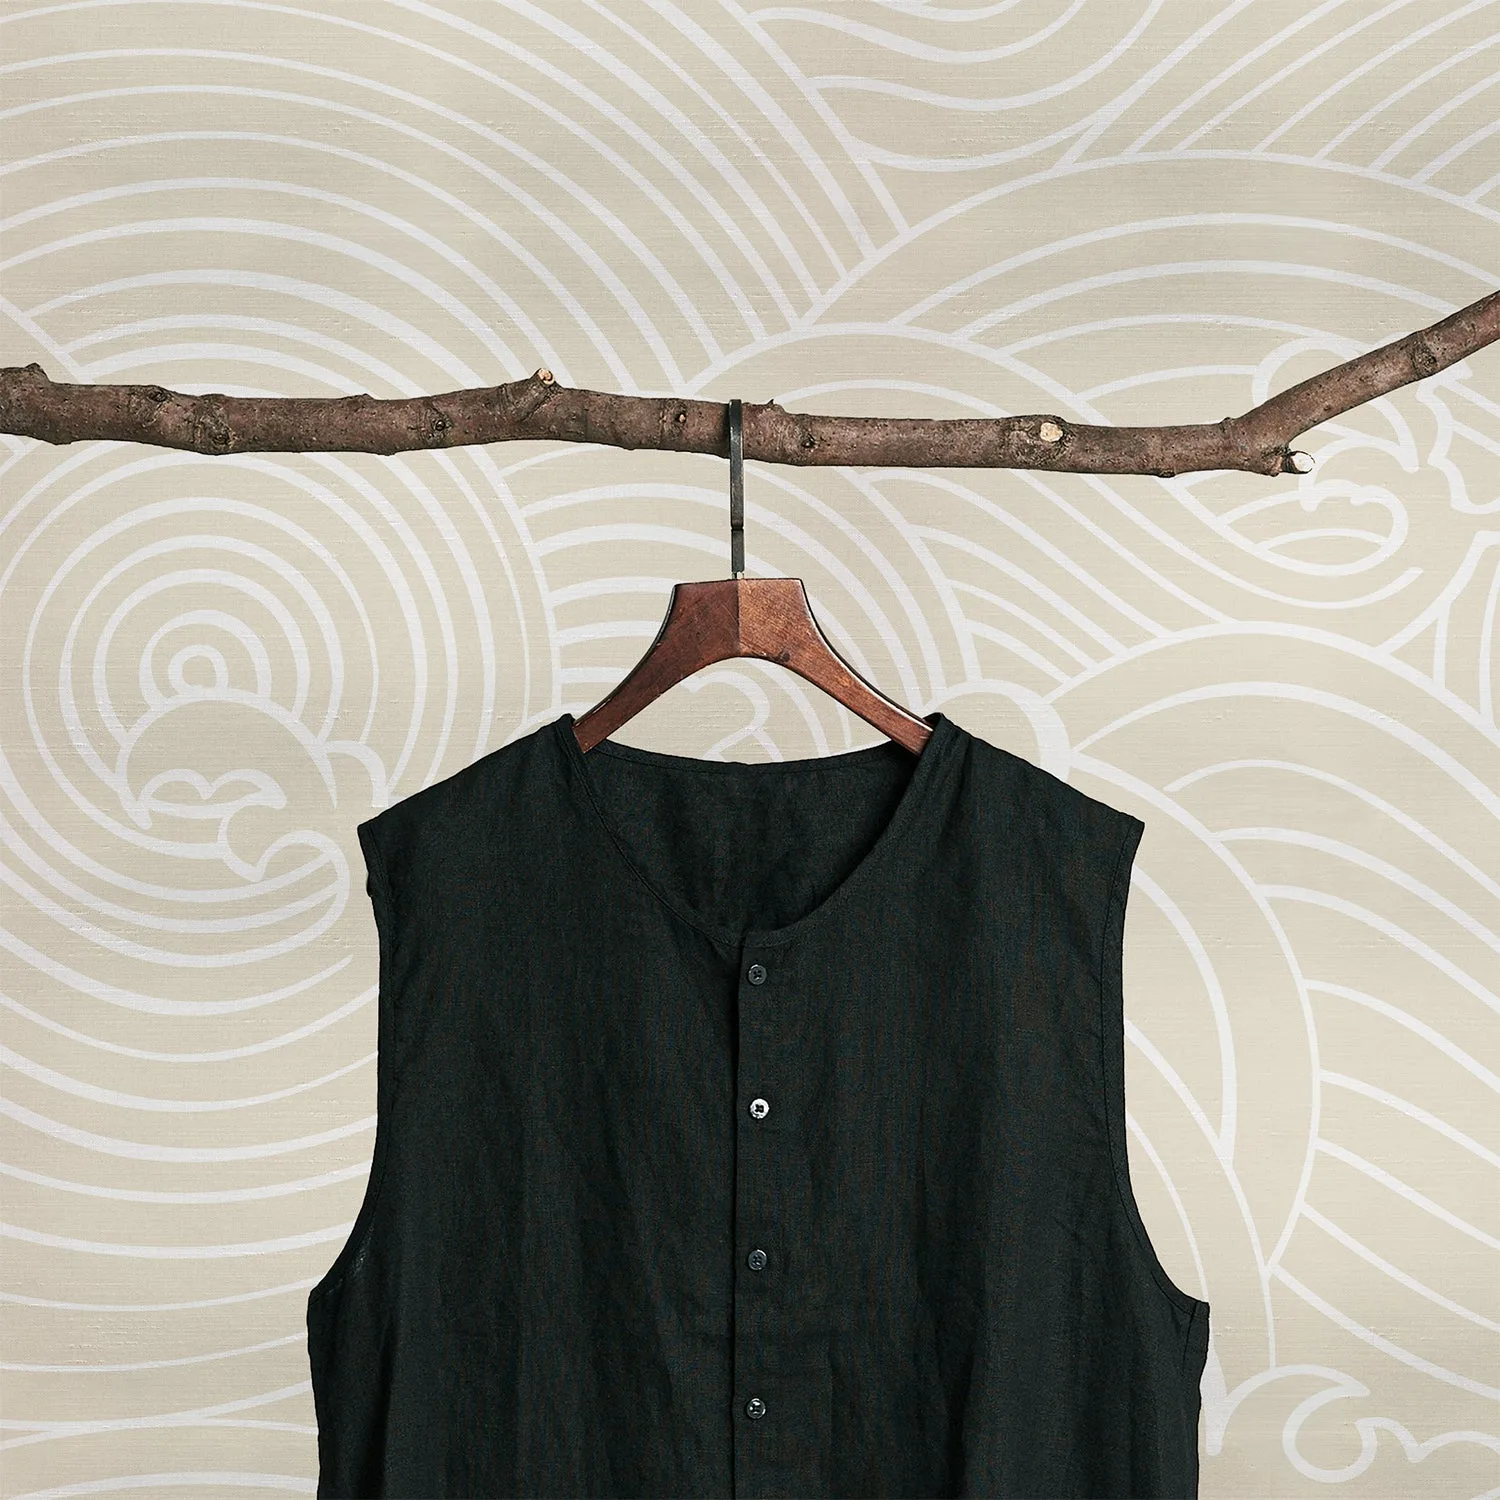
Oversized Waves Silk Wall Mural
-
Peel and position the first panel: Peel back a few inches of the backing and align the top edge with your starting line. Press the exposed adhesive onto the wall, then slowly peel the rest of the backing while smoothing the mural downward and outward with your hand or a squeegee. Avoid pulling the backing off all at once; work in small sections to control placement.
-
Smooth out air bubbles: Starting from the center of the panel, use a squeegee or a soft cloth to push air toward the edges. Work in overlapping strokes. If a bubble remains, lift the mural gently and re-smooth. If you see a bubble, don't panic—lift the mural and re-smooth before it sets.
-
Align and apply the next panel: Match the pattern of the next panel with the previous one before pressing it down. Leave a small overlap if needed, then trim with a utility knife for a seamless join. Pattern alignment is easier if you work from the top down and check alignment every few inches.
-
Trim excess and finish: Use a sharp utility knife to trim any excess at the ceiling, floor, or corners. Press the edges firmly to ensure they stay flat. Change the blade frequently to avoid tearing the mural.
Products that work well for this method
-
Vintage floral wall mural: Self adhesive textile wallpaper with water-resistant, gently cleanable PVC free material, printed with GreenGuard Gold certified inks. Its self-adhesive backing makes installation straightforward, and the textile material allows you to reposition it slightly before pressing it down, reducing bubble risk.
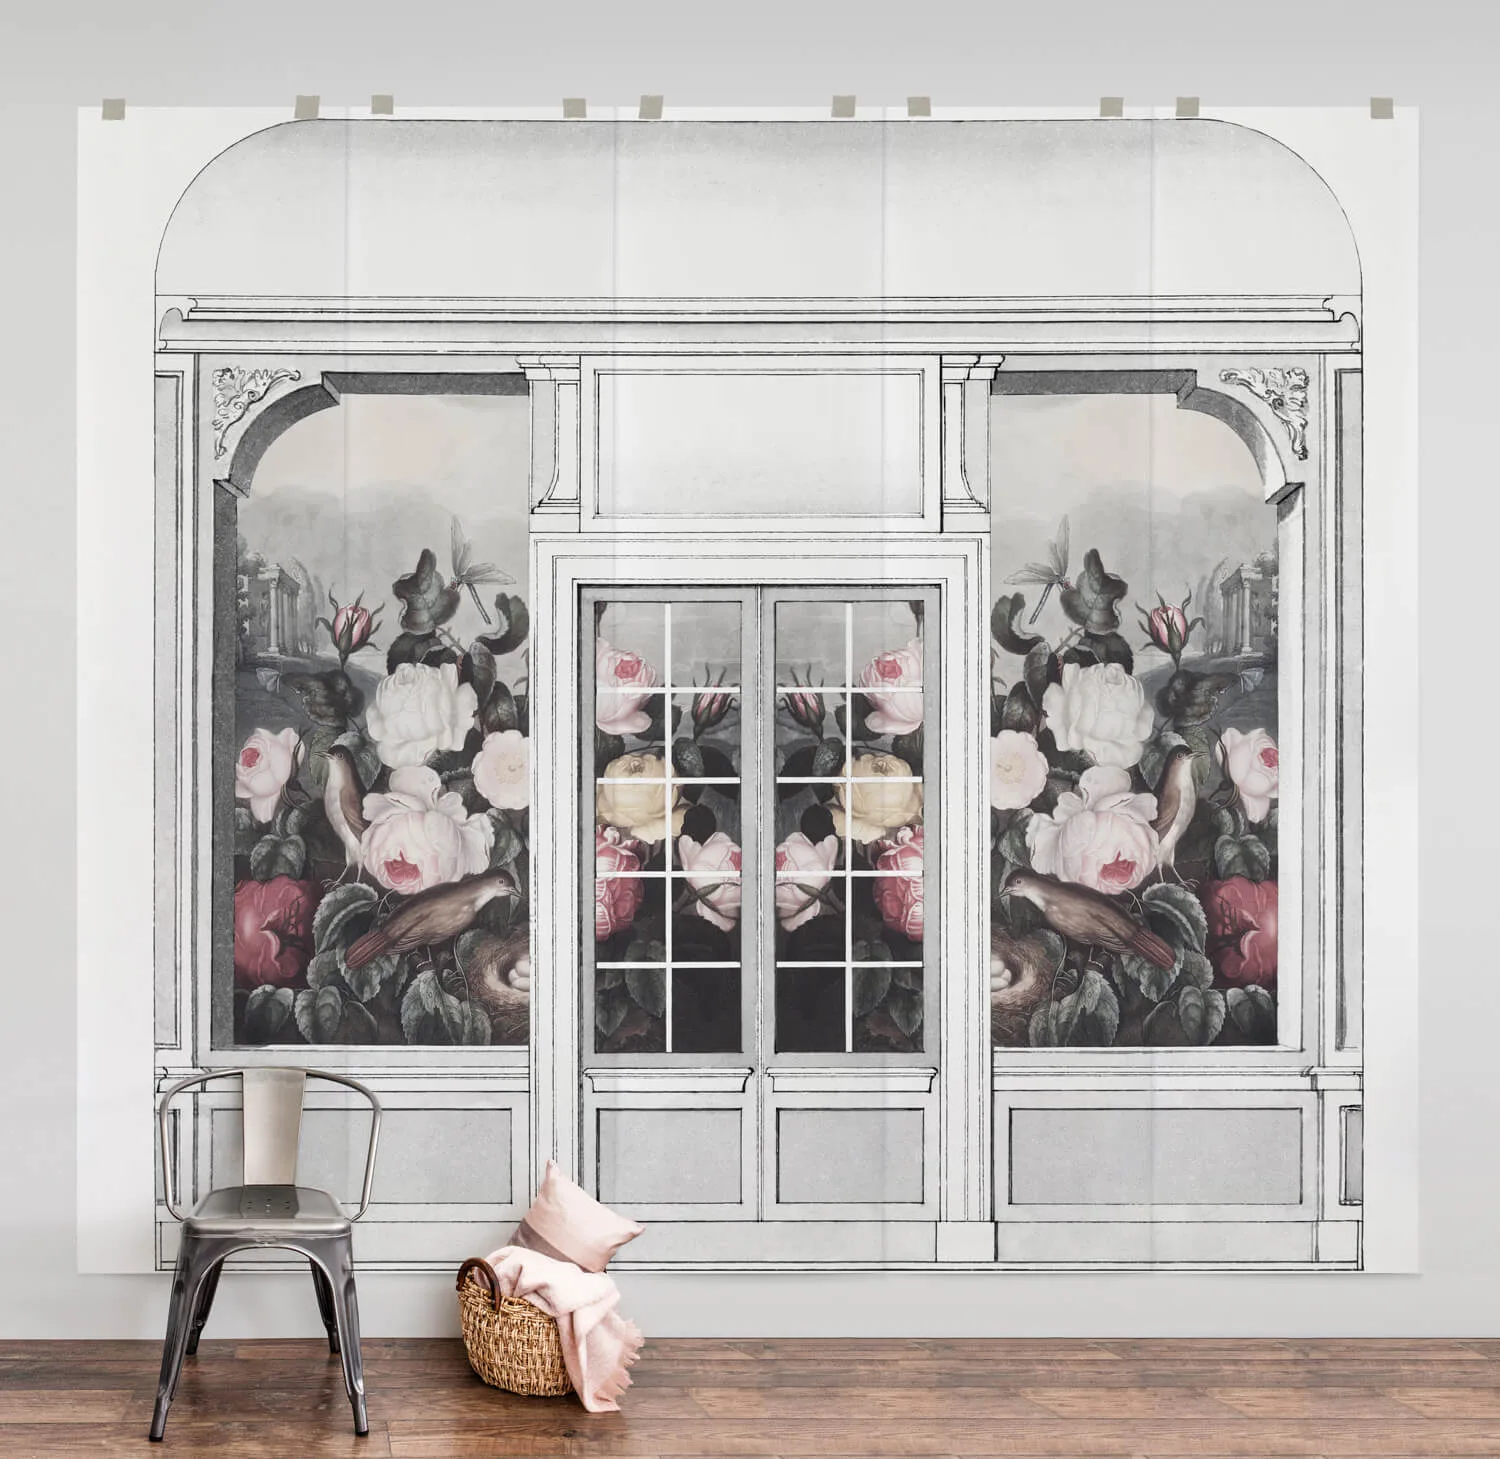
Vintage floral wall mural
-
Neutral Oversized Floral Wall Mural: Self adhesive wall mural with 8 panels, each 19 inches x 108 inches, suitable for commercial interiors with Class A/Class 1 fire rating. The multiple panels require careful alignment; following the smoothing steps will help avoid bubbles between panels and ensure a seamless look.