Quick answer
Install a wall sconce by killing power at the breaker, confirming a securely mounted box, matching supply and fixture wires, and fastening the fixture to the box rather than drywall. Set the fixture center at roughly 60–66 inches above the floor for general wall lighting, or 66–72 inches in a hallway. If the box moves, the wall is damaged, or you cannot identify the ground, stop and hire a licensed electrician.
A wall sconce is one of the few lighting upgrades that changes how a room feels without taking up floor space. The catch is that the fixture hangs on a box buried inside the wall, so the quality of that box and the wiring behind it decides whether the installation is safe or merely finished.
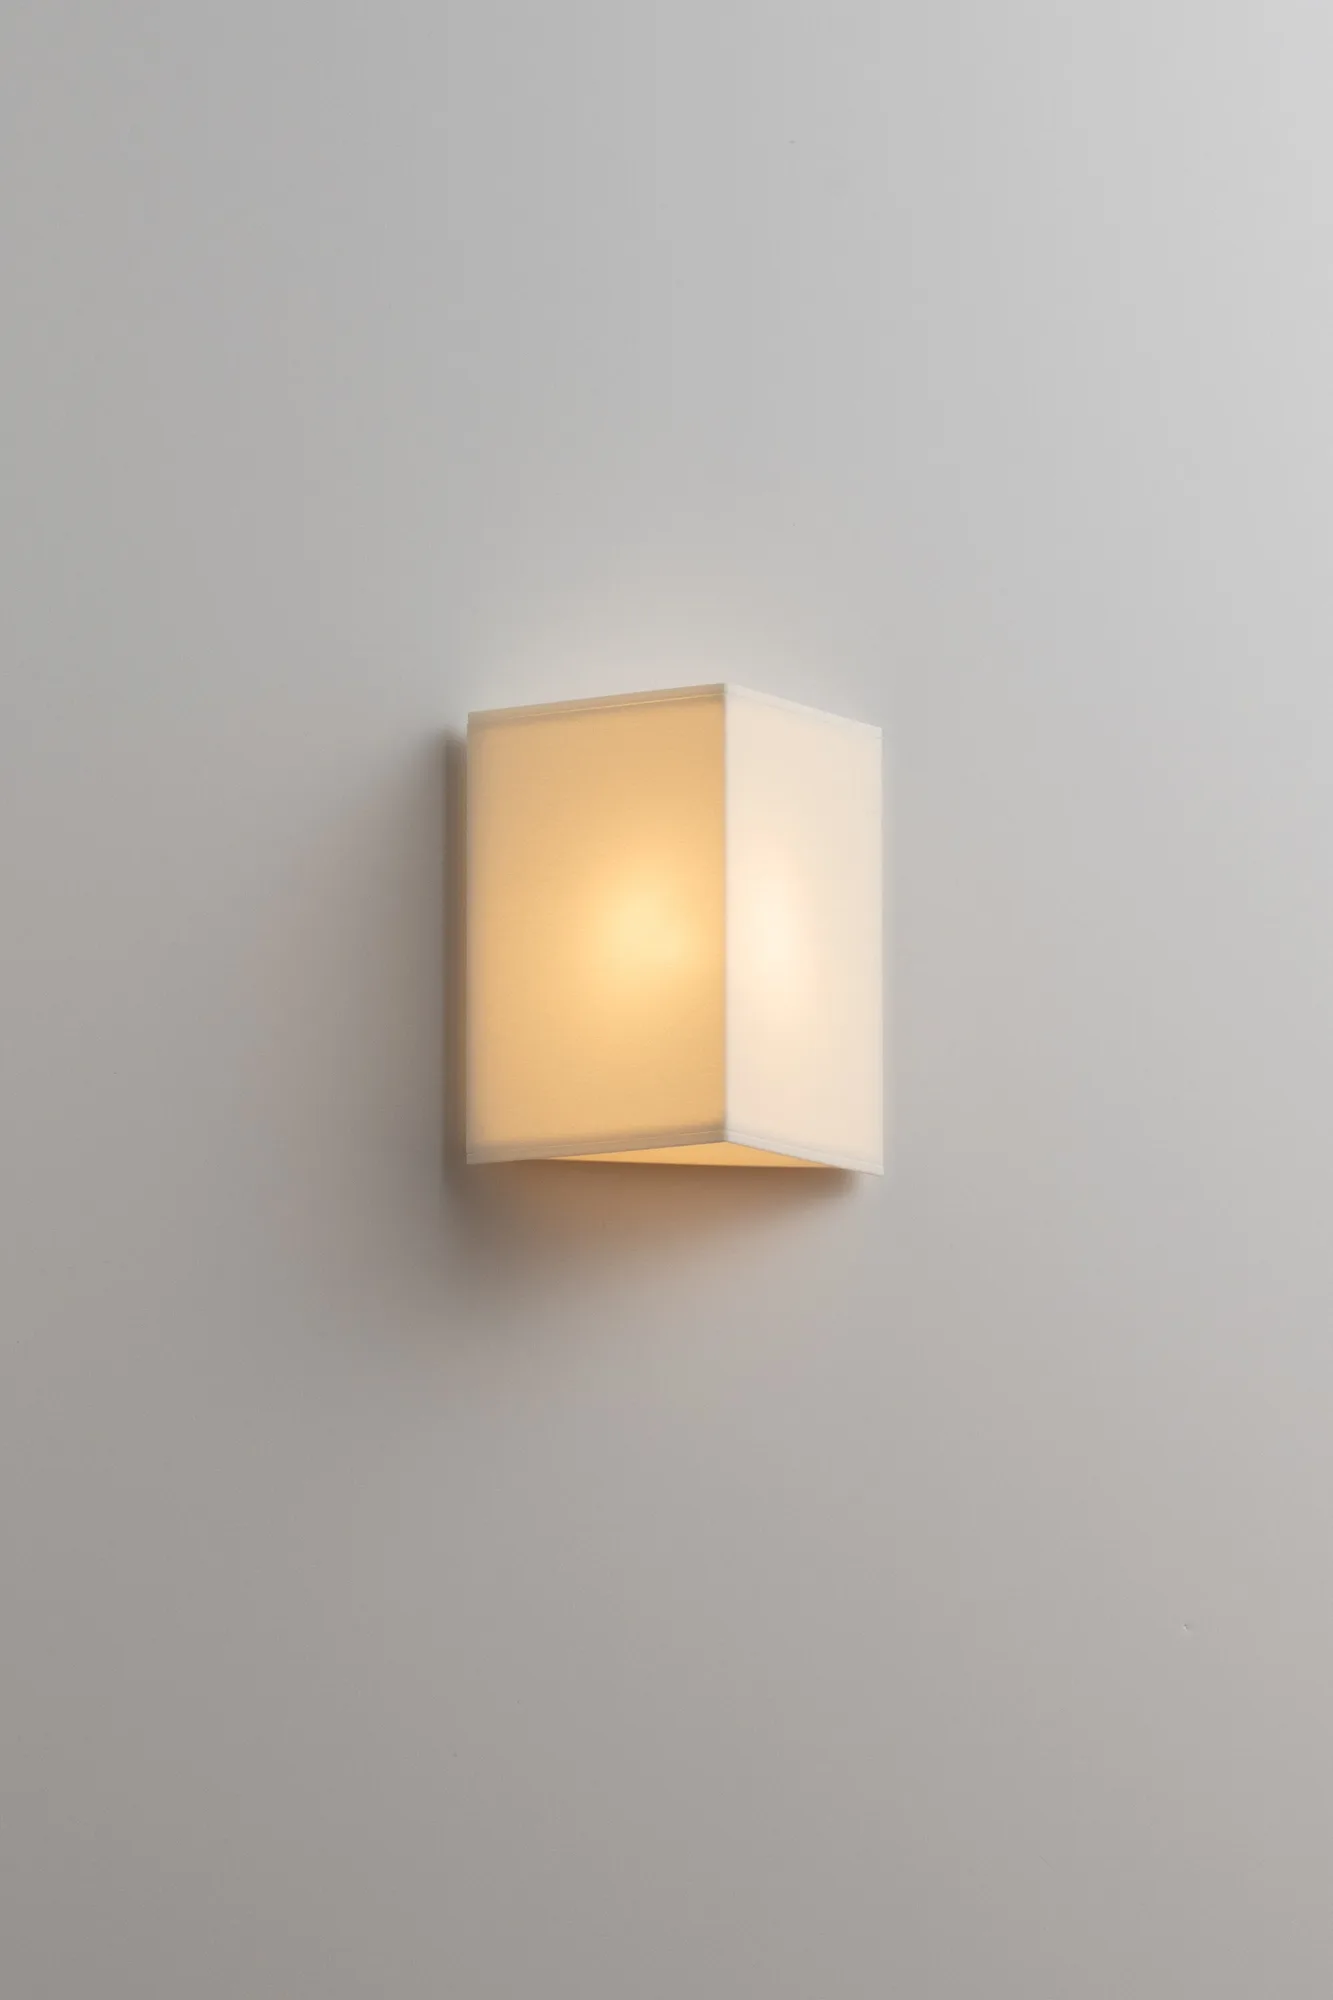
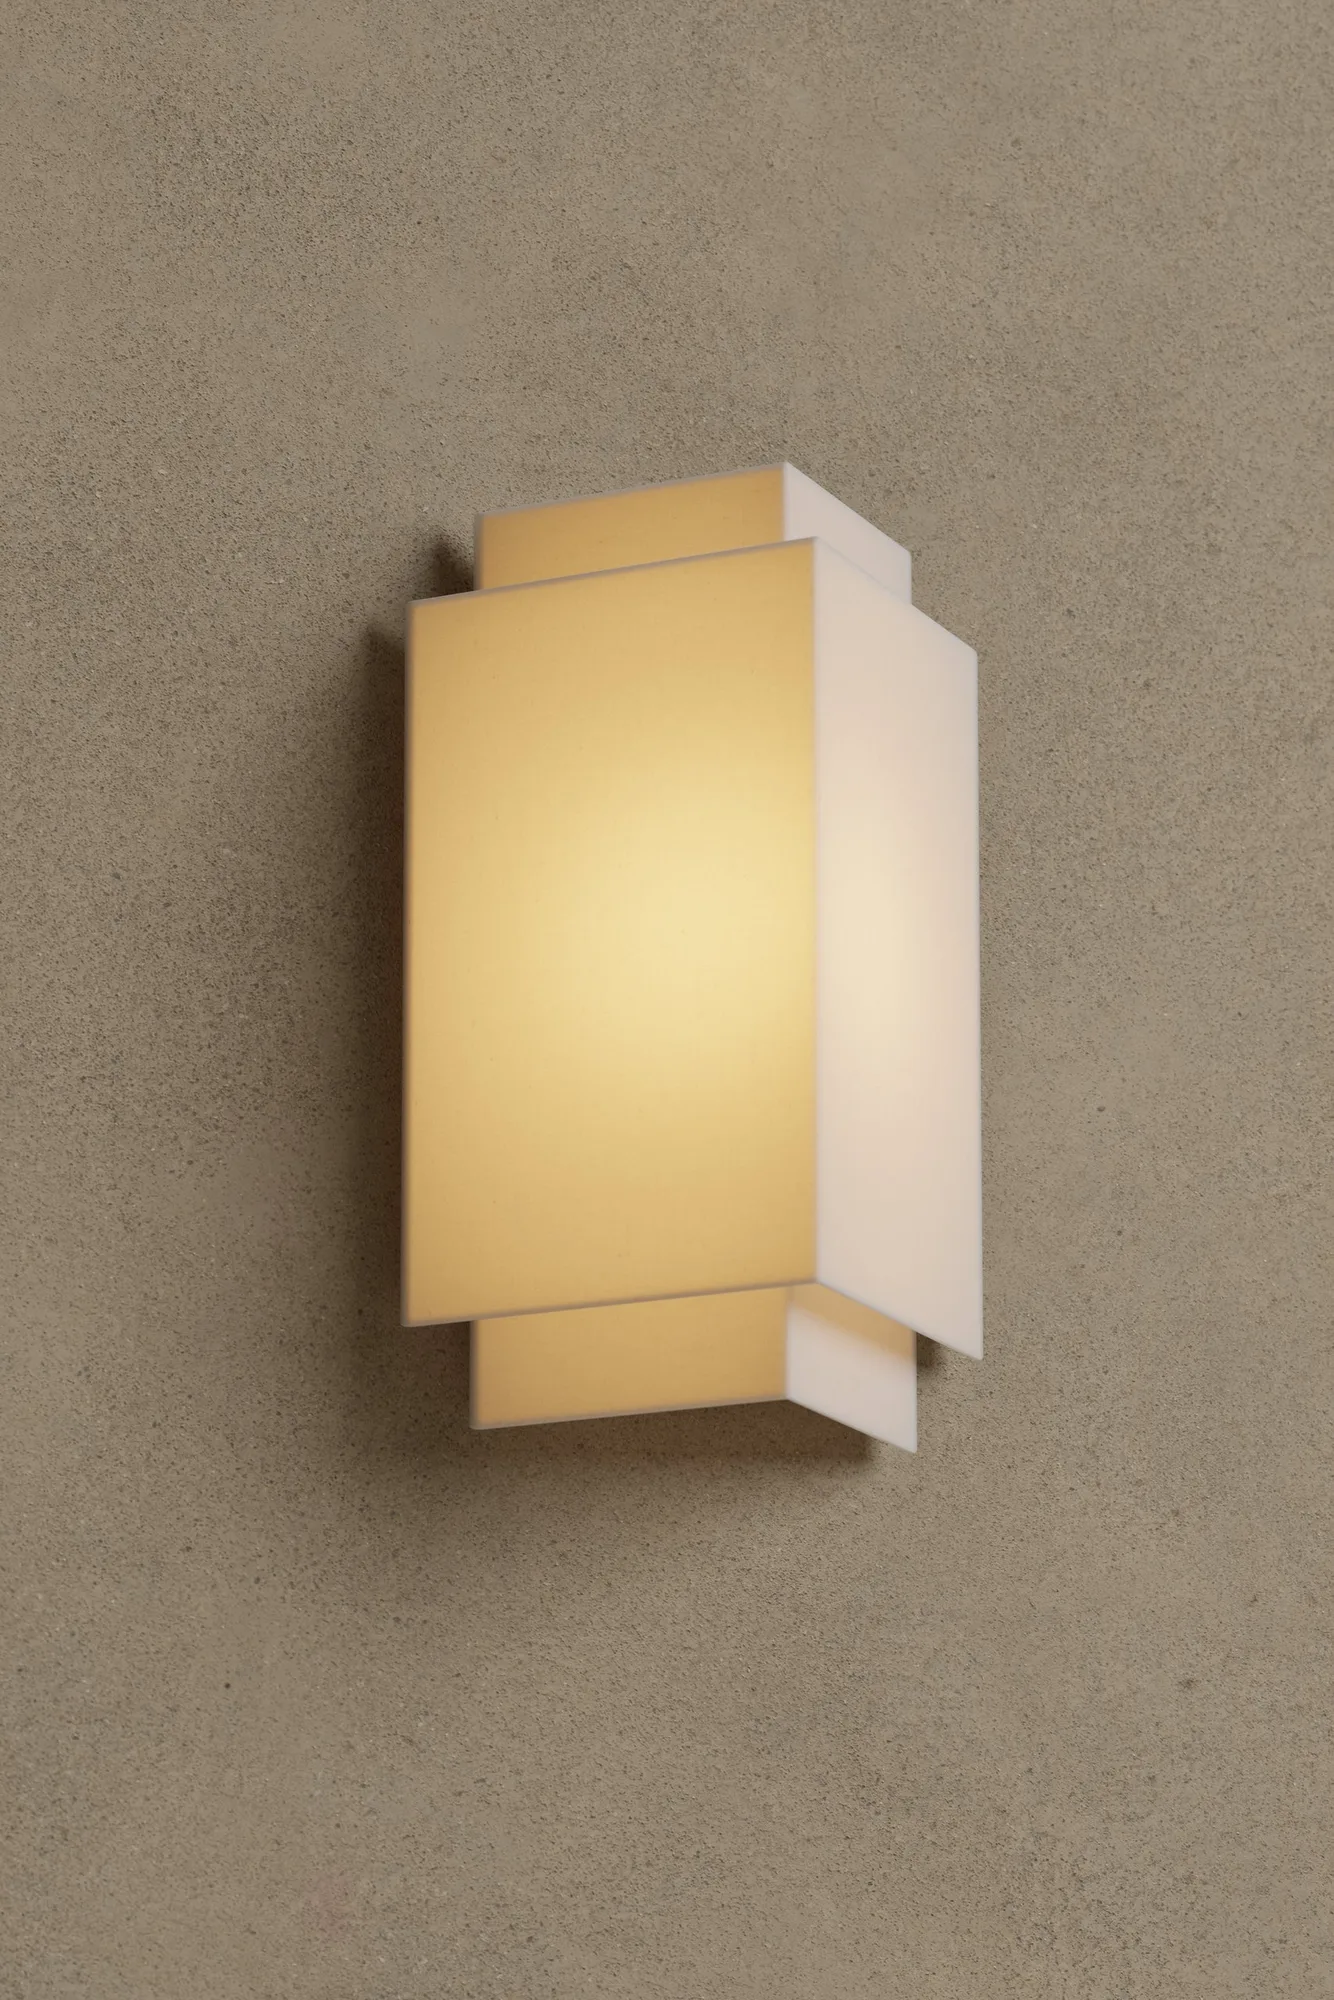
This guide walks through a real sconce installation in order, from breaker to final finish. It also flags the checkpoints that separate a clean job from a callback — especially with sculptural fixtures such as the RYN-01 Sconce, where the wall plane and the fixture plane need to agree.
RYN-01 Sconce
Before you touch a wire: power and box checks
Turn off the circuit at the breaker and confirm it with a non-contact voltage tester at the existing fixture or box, not just at the switch. Switches can be wired incorrectly, and a tester that stays silent on the load wires is the only proof you need before touching conductors. If you are adding a new location rather than replacing an existing fixture, confirm there is a switched circuit available to extend.
Next, check the box itself. It should be rigid, flush with or slightly recessed from the finished wall, and rated for the fixture weight. A plastic nail-on box that flexes when you press it is a warning sign. Sconces are cantilevered loads, so the pull on the box is greater than a flat ceiling fixture of the same weight.
If the box is loose, damaged, or not rated for the load, replace it before anything else. That may mean opening the wall, which is better than discovering the problem after the fixture is hanging.
- Use a non-contact tester on every conductor, including the ground, before touching anything.
- Check that the box is listed for the fixture weight and is not supported only by drywall.
- Photograph the existing wiring before disconnecting it.
Match the wiring correctly, including the ground
In a typical US installation you will see a black (hot), white (neutral), and bare or green (ground) conductor. Connect fixture black to supply black, fixture white to supply white, and ground to ground. If the fixture has a green or bare lead, it must bond to the box or the supply ground — never leave it capped and floating.
Use the connector type the fixture provides. Many sconces ship with push-in or lever connectors, while older wiring may need wire nuts. Whichever you use, tug each connection gently after joining it. A connection that pulls apart under light tension will eventually arc.
If the box contains aluminum wiring, fabric-insulated wire, or more than one circuit, stop and call an electrician. Those conditions require methods and materials that are not part of a standard sconce swap.
- Keep the ground connection even if the fixture appears to work without it.
- Do not tuck excess wire where it can be pinched between the fixture and the wall.
- If the supply has no ground and the fixture requires one, do not install it until the circuit is corrected.
Set the sconce mounting height before drilling
For general wall lighting, the center of the fixture usually lands around 60–66 inches above the floor. In a hallway or stairwell, 66–72 inches keeps the fixture clear of shoulders and sightlines. If the sconce is flanking a mirror or artwork, align the fixture center with the center of the object rather than a fixed number.
Mark the height on the wall with painter's tape, then hold the fixture or its backplate against the wall and step back. This is the cheapest way to catch a placement that looks correct on a tape measure but wrong in the room. Check the view from the doorway and from the seat or bed the sconce will serve.
Once the height is right, mark the mounting holes through the backplate. Confirm the marks land on the box or on a stud, not on hollow drywall between them.
- Measure from the finished floor, not the subfloor, and note the floor covering thickness.
- For bedside sconces, set the bottom of the fixture above the mattress and clear of pillows.
- Recheck the marks against the box before drilling.
Mount the fixture so the wall carries the load, not the drywall
Fasten the mounting plate or bracket to the box with the screws provided, then hang the fixture body on the plate and secure it. The fixture should not rock, spin, or pull away from the wall when you apply light hand pressure. If it does, the plate is not tight against the wall or the box is flexing.
For heavier or deeper fixtures, a box extender or a properly rated fan-rated box may be needed so the canopy sits flat. Do not shim the fixture away from the wall with washers unless the manufacturer's instructions allow it; that changes the load path and can leave a visible gap.
Finish the connection by installing the lamp and any shade or diffuser according to the fixture instructions. Do not overtighten decorative nuts or set screws — they can crack glass, ceramic, or painted metal.
- Hand-tighten, then a quarter turn with a screwdriver at most.
- If the fixture has a set screw, tighten it against the mounting plate, not the wall.
- Leave the wall surface clean so the canopy or backplate seats fully.
Restore power and test like an inspector
Turn the breaker back on and test the sconce at the switch. If it does not light, turn the breaker off again before investigating — do not troubleshoot a live circuit. Check the lamp first, then the connections at the fixture, then the switch.
Let the fixture run for 15–20 minutes and feel the wall around the backplate. Warm is normal; hot is not. Discoloration, buzzing, or a tripping breaker means the circuit needs attention before the fixture is used again.
Finally, check the finish. Fingerprints and drywall dust are easiest to remove now, before they set. Use a soft, dry cloth unless the manufacturer specifies otherwise.
- If the breaker trips immediately, stop and have the circuit inspected.
- Confirm the switch controls only the intended fixture.
- Wipe the fixture and wall once more before calling the job done.
Installation steps at a glance
- 1. Kill and verify power: Turn off the breaker and test every conductor with a non-contact voltage tester before touching wires. Checkpoint: tester stays silent on all conductors.
- 2. Inspect the box: Confirm the box is rigid, flush, and rated for the fixture weight; replace it if it flexes or is damaged. Checkpoint: no movement when you press the box.
- 3. Join the wiring: Match black to black, white to white, and bond the ground to the box or supply ground using the fixture connectors. Checkpoint: every connection holds under a gentle tug.
- 4. Mark the height: Set the fixture center at roughly 60–66 inches above the floor, or align it with the artwork or mirror it flanks. Checkpoint: view from the doorway before drilling.
- 5. Fasten the mounting plate: Attach the plate to the box, hang the fixture body, and secure it so it cannot rock or pull away from the wall. Checkpoint: light hand pressure produces no movement.
- 6. Restore power and test: Turn the breaker on, test at the switch, and let the fixture run for 15–20 minutes while you feel the wall around the backplate. Checkpoint: warm is fine, hot, buzzing, or tripping is not.
Fixture details that affect installation
- RYN-01 Sconce: The RYN Sconce is a wall-mounted fixture composed of staggered, orthogonal planes that form a sculptural envelope around a softly illuminated core, with a warm, low-Kelvin glow. Its layered, planar construction means the backplate and wall plane need to sit flush; a wavy or patched wall will show through the gaps between planes, so check the wall surface before mounting.
- CY+ Sconce: The CY Collection is a simple rendition of the purest shape, elongated into a cylinder, and as the form comes to an end the edge gracefully curves inward. A cylindrical body with an inward-curving edge is easy to overtighten at the mounting collar; snug the fixture by hand and avoid forcing the curve against the wall.
- LAHM 03 Sconce: The Lahm 03 Sconce reimagines the traditional triangle into a distinctive, box-shaped design with angular outlines. Angular, box-shaped fixtures make any tilt obvious, so level the mounting plate carefully and confirm it is plumb before the final fastening.
A safe sconce installation comes down to three things: verified power, a box that carries the load, and a fixture that sits flat and level against the wall. Take the extra ten minutes on the box and the height mark, and the finished result will look intentional rather than improvised.