Quick answer
Installing a new e-brake boot on a Subaru takes about 20 minutes and requires basic hand tools. The key is removing the old boot without damaging the console, then securing the new boot with zip ties or clips for a snug fit.
Why fitment matters for your Subaru
E-brake boots are not one-size-fits-all. Subaru models vary in console design, e-brake handle shape, and attachment method. A boot made for a 2013 BRZ may not fit a 2022 WRX without modification.
Check your car's year and model before buying. Aftermarket boots like those from Billetworkz offer vehicle-specific options, which save you the hassle of trimming or re-drilling.
Tools you will need
You likely already own everything required: a flathead screwdriver (or plastic trim tool), a pair of pliers, and a zip tie or two. Some Subaru consoles use clips that pop off; others use screws hidden under the armrest or center trim.
Installation steps
- Remove the old boot: Pull up on the e-brake handle to release tension. Use a trim tool to gently pry the boot's trim ring or console panel upward. If the boot is attached with screws, remove them with a Phillips driver. Lift the boot off the handle. Common mistake: pulling too hard on the console panel. Use a trim tool to avoid breaking clips.
- Detach the boot from the handle: Slide the old boot up and off the e-brake handle. Some boots are secured with a zip tie or clip at the top; cut the zip tie with pliers or unsnap the clip. If the old boot is stuck, check for an additional hidden clip near the handle base.
- Prepare the new boot: Slide the new boot over the e-brake handle from the top. Align the boot so the stitching or logo faces the correct direction (usually toward the driver). If the boot has a trim ring, press it into the console opening. Check that the boot is not twisted before securing it. A twisted boot will look uneven.
- Secure the boot at the handle: Wrap a zip tie around the top of the boot where it meets the handle. Tighten it until the boot is snug but not compressed. Trim the excess zip tie tail. Do not overtighten the zip tie. It can tear the boot material or leave a permanent crease.
- Reattach the console trim: Press the console panel or trim ring back into place. Listen for clips clicking into position. If screws were removed, reinstall them. If the panel does not sit flush, a clip may be misaligned. Remove and reseat the panel.
- Test the e-brake operation: Pull and release the e-brake handle a few times. The boot should move with the handle without binding or pulling away from the console. If the boot pulls out of the trim ring, the zip tie may be too loose or the boot is not fully seated.
Product note
-
Add a Matching E-Brake Boot?: This listing lets you select the vehicle fitment that matches your car, so the boot pairs with your build. Choosing the correct vehicle option avoids the common problem of a boot that is too loose or too tight.
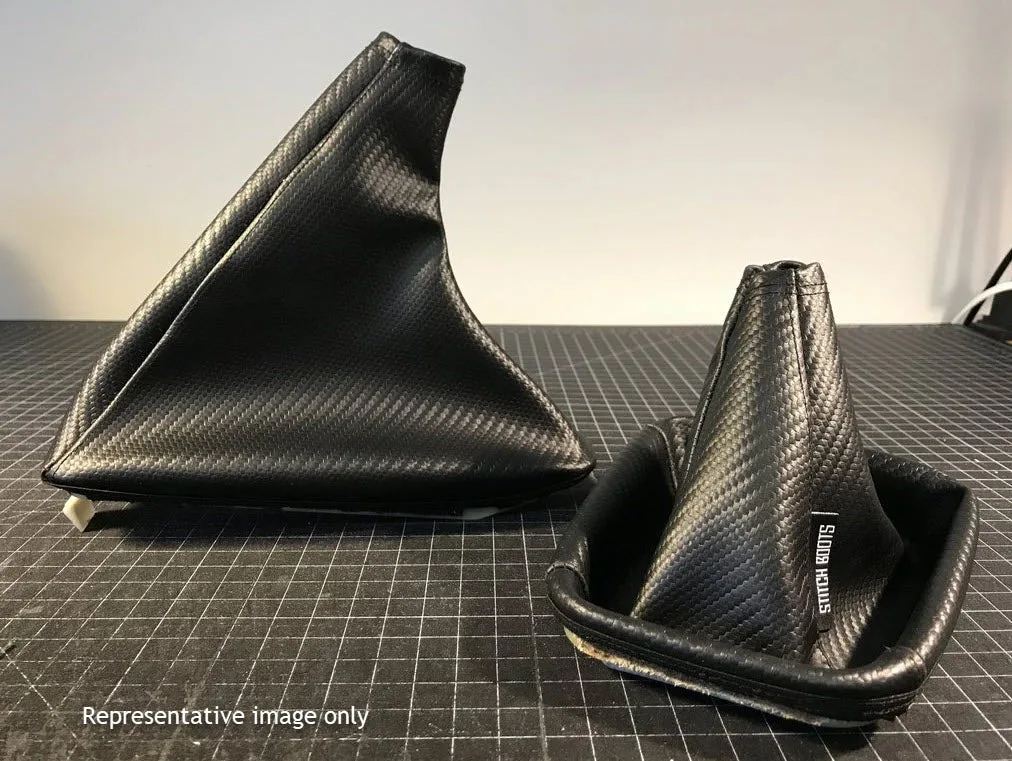
Add a Matching E-Brake Boot?