Quick Installation Answer
Use the supplied brackets and two standard screws for most frames; align the protector so it sits flush against the tube. Tighten just enough to prevent movement but avoid over‑tightening, which can damage the frame.
A well‑installed BikeShield can protect your bike from scratches, dents, and the wear that comes from daily riding. Whether you ride a lightweight road bike, a rugged mountain bike, or a versatile hybrid, the right mounting technique keeps the protector secure and your ride looking fresh.
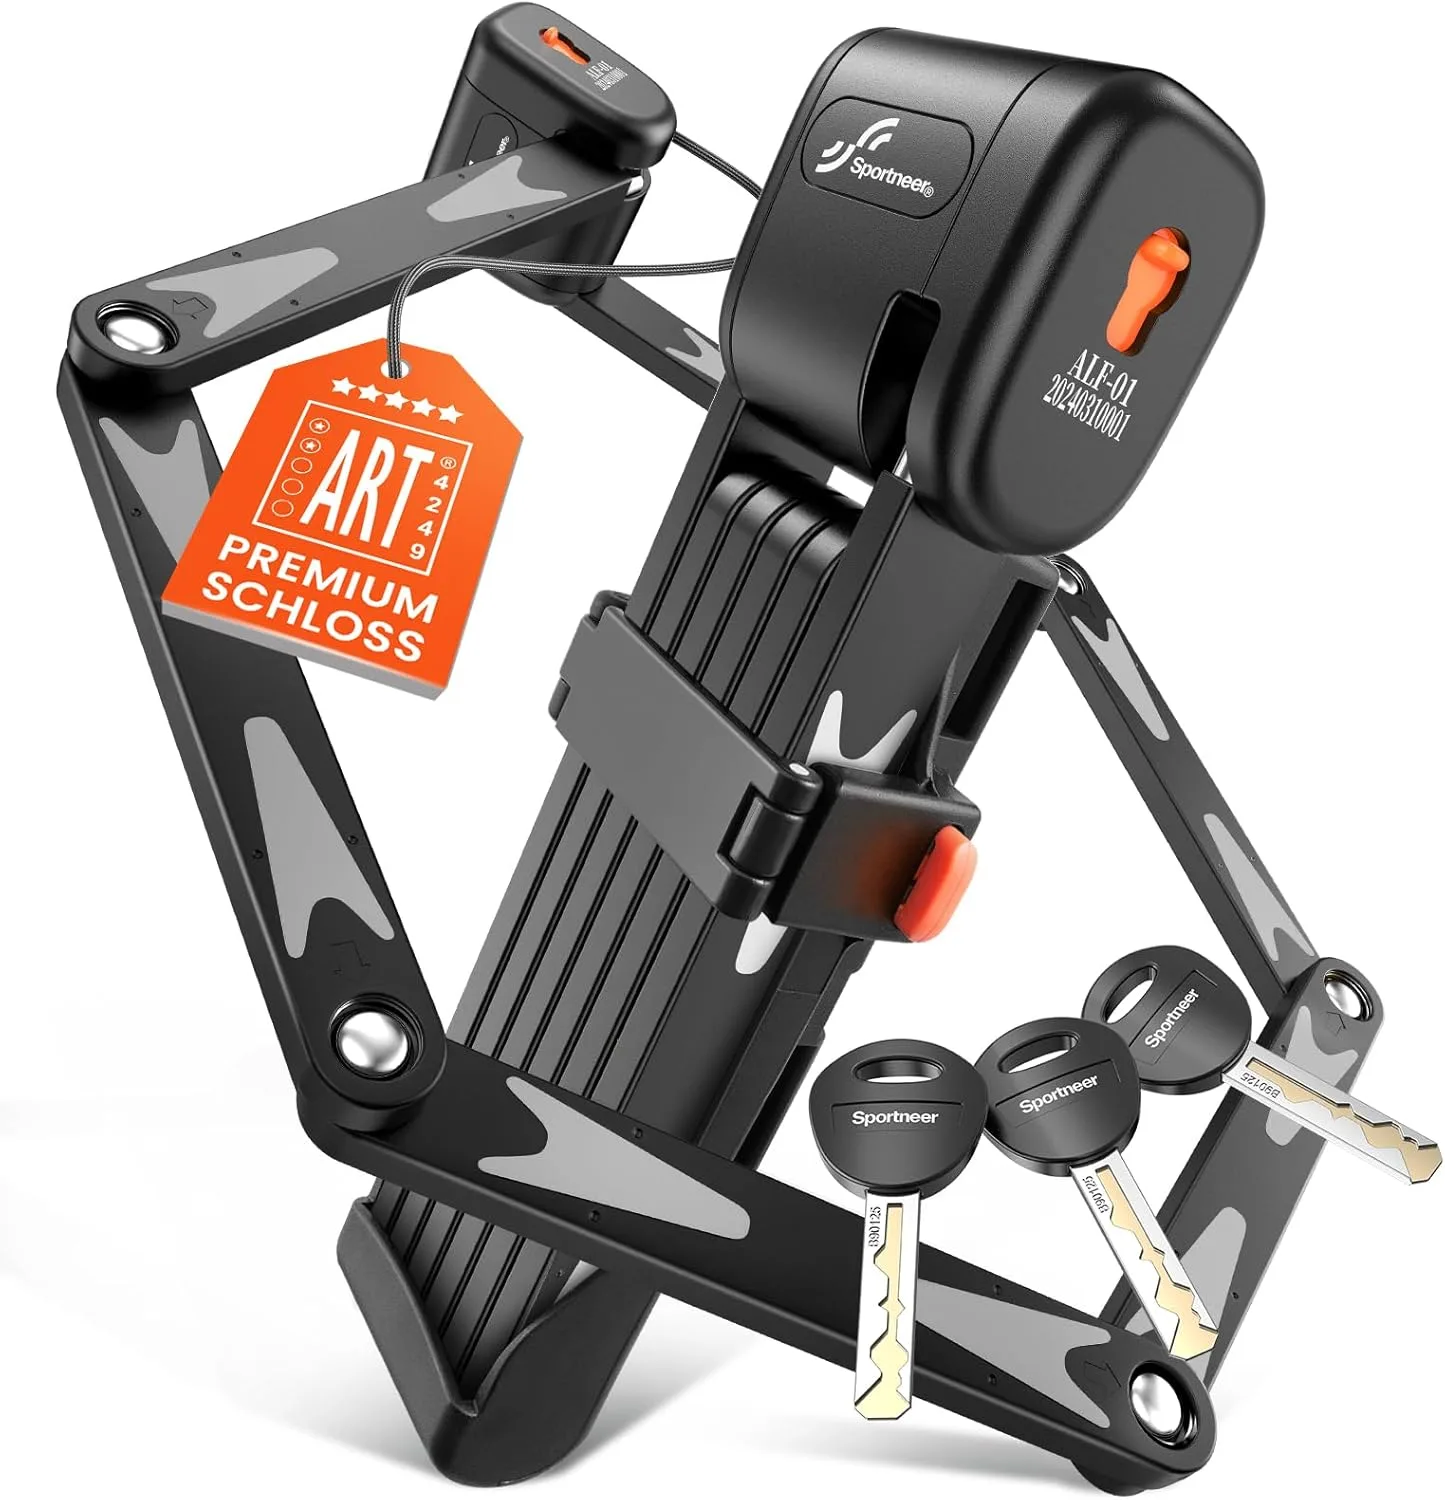
BikeShield
This guide walks you through the install bikeshield bike protector process for each major frame type, highlights the key compatibility points, and flags the most common mistakes so you finish with a snug, lasting fit.
Check Frame Compatibility
First, identify the material and tube dimensions of your bike frame. Aluminum, carbon, and steel all accept the standard BikeShield brackets, but carbon frames often require a lower torque setting to avoid crushing the fibers. Measure the tube diameter where the protector will sit; the brackets are designed for 28‑35 mm tubes, which covers most road and mountain bikes. If your frame falls outside this range, consider a custom adapter or a different protector model.
Next, verify that the mounting holes on the protector align with your frame’s tube shape. For round tubes, the pre‑drilled holes match perfectly, while tapered or oval tubes may need slight adjustment. Use a small marker to line up the holes before drilling or screwing anything in. This step prevents misalignment that can cause the protector to wobble or the screws to strip.
- Tip: Keep a thread‑locking compound handy for steel frames to stop screws from loosening over time.
Installation Steps
- 1. Gather tools and parts: Collect the two mounting brackets, the two screws supplied with the BikeShield, an Allen key (2 mm), a soft cloth, and thread‑locking compound if needed. Common mistake: Skipping the cloth can scratch the frame; always clean the area first.
- 2. Position protector and attach brackets: Place the BikeShield against the tube, align the bracket holes, and insert the brackets through the pre‑drilled slots. Hold it steady while you start the first screw by hand. Checkpoint: Ensure the protector sits flush; a gap indicates misalignment that must be corrected before tightening.
- 3. Secure screws and test: Tighten each screw to a firm hand‑tight setting (≈ 1.5 Nm for aluminum, ≤ 1 Nm for carbon). Apply a dab of thread‑locking compound on steel frames. Ride a short distance and check for any movement. Common mistake: Over‑tightening can damage carbon frames; stop as soon as the protector feels secure.
Related Osmo Products
- Osmo SnorLite 2.0: The Innovative Solution for SnoringIntroducing SnorLite 2.0:, the next‑generation anti‑snoring mouthguard designed to improve the quality of your sleep and that of those around you. Shows Osmo’s focus on ergonomic, health‑oriented design, which can inspire confidence in the fit and comfort of accessories like BikeShield.
- Osmo Waist Trainer: Catalog price: USD 79.50 (catalog comparison price USD 158.99). Available in multiple sizes. Provides a reference for Osmo’s value‑focused pricing strategy, indicating that quality accessories can be affordable.
With the right preparation and careful tightening, your BikeShield will stay firmly in place, protecting your bike and extending its lifespan. Follow these steps each time you switch bikes or replace the protector to keep your rides looking their best.

