What You Need Before You Start
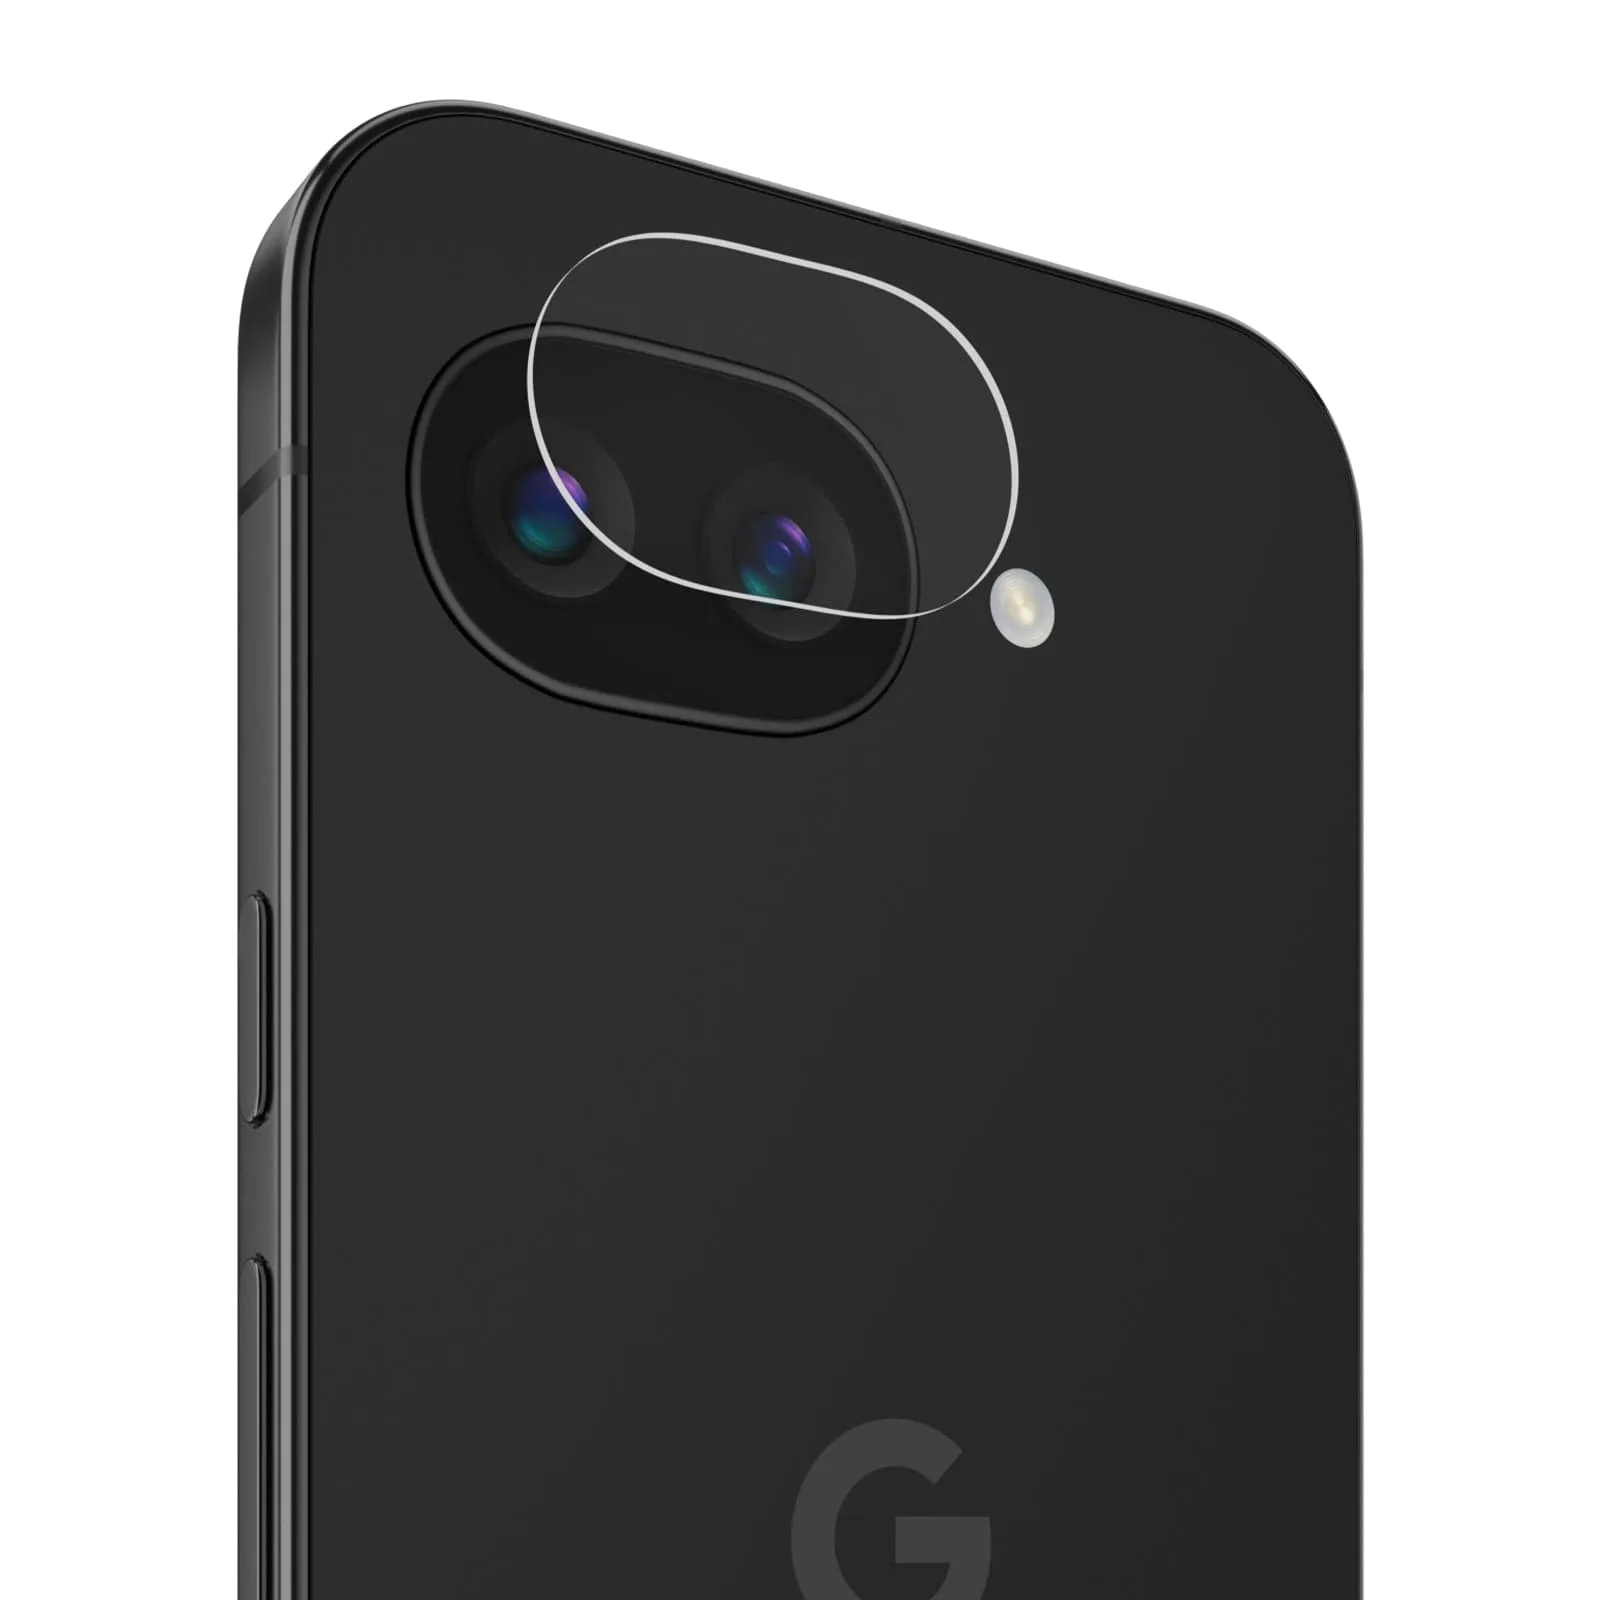
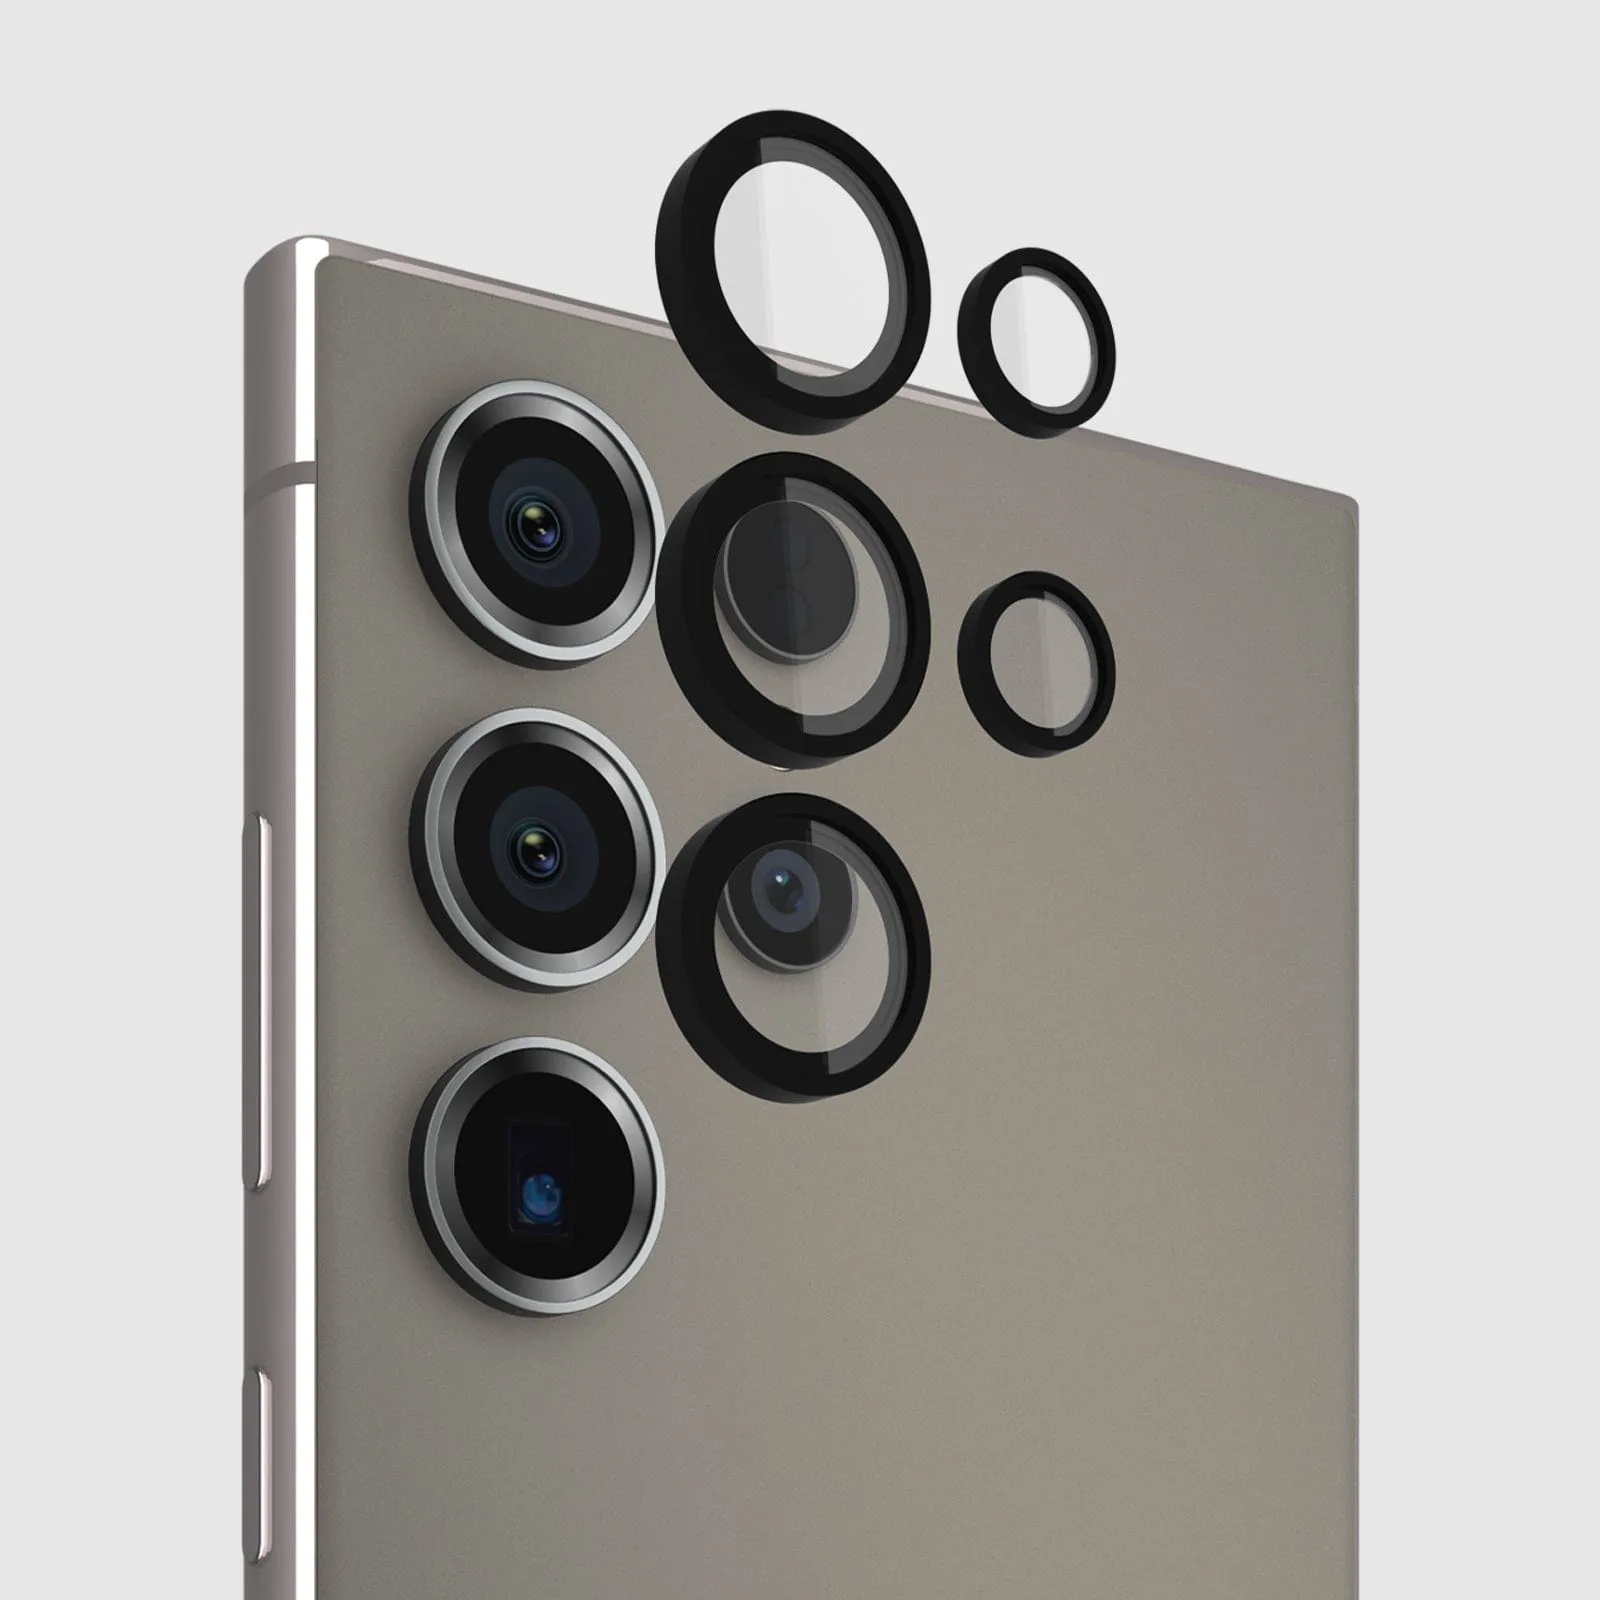
Installing a camera lens protector on your Pixel 11 is a straightforward way to keep the lenses scratch-free and fingerprint-resistant. The Glass Camera Lens Protector for Pixel 11 uses double-tempered glass with scratch-proof and anti-fingerprint coatings, so you get lasting clarity with minimal maintenance. Before you begin, make sure you have the protector itself, a clean microfiber cloth, and a dust-free workspace. Good lighting helps you spot any dust specks before they get trapped under the glass.
What the Product Record Confirms
-
Glass Camera Lens Protector - Pixel 11: Featuring double-tempered glass with scratch-proof and anti-fingerprint coatings, this lens protector is made to last. The double-tempered construction adds durability, while the anti-fingerprint coating keeps the lens clear and easy to clean after installation.
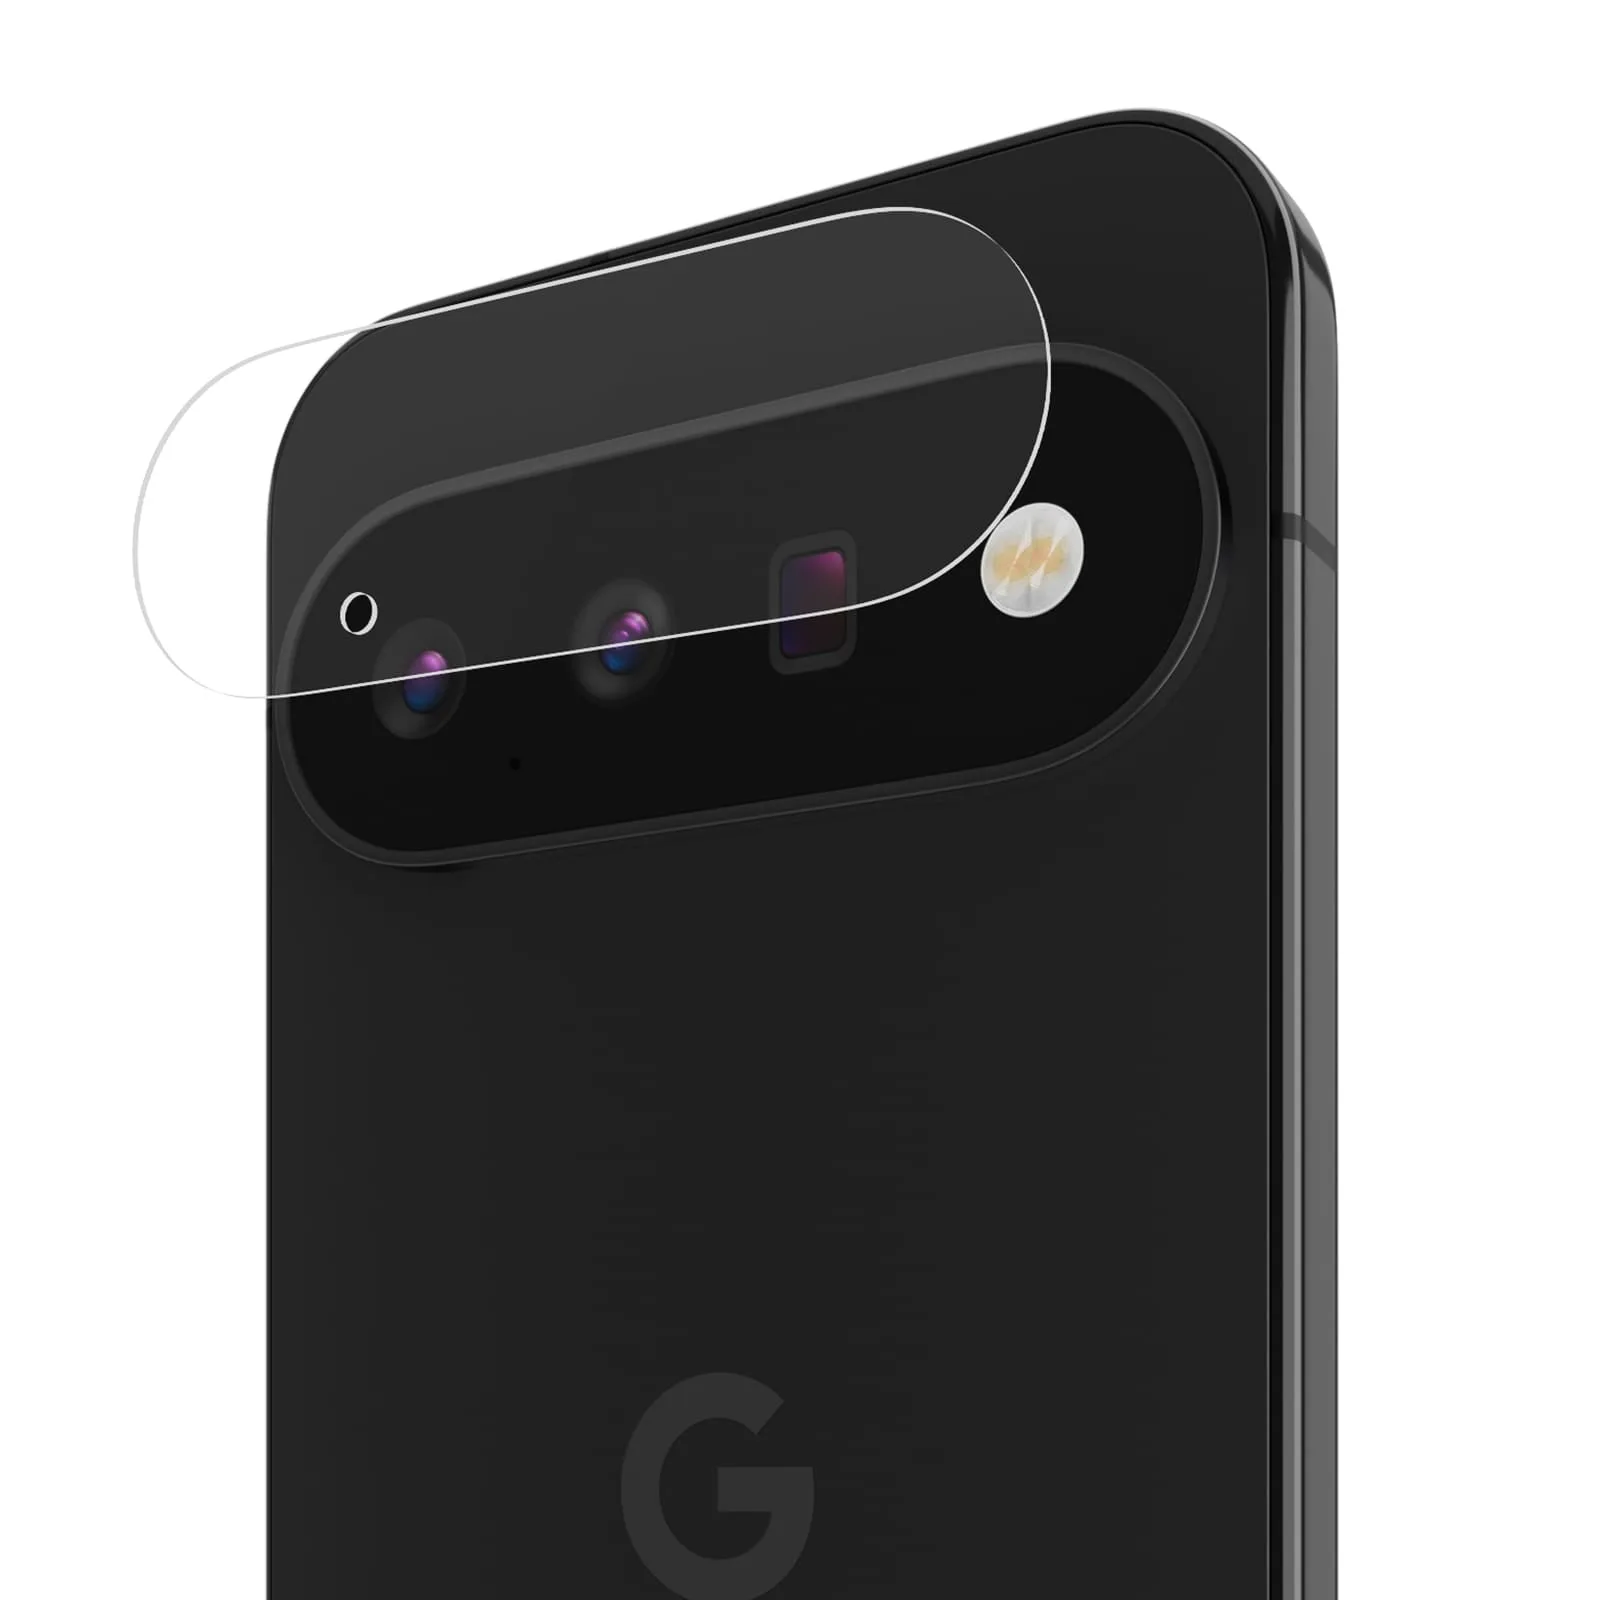
Glass Camera Lens Protector - Pixel 11
-
Glass Camera Lens Protector - Pixel 11: Protect your camera with a Lens Protector! This confirms the protector is designed specifically for the Pixel 11 camera module, not for the screen or other parts of the phone.
Installation Steps for the Pixel 11 Lens Protector
The following steps are based on the features confirmed by the product record. Because the record does not include a printed instruction sheet, these steps follow the typical process for a glass lens protector with similar coatings.
- Clean the camera lenses thoroughly: Use the microfiber cloth to remove dust, oil, or smudges from the Pixel 11 camera lenses. Any debris trapped under the protector can cause bubbles or reduce clarity.
- Peel the backing from the lens protector: Hold the protector by the edges to avoid touching the adhesive side. The anti-fingerprint coating is on the outer surface, so handle it gently to keep the coating intact.
- Align the protector over the camera module: Position the protector so it matches the shape and cutouts of the Pixel 11 camera array. The double-tempered glass is rigid, so it should sit flat without flexing.
- Press down from the center outward: Gently press the center of the protector and let the adhesive bond spread toward the edges. This helps push out any air trapped beneath.
- Check for bubbles and dust: If a small bubble remains, lift the nearest edge with a piece of tape and reapply. If dust is visible, remove the protector, clean again, and repeat the process.
Limitations of the Supplied Information
The product record for the Glass Camera Lens Protector - Pixel 11 does not confirm whether an alignment tool or installation kit is included. If you prefer guided alignment, you may want to check the packaging or product images before purchasing. The record also does not specify the exact thickness of the glass or whether the protector affects wireless charging or case fit. For these details, refer to the product listing or contact the seller. The installation steps above follow best practices for glass lens protectors with adhesive backing and scratch-proof coatings.