Quick Answer
Install cantera tile outdoors by preparing a stable base, using the right mortar and grout, and sealing the tile to protect it from moisture and stains. Follow the steps below for a long-lasting patio or walkway.
Why Cantera Tile Works Outdoors
Cantera stone is a naturally porous material that can handle outdoor conditions in non-freeze-thaw climates. Its earthy tones and unglazed finish give patios and walkways a warm, artisanal look. However, because it is softer and more absorbent than some other natural stones, proper installation and maintenance are critical to avoid premature wear.
One common mistake is skipping the sealer or using the wrong type. Sealing helps reduce water absorption and makes cleaning easier, but it must be applied after installation and reapplied periodically. If you live in an area with freezing temperatures, cantera tile may not be the best choice—consider alternatives that are more frost-resistant.
Installation Steps
- Prepare the Substrate: Ensure the surface is clean, level, and structurally sound. For ground installation, compact a gravel base and add a sand or mortar bed to prevent shifting. For concrete slabs, repair any cracks and clean off dirt or grease. Check that the base has proper drainage to avoid water pooling under the tile.
- Plan Your Layout: Dry-lay the tiles to plan cuts and spacing, keeping joints consistent (typically 1/4 to 3/8 inch). Snap chalk lines to guide straight rows and adjust for any variations in tile size. Start from the most visible edge and work toward less noticeable areas to minimize awkward cuts.
- Apply Mortar and Set Tiles: Use a polymer-modified thin-set mortar suitable for outdoor use and trowel it onto the substrate in small sections. Press each tile firmly into place, using spacers to maintain even gaps. Tap lightly with a rubber mallet to ensure full contact. Check for lippage (uneven edges) frequently and adjust before the mortar sets.
- Grout the Joints: After the mortar cures (usually 24 hours), fill the joints with a sanded grout that is recommended for outdoor use. Work the grout into the gaps with a rubber float, then wipe off excess with a damp sponge, being careful not to remove grout from the joints. Wait until the grout is firm before cleaning to avoid washing it out.
- Seal the Tile: Once the grout has fully cured, apply a penetrating sealer designed for natural stone. This helps protect the porous surface from moisture, stains, and fading. Apply two coats, allowing the first to dry before the second. Plan to reseal every 1-2 years, depending on exposure and wear.
Tile Options for Outdoor Projects
-
Caldera 12x24: Caldera 12x24 is a rectangular Cantera tile in a solid tan color with an unglazed finish, rated for outdoor use in non-freeze-thaw environments. This large-format neutral tile is a practical choice for patios and walkways in mild climates, offering a clean, seamless look with fewer grout lines.
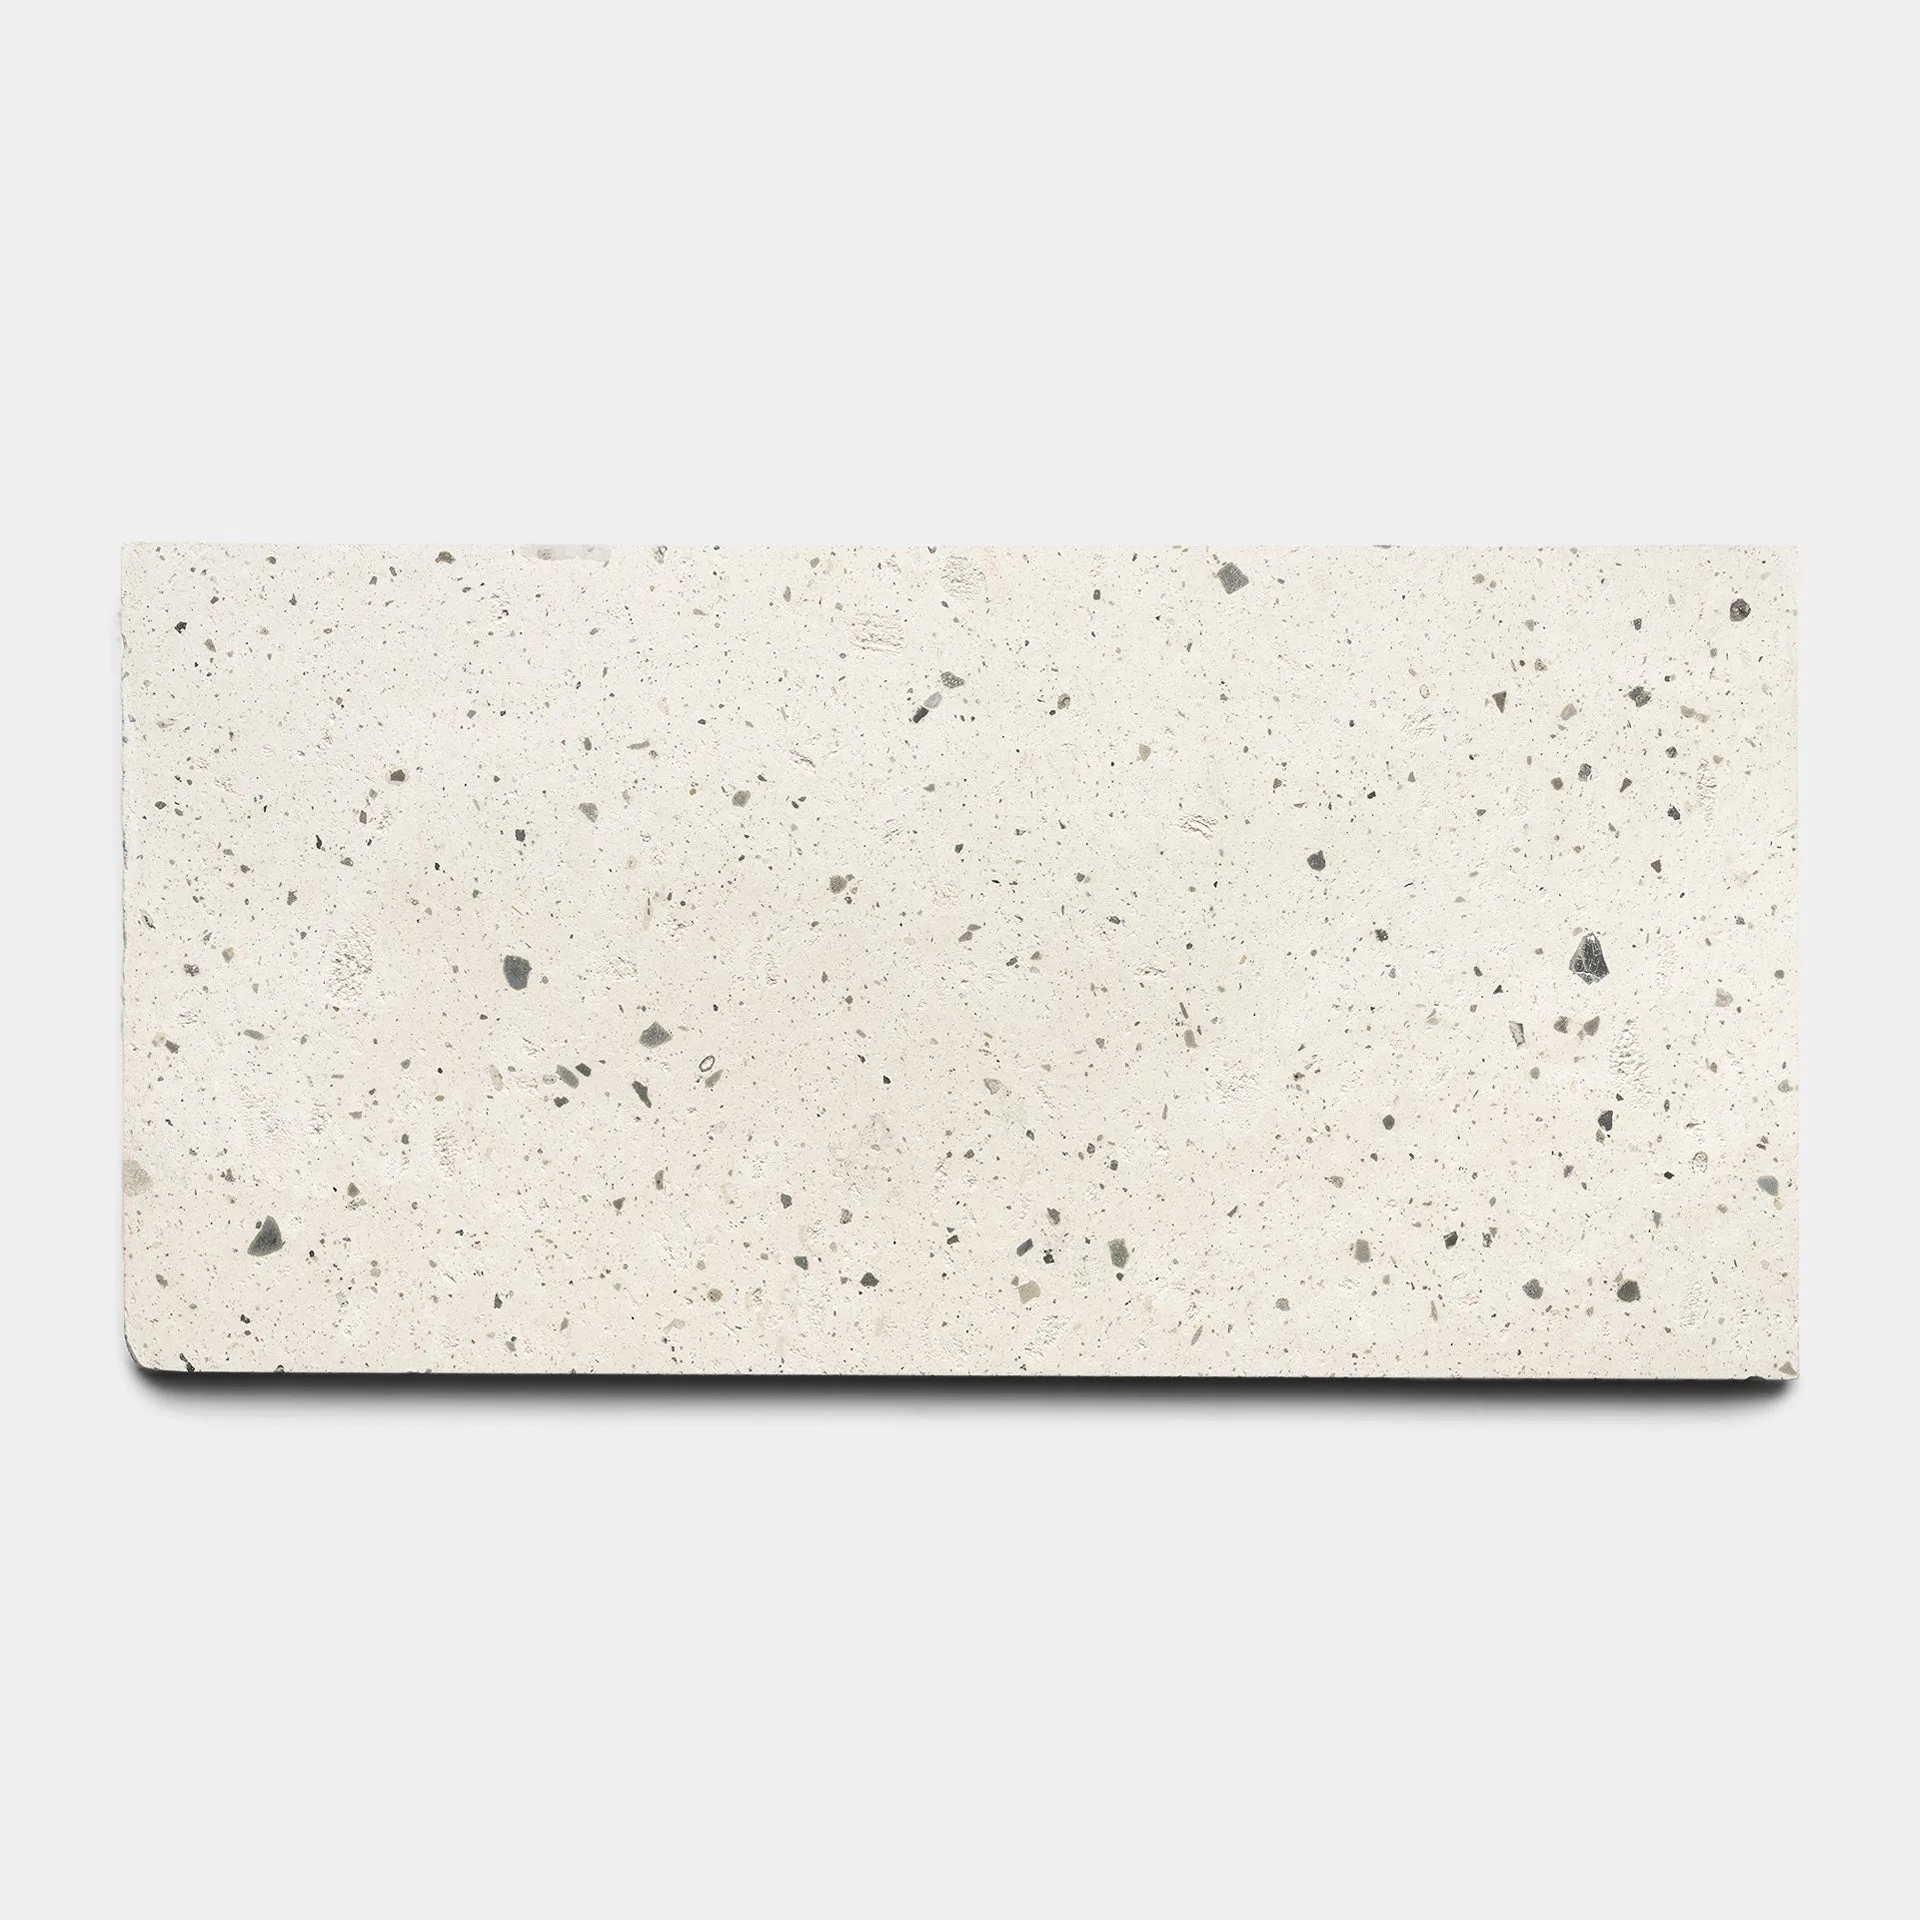
Caldera 12x24