Quick answer
Install a ceiling fixture on a sloped ceiling by using a sloped ceiling adapter kit, ensuring the mounting bracket is level, and selecting a fixture rated for slope use. Follow these steps for a safe, professional installation.
Why slope-rated fixtures matter
Standard ceiling fixtures are designed for flat ceilings. On a sloped ceiling, the fixture may hang crooked, strain the electrical box, or fail to meet code. A fixture like the Slope Chandelier 4 is built with a universal mounting system that adapts to slopes up to 45 degrees, ensuring the canopy sits flush and the chain hangs plumb.
Tools and materials you will need
Gather a sloped ceiling adapter kit (if not included with your fixture), a voltage tester, wire strippers, screwdrivers, a level, and a helper for larger fixtures. The Slope Chandelier 4, for example, comes with a 4" universal mount that simplifies the process.
Step-by-step installation process
- 1. Turn off power and test the circuit: Switch off the breaker for the room. Use a voltage tester on the existing ceiling wires to confirm no power is present. Do not rely on the wall switch alone — it may not disconnect all power. Always test before touching wires, even if the switch is off.
- 2. Remove the old fixture and inspect the electrical box: Take down the existing fixture. Check that the electrical box is rated for the weight of your new fixture and is securely fastened to a rafter. For sloped ceilings, the box must be mounted level with the slope — not tilted. If the box is loose or not rated for the fixture weight, replace it before proceeding.
- 3. Install the sloped ceiling adapter or universal mounting bracket: Attach the adapter or bracket per the manufacturer's instructions. For the Slope Chandelier 4, use the included 4" universal mount. Ensure the bracket is level by adjusting the swivel or angle adapter. Tighten all screws securely. A bracket that is not level will cause the fixture to hang crooked — double-check with a level.
- 4. Connect the wiring: Match the fixture wires to the house wires: black to black (hot), white to white (neutral), and green or bare copper to the ground screw. Use wire nuts and wrap with electrical tape. Tuck wires neatly into the box. Ensure no bare wire is exposed outside the wire nut to prevent short circuits.
- 5. Attach the fixture and adjust the chain or rod: Hang the fixture on the bracket and secure it. For chain-hung fixtures, adjust the chain length so the fixture hangs plumb (vertical). The Slope Chandelier 4 uses a universal mount that allows final adjustment after hanging. If the fixture still tilts, check that the bracket is level and the chain links are not twisted.
- 6. Install bulbs and test: Screw in compatible bulbs (E26, max 60W for the Slope Chandelier 4) and restore power. Turn on the switch to verify operation. If the fixture flickers, turn off power and recheck wire connections. Use dimmable bulbs if your fixture is on a dimmer switch for best performance.
Fixture recommendation
-
Slope Chandelier 4: Features a 4" universal mount and is UL/cUL listed for damp locations. The universal mount adapts to sloped ceilings without extra hardware, and the damp rating makes it safe for kitchens and covered porches.
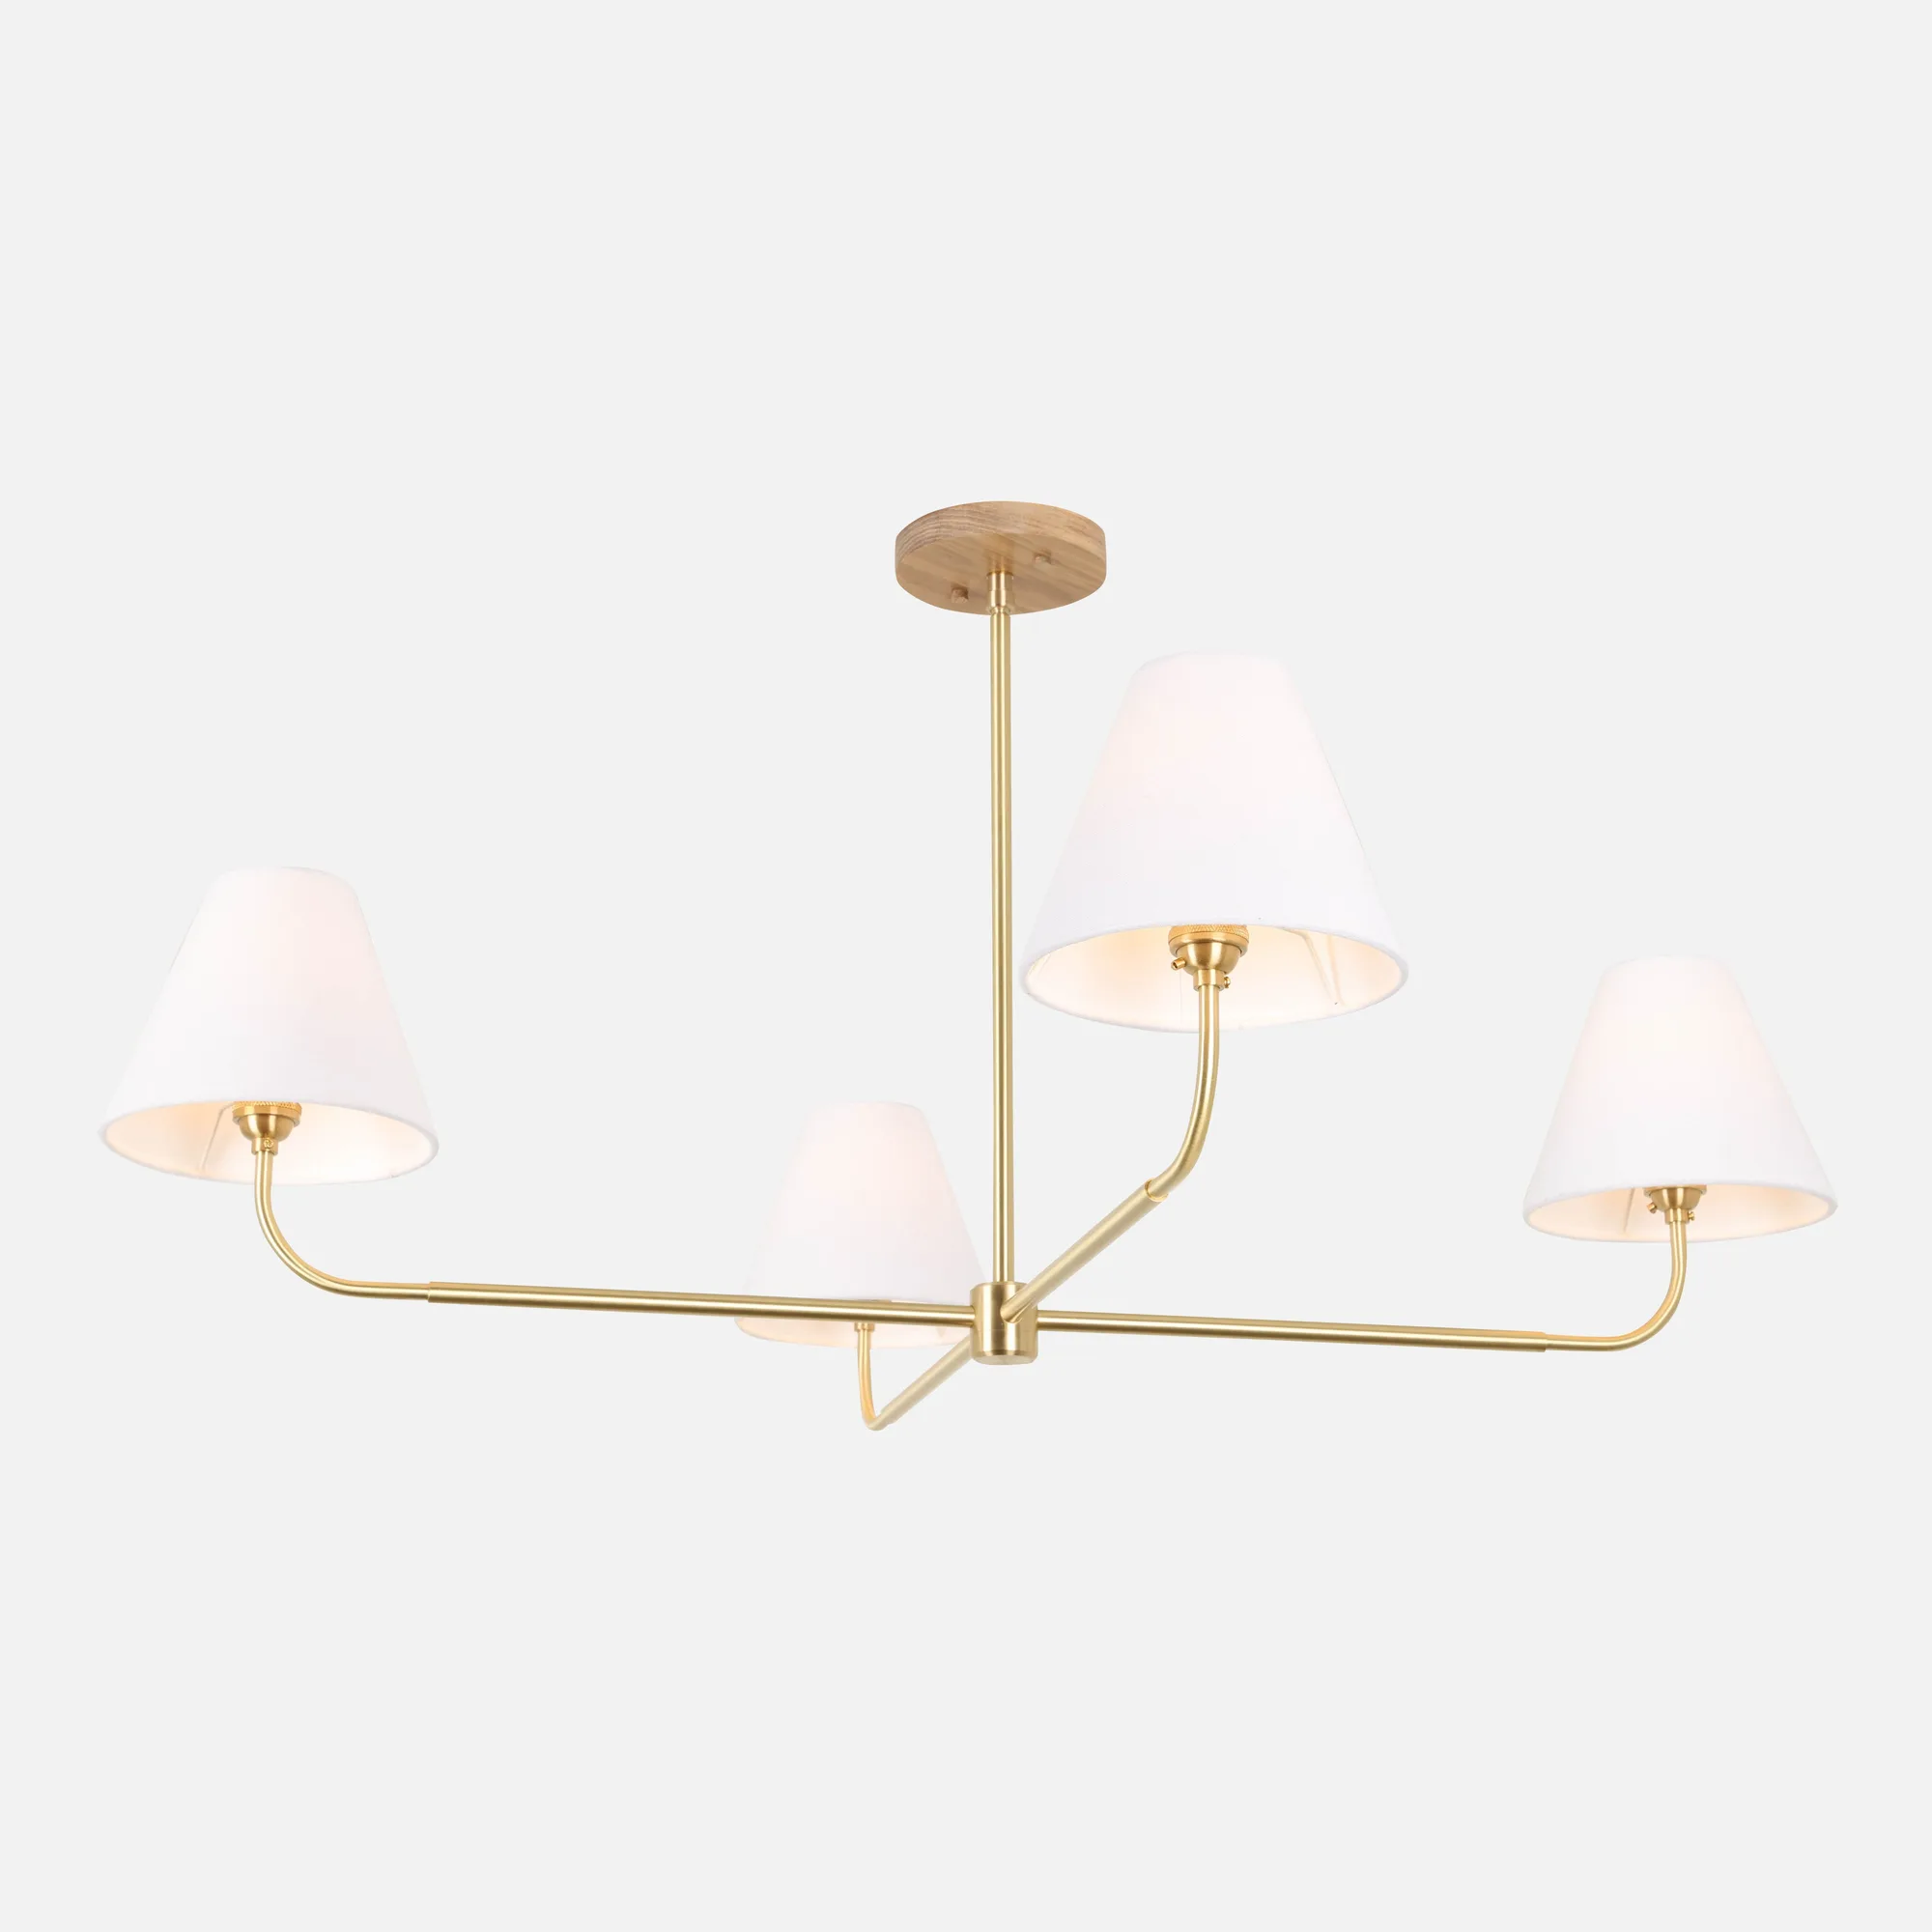
Slope Chandelier 4