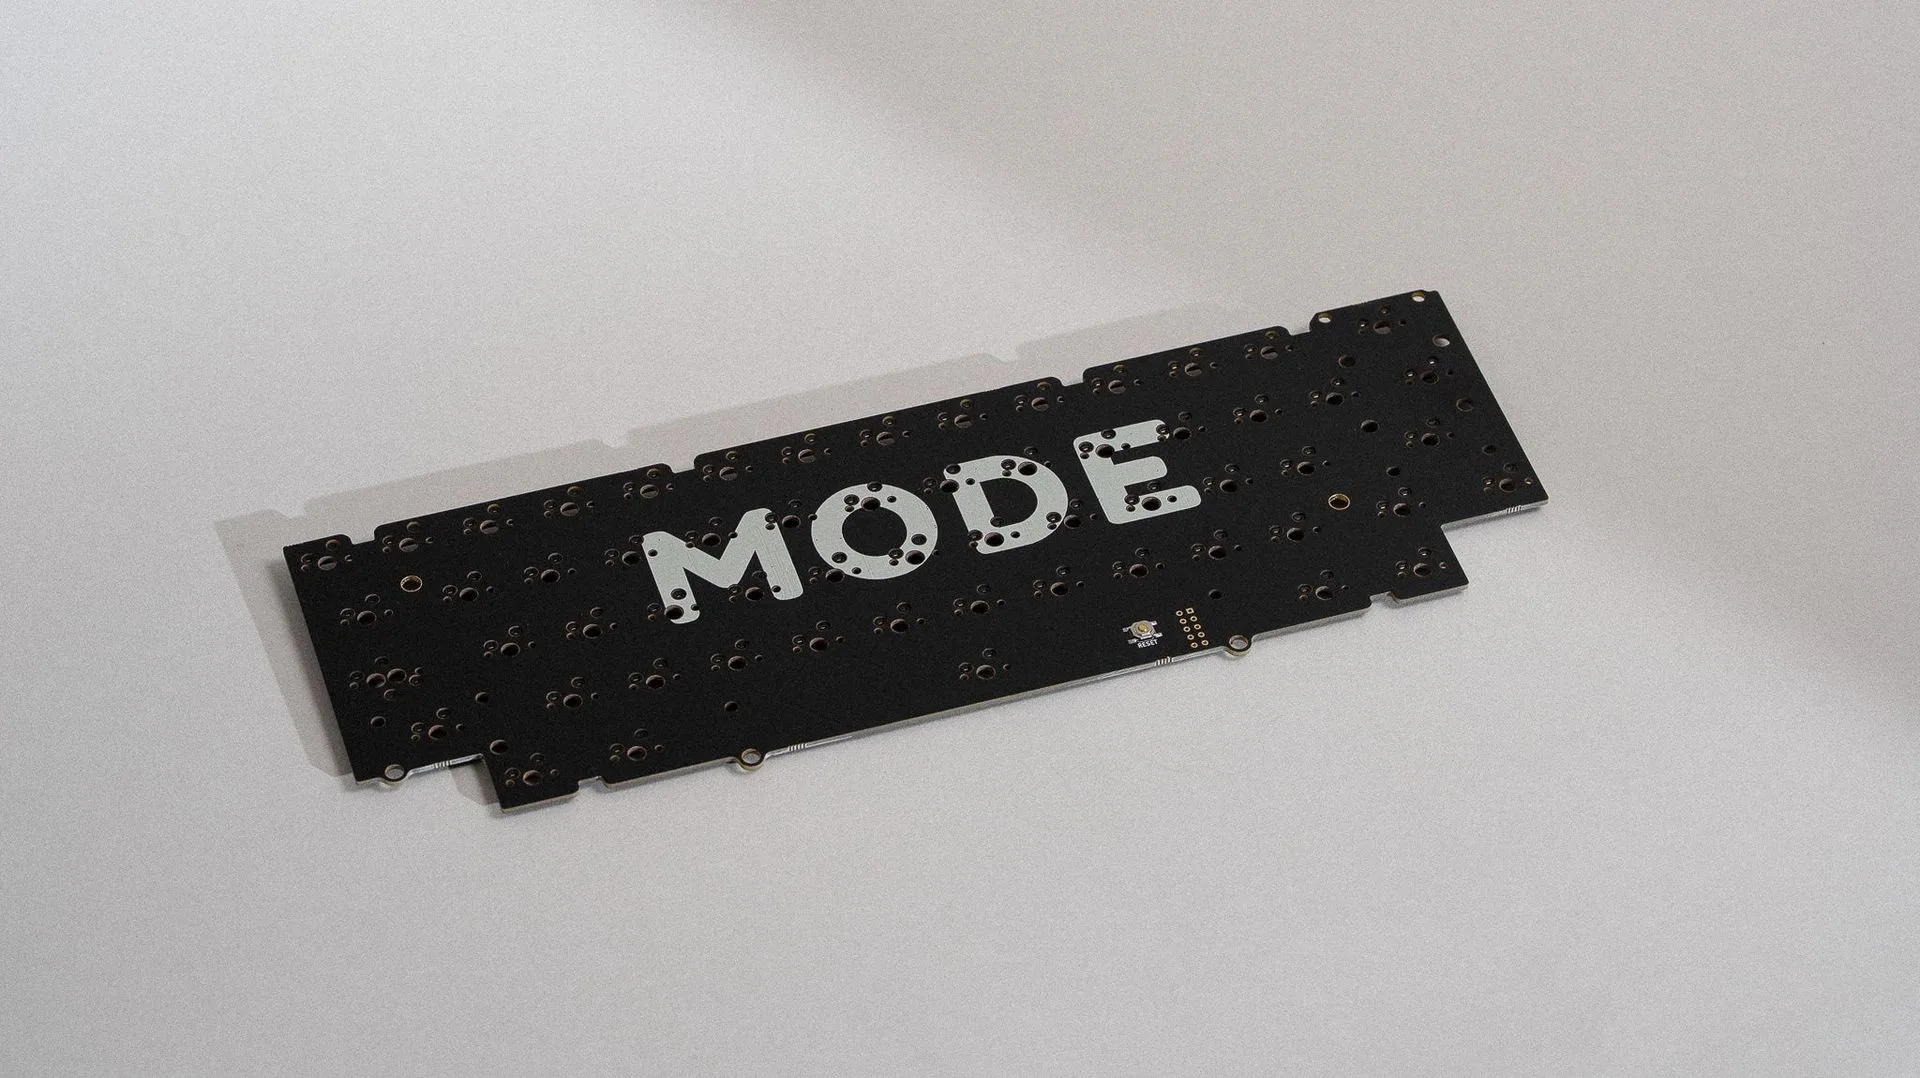
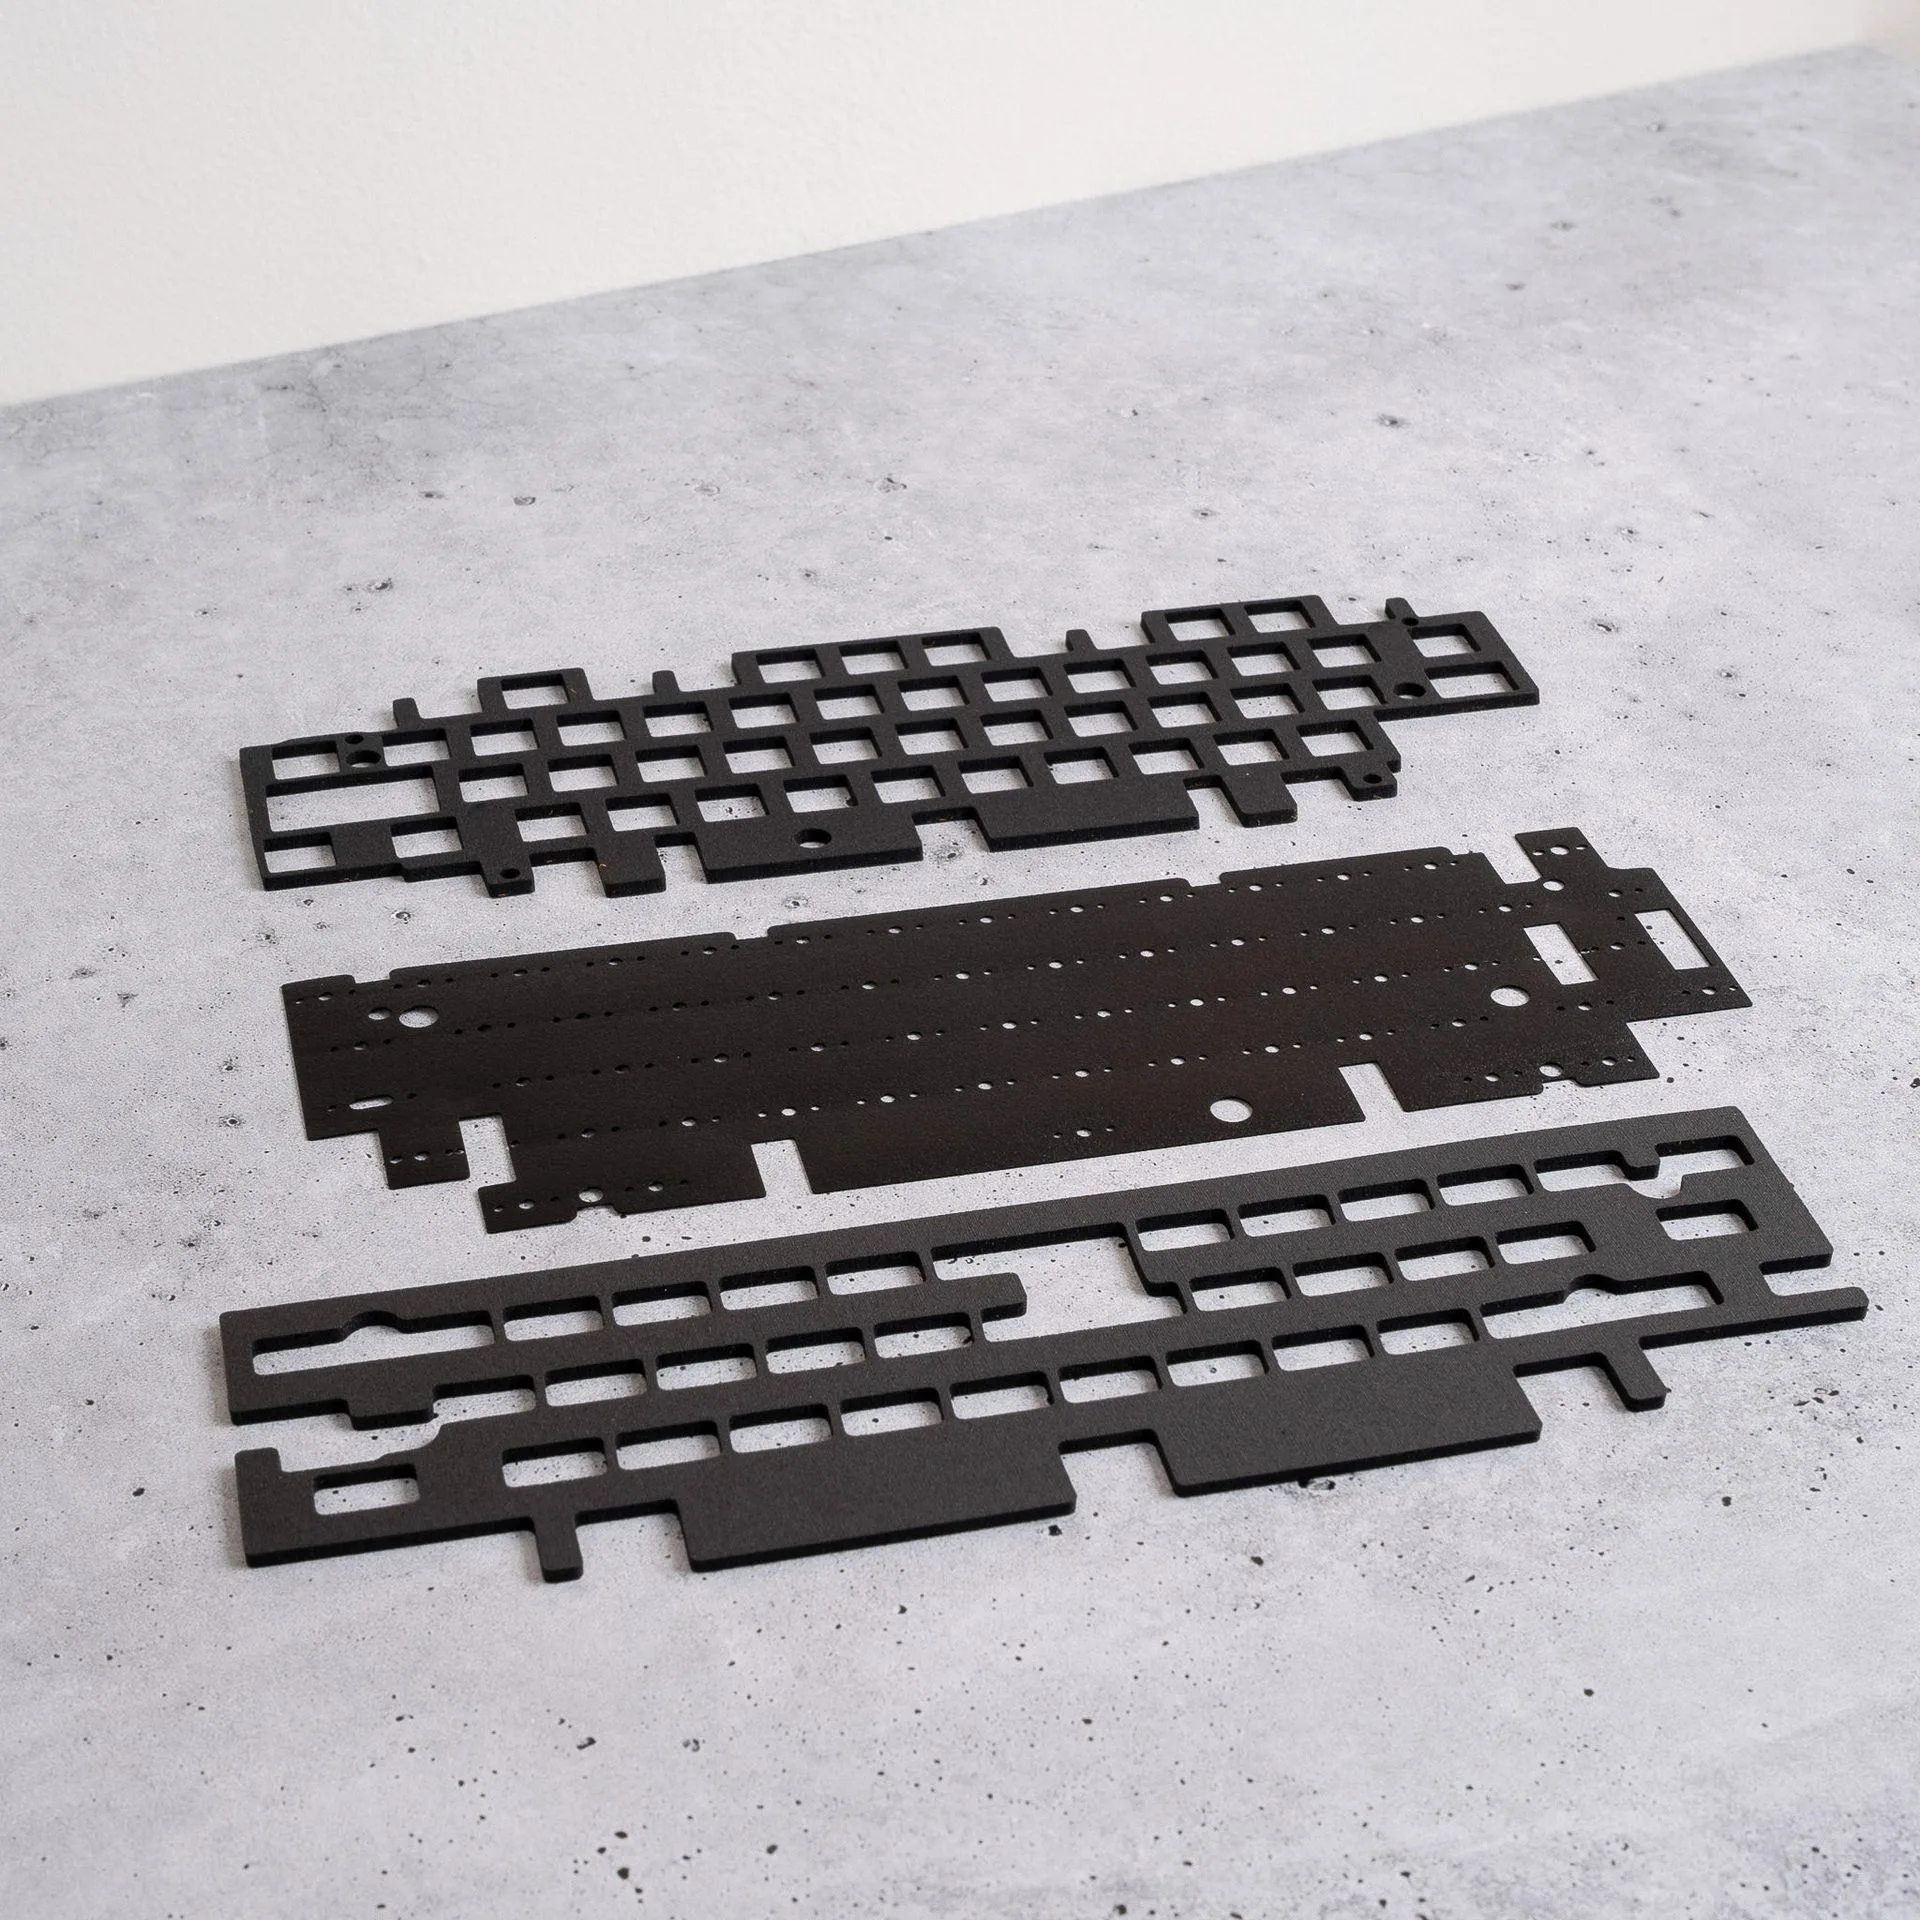
Quick Answer
To install the Crown Mounting System on your SixtyFive, first remove the existing top case and plate, then place the Crown Mounting System components correctly, and reassemble. Ensure the gaskets align properly to avoid uneven flex and rattling.
Upgrading your SixtyFive with the Crown Mounting System can transform its typing feel and acoustics. This system, known for its wave-spring foundation, provides a more consistent flex and improved vibration isolation compared to traditional mounts. In this guide, we'll walk you through the installation process step by step, highlighting common pitfalls and how to avoid them.
Whether you're a seasoned builder or new to custom keyboards, following these instructions will help you achieve a clean, stable build that sounds and feels great. Let's get started.
What You'll Need
Before you begin, gather your SixtyFive keyboard, the Crown Mounting System - Top, a screwdriver (typically a Phillips or hex, depending on your case), and a clean, soft surface to work on. It's also helpful to have a keycap puller if your keycaps are still installed, as you'll need to access the screws underneath.
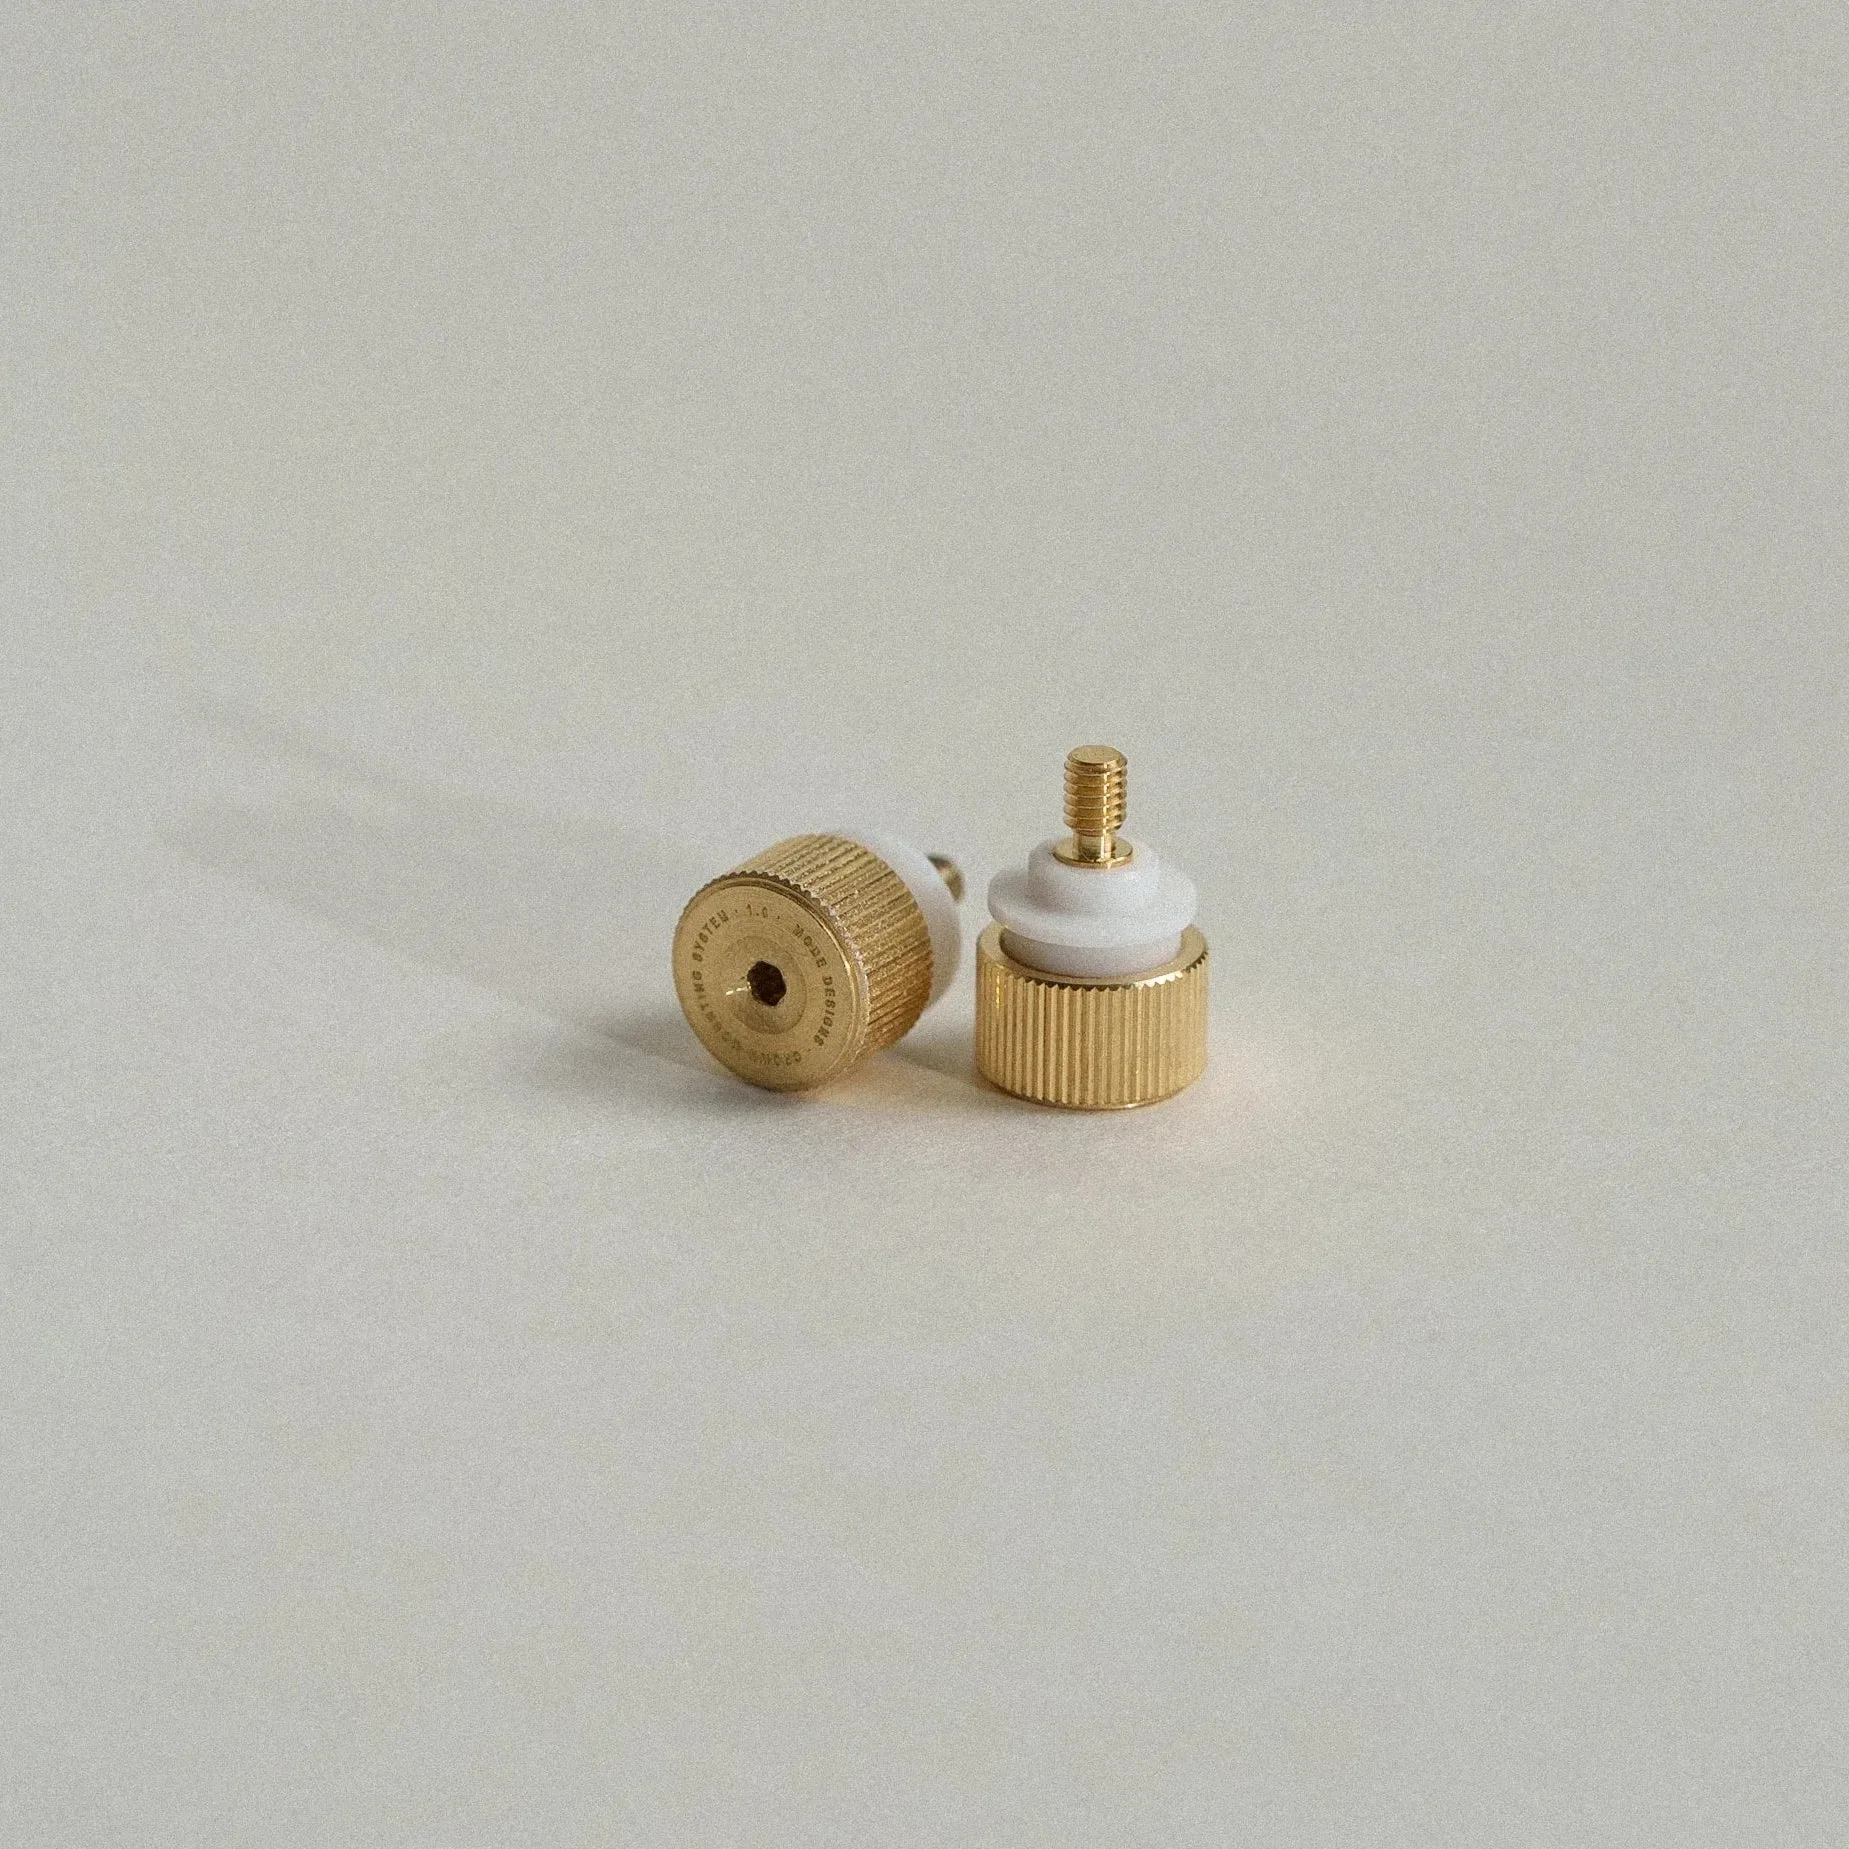
Crown Mounting System - Top
Ensure your workspace is well-lit and organized. Keep track of all screws and small parts—using a magnetic mat or small containers can prevent losing them. Double-check that your Crown Mounting System is compatible with your SixtyFive model; the 2026 Encore is specifically mentioned in the product details, but this guide applies to the SixtyFive as well.
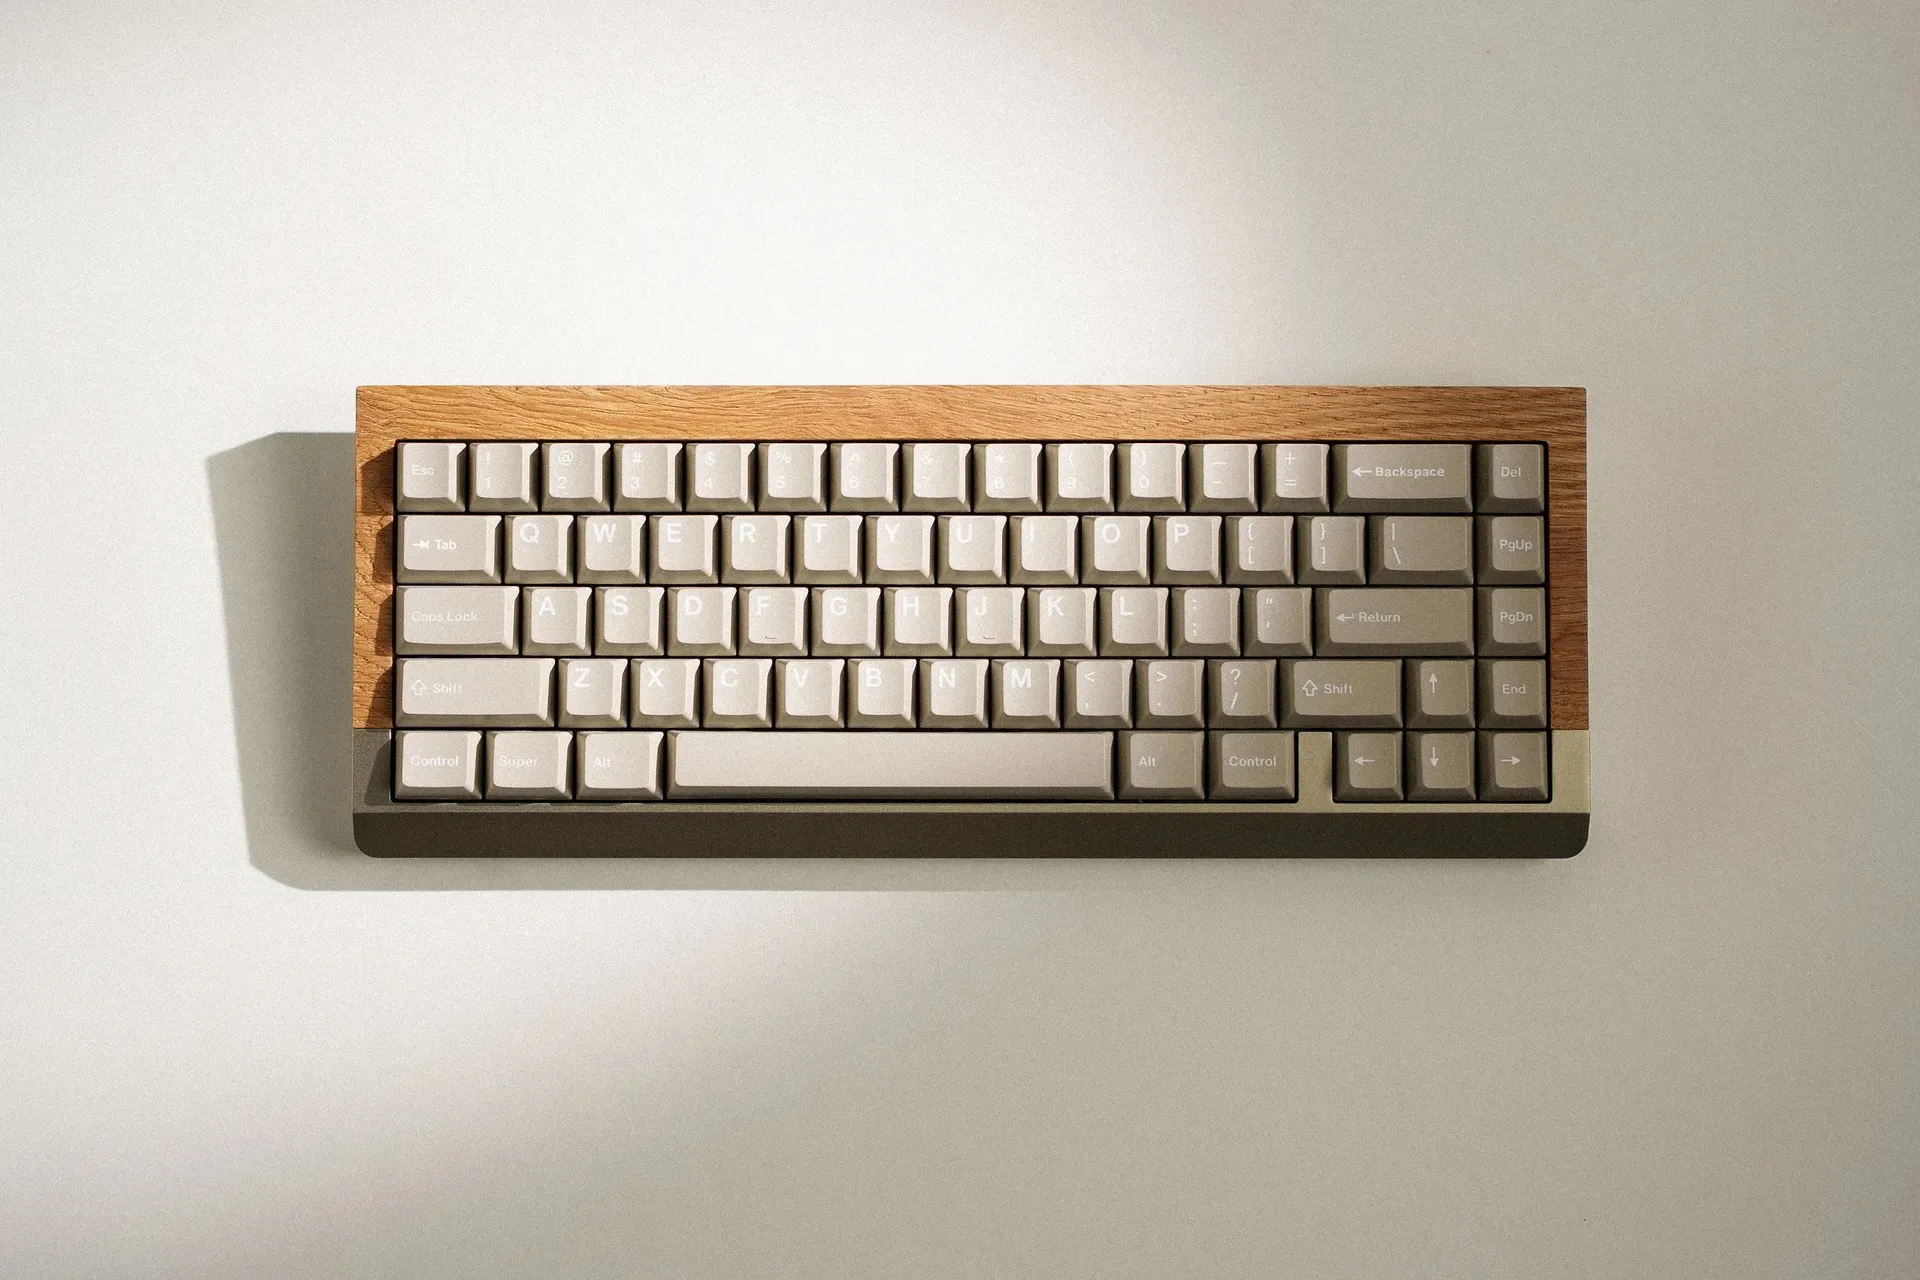
Encore
- Use a soft cloth or mat to protect your keyboard's finish.
- Have a screwdriver with the correct bit size to avoid stripping screws.
Step 1: Disassemble Your SixtyFive
Start by unplugging your keyboard and removing the keycaps. Set them aside in order or use a keycap puller to avoid losing them. Next, flip the keyboard over and remove the screws from the bottom case. Keep these screws in a safe place.
Once the screws are removed, gently separate the top case from the bottom case. Be careful not to pull too hard, as there may be ribbon cables connecting the PCB to any daughterboard or RGB components. If you encounter resistance, check for additional screws or clips.
- Take a photo of the disassembly steps to help with reassembly.
Step 2: Remove the Existing Plate and Gaskets
With the top case off, you'll see the plate and the existing gasket or mounting system. Carefully lift the plate with the PCB attached. If your build uses screws to secure the plate, remove them first. If it's a gasket mount, gently pull the plate away from the case, noting how the gaskets are positioned.
Set aside the old gaskets and any screws. Clean the case interior with a soft, dry cloth to remove dust or debris. This ensures a clean surface for the new mounting system.
- Keep the original screws separate from any new ones included with the Crown Mounting System.
Step 3: Prepare the Crown Mounting System
The Crown Mounting System - Top includes components that replace the traditional top mount. Inspect the parts: you should have the main mounting brackets or rails, and possibly additional wave springs or gaskets. Familiarize yourself with the orientation—usually the wave spring side faces the plate.
If your kit includes adhesive or alignment pins, apply them as indicated in the product instructions. The goal is to ensure the system sits flush against the case and provides even support.
- Test-fit the components before final assembly to ensure everything aligns.
Step 4: Install the Crown Mounting System
Place the Crown Mounting System components into the bottom case. Align the screw holes with those on the case. Depending on the design, you may need to screw the mounting brackets into the case first, then place the wave springs on top.
Ensure that the wave springs are oriented correctly—they should sit between the plate and the case to provide the flex and vibration isolation. If the system uses a top-mount style, the brackets will hold the plate from the top, but with the added benefit of the wave springs.
- Do not overtighten screws; snug is enough to avoid stripping.
Step 5: Reinstall the Plate and PCB
Carefully place your plate with the PCB onto the mounting system. Align the screw holes with the brackets. If the system uses gaskets or wave springs, ensure they are positioned evenly around the plate to promote uniform flex.
Screw the plate into place, starting from the center and working outward in a star pattern. This ensures even pressure and prevents warping. Tighten screws gently—over-tightening can cause the plate to bend or the gaskets to compress unevenly.
- Check that all screws are tightened to the same tension for consistent flex.
Step 6: Reassemble the Case
Place the top case back onto the bottom case, ensuring that any ribbon cables are properly routed and not pinched. Align the case edges and press together until you hear a click or the seams are flush.
Replace the screws on the bottom case, again tightening evenly. Avoid over-tightening to prevent stripping. Once assembled, test the keyboard by plugging it in and checking that all keys register.
- If the keyboard feels uneven or rattles, disassemble and check the mounting system alignment.
Installation Steps at a Glance
- Disassemble: Remove keycaps, unscrew bottom case, and separate top from bottom carefully. Checkpoint: Ensure no ribbon cables are connected before fully separating.
- Remove Old Mount: Take out the existing plate and gaskets, and clean the case interior. Checkpoint: Keep screws organized and note the original gasket placement.
- Install Crown Mount: Place the Crown Mounting System components into the case, aligning with screw holes. Ensure wave springs are oriented correctly. Checkpoint: Test-fit before securing to ensure proper alignment.
- Reattach Plate: Place the plate and PCB onto the mounting system, aligning screw holes. Tighten screws evenly from center outward. Checkpoint: Avoid over-tightening to prevent plate bending.
- Reassemble Case: Route cables, close the case, and replace bottom screws. Test all keys. Checkpoint: If keys don't register, reopen and check connections.
Products Mentioned in This Guide
- Crown Mounting System - Top: A top mount variation of the Crown Mounting System. Using the same foundation of the wavespring variant of the Crown Mounting System this variant more closely resembles a typical top-mount. However, it features improved vibration isolation and reduces strain on the plate. Compatible with the 2026 Encore. This is the core product for this installation. Its improved vibration isolation and reduced plate strain contribute to a more comfortable typing experience and potentially longer-lasting components.
With the Crown Mounting System installed, your SixtyFive will offer a more refined typing experience with improved vibration isolation. Enjoy the new feel and sound, and don't hesitate to revisit these steps if you ever need to adjust or swap components.