Quick answer
Installing door noise reduction seals on a Tesla is a straightforward DIY job: clean the door frame, test-fit the seal, peel and press it into place, then close the door slowly to check for binding. The most common mistake is skipping the alcohol wipe, which causes the adhesive to fail within weeks. Work in shade, above 60°F, and press firmly along the entire length.
door noise reduction seals
If you've noticed more wind roar or road noise than you'd like at highway speeds, door noise reduction seals are one of the simplest upgrades you can make. They add a secondary weatherstrip along the door frame to close small gaps that let air whistle through.
This guide walks through a clean, repeatable install on a Tesla Model 3 or Model Y. It covers prep, test-fitting, adhesion, and the checkpoints that separate a seal that lasts for years from one that peels off in a month.
Prep the door frame properly
Start by washing and drying the door frame and the inner door edge. Dirt, wax, and road film are the enemies of any adhesive-backed seal. Once the surface is dry, wipe the full path where the seal will sit with isopropyl alcohol on a clean microfiber towel. Let it flash off for a minute.
Work in shade or a garage. Direct sun heats the panel unevenly and makes the adhesive tacky before you're ready. If it's below 60°F, warm the seal slightly with a hair dryer on low. A clean, warm, dry surface is the single biggest factor in whether the seal stays put.
- Use 70% isopropyl alcohol, not glass cleaner.
- Avoid touching the adhesive side after wiping the panel.
Test-fit before you peel anything
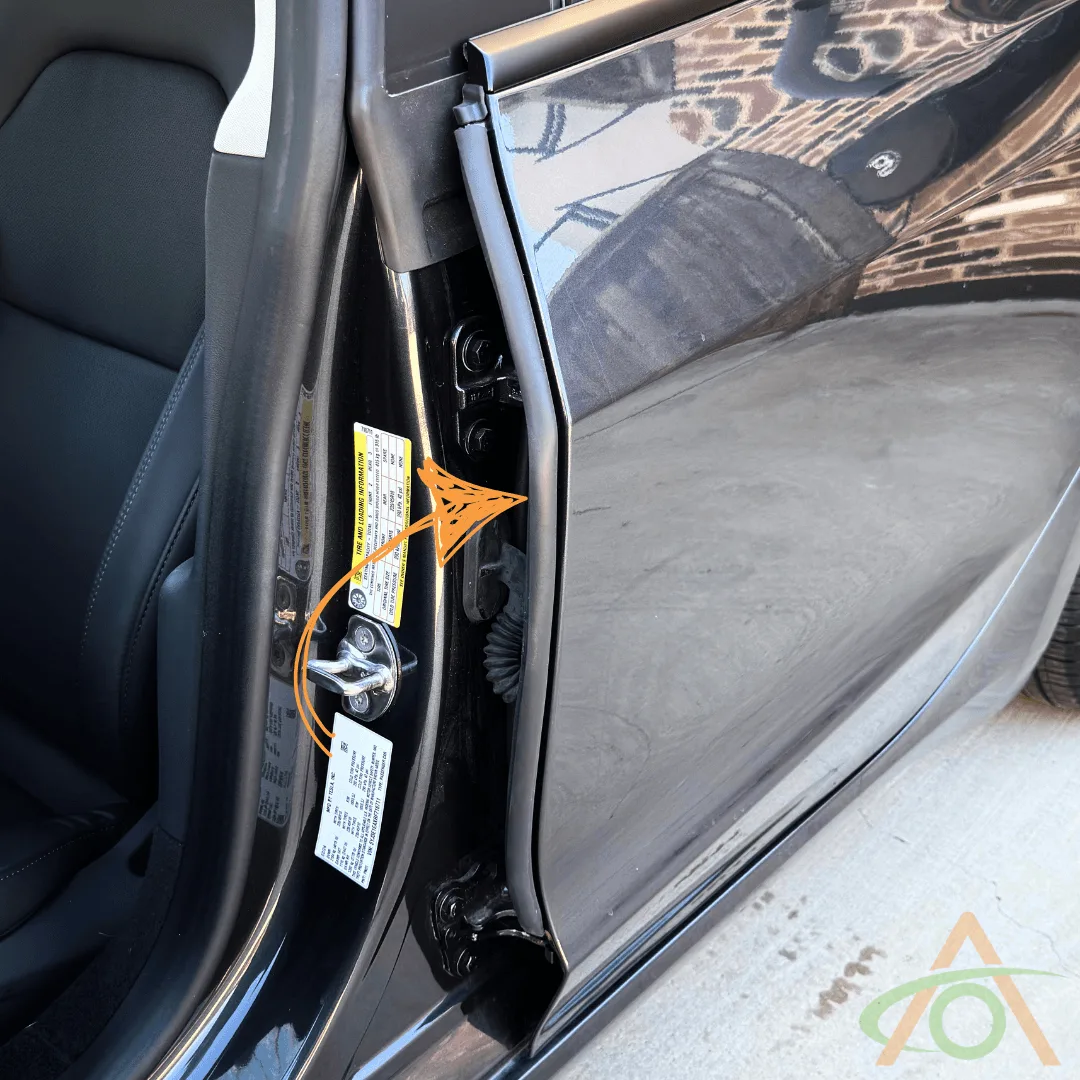
Every door seal kit is shaped for a specific path along the door frame, so dry-fit the strip first with the backing paper still on. Start at the top corner near the B-pillar and work down and around the door opening. The seal should follow the existing weatherstrip line without stretching.
If the strip is too long, trim it with sharp scissors at the end, not the middle. If it's too short, stop and check that you haven't started in the wrong corner. Stretching a seal to make it reach is a common cause of gaps and peeling later.
- Mark the start point with a small piece of painter's tape.
- Never stretch the seal to close a gap; reposition instead.
Peel, press, and work in sections
Peel back only 6–8 inches of backing paper at a time. Press the seal firmly into the frame with your thumb, then continue peeling and pressing in short runs. This keeps the strip aligned and prevents the adhesive from grabbing dust or folding over itself.
Once the full length is down, go back over it with a clean cloth or a roller, pressing hard along the entire seal. Pay extra attention to corners, where the seal wants to lift. A firm, even press is what activates most pressure-sensitive adhesives.
- Work top to bottom so gravity helps alignment.
- Press corners twice; they are the first place to fail.
Check door closure and adjust
Close the door gently the first time. If it needs a hard slam or feels like it's binding, the seal is sitting too far into the door opening. Open the door and press the seal deeper into the frame channel or trim a small amount from the end.
Repeat the open-and-close check on all four doors. A properly installed seal should let the door close with the same effort as before, just with a slightly more solid thunk. If the door won't latch, stop and re-seat the seal before driving.
- Test with the window up and down.
- If the door binds, fix it before you drive.
Let it cure before judging the result
Adhesive needs time to reach full bond strength. Leave the car in a cool, dry place for at least 24 hours and avoid washing it for a couple of days. You can drive immediately, but keep the windows up and avoid slamming doors during that window.
After the cure, take a highway drive and listen. Most owners notice a reduction in wind whistle around the A-pillar and door mirrors. If a section has lifted, clean it again with alcohol, warm it, and press it back down. A small piece of 3M automotive tape can help stubborn corners.
- Wait 24 hours before washing or exposing to heavy rain.
- Re-press any lifted section after the first hot day.
Door seal installation steps at a glance
- Clean and dry the door frame: Wash, dry, then wipe the full seal path with isopropyl alcohol on a microfiber towel. Let it flash off. Checkpoint: the surface should feel squeaky-clean, not slick.
- Dry-fit the seal: With backing paper on, run the seal along the frame starting near the B-pillar. Trim only at the end if needed. Mistake to avoid: stretching the seal to make it reach.
- Peel and press in short sections: Remove 6–8 inches of backing at a time and press firmly with your thumb, working top to bottom. Checkpoint: no folds or gaps at corners.
- Press the full length again: Go over the entire seal with a clean cloth or roller, pressing hard, especially at corners. This step activates the adhesive; don't skip it.
- Test door closure: Close each door gently. If it binds or won't latch, re-seat or trim the seal before driving. Mistake to avoid: forcing the door shut and damaging the seal.
- Let it cure for 24 hours: Avoid washing or heavy rain for at least a day. Re-press any lifted sections after the first hot day. Next step: take a highway drive and listen for improvement.
Products that pair well with this install
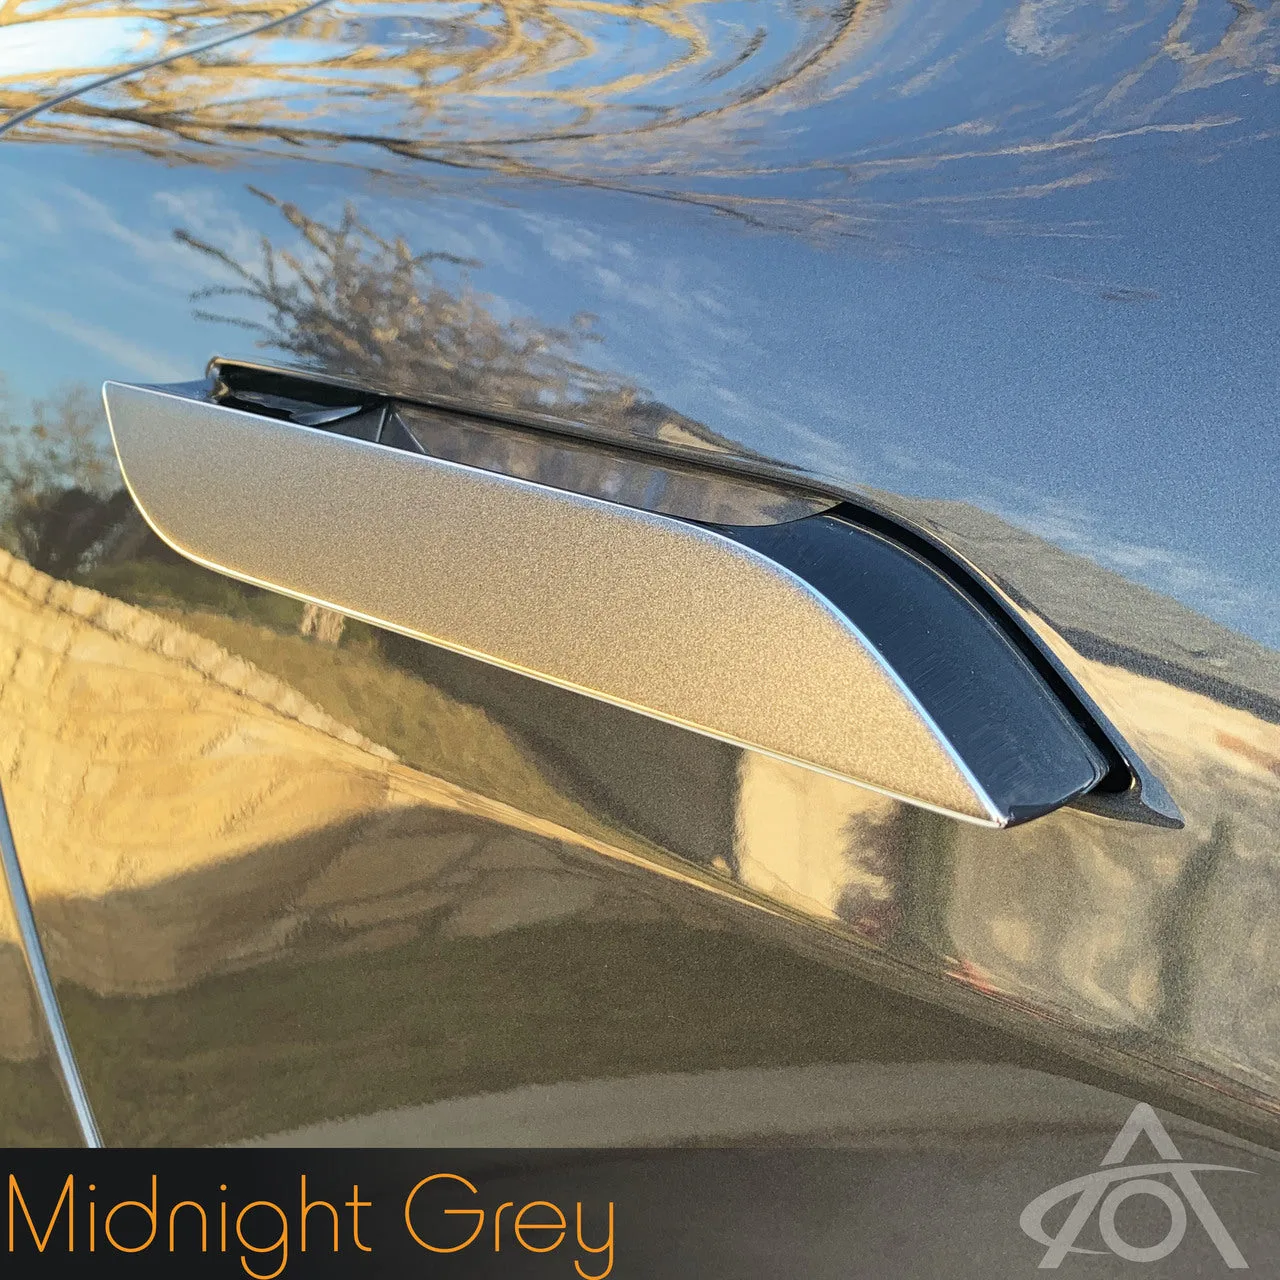
- Model S Vinyl Door Handle Trims (4 pack): Made from premium 3M 2080 vinyl with a clear carrier sheet for precise alignment and no tools required. If you're already working on door-area upgrades, these trims are a quick, low-risk add-on that uses the same clean-surface prep you're doing for the seals.
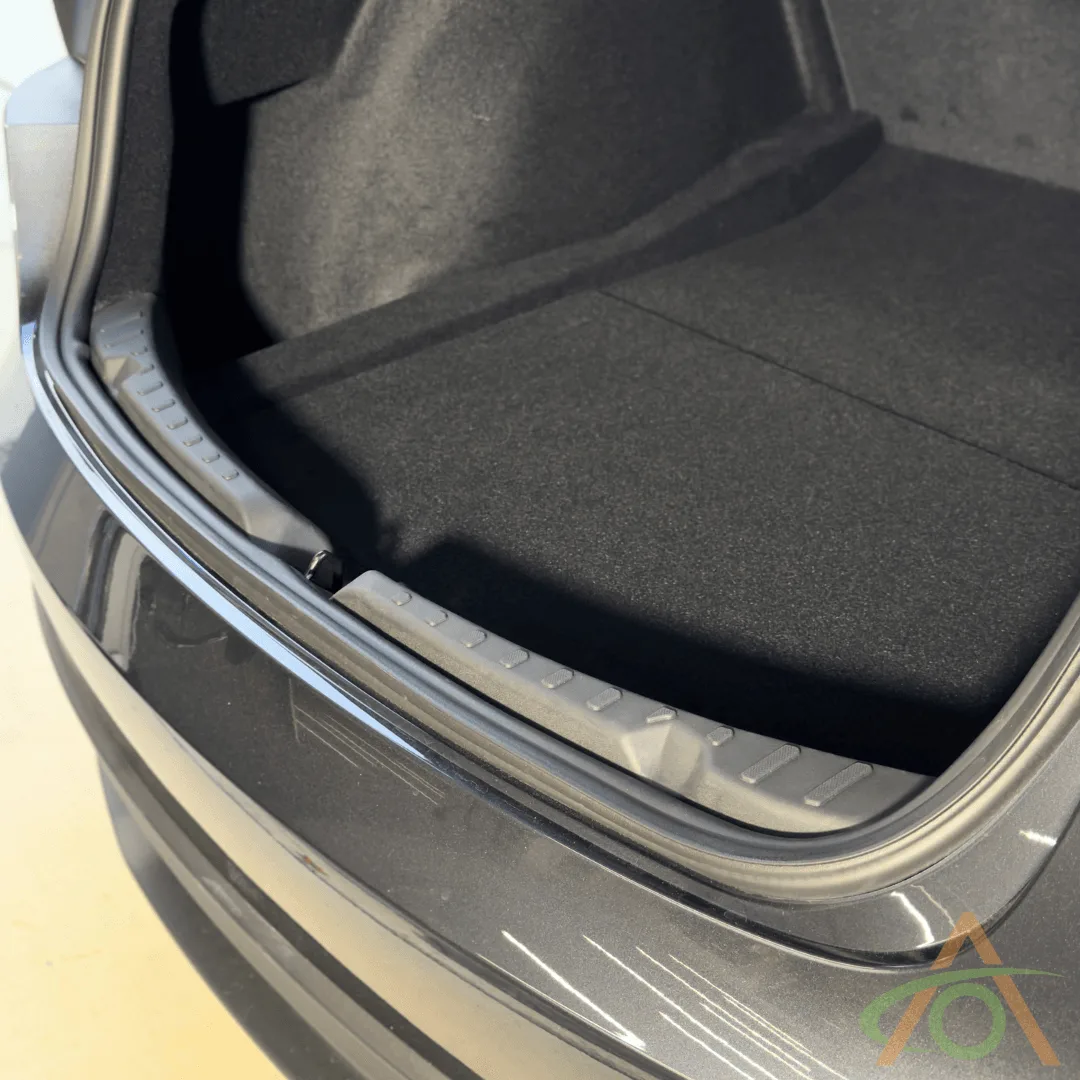
- Trunk Sill Protector for Refreshed Model 3: Made from tough TPE plastic and installs by tucking it under the trunk lip edge. A good example of a simple press-in protection piece that complements door-area work and protects a high-wear edge from scuffs and grime.
Door noise reduction seals are a low-cost, high-satisfaction DIY upgrade when you take the prep seriously. Clean the surface, test-fit before peeling, press firmly, and check door closure before you call it done. If you're tackling other door-area projects, pair this with a simple vinyl trim or a trunk sill protector to get more out of the same session.