Quick answer
A leak-free fuel hose install comes down to four things: matching hose and fitting sizes, cutting the hose square, assembling the fitting exactly as its design requires, and pressure-testing before you drive. Work slowly, keep everything clean, and never mix hose types or reuse a fitting that has already been crushed or swaged.
Most fuel hose leaks are not caused by bad parts. They come from a hose that was cut at an angle, a fitting that was only hand-tightened, or a hose type used on the wrong side of the pump. If you treat the fuel hose kit install as a measured assembly job rather than a quick swap, you can avoid almost all of them.
This guide walks through the full process in order, from planning the route to the final pressure check. Each step includes the mistake that most often causes a leak, so you can catch it before fuel is in the line.
Plan the route and confirm hose and fitting compatibility
Before you cut anything, lay the hose along the intended path and check for heat sources, sharp edges, and moving suspension or driveline parts. Fuel hose should not run against exhaust, and it should not be stretched tight. Leave a little slack so engine movement does not pull on the fittings. Confirm that every connection point matches: hose inside diameter to fitting barb or hose end size, and thread type to the port you are connecting to.
This is also the moment to decide whether you are using rubber hose with barb fittings or PTFE hose with reusable hose ends. They are not interchangeable. PTFE hose requires a compatible hose end and a ferrule or olive, while rubber hose uses a barb and clamp. Mixing the two is one of the most common causes of a leak that only shows up under pressure.
- Check clearance at full suspension travel, not just at ride height.
- Keep hose away from exhaust manifolds, turbochargers, and sharp sheet metal.
- Confirm every thread is the same type (AN, ORB, NPT, or metric) before assembly.
Cut the hose square and clean
A square cut is the foundation of a leak-free fuel hose assembly. Use a sharp hose cutter or a fine-tooth blade, and wrap the cut point with tape before cutting to keep the braid or reinforcement from fraying. Cut perpendicular to the hose centerline. An angled cut leaves an uneven sealing surface and can let the hose pull out of the fitting under pressure.
After cutting, blow out the hose with compressed air to remove rubber dust or metal particles. Any debris left inside can travel to an injector or a filter. If you are working with stainless braid, trim any loose strands so they do not interfere with the fitting collar.
- Tape the hose before cutting to prevent fraying.
- Blow out the hose in the direction of flow.
- Inspect the cut end: it should be round, not oval or angled.
Assemble the fuel hose fitting correctly
Follow the fitting manufacturer's instructions exactly, because assembly methods differ. A barb fitting slides into the hose and is secured with a clamp, while a reusable AN hose end threads onto the hose and compresses a ferrule or olive. For PTFE hose, the ferrule is not optional. For rubber hose, use fuel-injection-rated clamps rather than worm-gear clamps, which can cut into the hose.
Lubricate O-rings and threads with a little clean engine oil or assembly lube, never with grease that can break down in fuel. Thread fittings in by hand first to avoid cross-threading, then tighten to the specified torque or the snug-plus-a-quarter-turn method the manufacturer recommends. If a fitting calls for a specific torque, use a torque wrench.
- Hand-thread every fitting before using a wrench.
- Do not overtighten: it can crush the hose or strip the threads.
- Replace any fitting that has been cross-threaded or dropped on its sealing surface.
Secure, route, and protect the finished hose
Once the fittings are assembled, route the hose along the planned path and secure it with proper clamps or cushion clamps every 12 to 18 inches, and at least once near each end. The hose should not rub against anything. If it must pass near heat, use a heat shield sleeve. If it crosses a sharp edge, add a grommet or a protective sleeve.
Leave a gentle service loop near the engine so vibration and movement do not pull directly on the fitting. Avoid tight bends that kink the hose, because a kink restricts flow and can cause the inner liner to fail. For PTFE hose, respect the minimum bend radius listed by the manufacturer.
- Support the hose every 12 to 18 inches.
- Use a heat shield near exhaust or turbo components.
- Never bend a hose tighter than its rated minimum radius.
Pressure-test before you drive
Before starting the engine, pressurize the system and check for leaks. On an EFI system, cycle the key a few times to let the pump prime, then inspect every fitting with a light and a dry paper towel. On a carbureted system, you may need to crank briefly or use a test pump. Look for weeping at threads, barbs, and hose ends. A leak that shows as a damp spot now will become a spray later.
If you find a leak, do not simply tighten harder. Disassemble the joint, inspect the hose end and the sealing surface, and reassemble. Once the system holds pressure with no dampness after several minutes, start the engine and check again at idle and after a short drive. Recheck the fittings after the first few heat cycles, because heat and vibration can settle the assembly.
- Cycle the fuel pump and inspect with a dry paper towel.
- Fix any weep immediately; do not rely on continued tightening.
- Recheck all fittings after the first few heat cycles.
Fuel hose kit install checklist
- 1. Plan and measure: Lay out the route, confirm hose and fitting compatibility, and check clearance at full suspension travel. Common mistake: guessing the length and routing too close to exhaust. No cutting until the route is confirmed.
- 2. Cut square and clean: Tape, cut perpendicular, and blow out debris. Common mistake: an angled cut that prevents the fitting from sealing. A square cut is non-negotiable.
- 3. Assemble fittings per manufacturer: Lubricate O-rings, hand-thread first, and torque to spec. Common mistake: overtightening or skipping the ferrule on PTFE hose. Follow the fitting's specific method, not a generic rule.
- 4. Secure and protect: Clamp every 12–18 inches, add heat shielding, and respect minimum bend radius. Common mistake: letting the hose rub or kink. Support prevents vibration fatigue.
- 5. Pressure-test and recheck: Prime the system, inspect with a dry paper towel, and recheck after heat cycles. Common mistake: driving before confirming a dry system. A dry paper towel is your best leak detector.
Parts that help you get it right
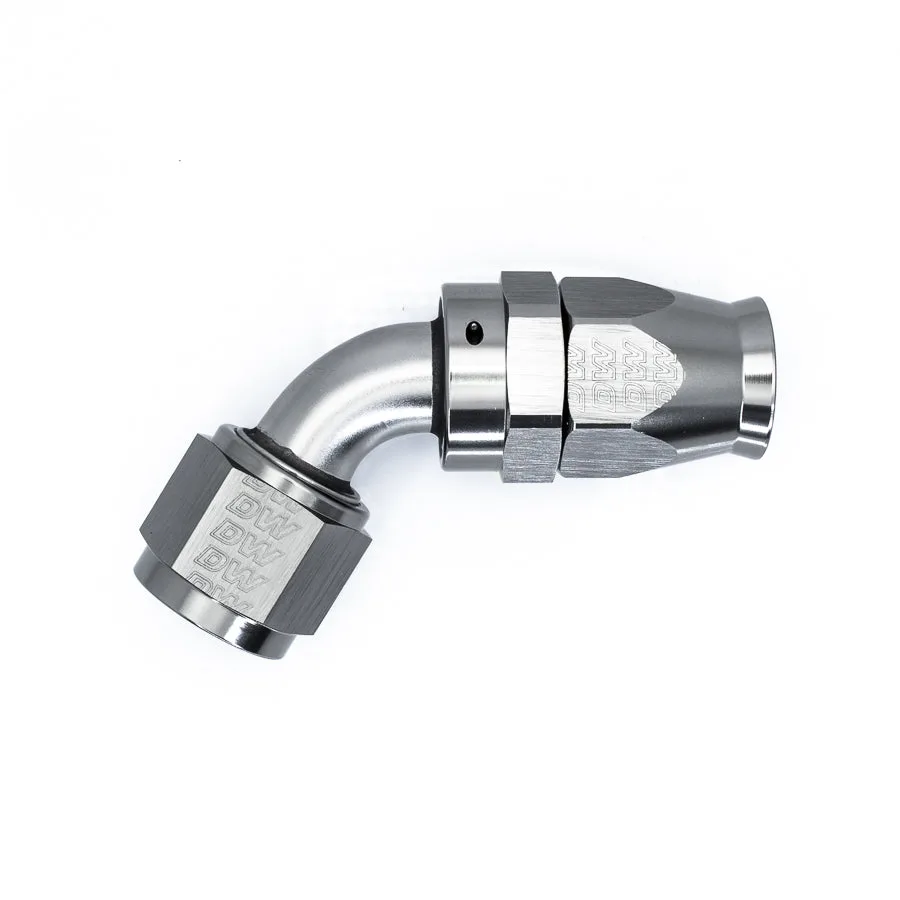
- https://deatschwerksevz.com/products/6-02-0877-f0068ee8d62a94aea78c1600-267807460-Deg. 10AN Swivel PTFE Hose End: 10AN female flare swivel hose end with a 60-degree bend, PTFE hose compatible, includes ferrule/olive, anodized matte black finish. The swivel lets you position the hose without twisting it, and the included ferrule is required for a proper PTFE hose assembly.
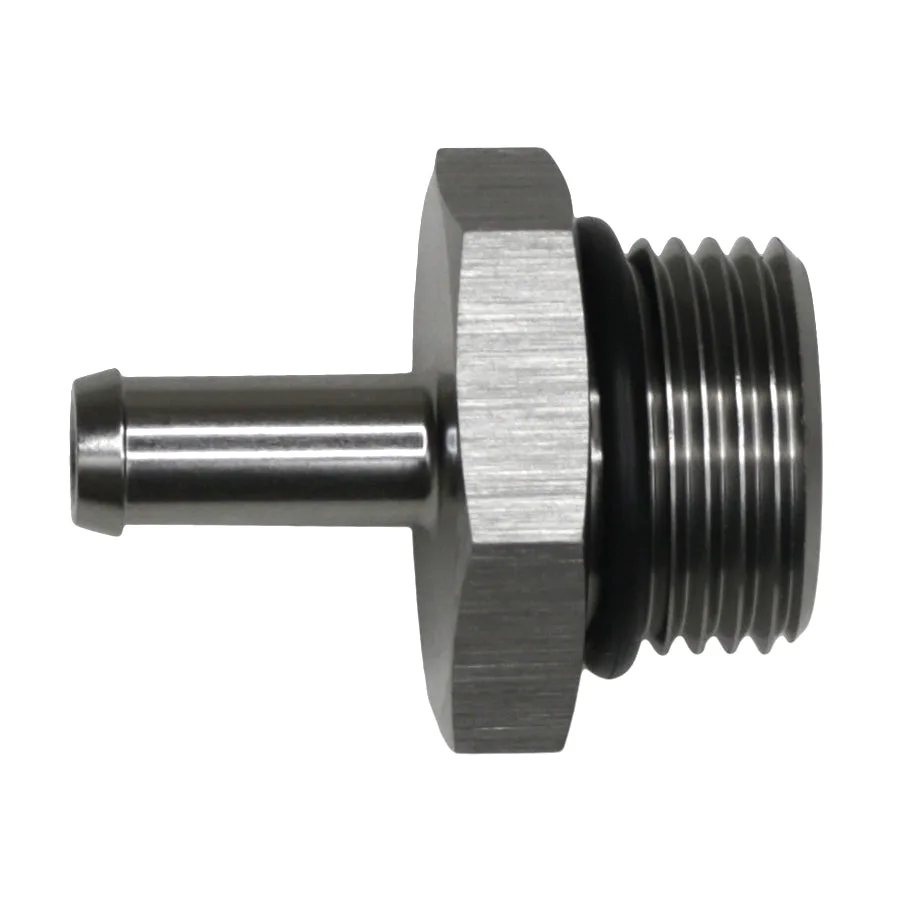
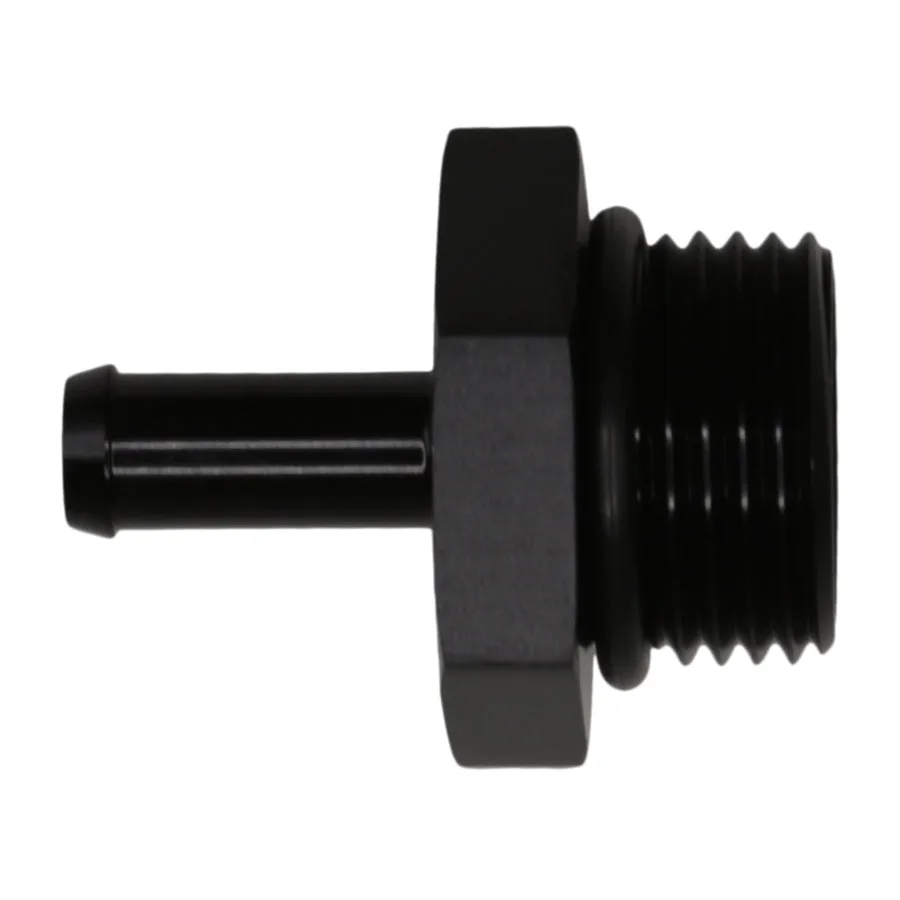
- https://deatschwerksevz.com/products/6-02-0516-b-c6adb1dfe6333bbf41c4683e-2677951https://deatschwerksevz.com/products/6-02-0513-9a1ccec7771080fb8c5b89df-267811310AN ORB to 5/16 in Barb: 10AN ORB male to 5/16 inch male barb adapter, anodized DW Titanium finish. Useful when you need to adapt a 10AN ORB port to a 5/16 inch push-on hose, such as at a fuel tank or pump outlet.
- -6AN, 10 micron, 70mm compact in-line fuel filter kit: Compact in-line fuel filter element and housing kit, stainless steel 10 micron, -6AN, 70mm. Universal. A 10 micron filter protects injectors and pumps from debris that can enter during hose assembly; the compact size helps in tight engine bays.
A leak-free fuel hose installation is less about speed and more about sequence: plan, cut square, assemble correctly, secure, and test. If you take those steps in order, you will spend far less time chasing drips later. Always recheck your work after the first few heat cycles.