Quick answer
Install a fuel injector rail kit by depressurizing the fuel system, removing the old rail and injectors, fitting new seals and spacers, seating the injectors in the intake, then torquing the rail in the factory sequence and pressure-checking for leaks. Work slowly on the seals and torque steps; most rail kit problems come from pinched O-rings, over-tightened bolts, or skipping the leak check.
A fuel injector rail kit install is mostly about patience with seals and torque, not speed. The rail itself is simple: it holds the injectors, feeds them pressurized fuel, and mounts to the intake or head. The failure points are the O-rings, the spacers, and the fasteners.
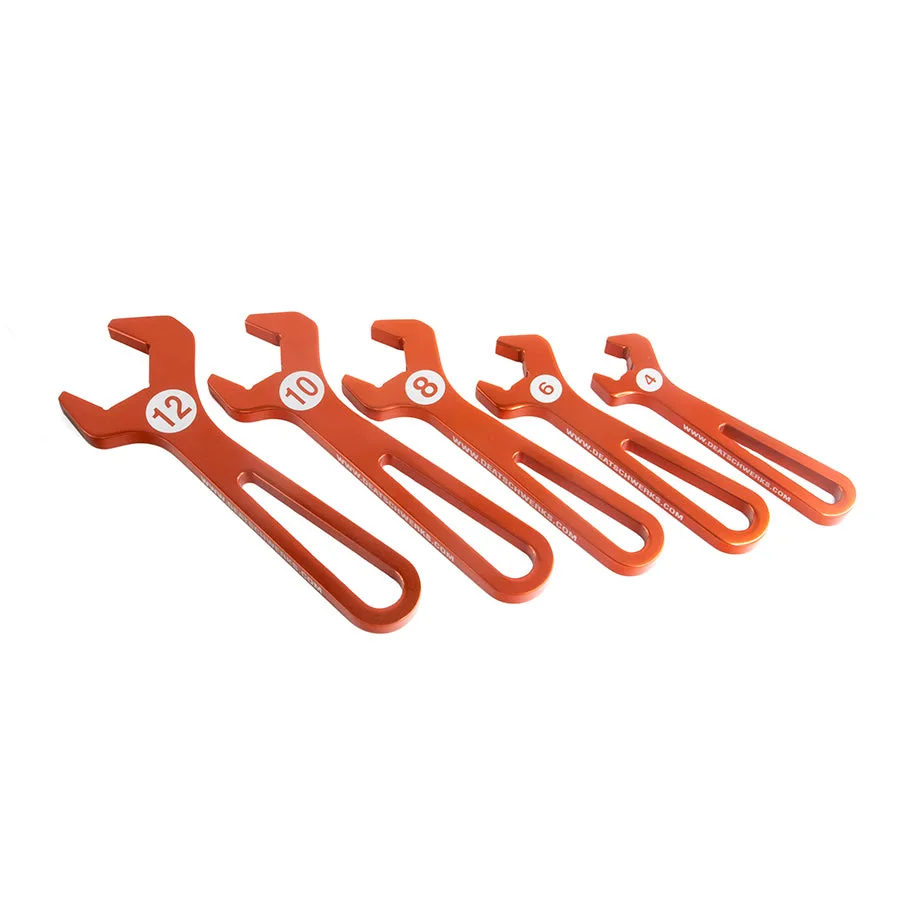
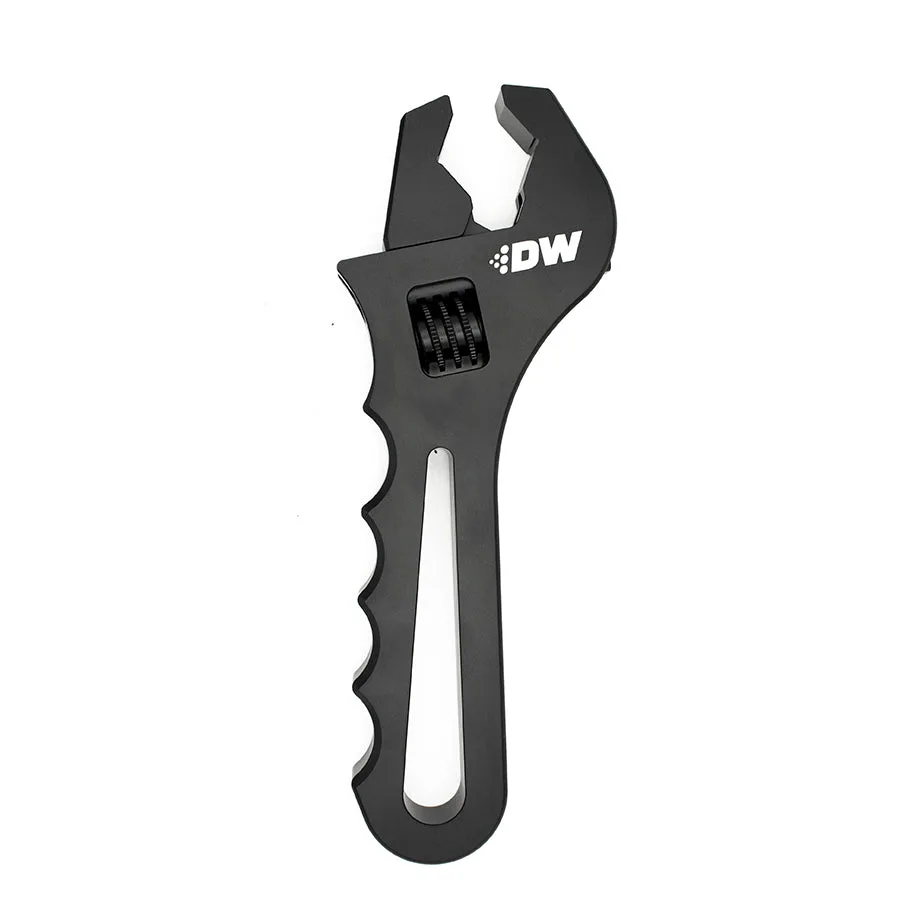
This guide walks through a realistic fuel rail install in order, with the checkpoint or common mistake at each stage. It assumes you have the new rail kit, fresh seals, and the correct https://deatschwerksevz.com/products/6-02-1006-7a13ff8544cc267e065c3400-2678010https://deatschwerksevz.com/products/6-02-1007-b0ccfd66fb95c83cd8aca3e4-2678153tools. If you are also changing injectors, the same sequence applies, and matched injector sets make flow consistency easier.
Prep the car and the parts before you touch the rail
Relieve fuel pressure first. Pull the fuel pump fuse or relay and run the engine until it stalls, then disconnect the battery negative. Have a rag and a catch pan ready; the rail and lines still hold fuel. Work on a cold engine so you are not fighting heat or risking ignition.
Lay out the new rail kit and confirm every bracket, spacer, and fastener is present. If you are reusing injectors, order fresh seals now rather than hoping the old ones survive. A fuel rail kit install goes faster when the parts are staged in order of assembly.
- Checkpoint: the engine cranks but does not start before you disconnect the battery, confirming pressure is down.
Remove the old rail and injectors without damaging the intake
Label or photograph the injector connectors and vacuum lines before removal; routing mistakes cause rough running later. Unbolt the rail evenly, a little at a time, so it does not cock sideways and bind on the injector bores. Lift the rail and injectors out as an assembly where possible.
If injectors stay stuck in the intake, twist gently by hand rather than prying with a screwdriver. Inspect each injector bore for debris, old O-ring fragments, and corrosion. Clean the bores with a lint-free cloth; grit left behind will cut a new seal during installation.
- Common mistake: prying on the rail or injector body and cracking the intake or bending the rail.
Fit new seals, spacers, and connectors
Install new O-rings on every injector, top and bottom, and lubricate them with clean engine oil or silicone grease approved for fuel contact. Never install dry seals; they tear or roll on the way in. Fit the rail spacers and insulators exactly as the kit specifies, since they set injector depth and preload.
If your harness uses a different connector than the new injectors, adapt rather than cut. For example, the EV14 to Honda Wired Connector Adapter lets a USCAR (EV14) injector plug into a pre-2012 Honda harness without splicing. Confirm each connector clicks and the lock tab engages.
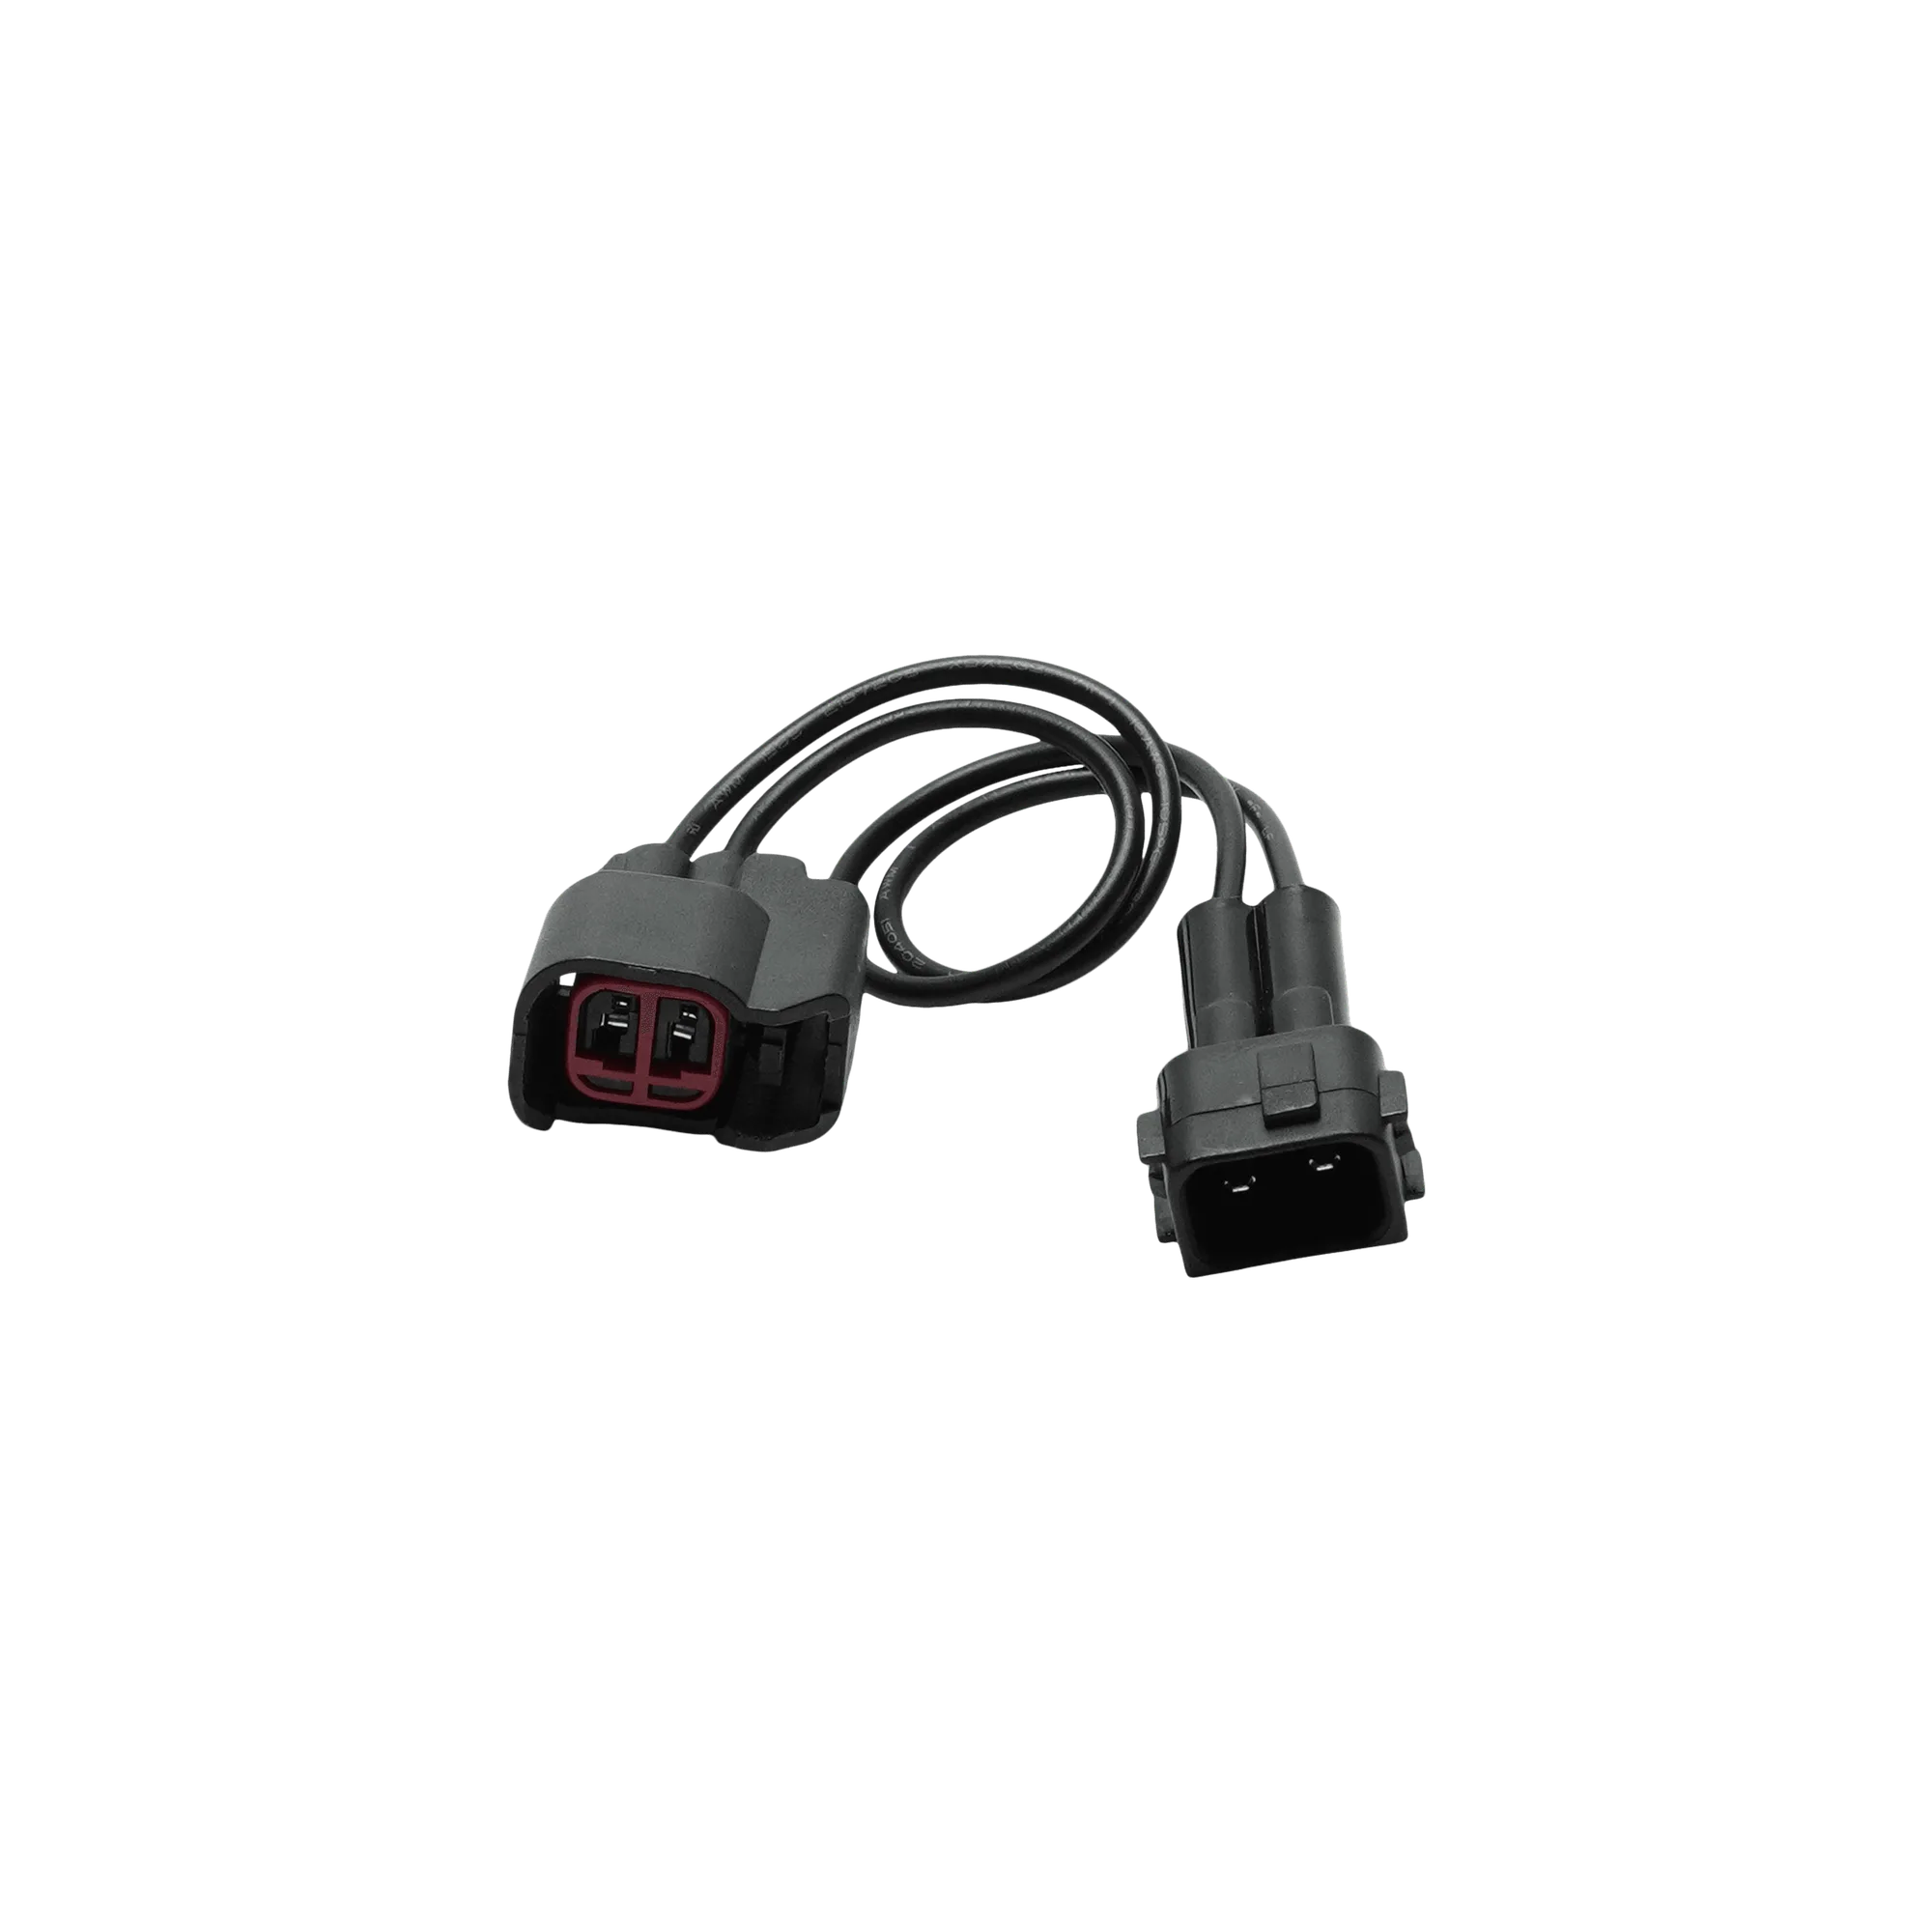
EV14 to Honda Wired Connector Adapter
- Checkpoint: every O-ring sits in its groove with no twist and no nicks before the rail goes back in.
Seat the injectors and torque the rail in sequence
Push the injectors into the intake bores first, then lower the rail onto them, keeping it square. Start all fasteners by hand before tightening any of them. Torque in the factory sequence and to the factory spec; if you do not have a spec, tighten evenly in stages rather than guessing a high number.
Over-tightening is the most common fuel rail assembly error. It distorts the rail, crushes spacers, and can split an O-ring. If a bolt feels like it is bottoming early, stop and check for a missing spacer or a misaligned bracket.
- Common mistake: tightening one end of the rail fully before the other, which tilts the rail and pinches seals.
Reconnect, prime, and leak-check before driving
Reconnect the fuel feed and return lines, the injector connectors, and any vacuum lines you removed. Reinstall the fuel pump fuse or relay. Key the ignition on and off a few times to prime the system, then look and smell for leaks at the rail inlet, the injector tops, and the regulator area.
Start the engine and let it idle. Watch for fuel weeping, a raw fuel smell, or a misfire. Shut it down immediately if you see any of those. A successful fuel rail kit installation ends with a dry rail, stable idle, and no fuel smell after a short drive and a second inspection.
- Checkpoint: after a short drive, recheck the rail fasteners and inspect the injector area again once the engine is cool.
Fuel rail install steps at a glance
- Depressurize and disconnect: Pull the fuel pump fuse or relay, run the engine until it stalls, then disconnect the battery negative. Checkpoint: no fuel sprays when you crack the feed line.
- Remove the old rail evenly: Unbolt the rail a little at a time, label connectors and vacuum lines, and lift the rail and injectors out as an assembly. Common mistake: prying stuck injectors and cracking the intake.
- Clean bores and fit new seals: Wipe injector bores clean, install new lubricated O-rings, and fit spacers and insulators per the kit. Checkpoint: no twisted or nicked O-rings before assembly.
- Seat injectors and torque the rail: Push injectors into the intake first, lower the rail square, start all fasteners by hand, then torque in sequence to spec. Common mistake: over-tightening and pinching seals.
- Prime, start, and leak-check: Reconnect lines and connectors, prime the system, then inspect the rail and injectors for weeping or fuel smell at idle. Next step: recheck fasteners and seals after a short drive.
Parts that make rail and injector work easier
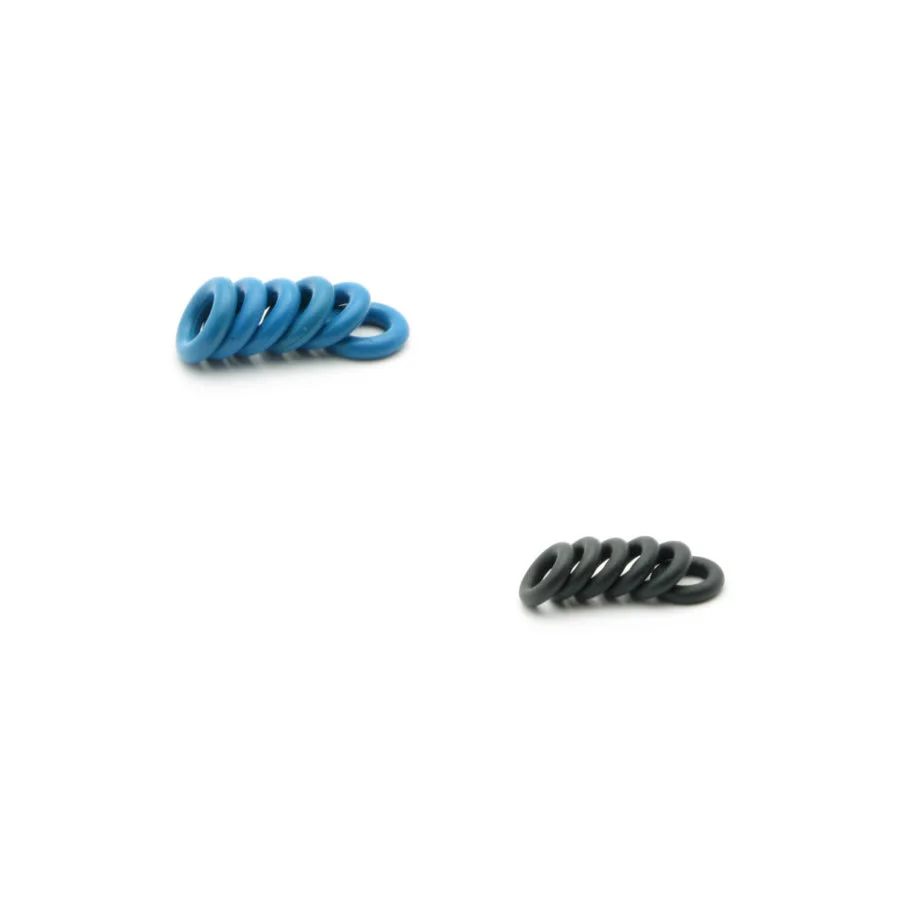
- DW replacement O-rings 6 Cylinder: DW replacement fuel injector O-rings 6 Cylinder; the specific DW injector PN must be provided for order fulfillment. Fresh seals are the single biggest leak risk on a rail install, so having the right O-ring set on hand before you start prevents a second teardown.
- DW replacement O-rings 8 Cylinder: DW replacement fuel injector O-rings 8 Cylinder; the specific DW injector PN must be provided for order fulfillment. V8 builds need the correct count and size, and ordering by injector part number avoids mismatched seals that roll or leak under pressure.
- EV14 to Honda Wired Connector Adapter: USCAR(EV14) Injector to Pre-2012 Honda Harness Wired Connector Adapter. If your new injectors use EV14 plugs and your Honda harness is pre-2012, this adapter keeps the install plug-and-play instead of cutting factory wiring.
A fuel injector rail kit install rewards clean prep, fresh seals, and even torque more than speed. Work the steps in order, stop at each checkpoint, and do not skip the leak check. If you are upgrading injectors at the same time, matched sets and the right O-rings keep the job to one teardown.