What This Guide Covers
This guide walks through installing an adjustable fuel pressure regulator that includes a gauge, like the DeatschWerks DWR550c. The DWR550c is a compact carburetor regulator with 3/8 barb fittings and an integrated pressure gauge, making it a direct choice for carbureted engines that need precise fuel pressure tuning. You will learn the basic steps, what to prepare, and where to pay extra attention.
What the DWR550c Includes
-
DWR550c Adjustable Carburetor Regulator w/ 3/8 Barb Fittings and Gauge: Compact Carburetor Adjustable Fuel Pressure Regulator, 6AN x4 Inlets, 6AN Return, Anodized Black, with 3/8 Fittings and Pressure Gauge The 6AN inlets and return allow multiple fuel line routing options, and the included gauge lets you set and monitor pressure without adding extra parts.
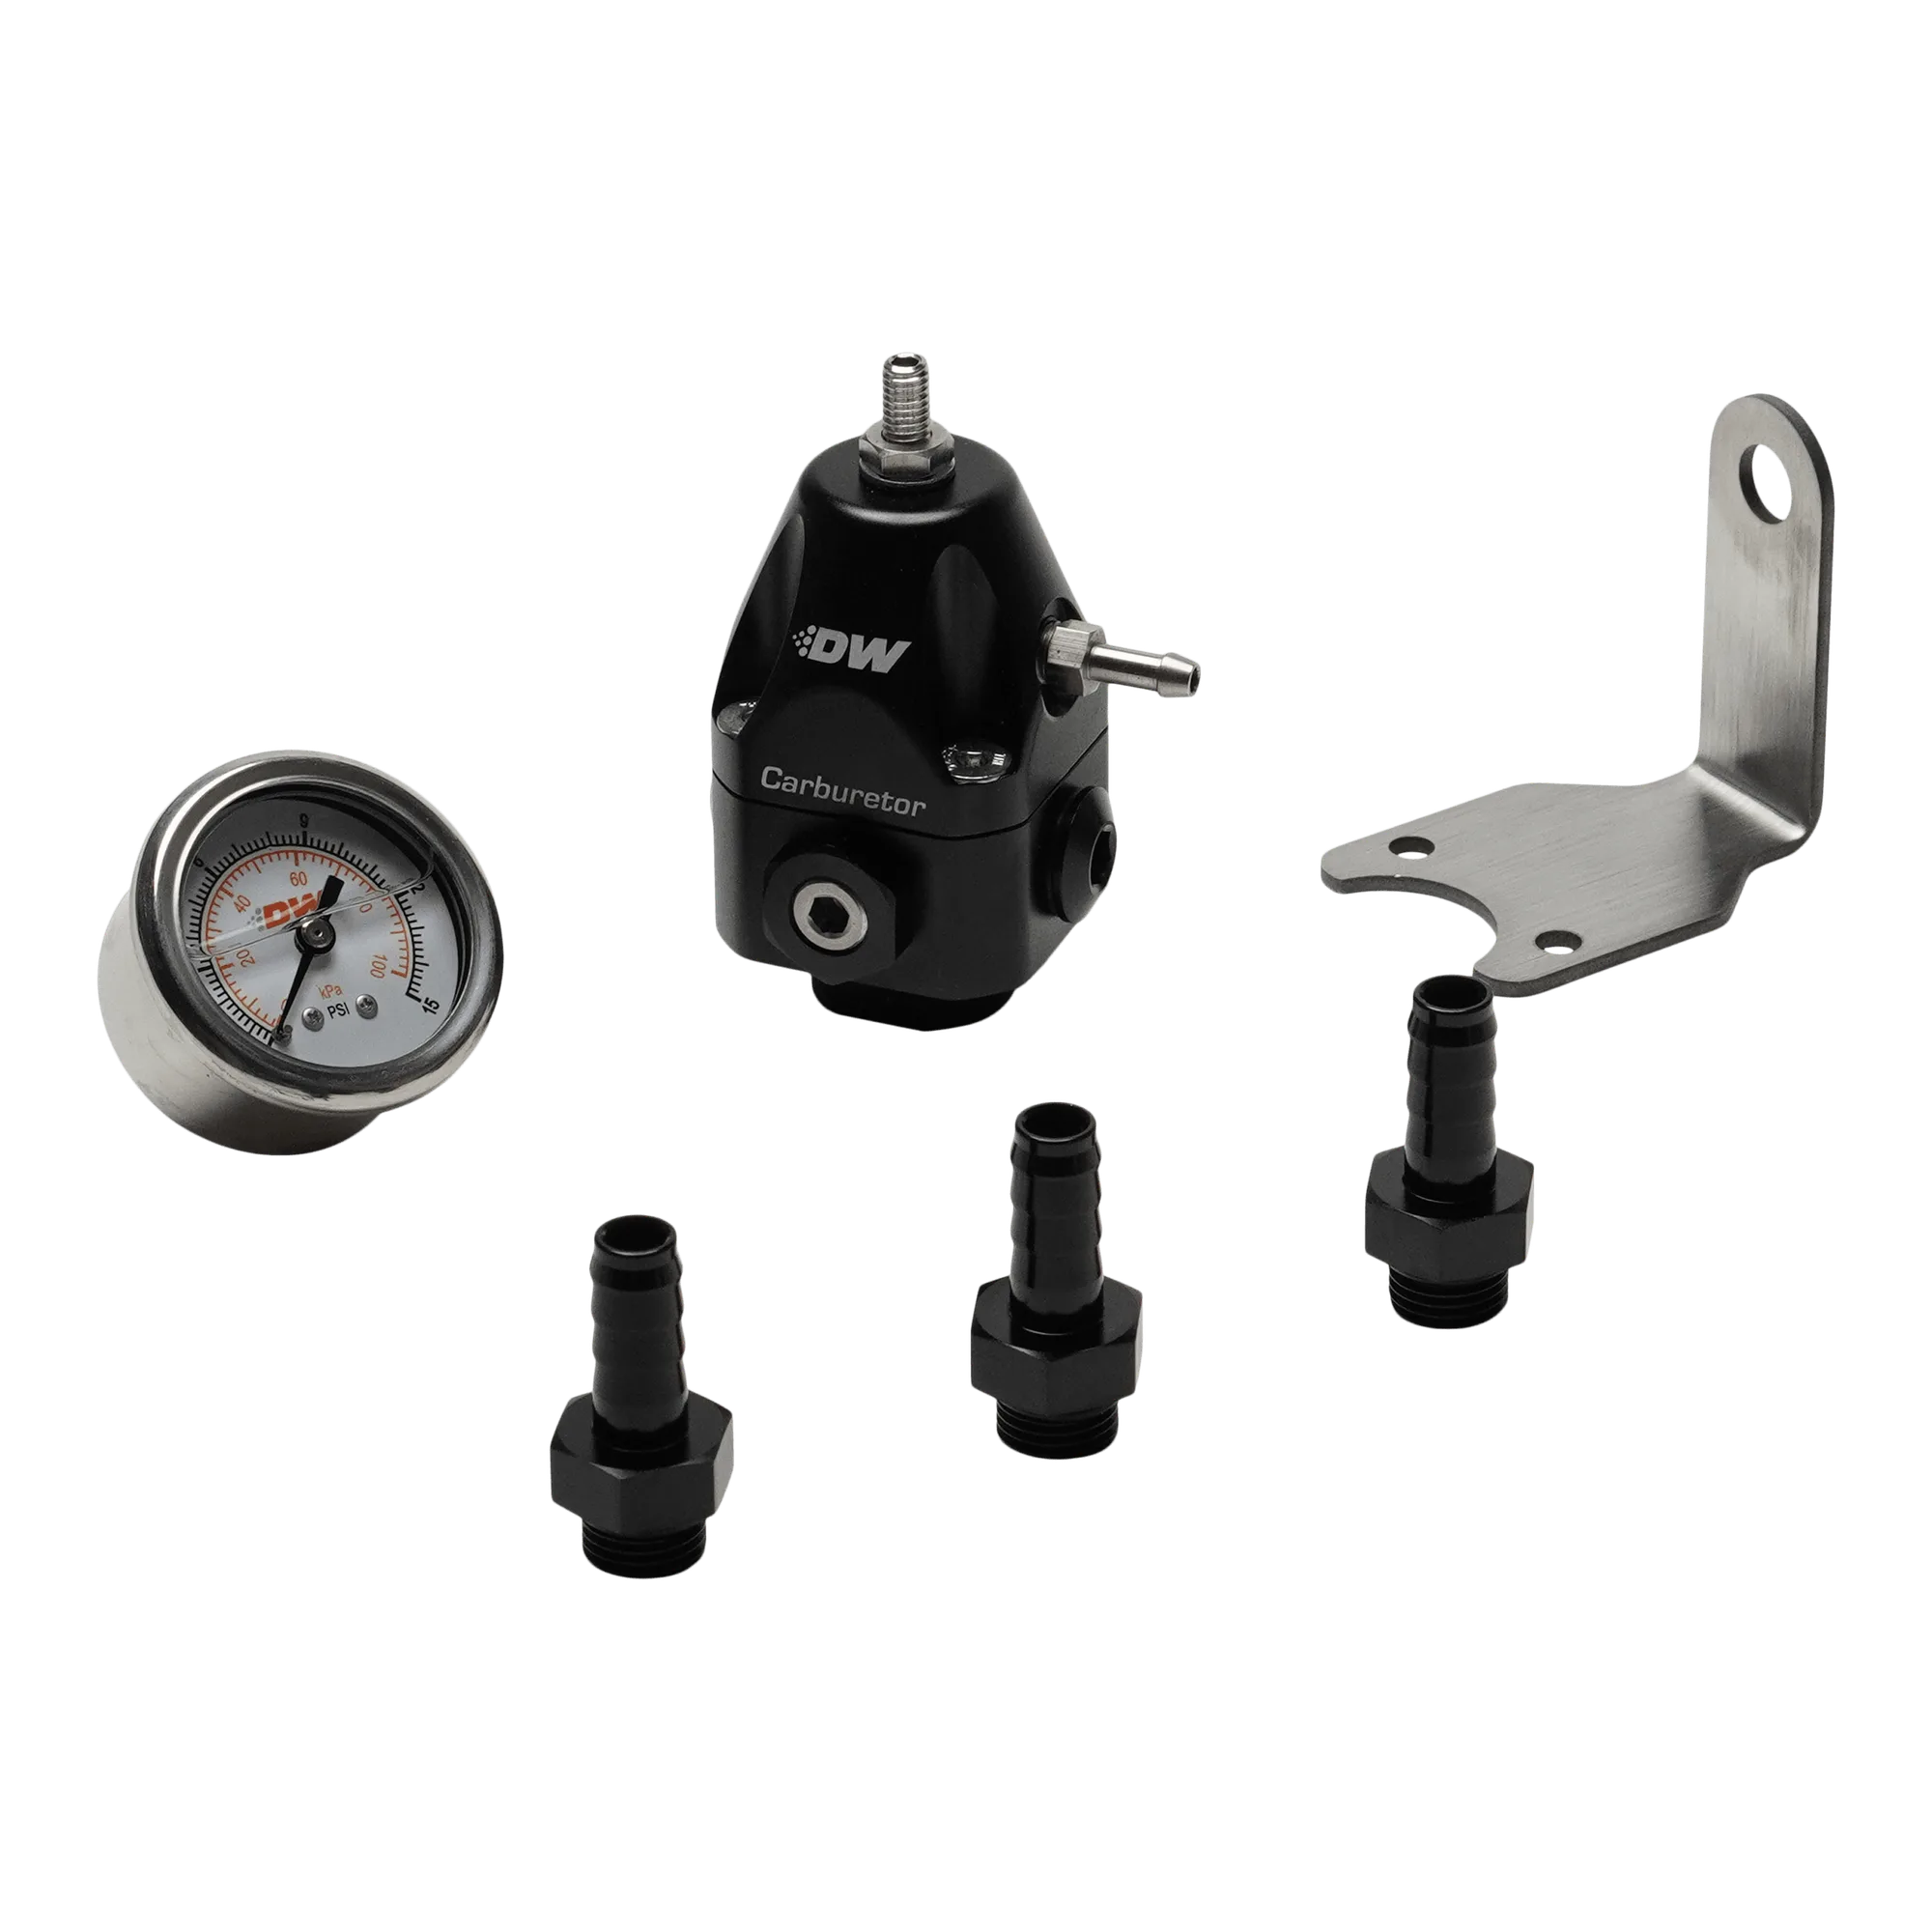
DWR550c Adjustable Carburetor Regulator w/ 3/8 Barb Fittings and Gauge
Installation Steps
These steps assume you have a carbureted fuel system and basic hand tools. Always work in a well-ventilated area with the engine off and battery disconnected.
- Mount the regulator: Choose a location on the firewall or inner fender that keeps the regulator upright and allows access to the adjustment screw and gauge. Use the supplied bracket or a sturdy aftermarket mount. Keep the regulator away from exhaust heat and moving parts.
- Connect the fuel inlet: The DWR550c has four 6AN inlet ports. Use the one that suits your fuel line routing. Attach a 6AN male fitting to your fuel line, then thread it into the regulator. Tighten by hand plus a quarter turn with a wrench.
- Connect the return line: Attach a 6AN fitting to the return port. Run the return line back to the fuel tank. This line must be free of kinks and at least as large as the inlet line to prevent back-pressure.
- Attach the gauge: The gauge is already installed on the DWR550c. If you are using a separate gauge, mount it in a visible location and connect it to the regulator’s gauge port with a 1/8 NPT fitting.
- Adjust fuel pressure: With the engine running, turn the adjustment screw clockwise to increase pressure, counterclockwise to decrease. Use the gauge to set the pressure to your carburetor’s specification. Typical carbureted engines run 5–7 psi.
- Check for leaks: Inspect all connections for fuel leaks. Tighten fittings if needed, but avoid over-tightening. Wipe away any fuel before starting the engine again.
Honest Trade-Offs
The DWR550c is designed for carbureted engines, not EFI systems. Its compact size helps in tight engine bays, but the four 6AN inlets may require careful routing to avoid interference. The included gauge is convenient, but if you prefer a remote-mount gauge, you will need to add that separately. The catalog does not specify a maximum pressure rating or exact thread torque, so use standard AN fitting practices and verify compatibility with your fuel line type.