Upgrading your mechanical keyboard with a fresh set of keycaps is one of the most satisfying and budget-friendly ways to personalize your setup. Whether you're chasing a new aesthetic or simply want a different feel under your fingers, Glorious GPBT keycaps are a popular choice among enthusiasts. In this guide, we'll walk you through the entire process of installing Glorious GPBT keycaps, from gathering the right tools to snapping on the final key.
GPBT keycaps are made from durable PBT plastic, which resists shine and wear better than the ABS keycaps that often come stock on keyboards. They feature a thick, textured surface that feels great for long gaming sessions or typing marathons. If you've never swapped keycaps before, don't worry—this guide is designed to be beginner-friendly. By the end, you'll have a keyboard that not only looks fantastic but also performs exactly the way you want.
What You'll Need Before You Start
Before you begin, it's essential to have the right tools. At minimum, you'll need a keycap puller. Many keycap sets, including Glorious GPBT keycaps, come with a wire puller, which is gentle on your keycaps and switches. If your set didn't include one, you can purchase a separate puller or use a simple plastic ring puller—just be careful not to scratch your keycaps.
You'll also want a clean, well-lit workspace. A soft cloth or mat can protect your keyboard and keycaps from scratches. It's a good idea to have a small container or tray to hold the removed keycaps, keeping them organized and preventing loss. Finally, if you're planning to clean your keyboard while the keycaps are off, have some compressed air or a soft brush handy.
- Keycap puller (wire puller recommended)
- Soft cloth or mat
- Tray or container for removed keycaps
- Compressed air or brush for cleaning (optional)
Step-by-Step Installation Guide
Start by turning off your keyboard or disconnecting it from your computer. This prevents accidental keystrokes and makes the process safer. If you have a hot-swappable keyboard, you could even remove the switches for easier access, but it's not necessary for keycap installation.
To remove the old keycaps, gently slide the wire puller under the keycap, hooking the wire on opposite sides. Pull straight up with even pressure—don't twist. The keycap should pop off with minimal force. If you're using a ring puller, place it over the keycap and pull up. Work slowly and carefully, especially on larger keys like the spacebar, which may have stabilizers that require a bit more care.
Once all the old keycaps are removed, take the opportunity to clean your keyboard. Use compressed air to blow out dust and debris, and a soft brush to sweep away anything stubborn. This is also a great time to check for any loose switches or other issues.
Now, it's time to install your new Glorious GPBT keycaps. Align the keycap with the switch stem, ensuring the orientation is correct—most keycaps have a slight curve on the top row, so make sure the taller side faces the top of the keyboard. Press down firmly until you hear a satisfying click. Repeat this for all keys, taking care to place the correct keycaps on the correct positions. Refer to a keycap layout diagram if you're unsure about the size or placement of modifiers like Shift, Enter, or the spacebar.
- Always pull keycaps straight up to avoid bending the switch stem.
- If a keycap feels stuck, gently wiggle it side-to-side while pulling.
- For spacebars and other stabilized keys, press down evenly on both stabilizer points.
Tips for a Flawless Keycap Swap
When installing your GPBT keycaps, pay attention to the profile. GPBT keycaps have a uniform profile, meaning all rows are the same height. This makes them compatible with most keyboards and allows you to mix and match without worrying about row-specific heights. If you're coming from an OEM or Cherry profile, you might notice a slightly different feel, but it won't affect functionality.
If you're using a keyboard with north-facing RGB LEDs, some keycaps may cause slight interference with the light. GPBT keycaps are designed to minimize this, but you might see a small shadow on certain keys. This is normal and doesn't affect the keycap's performance.
After installing all keycaps, take a moment to test each key. Press them a few times to ensure they're seated properly and that the stabilizers are working smoothly. If any key feels loose or wobbly, remove it and reinstall it, making sure it's fully pressed down. Also, check that the keycaps are aligned correctly—they should be parallel to the keyboard case.
- Store your old keycaps in a labeled bag if you plan to reuse them.
- Consider cleaning your keycaps regularly with a damp cloth to keep them looking new.
- If you're installing GPBT keycaps on a keyboard with south-facing switches, you'll have no interference at all.
Why Choose Glorious GPBT Keycaps?
Glorious GPBT keycaps are a favorite among gamers and typists for several reasons. They're made from thick PBT plastic, which is more durable than ABS and resistant to the shiny, worn look that comes from heavy use. The textured surface provides a comfortable grip, and the keycaps are compatible with all standard mechanical switches, including Cherry MX and clones.
Glorious offers a wide range of colorways, from the sleek GPBT Ink Noir to the vibrant GPBT Synth Sunset. Whether you want a subtle, professional look or a bold, colorful setup, there's a set that fits your style. Plus, GPBT keycaps are available in full sets that include all the keys you need, so you won't have to hunt for missing sizes.
If you're looking to upgrade your keyboard's look and feel, installing a set of Glorious GPBT keycaps is a smart investment. They're easy to install, come in a variety of designs, and are built to last. In fact, many users pair them with a high-performance mouse like the Glorious Model O 2 Mini to complete their gaming setup.
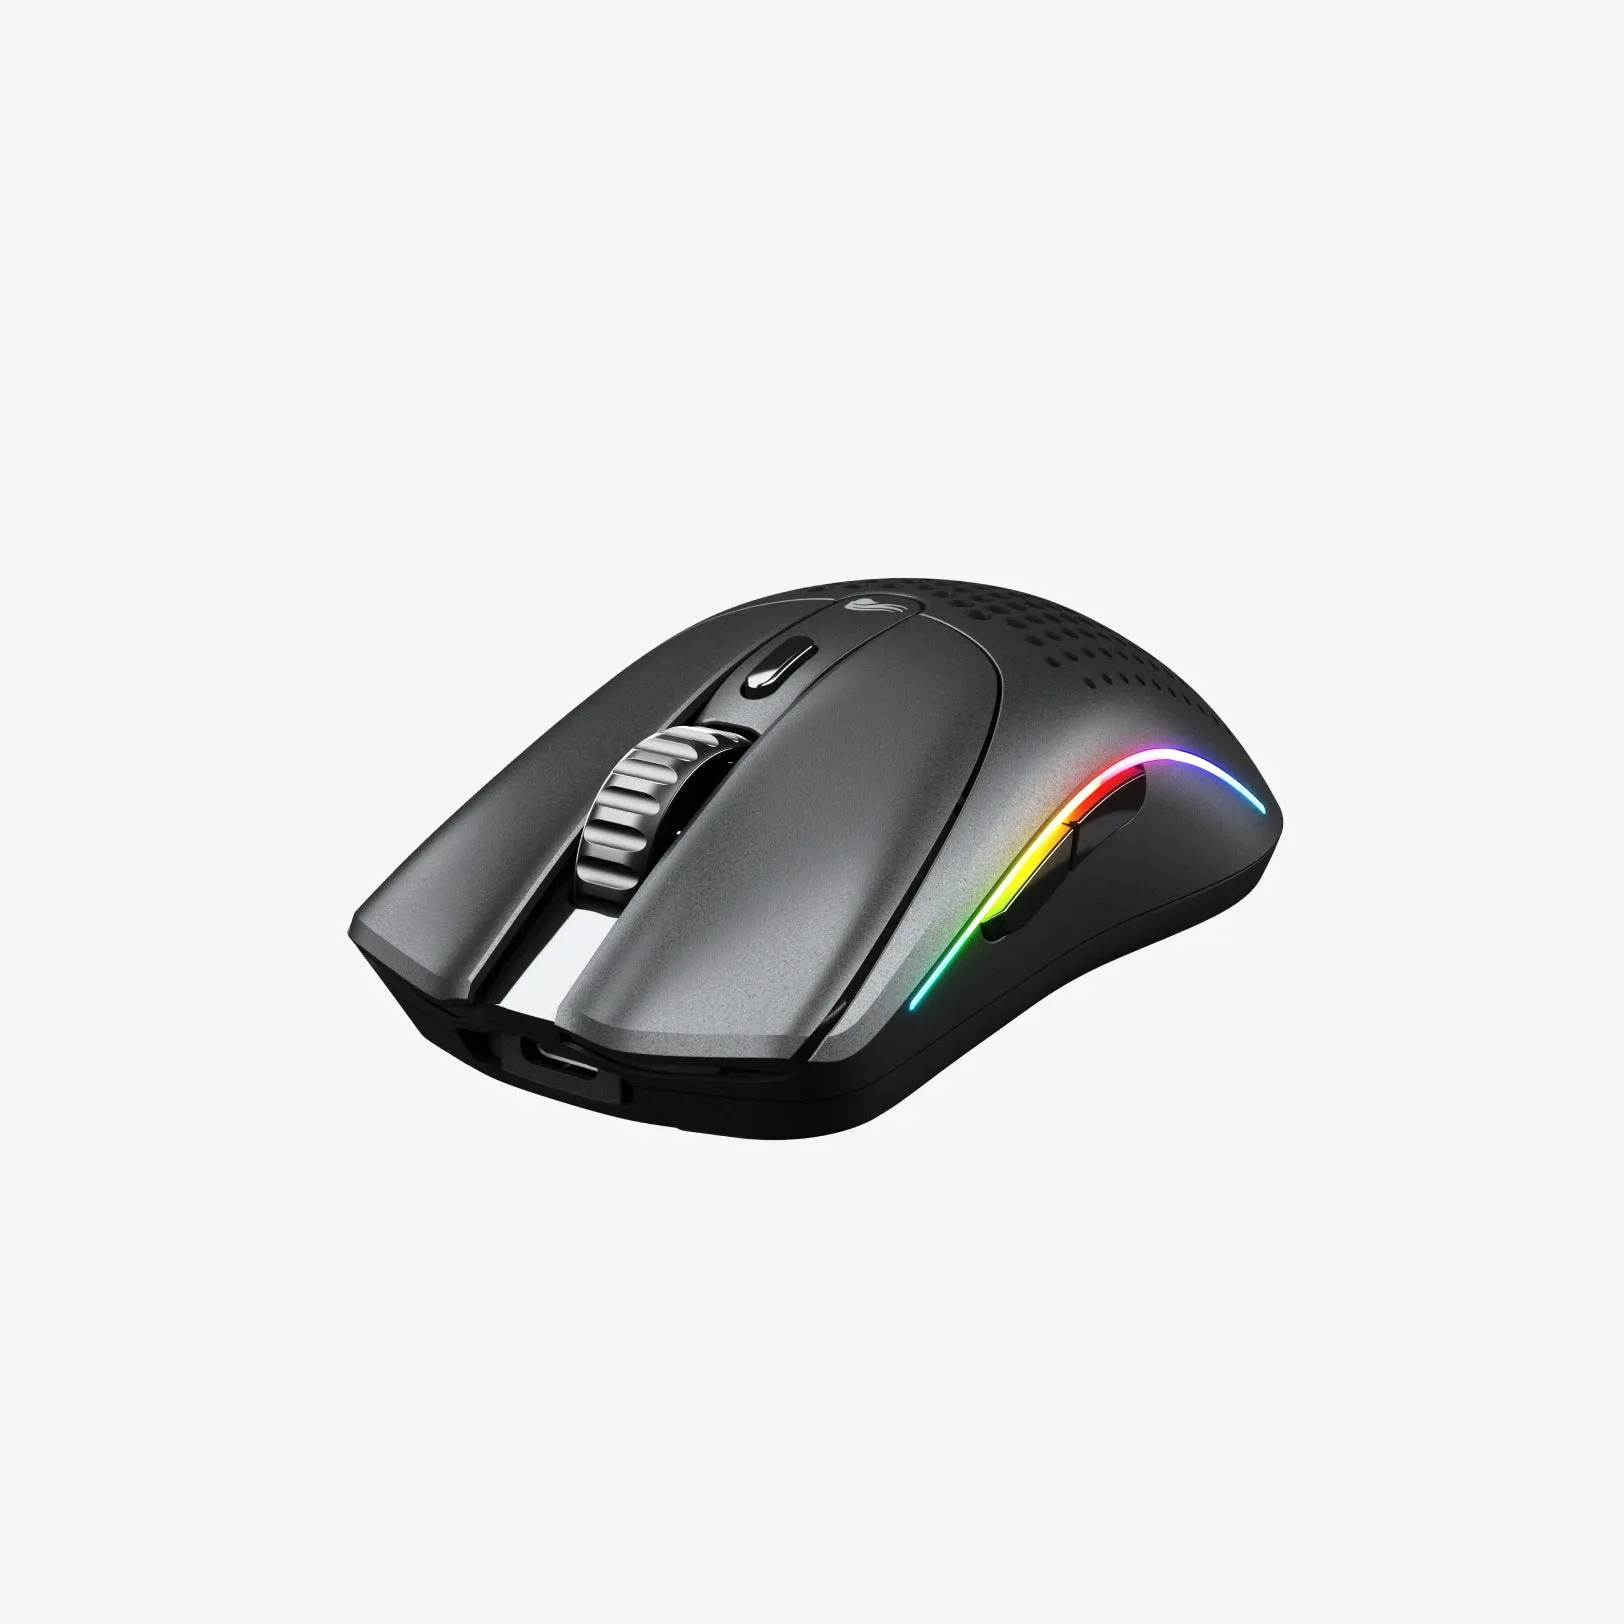
Glorious Model O 2 Mini
- Thick PBT plastic resists shine and wear
- Compatible with all standard mechanical switches
- Available in multiple colorways to match your setup
- Uniform profile for easy installation
Installing Glorious GPBT keycaps is a straightforward process that can dramatically change the look and feel of your keyboard. With the right tools and a little patience, you'll have a fresh, customized setup in no time. If you're ready to upgrade, explore the full range of Glorious GPBT keycaps, including the popular GPBT Ink Noir and GPBT Synth Sunset sets, and give your keyboard the makeover it deserves.