Quick answer
To install a grip kit on your ASP baton, you'll remove the old grip, clean the handle, apply new grip tape and foam grips, then install the grip cap. The process takes about 20 minutes and requires basic hand tools.
Why replace your baton grip?
Over time, factory grips can wear down, become slick, or lose their shape. A fresh grip kit restores secure handling, especially in wet or dynamic situations. The ASP Baton Grip Kit includes everything you need for a full refresh: double-sided grip tape, foam vinyl grips, a new grip cap, and the necessary tools and lubricants.
If you carry your baton daily or train frequently, replacing the grip every 12-18 months keeps your control consistent. A worn grip can cause the baton to twist in your hand or slip during a strike.
What's in the kit?
The ASP Baton Grip Kit comes in a compact, clearly-labeled molded case. Inside you'll find: double-sided grip tape (30 feet), six foam vinyl grips, a blue O-ring dispenser (30 O-rings), an O-ring tool, an alcohol swab, an alcohol lubricant bottle, and an instruction sheet. Note that the kit does not include a separate grip cap — the grip cap is a separate accessory for F Series batons.
Step-by-step installation
- 1. Remove the old grip: Unscrew the existing grip cap (if present) and slide it off the handle. Peel away the old foam grip and grip tape. Use the alcohol swab to remove any adhesive residue from the baton handle. If the old grip cap is stuck, use the O-ring tool to gently pry it loose without scratching the baton.
- 2. Apply the new grip tape: Wrap the double-sided grip tape around the clean handle, starting from the base and working upward. Overlap each wrap by about 1/8 inch to ensure full coverage. Press firmly to ensure it adheres evenly. Too much overlap can create a bumpy grip; aim for a single layer with slight overlap.
- 3. Install the foam grip: Slide one of the foam vinyl grips over the taped handle. It should fit snugly. If it's too tight, use the alcohol lubricant to ease it on. Rotate the grip slightly to align the seam with the baton's natural contour. Don't stretch the foam too much — it can thin out and reduce cushioning.
- 4. Install the grip cap: If your baton is an F Series, thread the Grip Cap onto the end of the handle. Tighten it hand-tight (do not overtighten). The flared design helps keep the baton from rolling away when set down. Overtightening can crack the cap or strip the threads; hand-tight is sufficient.
- 5. Test and adjust: Hold the baton in your duty grip and simulate a few strikes. Check for any slipping or uncomfortable pressure points. If the grip twists, remove the grip cap and add a small amount of alcohol lubricant under the foam to help it seat better. Always test the grip in a safe environment before carrying on duty.
Product facts
-
Grip Cap (F Series): The Grip Cap (F Series) is compatible with all ASP Friction (F Series) Batons and features a flared design that improves retention in dynamic situations and wet environments. If you're replacing the grip on an F Series baton, upgrading to this grip cap helps prevent the baton from slipping out of your hand during sweaty or rainy use.
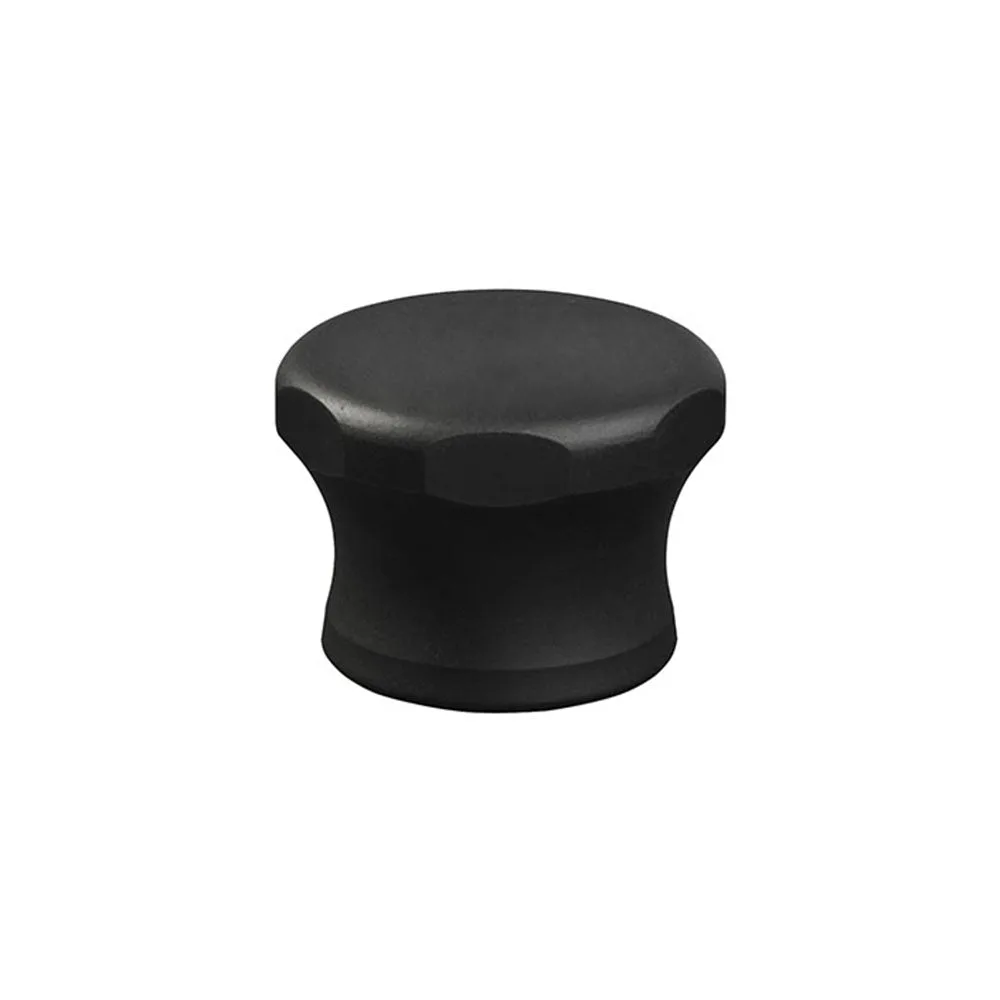
Grip Cap (F Series)
-
Baton Grip Kits: The ASP Baton Grip Kit includes double-sided grip tape, six foam vinyl grips, O-rings, an O-ring tool, alcohol swab, and alcohol lubricant in a durable molded case. Having all these components in one kit saves you from sourcing parts separately and ensures compatibility with your ASP baton.
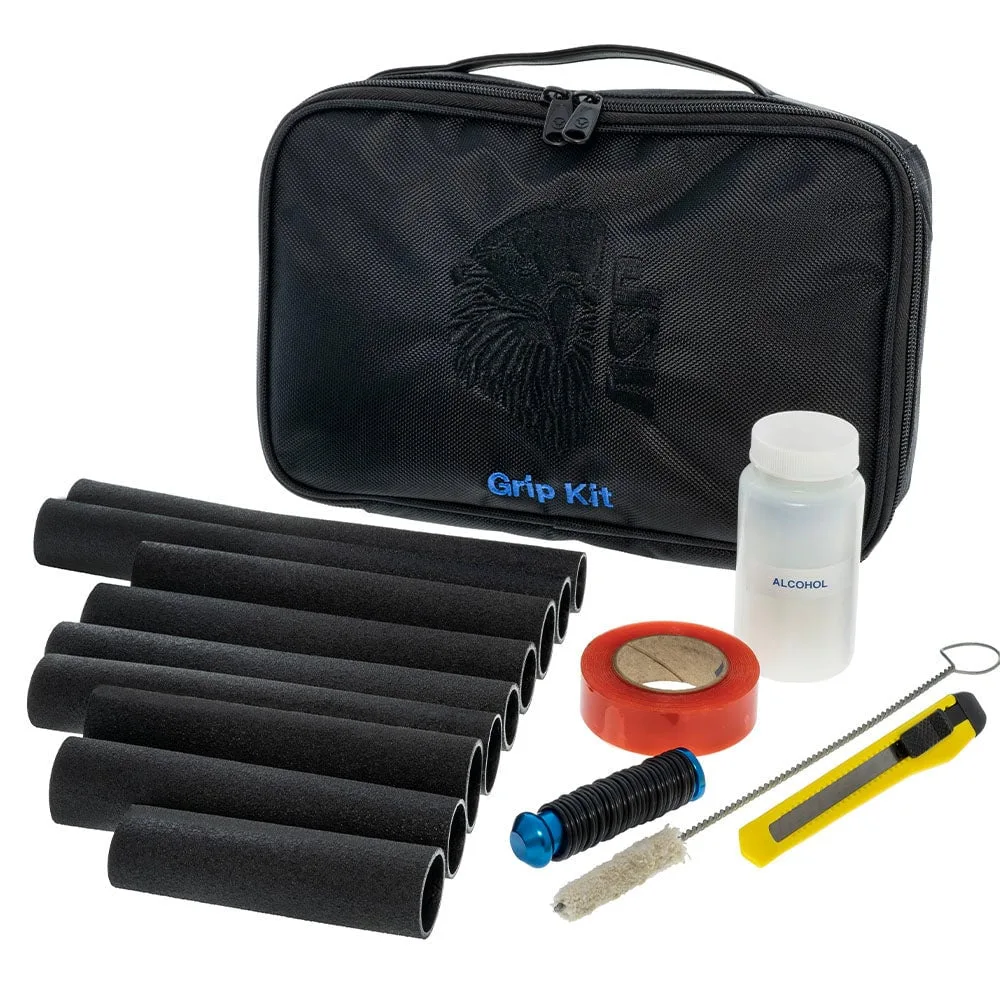
Baton Grip Kits