Quick Answer
To install the Guided Tamper Bottom Puck, remove the old puck, align the new one with the tamper base, and press it firmly into place. No tools are required.
Why Replace the Bottom Puck?
Over time, the bottom puck on your guided tamper can wear down or become loose, leading to uneven tamping pressure. Replacing it restores the consistent, level tamp that helps you pull better espresso shots.
The replacement puck is designed specifically for Fellow guided tamper models, so you get a precise fit without any modification.
Installation Steps
- Remove the Old Puck: Hold the tamper handle firmly and pull the old bottom puck straight off the base. It may require a gentle wiggle if it's snug. Don't twist the puck — pulling straight avoids damaging the tamper base.
- Align the New Puck: Position the new Guided Tamper Bottom Puck so its flat side faces down and the recessed side faces the tamper base. Line up the center hole with the post on the tamper. Check that the puck is oriented correctly before pressing; installing it backward can cause uneven tamping.
- Press Into Place: Push the new puck onto the tamper base until it clicks or sits flush. Apply even pressure around the edge to ensure it's fully seated. If the puck feels loose after pressing, remove it and try again — it should fit snugly with no wobble.
What You Need
-
Guided Tamper Bottom Puck: Replacement bottom puck for Fellow Guided Tamper. Helps achieve even and consistent tamping pressure. Compatible with Fellow Guided Tamper models. Using the correct replacement part ensures your tamper performs as intended, so you don't have to guess whether your tamp is level.
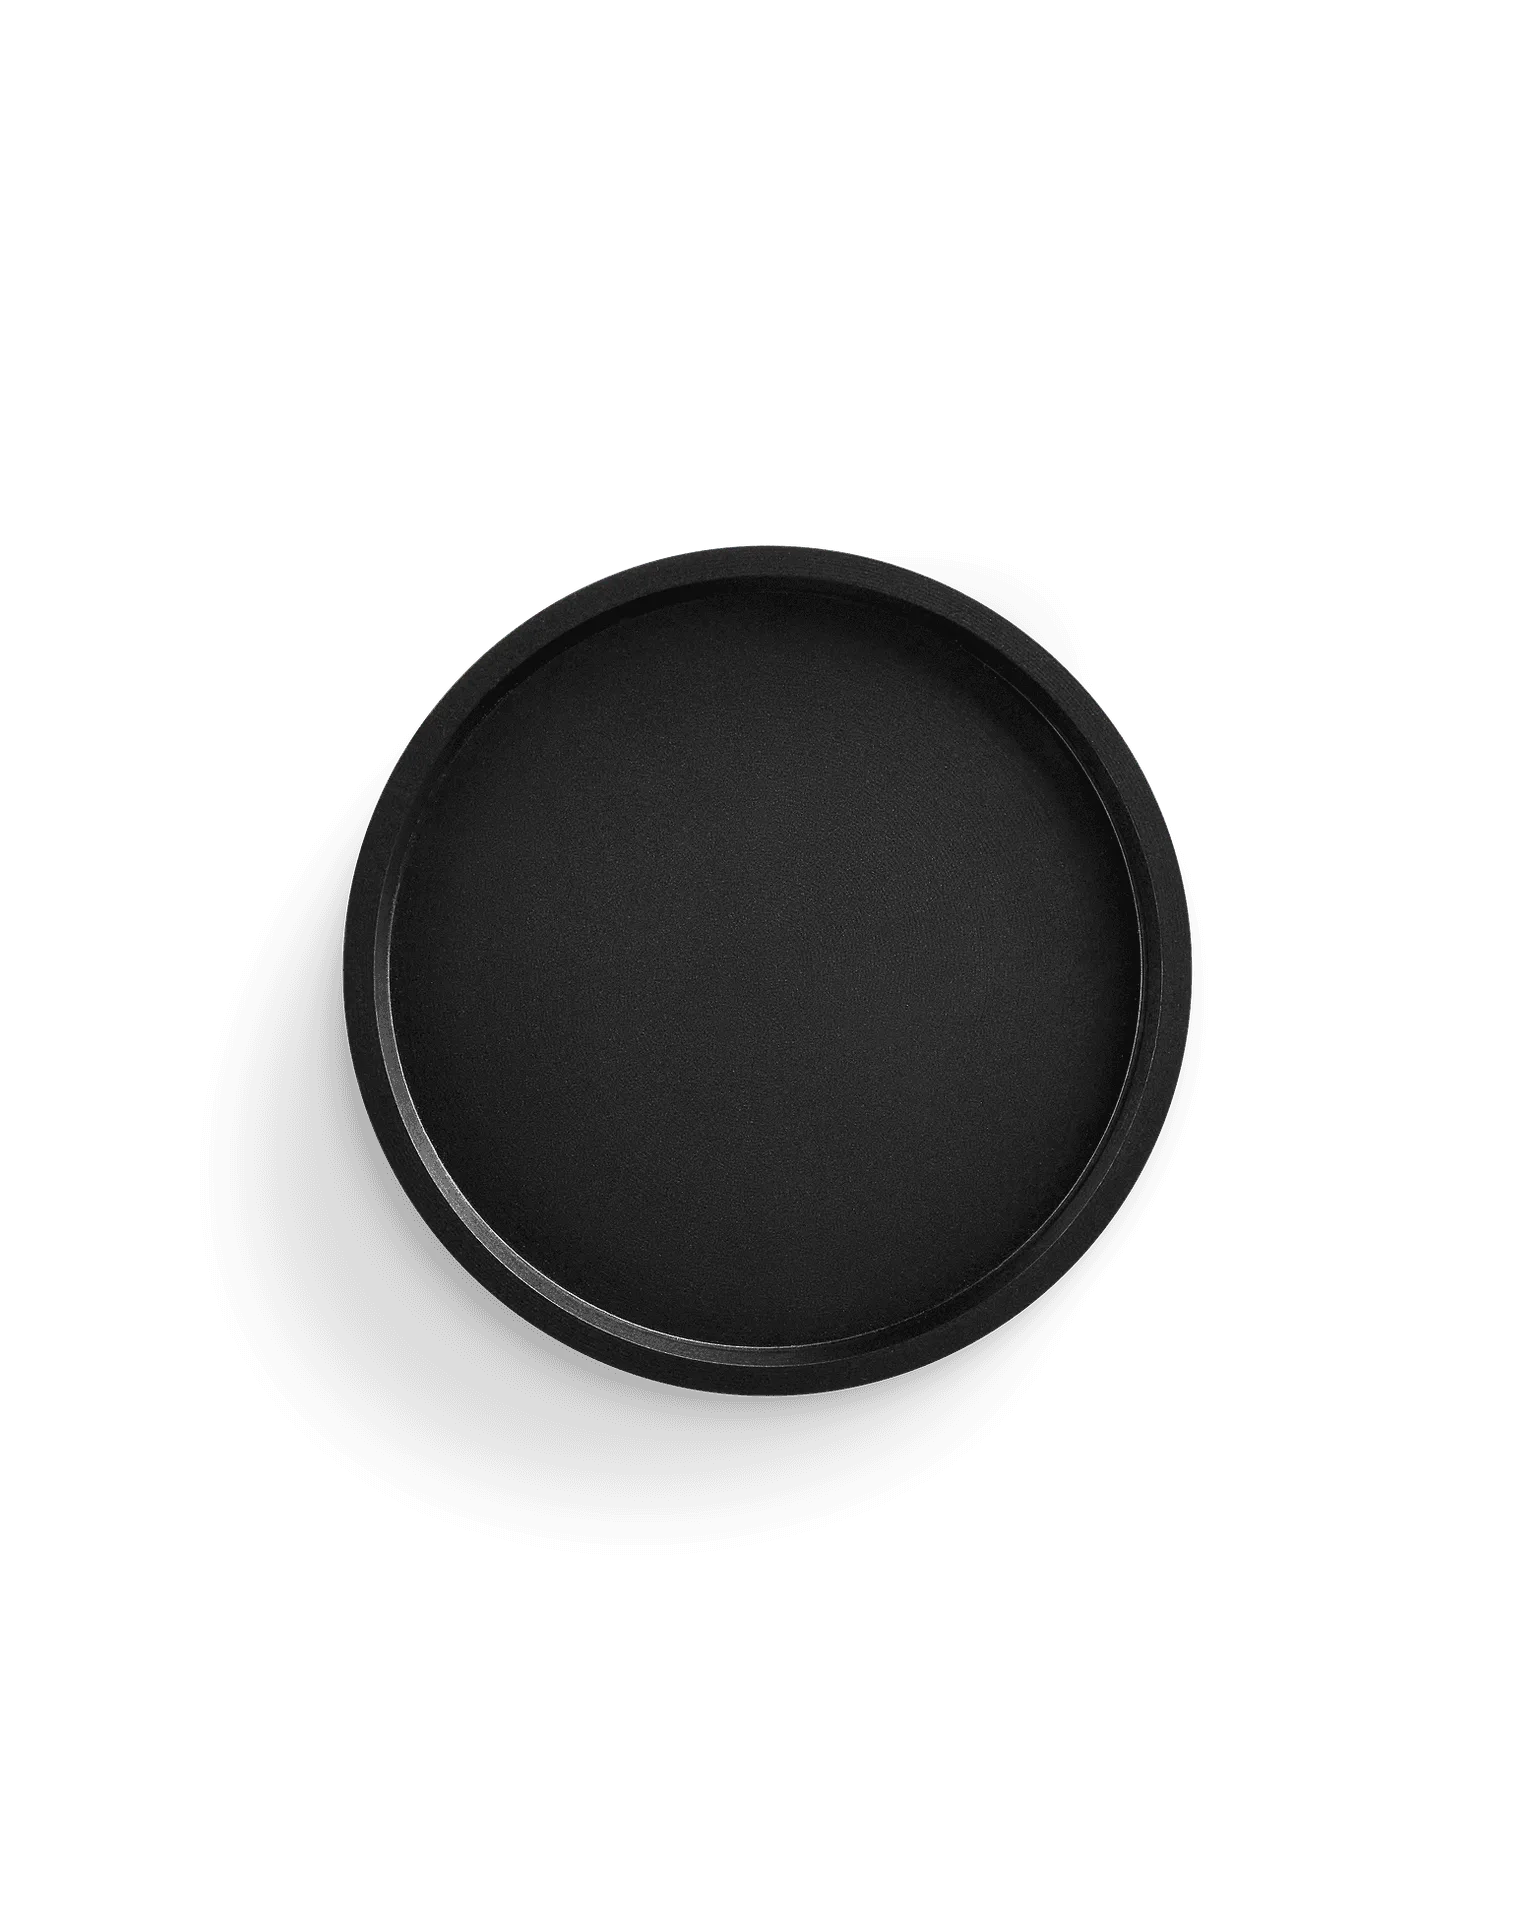
Guided Tamper Bottom Puck