Quick answer
Plan speaker positions around your main listening seat, confirm there are no joists, pipes, or cables behind the drywall, then cut a test hole with a drywall saw and run speaker cable before mounting each speaker. Most in-ceiling speakers use dog-leg clamps that tighten from the front, so the ceiling cutout and cable routing are the two steps that decide whether the job goes smoothly.
Installing in-ceiling speakers is mostly a planning job. The cutout and the wiring are the hard parts; once those are right, mounting a modern architectural speaker takes minutes. This guide walks through the order that keeps you from cutting into a joist, fishing cable through a finished ceiling, or ending up with sound that only fills one corner of the room.
It applies to typical drywall or plaster ceilings in homes, and to both new builds and retrofits. If you are working with a lath-and-plaster ceiling, a concrete slab, or a ceiling with a fire-rated assembly, treat those as separate projects and check local rules before cutting. The steps below assume you have basic tools and a little patience.
Before you cut: map the ceiling
Decide where you will actually sit and aim the speakers at that area, not at the walls. For a stereo pair, keep the two speakers roughly equidistant from the main seat and a similar distance from the side walls, so the left and right arrive at the same time. For a wider room, add a second pair rather than pushing one pair to the corners.
Then check what is above the drywall. A stud finder, a cheap borescope, or a quick look from the attic will show joists, pipes, and existing cable runs. Mark the joist centers with painter's tape so you can see them from below. If a joist sits where you wanted a speaker, shift the speaker a few inches rather than cutting into structure.
- Keep speakers at least a joist-width away from walls to avoid corner-loading the bass.
- In rooms with a single row of seating, an in-line pair above and slightly in front of the seat usually images better than a pair directly overhead.
Mark and cut the speaker cutout
Use the template that comes with the speaker, or trace the mounting flange, and mark the cutout with a pencil. Score the drywall first with a utility knife so the paper face does not tear, then cut with a drywall saw at a shallow angle. Cut slightly inside the line and test-fit the speaker; you can always open the hole a little more, but you cannot put material back.
Support the cutout piece as you finish the last edge so it does not fall into the cavity and hit a cable. If you are cutting near a joist, keep the blade angled away from it. Vacuum the dust before you handle the speaker, since drywall grit in a driver gap is hard to remove.
- A cutout that is too tight is safer than one that is too loose; the dog-leg clamps need material to bite.
- Wear eye protection and a dust mask. Ceiling drywall dust drops straight onto your face.
Run the in-ceiling speaker wiring
Run cable from the amplifier or AV receiver to each speaker location, leaving about a foot of slack at every end. Use cable rated for in-wall use, and keep speaker cable away from mains power lines where possible; if they must cross, cross at 90 degrees. Label both ends before you push the cable into the ceiling so you are not guessing later.
If the ceiling is already finished, fish the cable through the joist bays using a glow rod or fish tape, and drill through joists only in the middle third of the joist depth and only as large as the cable needs. If you are not comfortable drilling structural members, run the cable along the ceiling plane to a single access point instead.
- Leave a service loop at each speaker so you can pull the speaker out later without re-fishing cable.
- Keep polarity consistent: mark one conductor at both ends so left and right do not end up out of phase.
Connect and mount each speaker
Connect the cable to the speaker terminals before you lift the speaker into the hole, observing polarity. Many architectural speakers, including KEF models, use spring-loaded or push terminals on the rear of the baffle, so make the connection on the bench or on a step ladder rather than reaching into the ceiling. Then fold the dog-leg clamps inward, slide the speaker into the cutout, and tighten the clamps evenly, a little at a time, alternating sides.
Do not overtighten. The clamps only need to pull the flange snug against the ceiling; cranking them down can crack drywall, distort the baffle, or strip the clamp. If the speaker has a frameless or flush-mount design, check that the grille sits flat and the flange is not proud of the ceiling before you walk away.
- Tighten clamps by hand or with a low-torque driver, never with an impact driver.
- If the ceiling surface is uneven, a thin bead of non-hardening sealant behind the flange can reduce buzzes.
Test, aim, and finish
Before you fit the grilles permanently, play a familiar track and walk the room. Check that both speakers are working, that the center image sits where you expect, and that no rattle comes from the ceiling. If a speaker sounds thin or hollow, the cutout may be too large or the clamps are not sealing the flange against the drywall.
Once you are happy, fit the grilles and touch up any paint around the cutout if needed. Keep the cutout offcuts and the speaker template in a safe place; if you ever move or replace a speaker, having the original template makes the next job much easier.
- Listen for buzz at higher volumes before final grille fitting, since grilles can mask a loose clamp.
- Run the system for an hour or two before you call the job done; small rattles often show up only after the ceiling warms up.
Step-by-step ceiling speaker installation
- Step 1: Plan positions and check for obstructions: Mark the listening seat, space the speakers evenly around it, and use a stud finder or borescope to confirm no joists, pipes, or cables sit where you want to cut. Checkpoint: if a joist blocks the ideal spot, move the speaker rather than the joist.
- Step 2: Trace and cut the speaker cutout: Use the supplied template, score the drywall, and cut with a drywall saw slightly inside the line. Support the offcut so it does not fall into the cavity. Common mistake: cutting the hole too large. The clamps need solid material to grip.
- Step 3: Run and label the speaker cable: Fish in-wall-rated cable from the amplifier to each cutout, leaving a service loop at both ends and marking polarity on one conductor. Checkpoint: test continuity and label both ends before you push cable out of reach.
- Step 4: Connect terminals and seat the speaker: Wire the speaker on the bench or ladder, fold the dog-leg clamps in, slide the speaker into the cutout, and tighten the clamps evenly by hand. Common mistake: overtightening and cracking the ceiling or stripping the clamp.
- Step 5: Test, aim, and fit the grilles: Play familiar music, walk the room for even coverage and rattles, then fit the grilles and touch up paint around the cutout. Next step: keep the template and offcuts for future speaker changes.
Architectural speakers that suit ceiling installs
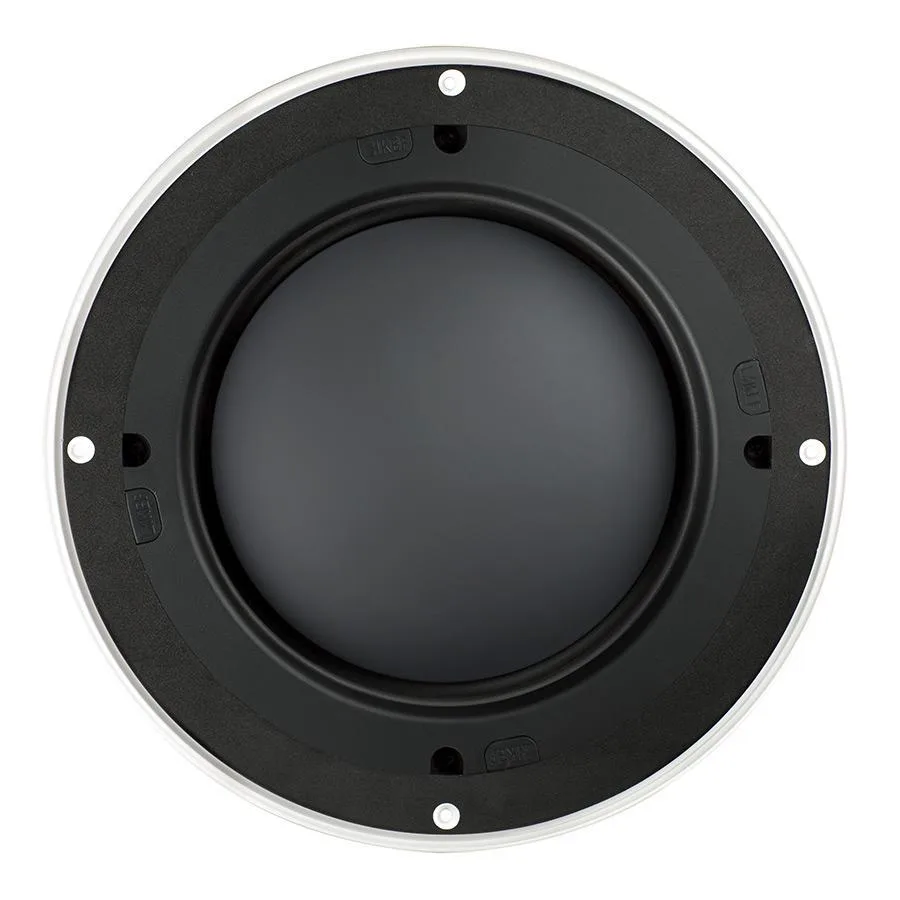
- Ci200TRB: Features KEF's patented Uni-Q driver array and a 200mm (8in.) subwoofer incarnation of the ultra-thin T Series woofer driver. The shallow T Series design is aimed at installations where space above the ceiling is at a premium, which is common in retrofit ceilings with limited joist depth.
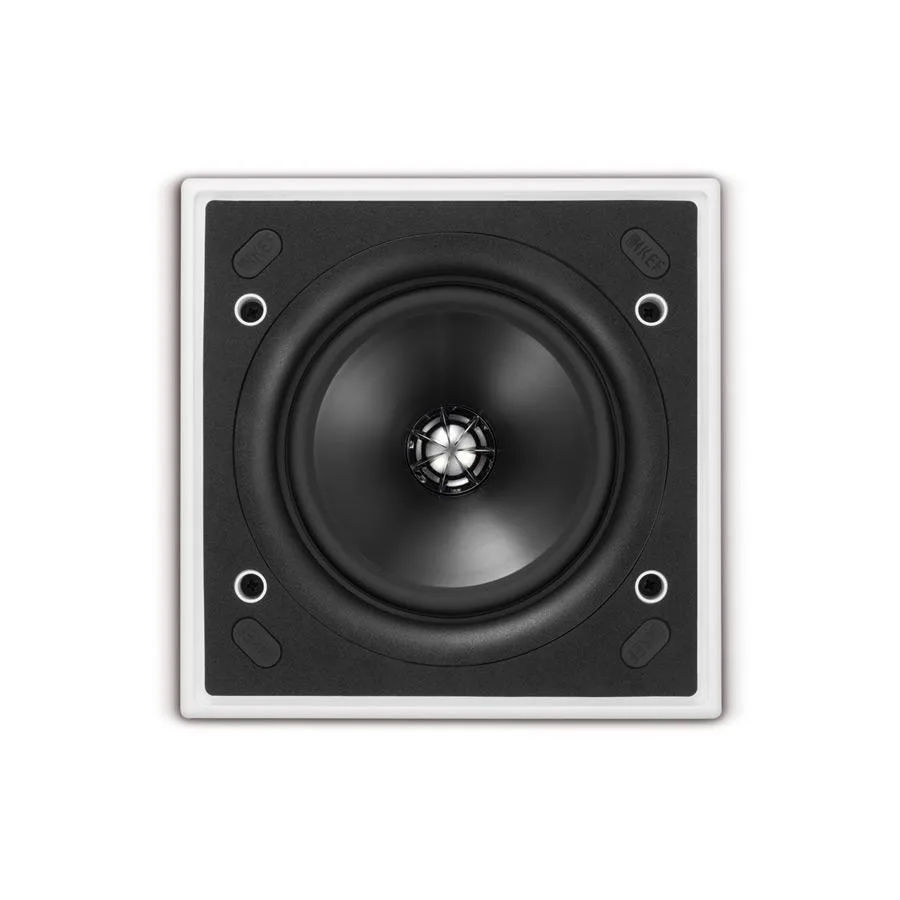
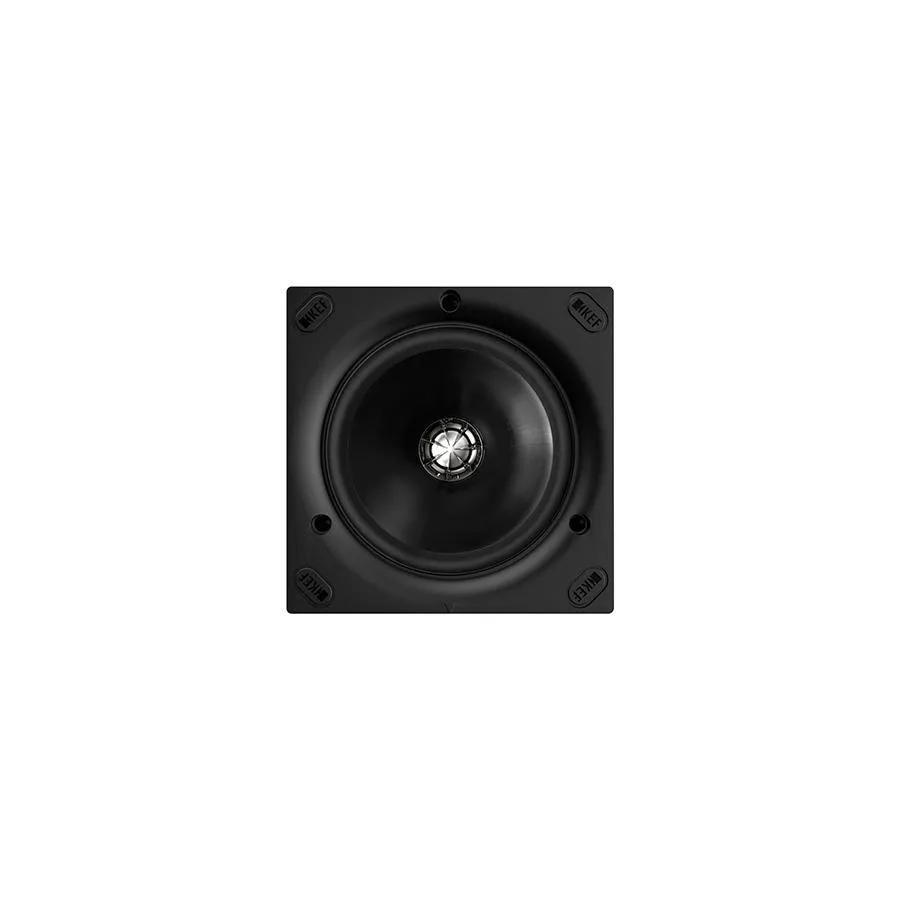
- Ci130QSfl: A flush-mounted frameless architectural speaker engineered for high-quality sound and simple installation, designed for both new builds and retrofitting. The frameless flush mount sits level with the wall or ceiling, so it is a practical choice when you want the speaker to disappear into a clean, minimalist surface.
- Ci130QS: Features KEF's patented Uni-Q driver array, with a thin bezel and narrow rim, and the Uni-Q driver spreads sound over a wider area. Wider dispersion means you can often cover a room with fewer speakers and still get an even soundstage, which reduces the number of cutouts you need to make.
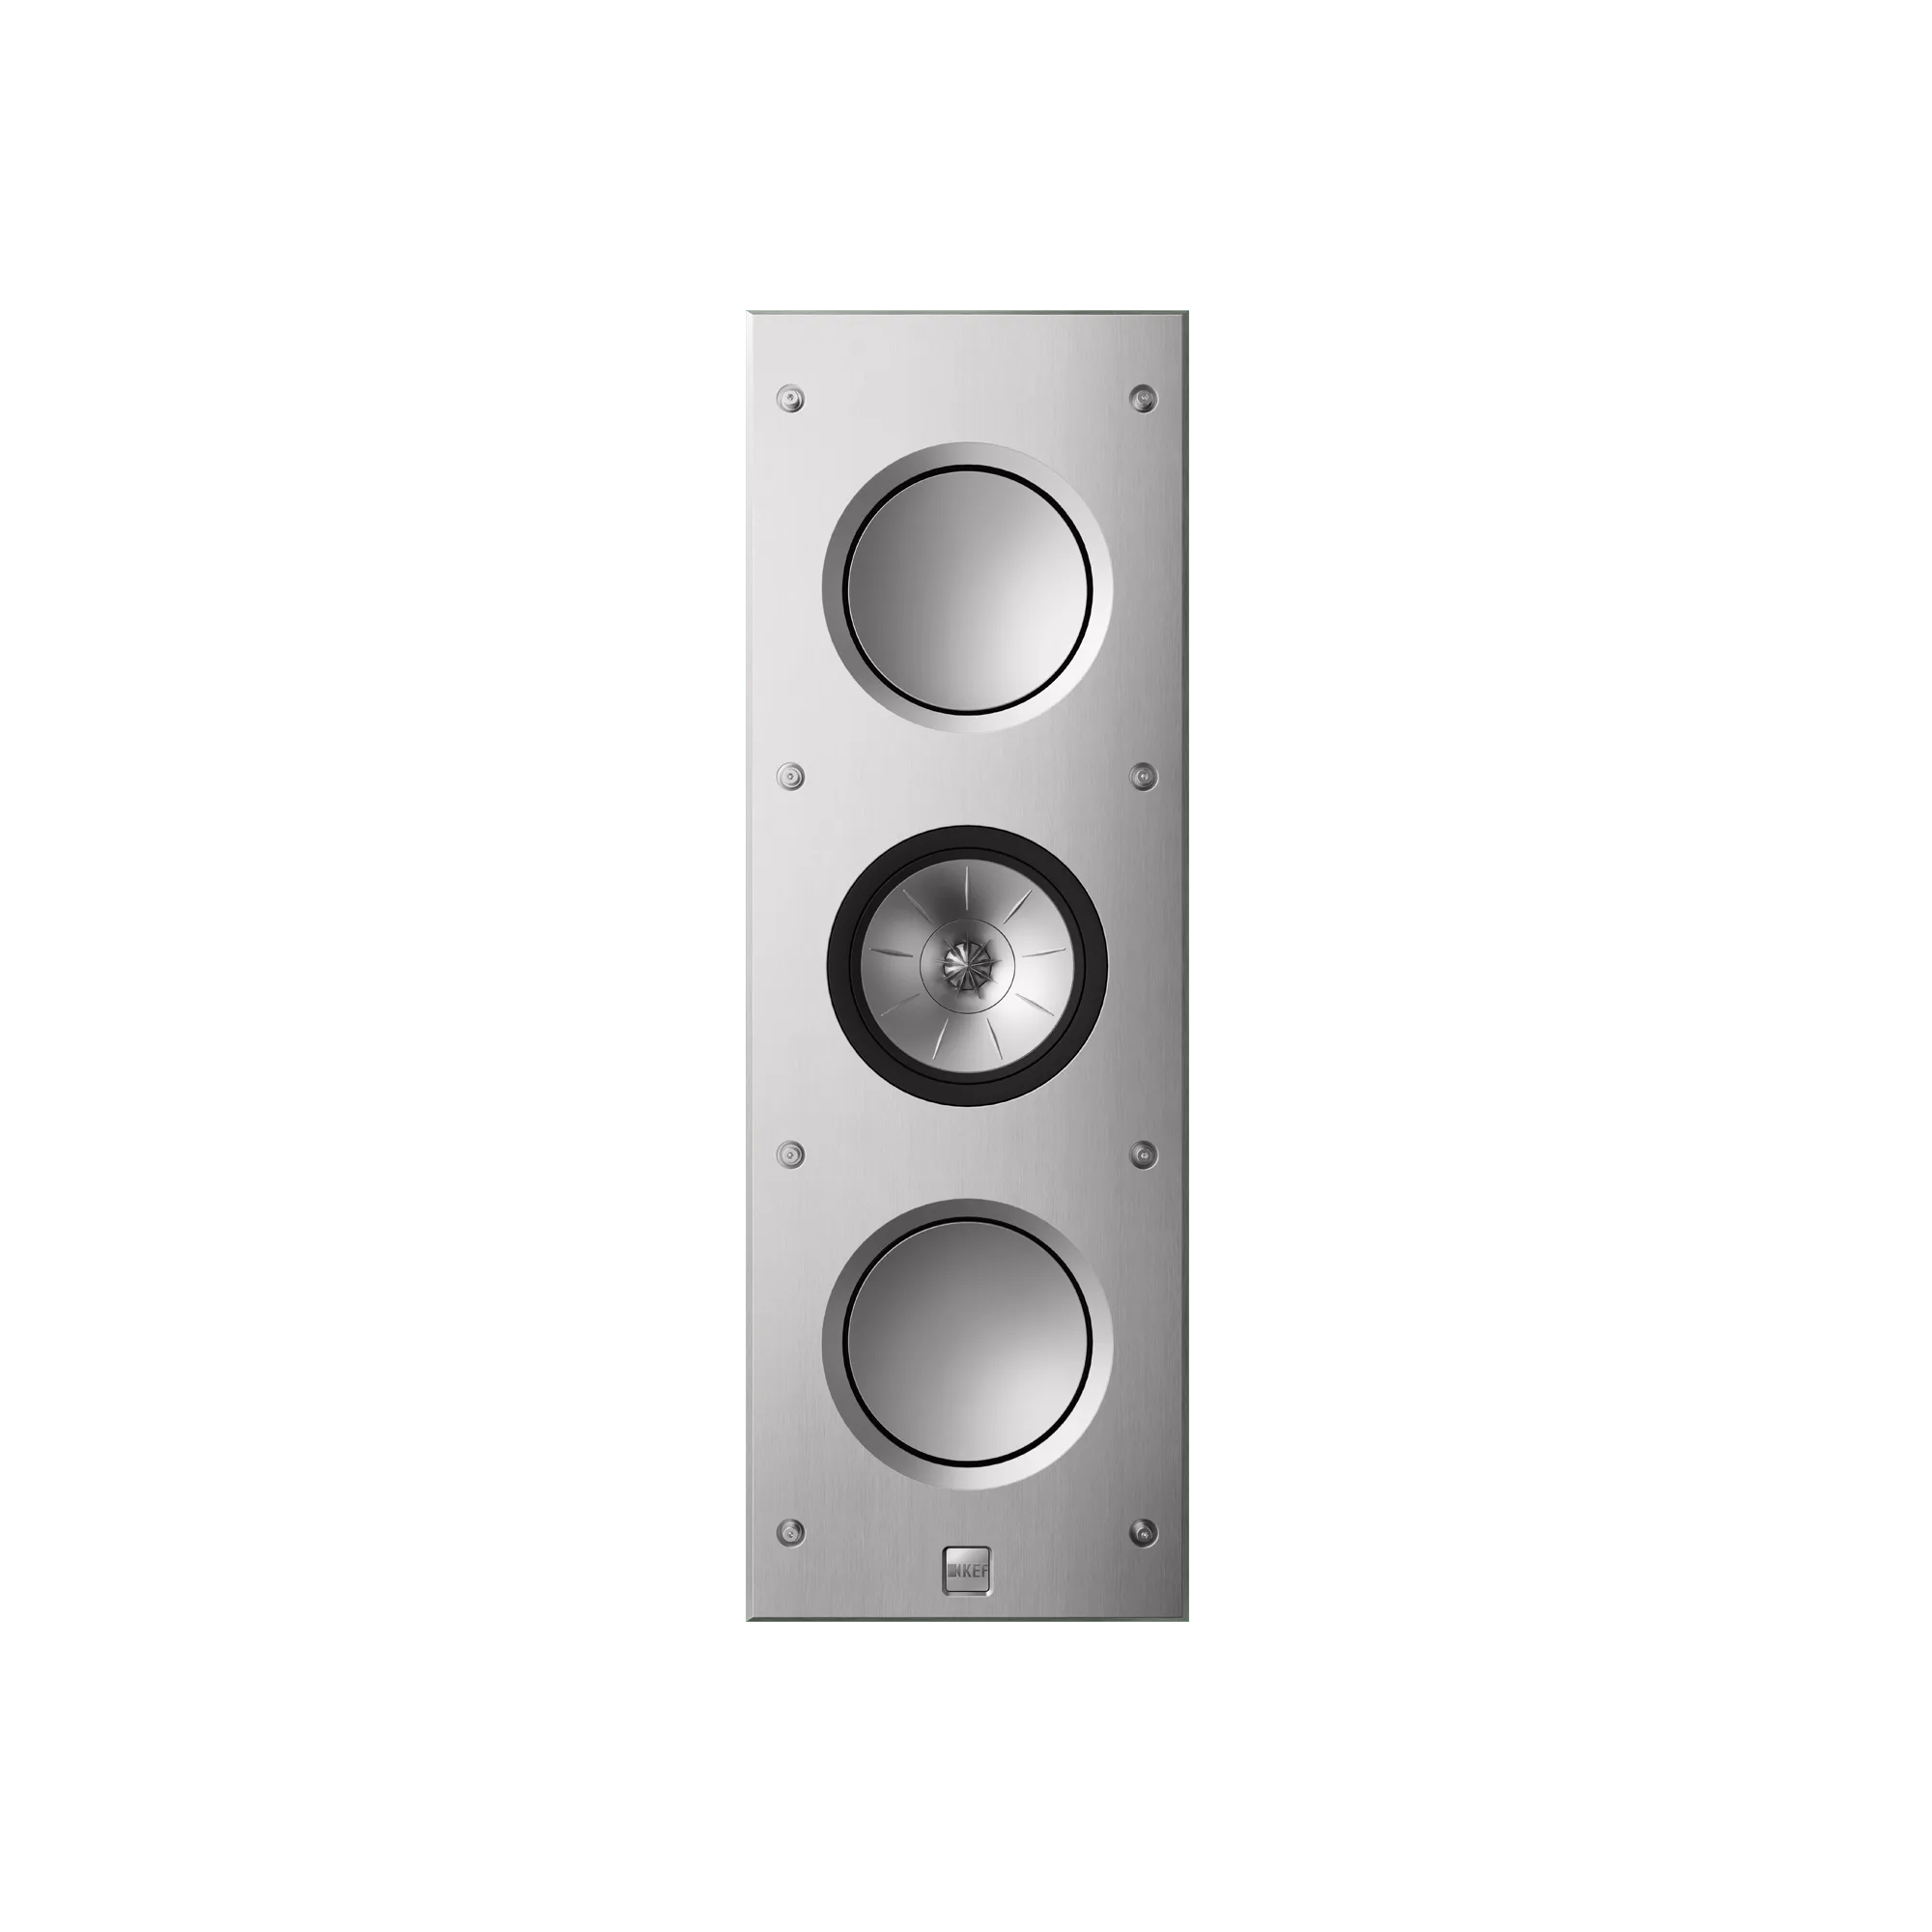
- Ci3160RLM-THX: An in-wall architectural speaker with the 12th generation Uni-Q driver array, Metamaterial Absorption Technology (MAT), two 6.5-inch hybrid aluminium bass drivers, and THX Certified Ultra designation. This is a higher-output option for home theater builds where the ceiling or wall speakers need to keep up with a dedicated subwoofer and high playback levels.
In-ceiling speaker installation rewards careful planning more than expensive tools. Get the layout and cutout right, run clean wiring with a service loop, and tighten the mounting clamps gently. If you are choosing speakers for the project, match the model to your ceiling depth and room size rather than buying the largest option that fits.