Quick answer
Installing a J-pipe downpipe on a 6MT Subaru WRX is a straightforward job if you work in order: soak the fasteners, remove the factory heat shields and intercooler as needed, support the exhaust, and replace every gasket and nut. Use new hardware, tighten in stages, and recheck torque after the first heat cycle. The job typically takes 2–4 hours on jack stands.
Swapping the factory J-pipe on a 6MT Subaru WRX is one of the most common first bolt-on jobs, and it is also one of the easiest to get wrong. The fasteners are exposed to years of heat cycling, and a single reused gasket or over-torqued stud can turn a simple install into a boost-leak hunt.
This guide walks through the process in order, with the checkpoints that matter: penetrating oil before you touch anything, new gaskets and hardware, staged torque, and a post-install recheck. It applies to the FA20 WRX with the 6-speed manual, and the same logic carries over to most turbo Subaru downpipe jobs.
Tools and parts to have on hand before you start
You will need a basic metric socket set, extensions, a breaker bar, penetrating oil, and a torque wrench that reads in the 20–50 lb-ft range. A set of ramps or four jack stands plus wheel chocks is safer than working on a single jack. Have new gaskets ready for the turbo outlet and the J-pipe-to-catback connection, plus fresh nuts and studs if your factory hardware is pitted.
Plan for the hardware to fight you. Soak every visible nut and stud with penetrating oil at least an hour before you start, and again right before you break them loose. If a nut rounds, a six-point socket or a nut extractor will save the day. Do not start the job with a cold engine and no plan for a stuck fastener.
- Use six-point sockets on exhaust nuts to reduce rounding.
- Lay out new gaskets and hardware so you can compare them to the old ones before reassembly.
Step 1: Safely raise and support the car
Lift the front of the car and set it on jack stands at the factory pinch welds or subframe points. Chock the rear wheels. You need enough height to lie under the car and swing a breaker bar, so do not settle for the lowest setting. Confirm the car is stable by giving it a firm shake before you slide underneath.
Disconnect the negative battery terminal if you are working near any wiring, and let the exhaust cool completely if the car was recently driven. A warm exhaust is not a shortcut here; it is a burn risk and it makes fasteners more likely to gall.
- Never work under a car supported only by a jack.
- Wear eye protection; rust and debris fall when you break fasteners loose.
Step 2: Remove the factory heat shields and access covers
The factory J-pipe is covered by heat shields that must come off first. Most are held by 10mm bolts, and they are often corroded. Apply penetrating oil, let it sit, and use a six-point socket. If a bolt snaps, drill and extract it rather than forcing the shield and bending it.
On the FA20 WRX, you may also need to move the intercooler or its charge pipe to reach the turbo outlet. Work methodically and keep the bolts in labeled bags. Reinstalling heat shields correctly matters; they protect nearby hoses and wiring from radiant heat.
- Label and bag every bolt by location; exhaust hardware looks alike but lengths differ.
- Do not pry heat shields; bent shields can rattle against the downpipe later.
Step 3: Support the exhaust and disconnect the J-pipe
Support the catback or midpipe with a jack or stand before you remove the J-pipe. The exhaust is heavier than it looks, and letting it hang puts stress on the hangers and flex joint. Unbolt the J-pipe from the turbo outlet and from the catback, then lower it carefully.
Inspect the turbo outlet flange and the catback flange for flatness. A warped flange will leak no matter how new your gasket is. If the flange is pitted, a quick pass with a flat file can help, but do not remove material aggressively.
- Keep the J-pipe supported until all fasteners are removed.
- Check the turbo outlet studs; if they are stretched or corroded, replace them now.
Step 4: Install the new J-pipe with new gaskets and hardware
Clean the mating surfaces, then fit the new gasket at the turbo outlet and the new J-pipe. Start all nuts by hand to avoid cross-threading, and leave them snug only. Fit the catback connection with a new gasket and hand-start those nuts too. If you are using an adjustable hanger, set it loose for now so you can align the piping.
This is the point where a product like the Private Label Mfg. Adjustable Exhaust Hanger earns its keep. It lets you fine-tune alignment so the J-pipe sits centered and does not preload the flex joint. Get the piping where it belongs before you final-tighten anything.
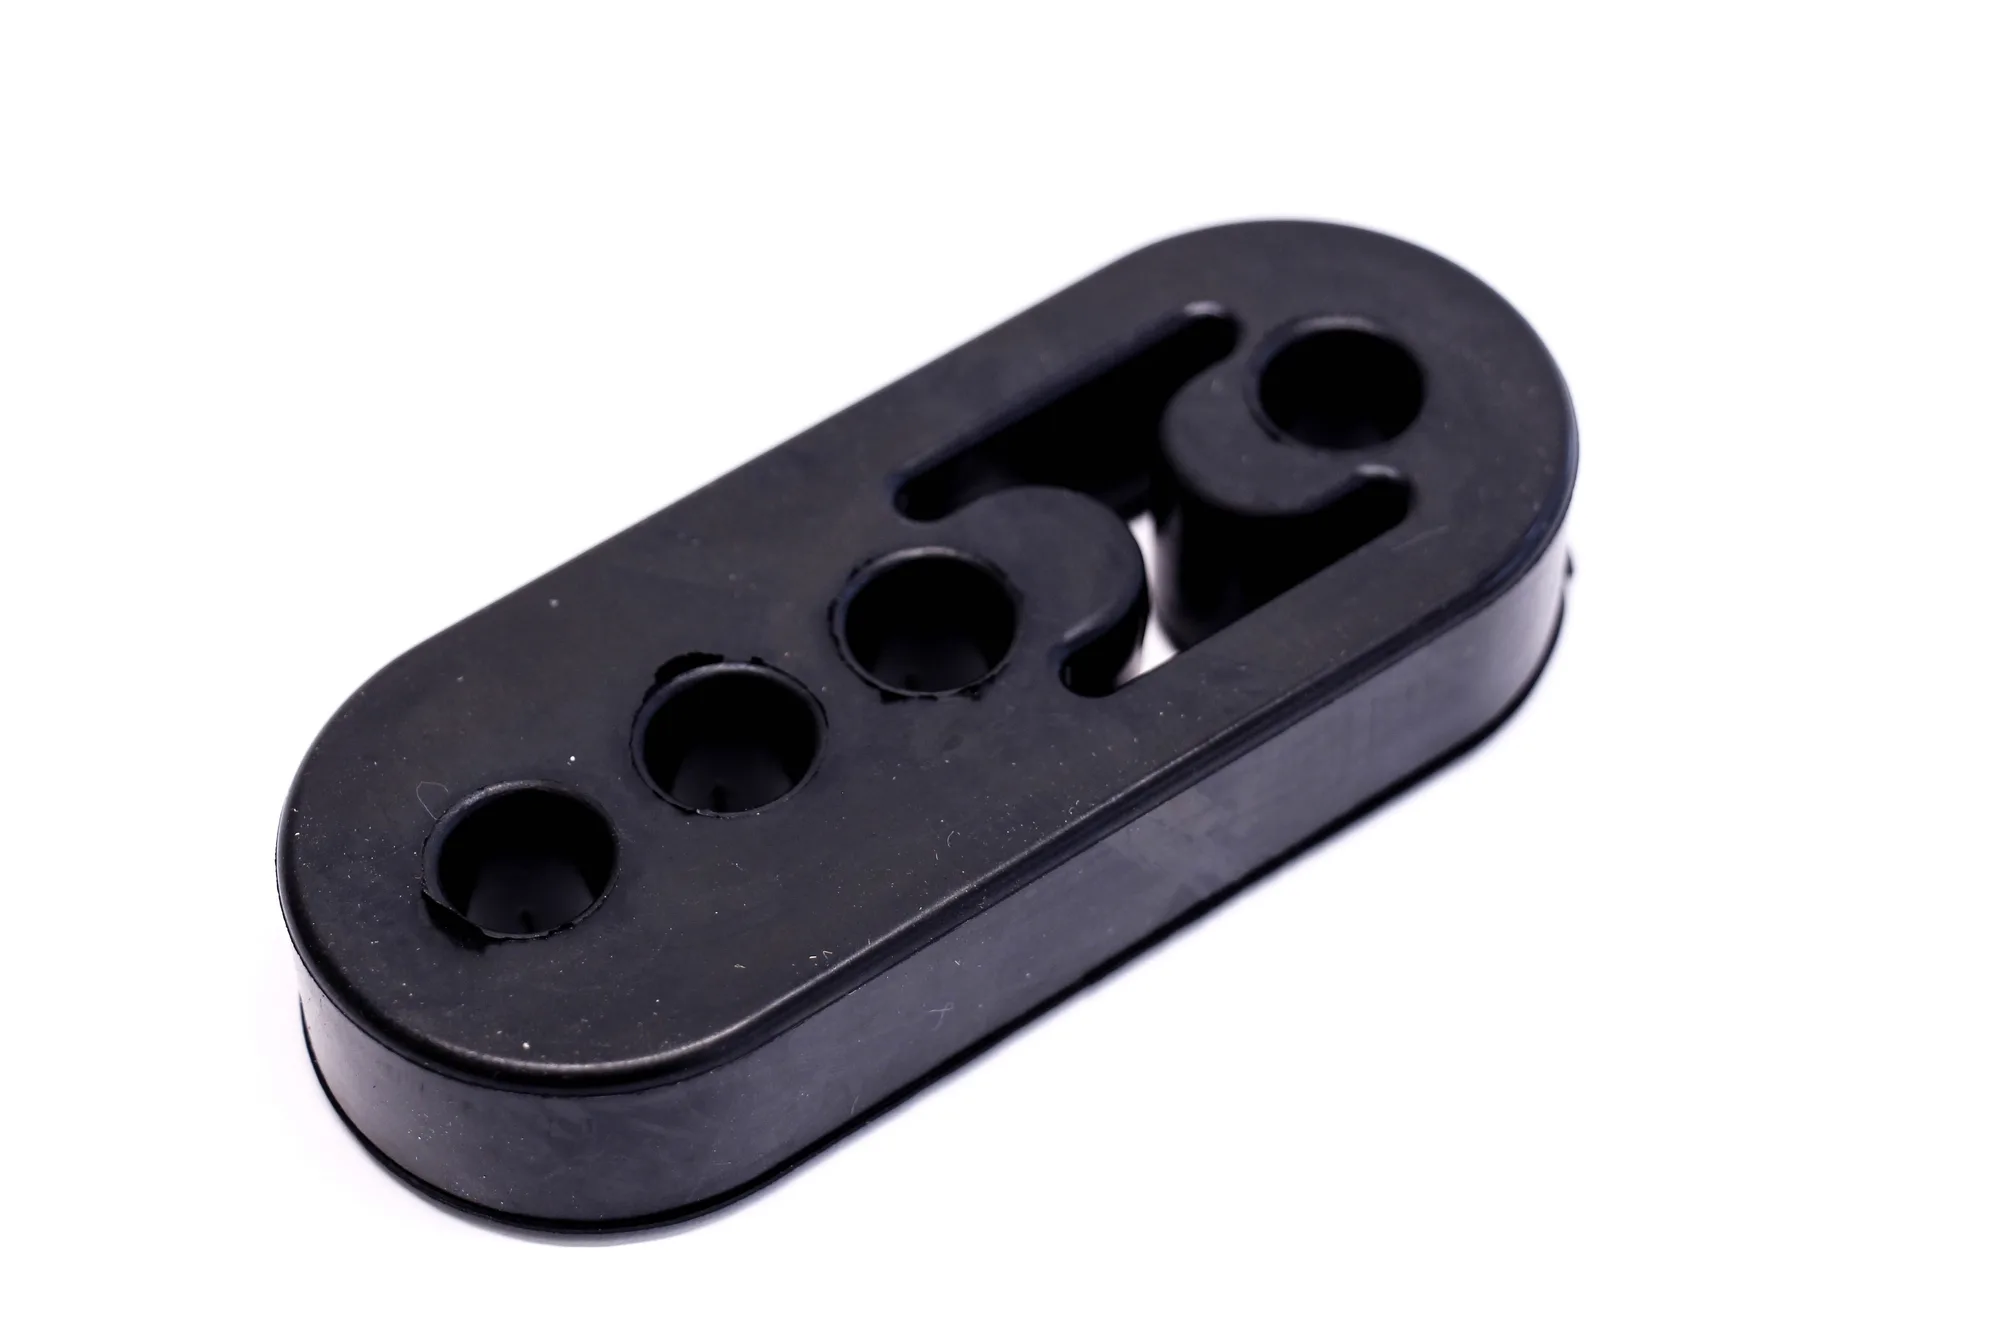
Private Label Mfg. Adjustable Exhaust Hanger
- Never reuse a crush gasket; they are single-use by design.
- Hand-start every nut before using tools to prevent cross-threading.
Step 5: Torque in stages and recheck after a heat cycle
Tighten the turbo outlet and catback fasteners in a crisscross pattern, in stages, to your manufacturer's spec. If you do not have a specific spec, a common range for this size hardware is 25–35 lb-ft, but verify against your downpipe instructions. Over-torquing studs is a leading cause of snapped hardware and exhaust leaks.
After the first drive and a full heat cycle, let the car cool and recheck every fastener. Exhaust hardware often loosens slightly as gaskets compress. A second recheck after a few hundred miles is cheap insurance against a boost leak or an exhaust tick.
- Use a torque wrench, not feel; exhaust fasteners are easy to over-tighten.
- Recheck torque after the first heat cycle and again after a few hundred miles.
Install steps at a glance
- Prep and penetrate: Soak all exhaust fasteners with penetrating oil an hour before starting; gather new gaskets, nuts, and a torque wrench. Checkpoint: if a nut will not budge, stop and apply more oil rather than forcing it.
- Lift and support: Raise the front on jack stands, chock the rear wheels, and disconnect the negative battery terminal if working near wiring. Checkpoint: shake the car to confirm it is stable before going underneath.
- Remove shields and J-pipe: Take off heat shields, support the catback, and unbolt the factory J-pipe from the turbo outlet and catback. Checkpoint: bag and label hardware by location; inspect flanges for flatness.
- Install new J-pipe: Clean mating surfaces, fit new gaskets, hand-start all nuts, and set an adjustable hanger loose for alignment. Checkpoint: never reuse a crush gasket; cross-threading starts by skipping hand-start.
- Torque and recheck: Tighten in a crisscross pattern in stages to spec, then recheck after the first heat cycle and again after a few hundred miles. Checkpoint: use a torque wrench; over-tightening is a common cause of snapped studs.
Parts that make this install easier
- Private Label Mfg. Adjustable Exhaust Hanger: Dial in the perfect exhaust fitment with the PLM Adjustable Exhaust Hanger. Whether your factory hanger rod is too short or your exhaust piping sits slightly off-center, this adjustable design lets you fine-tune alignment quickly and easily. After a J-pipe install, small alignment errors can preload the flex joint and cause rattles or cracks. An adjustable hanger lets you center the piping before final torque.
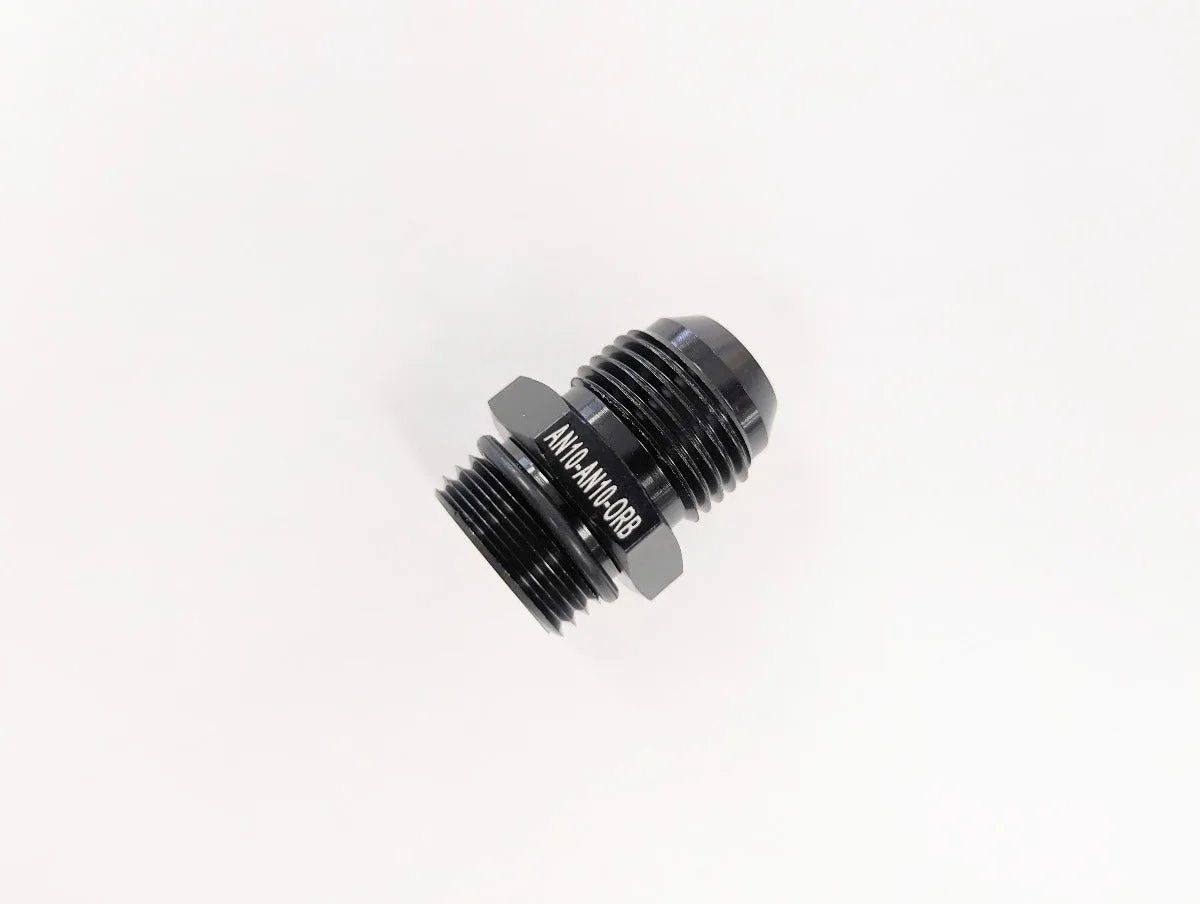
- Precision Works 10AN Straight Fitting -10AN to ORB O-Ring: Precision Works 10AN to ORB Adapter (with O-ring) Straight -10AN ORB fitting O-ring for 100% leak free installation. Universal Fitment - Please check size. If your install includes an oil catch can or breather setup, this O-ring fitting helps you avoid the oil seepage that often shows up after exhaust work when hoses are disturbed.
A J-pipe downpipe install on a 6MT Subaru WRX rewards patience more than speed. Work in order, replace every gasket and nut, align the piping before final torque, and recheck after a heat cycle. Done right, it is a reliable bolt-on that you will not have to revisit.