Quick Answer
To install LED rock lights on your UTV or truck, plan the layout, mount the lights securely, route the wiring, connect to a power source with a fuse, and test everything before finalizing. Always use waterproof connections and avoid drilling into critical components.
Planning Your Rock Light Layout
Before you start, decide where to place the LED rock lights. Common locations include under the chassis, near the wheel wells, and along the rock sliders. The goal is to illuminate the ground around the vehicle for better visibility on trails. For trucks, focus on the undercarriage to create an even underglow effect. For UTVs, consider mounting lights near the fenders to light up the wheel area.
Check the length of the wiring harness that comes with your lights. If you need to extend it, use the appropriate gauge wire and solder or use heat-shrink connectors. Measure twice and cut once to avoid running out of wire during installation.
Tools and Materials You'll Need
Gather the following tools before you begin: a drill with a step bit or hole saw, a screwdriver set, wire strippers, crimping tool, heat-shrink tubing, electrical tape, zip ties, a test light or multimeter, and a wrench set. Having everything on hand will make the installation smoother.
If your rock light kit does not include a switch, you will need to purchase one. Also, consider adding a fuse holder if your kit does not have one. This protects your vehicle's electrical system from shorts.
Step-by-Step Installation Process
- Step 1: Prepare the Vehicle: Park on a flat surface, engage the parking brake, and disconnect the negative battery terminal. Clean the mounting areas to ensure good adhesion and a secure fit. Checkpoint: Ensure the battery is disconnected before any wiring work to avoid shorts.
- Step 2: Mount the Rock Lights: Position each light in your planned location. Use the included brackets or self-tapping screws to secure them. For plastic bumpers or trim, use a drill to create pilot holes. For metal surfaces, use a metal drill bit. Common mistake: Overtightening screws can crack the light housing. Tighten until snug, then stop.
- Step 3: Route the Wiring: Run the wires from each light to a central location, such as the engine bay or under the dash. Use zip ties to secure the wiring along existing harnesses or frame rails, avoiding hot or moving parts. Checkpoint: Leave a little slack at each light to allow for suspension movement, but not so much that wires can snag.
- Step 4: Connect to Power: Connect the positive wire to a fused power source, such as the battery or an accessory fuse box. Connect the negative wire to a solid ground point on the frame. If using a switch, wire it in line with the positive lead. Common mistake: Using an unfused connection can cause a fire. Always use a fuse rated for your light's amperage.
- Step 5: Test and Finalize: Reconnect the battery and test the lights. Check for proper operation and adjust the beam angle if needed. Once satisfied, secure all wiring with zip ties and apply dielectric grease to connections. Checkpoint: Test all lights before reassembling panels or trim to avoid rework.
Products That Help with Installation
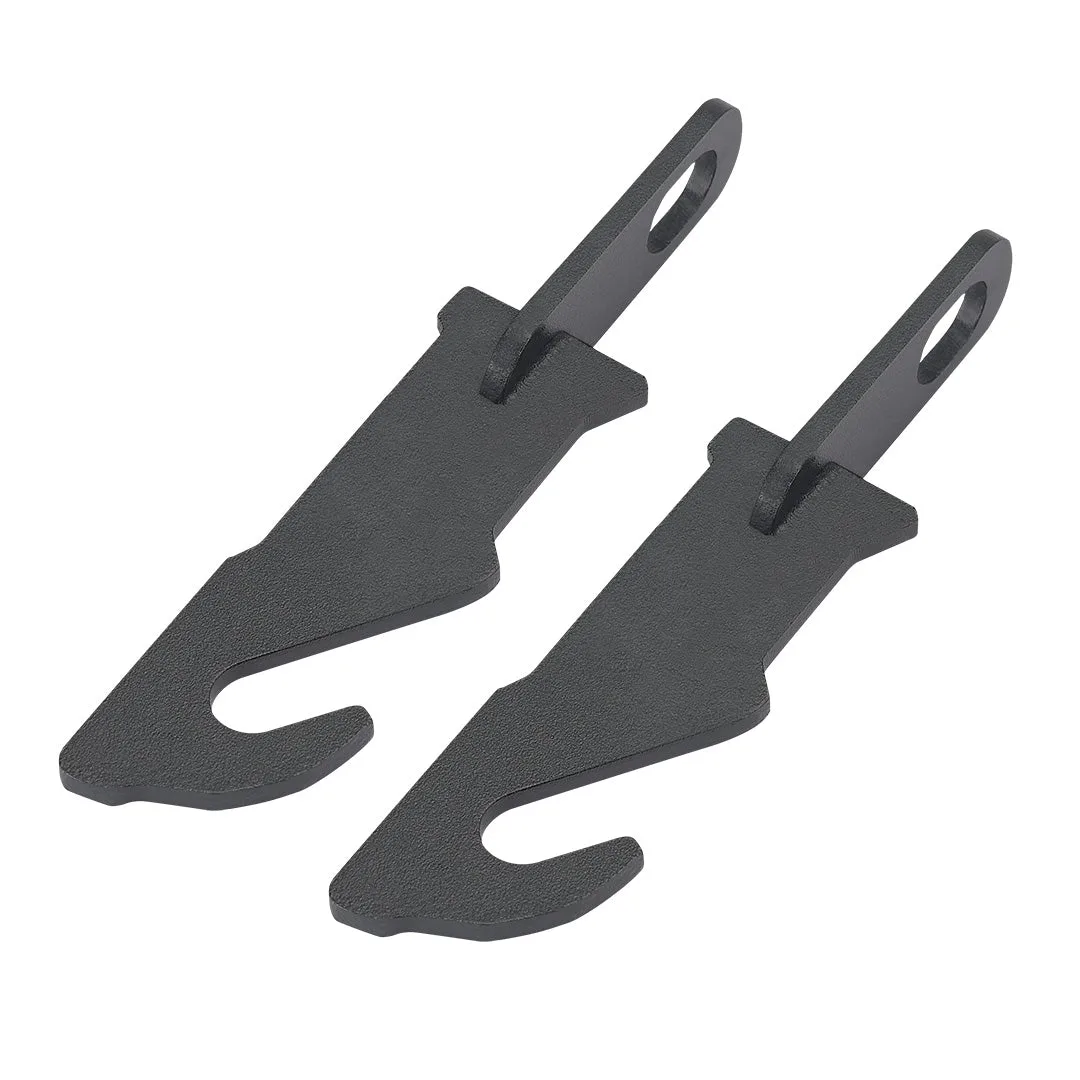
- 1 Pair Door Latches Latch for Polaris RZR XP 4 1000/900/800 S: This RZR door latch is made of solid Q235 material, strong and durable, and has a painted surface to prevent rust. It connects the door and cab firmly and increases air circulation. While installing rock lights, you may need to access the door area for wiring. This latch keeps doors secure and allows for better airflow when working on the cab, ensuring a comfortable environment during installation.