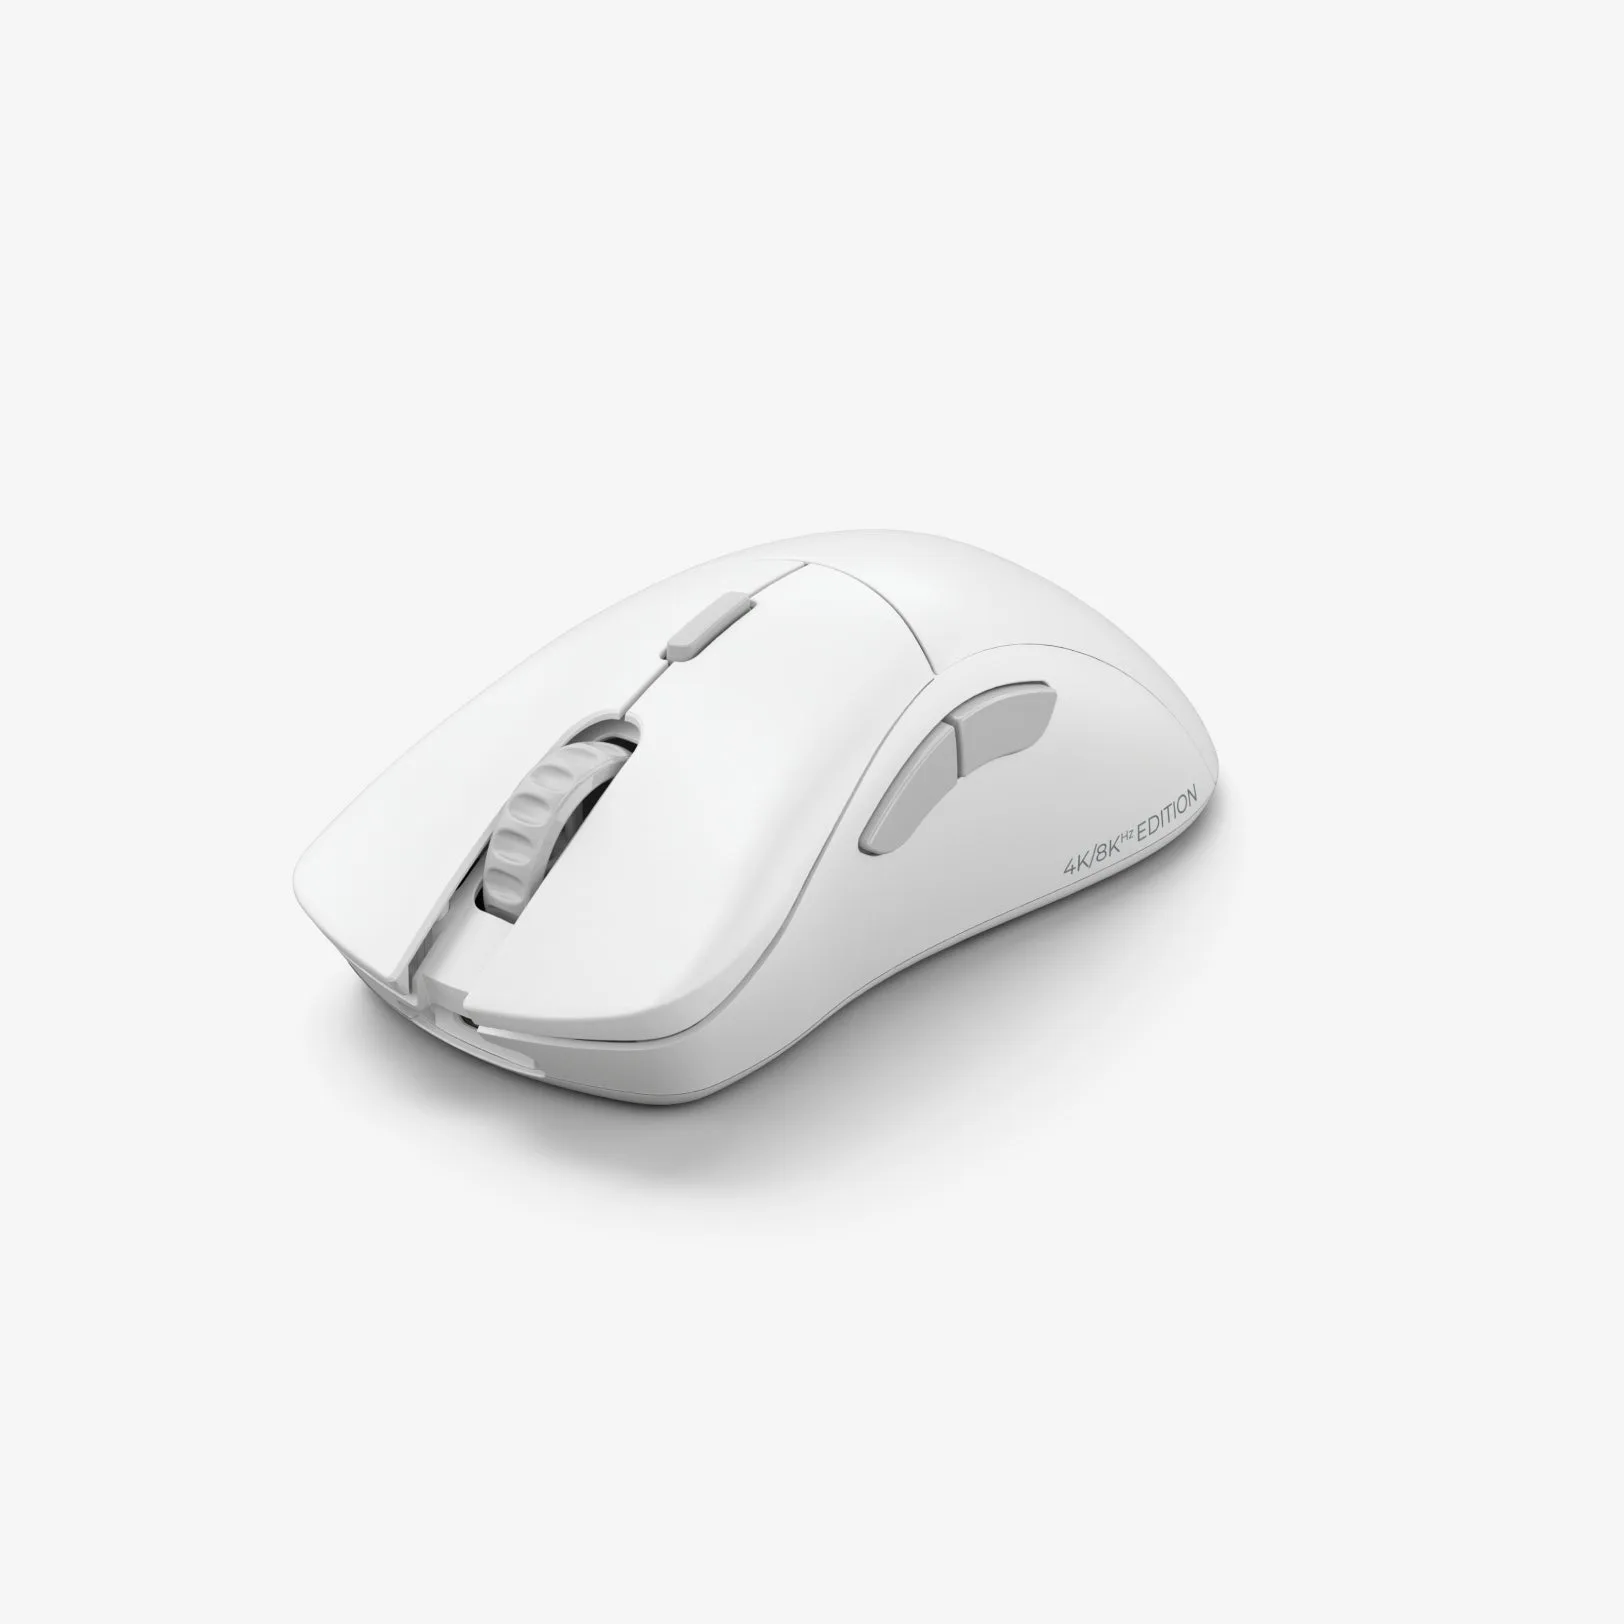
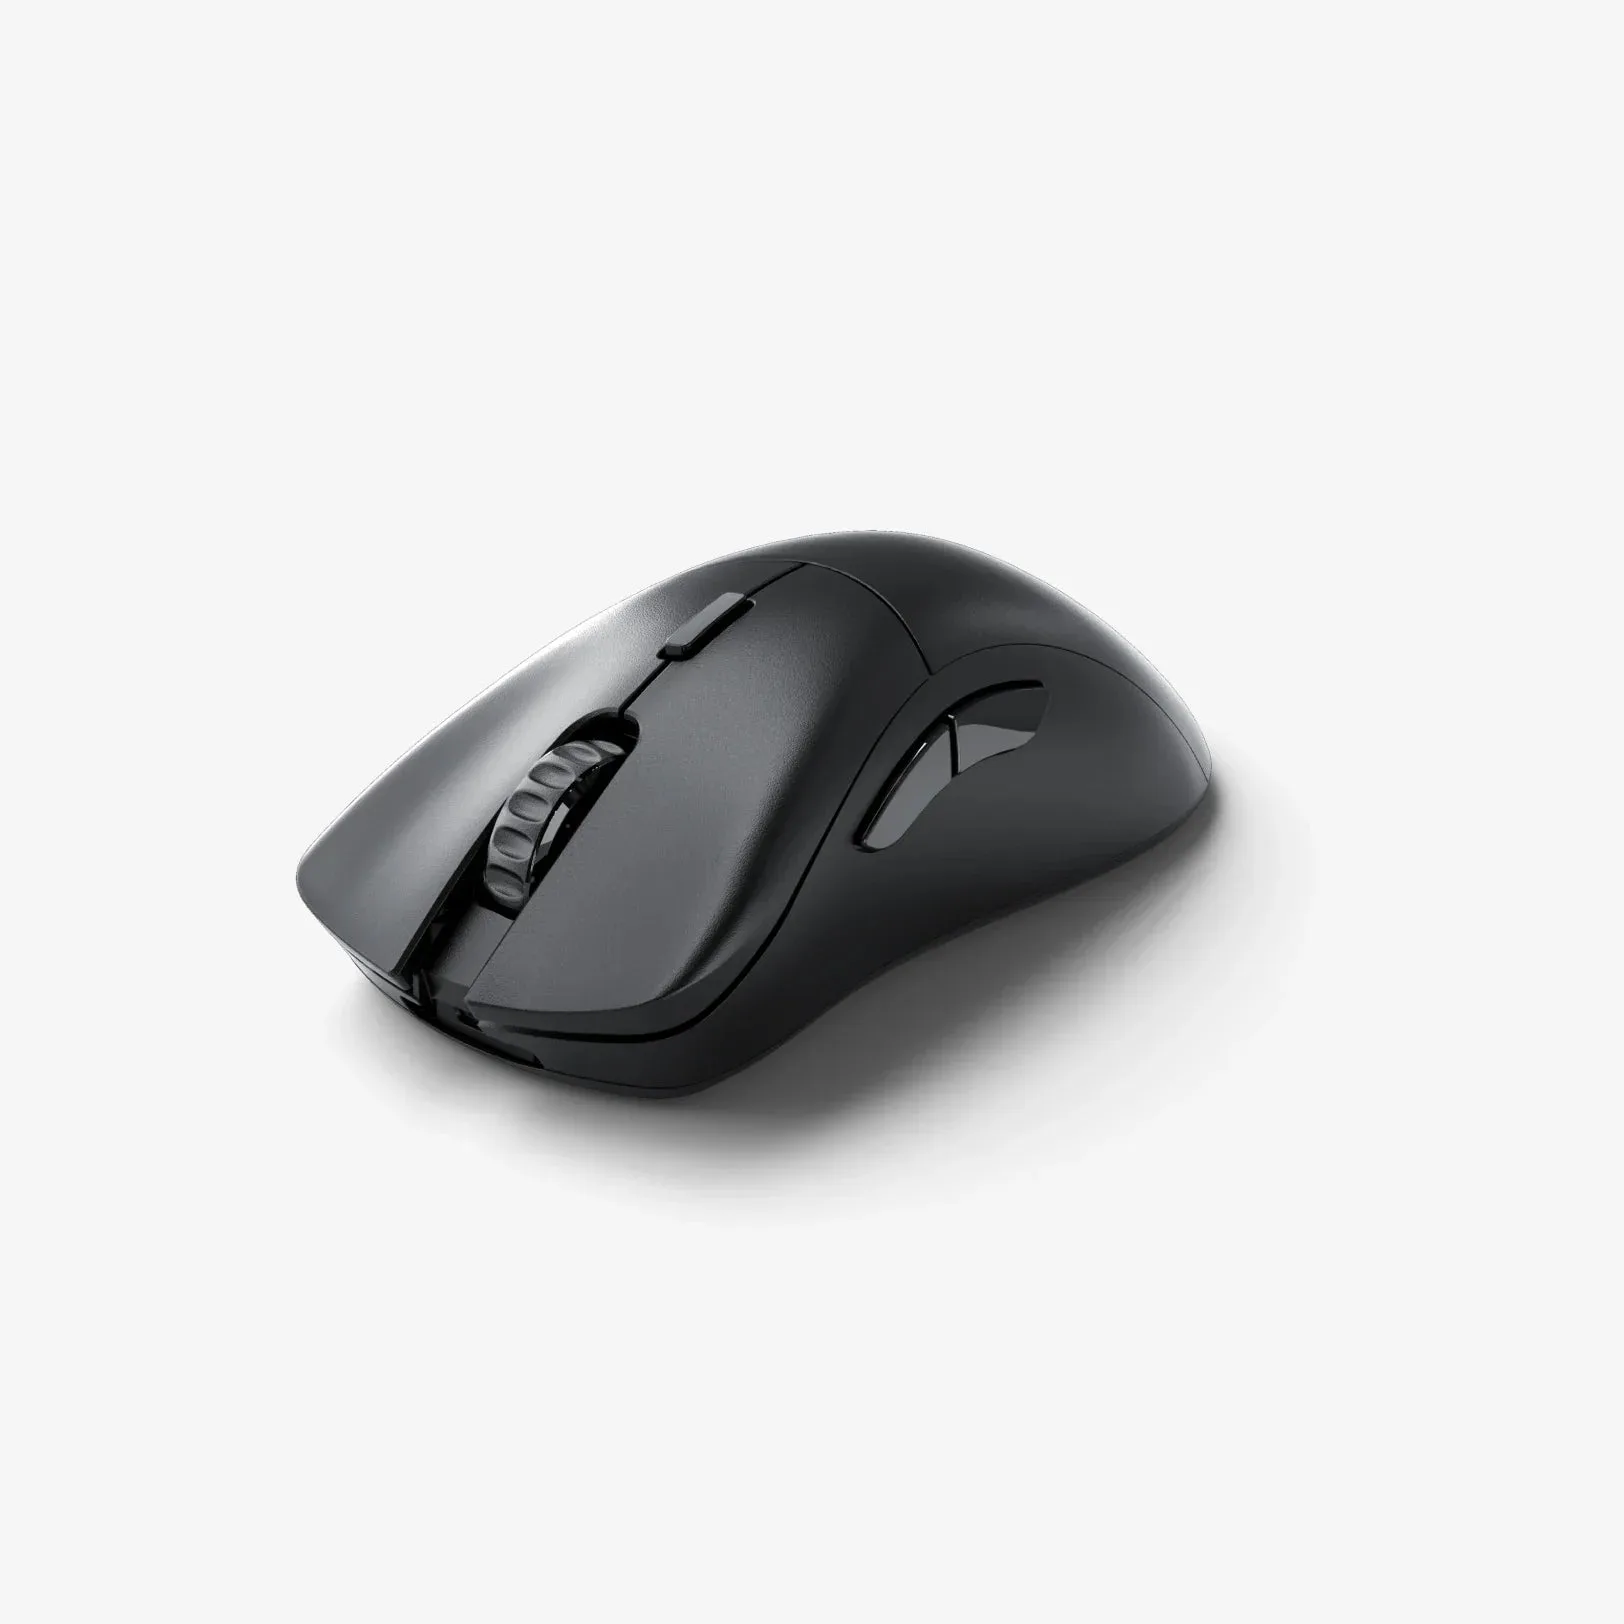
If you've recently picked up the Glorious Model I 2 Wireless, you already know it's a top-tier gaming mouse with excellent performance. But even the best mouse can benefit from a little extra grip, especially during intense gaming sessions or long workdays. Adding mouse grip tape is a simple, cost-effective way to enhance your control and comfort.
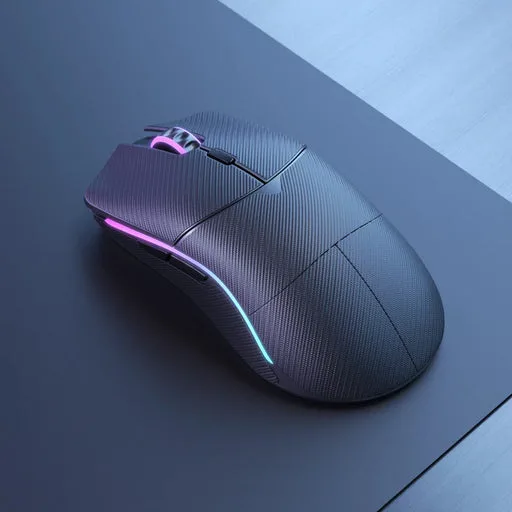
mouse grip tape
In this guide, we'll walk you through the entire process of installing grip tape on your Glorious Model I 2 Wireless. We'll cover everything from choosing the right tape to preparing your mouse and applying the tape without bubbles or misalignment. By the end, you'll have a mouse that feels like it was custom-made for your hand.
Why Add Grip Tape to Your Glorious Model I 2?
The Glorious Model I 2 Wireless features a lightweight design and a comfortable shape, but its smooth surface can become slippery when your hands get sweaty. Grip tape provides a textured surface that improves traction, reduces fatigue, and helps you maintain precise control during fast-paced movements.
Whether you're a competitive gamer or a professional who spends hours at the computer, grip tape can make a significant difference. It's also a great way to personalize your mouse and add a unique look. Plus, it's reversible—if you ever want to remove it, you can do so without damaging the mouse.
- Enhanced control and precision
- Reduced hand fatigue during long sessions
- Protects the mouse surface from wear and tear
- Customizable look with various colors and patterns
What You'll Need for the Installation
Before you start, gather the necessary materials. You'll need a set of mouse grip tape specifically designed for the Glorious Model I 2 Wireless. Glorious offers pre-cut kits that fit the mouse perfectly, but you can also use universal grip tape and cut it yourself if you prefer.
You'll also need a clean, lint-free cloth, some isopropyl alcohol (at least 70%), and a pair of tweezers or a small flat tool to help position the tape. A hairdryer or heat gun can be useful for softening the tape, but it's optional.
- Pre-cut grip tape kit or universal grip tape
- Lint-free cloth and isopropyl alcohol
- Tweezers or a flat tool for positioning
- Optional: hairdryer to soften adhesive
Step-by-Step Installation Guide
Start by cleaning the mouse thoroughly. Use the lint-free cloth with a small amount of isopropyl alcohol to wipe down the entire surface, focusing on the areas where you'll apply the tape. This removes oils, dust, and debris that could prevent the adhesive from sticking properly. Allow the mouse to dry completely.
Next, identify the pieces in your grip tape kit. They are usually labeled for the left and right buttons, side grips, and sometimes the palm area. If you're using universal tape, you'll need to trace the shapes onto the tape and cut them out carefully with scissors or a craft knife.
Peel the backing off one piece of tape. Starting from one edge, align it with the corresponding area on the mouse. Use your fingers to press it down slowly, smoothing out any air bubbles as you go. If you have a hairdryer, you can gently heat the tape to make it more pliable and help it conform to curves.
Repeat the process for each piece. Take your time to ensure each piece is aligned correctly. Once all pieces are applied, go over the entire mouse with your fingers to press down the edges firmly. This ensures a secure bond and prevents peeling later.
- Clean the mouse with alcohol and let it dry completely
- Peel and apply each piece, starting from one edge
- Smooth out air bubbles with your fingers or a tool
- Press down edges firmly for a secure fit
Tips for a Flawless Application
To get the best results, work in a well-lit area and have a steady hand. If you make a mistake, don't panic—gently peel the tape off and reposition it immediately. The adhesive is usually forgiving if you act quickly.
If you're using a universal tape, take measurements twice before cutting. It's better to have a slightly larger piece that you can trim after application than a piece that's too small. You can also use a craft knife to trim excess tape once it's on the mouse.
After installation, wait at least 24 hours before using the mouse heavily. This gives the adhesive time to cure and bond fully. Avoid exposing the mouse to extreme temperatures or moisture during this period.
- Apply in a clean, well-lit environment
- Reposition immediately if misaligned
- Trim excess tape with a craft knife if needed
- Wait 24 hours for adhesive to cure
Caring for Your Grip Tape
Grip tape is durable, but it will eventually wear out with heavy use. To extend its life, clean it regularly with a slightly damp cloth. Avoid using harsh chemicals or abrasive cleaners, as they can damage the adhesive.
When you notice the tape losing its tackiness or starting to peel, it's time to replace it. Simply peel it off and clean the mouse surface with alcohol before applying a fresh set. This is a quick and inexpensive way to keep your mouse feeling like new.
- Clean with a damp cloth, avoid harsh chemicals
- Replace when tape loses tack or peels
- Reapply fresh tape after cleaning the surface
Installing grip tape on your Glorious Model I 2 Wireless is a straightforward process that can significantly improve your gaming and work experience. With the right tools and a little patience, you'll have a mouse that feels secure and comfortable in any situation. If you're looking for a new mouse or replacement grip tape, explore our selection of Glorious products to find the perfect match for your setup.