Quick answer
You can install no-drill mud flaps on a Tesla Model Y in about 20 minutes per side using basic hand tools and the factory mounting points. Work on a flat surface, turn the front wheels for access, and test-fit each flap before tightening. If you use existing push pins and screws, no drilling is required and the install is fully reversible.
Mud flaps are one of the simplest ways to protect your Model Y's paint and lower body from road debris. The no-drill versions use the factory holes and push pins already in the wheel wells, so you can add them without modifying the car.
This guide walks through a clean, repeatable install. It also covers the small mistakes that cause flaps to sit crooked, rub the tire, or loosen over time.
What you need before you start
Gather a plastic trim removal tool, a short Phillips screwdriver, a 10mm socket or nut driver, and a clean microfiber towel. A flashlight or headlamp helps you see the upper mounting points inside the wheel well. If your kit includes new push pins, keep them in a cup so you don't lose them.
Park on a flat, paved surface and set the parking brake. Turn the front wheels fully to one side to open up the front wheel well. For the rear, you may need to reach behind the tire; if clearance is tight, use a low-profile right-angle driver.
- Check your kit contents against the parts list before starting.
- Clean the wheel well lip with a damp cloth so the flap seats flush.
Front mud flap installation
Start with the front because access is easier. Remove the existing push pins or screws along the lower wheel arch lip using the trim tool. Keep the factory hardware; most no-drill kits reuse it. Align the mud flap so its top edge follows the body line and the outer edge sits slightly proud of the tire.
Press the flap into place and start the top fastener by hand. Then install the lower fasteners, checking that the flap does not touch the tire at full lock. Tighten until snug, but do not overtighten plastic pins or you will strip them.
- Common mistake: forcing a pin that doesn't line up. Loosen the other fasteners and shift the flap slightly.
- Checkpoint: turn the wheel lock-to-lock and confirm at least a finger's width of clearance.
Rear mud flap installation
The rear wheel well often has less room. Remove the lower push pins and any screws along the arch. Slide the rear flap into position, guiding the top tab behind the wheel well liner if your kit uses one. Many Model Y rear flaps also attach to a lower mounting point near the bumper bracket.
Once aligned, install the outermost fastener first, then the inner ones. This sequence helps the flap settle without gaps. Recheck that the flap is vertical and not tilted inward, which can cause rubbing on suspension travel.
- Common mistake: leaving the wheel well liner folded behind the flap, which creates a bulge.
- Checkpoint: push the flap gently with your hand; it should feel firm with no rattling.
Final checks and care
After all four flaps are on, recheck every fastener. Drive a short distance and listen for rubbing or buzzing. If you hear noise, inspect for contact with the tire or liner. Re-torque the fasteners after the first 100 miles, since plastic and rubber can settle.
Wash the flaps with the rest of the car and avoid using a high-pressure nozzle directly on the mounting points. A little silicone spray on the plastic helps keep them looking new and makes future removal easier.
- Inspect after the first week of driving for loose hardware.
- If you off-road or drive in deep snow, check the flaps more often.
Step-by-step no-drill install
- Prep the car and tools: Park on flat ground, set the brake, and turn the front wheels for access. Lay out your trim tool, screwdriver, and socket. Missing tools are the most common reason people strip fasteners.
- Remove factory fasteners: Use the trim tool to pop out the push pins along the wheel arch. Keep them in a tray; you will reuse most of them. If a pin resists, check for a hidden screw before prying harder.
- Test-fit the front flap: Align the flap to the body line and start the top fastener by hand. Do not tighten yet. A test-fit prevents cross-threading and shows any trim that needs adjusting.
- Secure the front flap: Install the remaining fasteners and tighten until snug. Turn the wheel lock-to-lock to confirm clearance. Any contact with the tire means the flap is misaligned or the wrong part.
- Install the rear flaps: Repeat the process on the rear, starting with the outermost fastener and working inward. Keep the wheel liner flat. A folded liner is the top cause of a bulging rear flap.
- Recheck and settle: Push each flap firmly, listen for rattles on a short drive, and re-torque after 100 miles. A final check now avoids a loose flap later.
Useful product facts
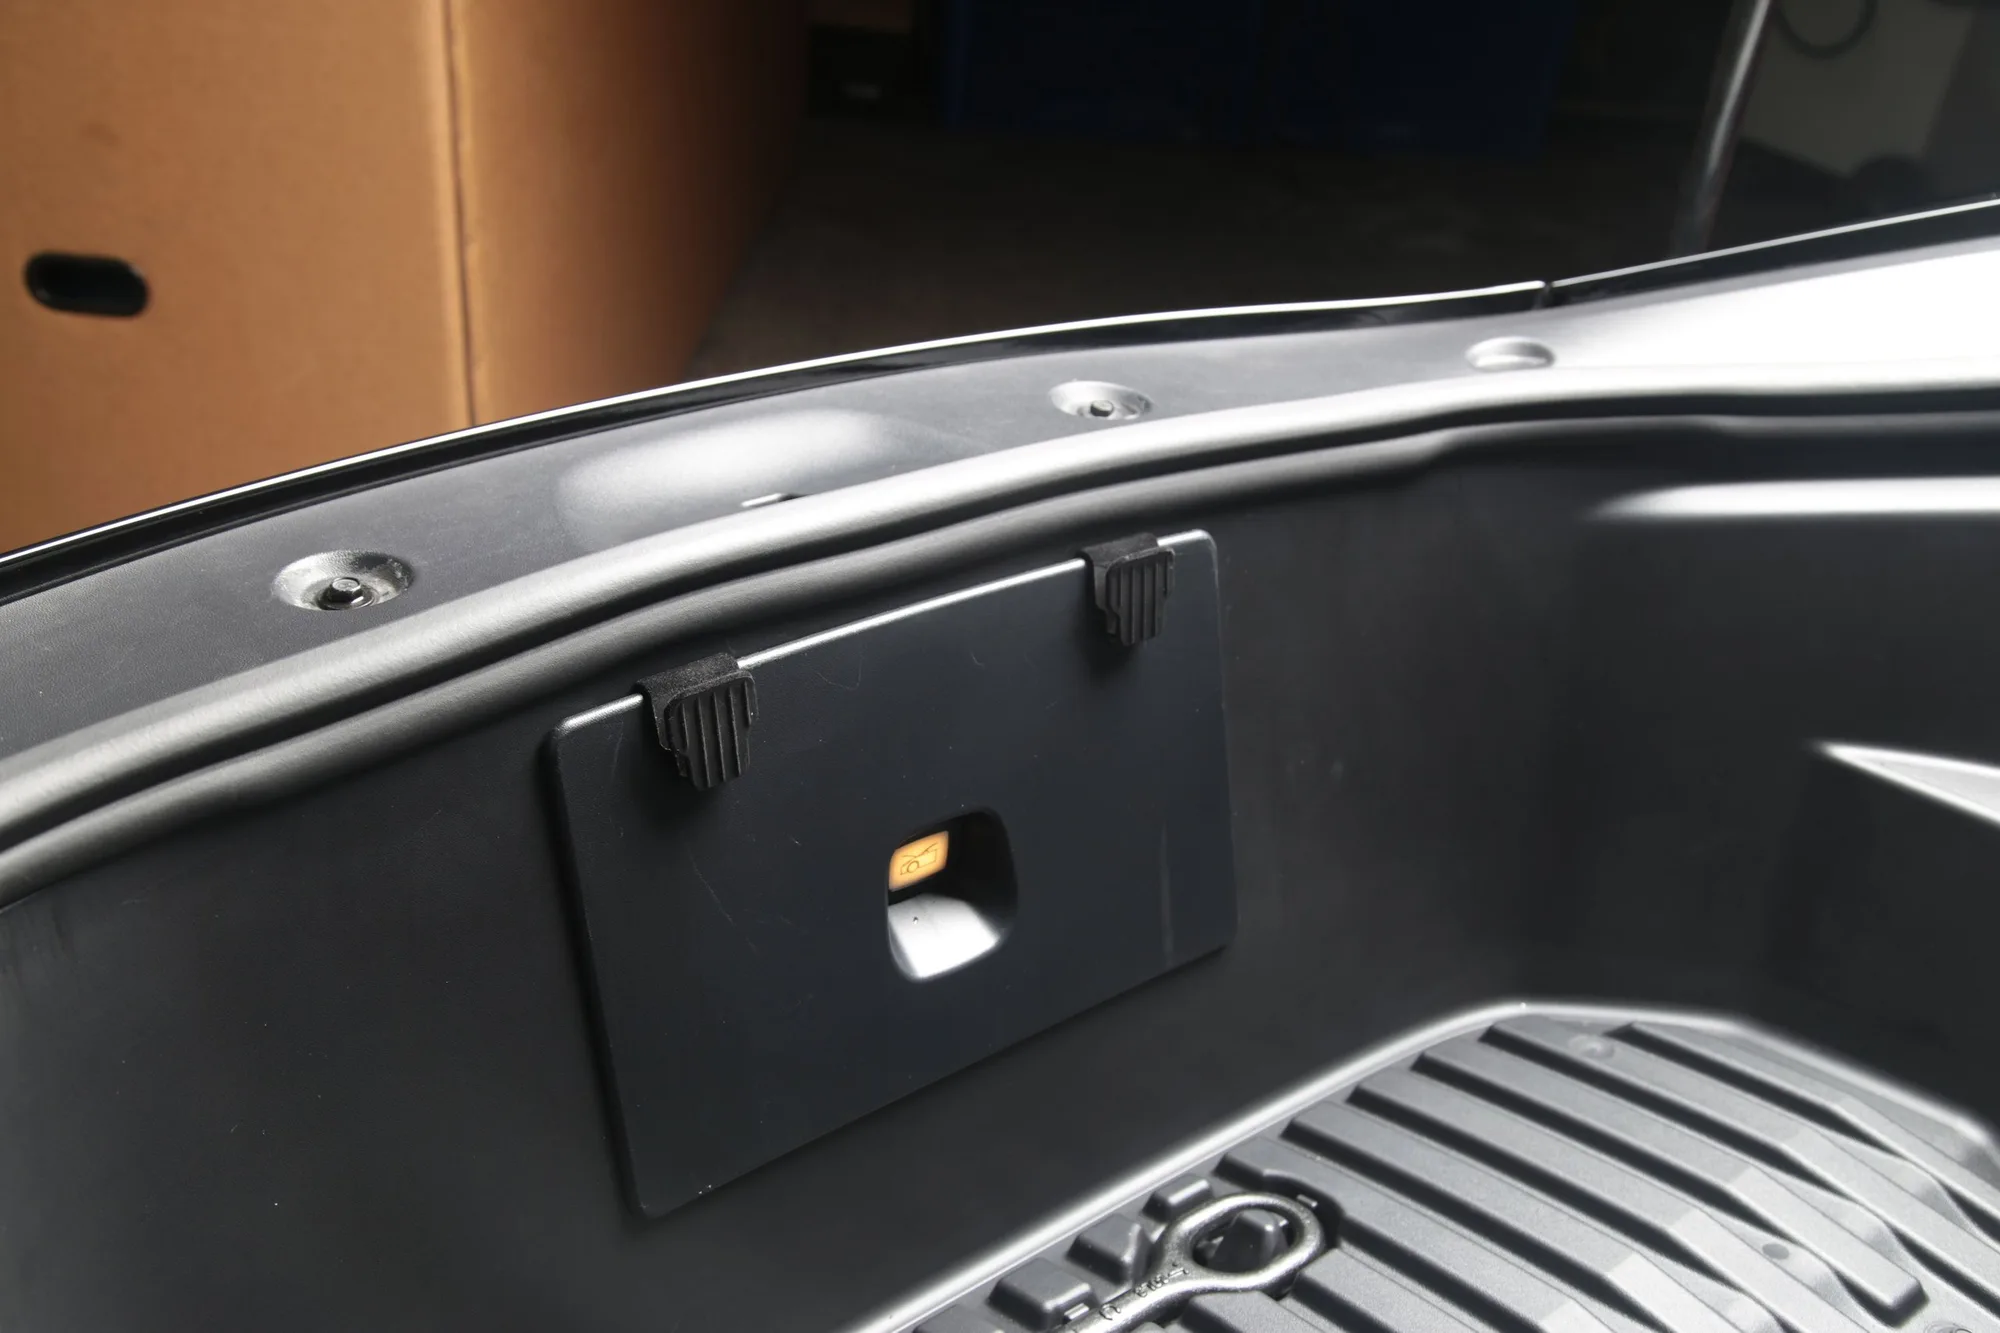
- Evannex Frunk Hook for Tesla Model Y: Made of high-quality ABS material with strong bearing capacity and no deformation. If you already keep small gear in the frunk, this hook adds organized storage without affecting the mud flap install.
- EVANNEX Trunk Tailgate Trim molding for Tesla Model 3: OE style replacement product for Tesla Model 3, SKU 1531449-00-B, ships in 3-4 weeks. If you also drive a Model 3, this trim is a direct-fit example of the OE-style parts available; note the lead time before ordering.
No-drill mud flaps are a practical, reversible upgrade for any Model Y. Take your time with the test-fit, reuse the factory hardware, and check clearance before you tighten everything down. A clean install protects your paint and stays quiet for the long run.