Quick Answer
Installing a pre-cut PPF kit on your Refreshed Model 3 Highland front bumper is a detailed but manageable DIY project. The key is careful surface preparation, using a slip solution, and working slowly to avoid bubbles and misalignment.
Why Pre-Cut PPF Is Worth the Effort
A pre-cut PPF kit is custom-sized for your Model 3 Highland’s front bumper, so you don’t need to trim film on the car. This reduces the chance of scratching the paint and speeds up installation. The trade-off is that the kit must match your exact trim—Standard or Premium—because the Performance front bumper has a different shape.
What You’ll Need
Gather a spray bottle with a slip solution (a few drops of baby shampoo in distilled water), a squeegee with a felt edge, a microfiber cloth, and 70% isopropyl alcohol for surface cleaning. Work in a dust-free, well-lit area at room temperature.
Installation Steps
- Clean and Prepare the Surface: Wash the bumper thoroughly, then wipe with 70% isopropyl alcohol to remove wax, grease, and residues. Let it dry completely. Common mistake: skipping the alcohol wipe leads to poor adhesion and bubbles.
- Apply the Slip Solution: Liberally spray the bumper and the adhesive side of the PPF piece with the slip solution. This lets you slide the film into position without it sticking prematurely. Checkpoint: keep the film and surface wet; dry spots cause instant bonding and wrinkles.
- Position and Tack the Film: Place the film on the bumper, aligning it with edges and curves. Once positioned, press the center lightly to tack it in place. Common mistake: pressing too hard too early traps bubbles that are hard to remove later.
- Squeegee Out Solution and Bubbles: Starting from the center, use the felt squeegee to push solution and air toward the edges. Work slowly, overlapping strokes. Checkpoint: if a bubble won't move, lift the film slightly and re-squeegee; never puncture the film.
- Wrap Edges and Corners: Use a heat gun or hair dryer on low heat to soften the film around curves. Stretch gently and press into recesses. Common mistake: overheating causes film distortion; keep the gun moving and test temperature on your hand.
- Final Inspection and Drying: Check for remaining bubbles, dirt specks, or lifting edges. Allow the film to dry for 24 hours before washing or driving at high speed. Empty
Product Facts
-
Tesla Refreshed Model 3 (Highland) Standard & Premium Front Body Pre-Cut PPF Kit for DIY Installation: This kit is engineered for the Standard & Premium Refreshed Model 3 (Highland). It does not fit the Refreshed Model 3 Performance trim due to front bumper differences. Ordering the correct kit avoids fitment issues; double-check your trim before purchase.
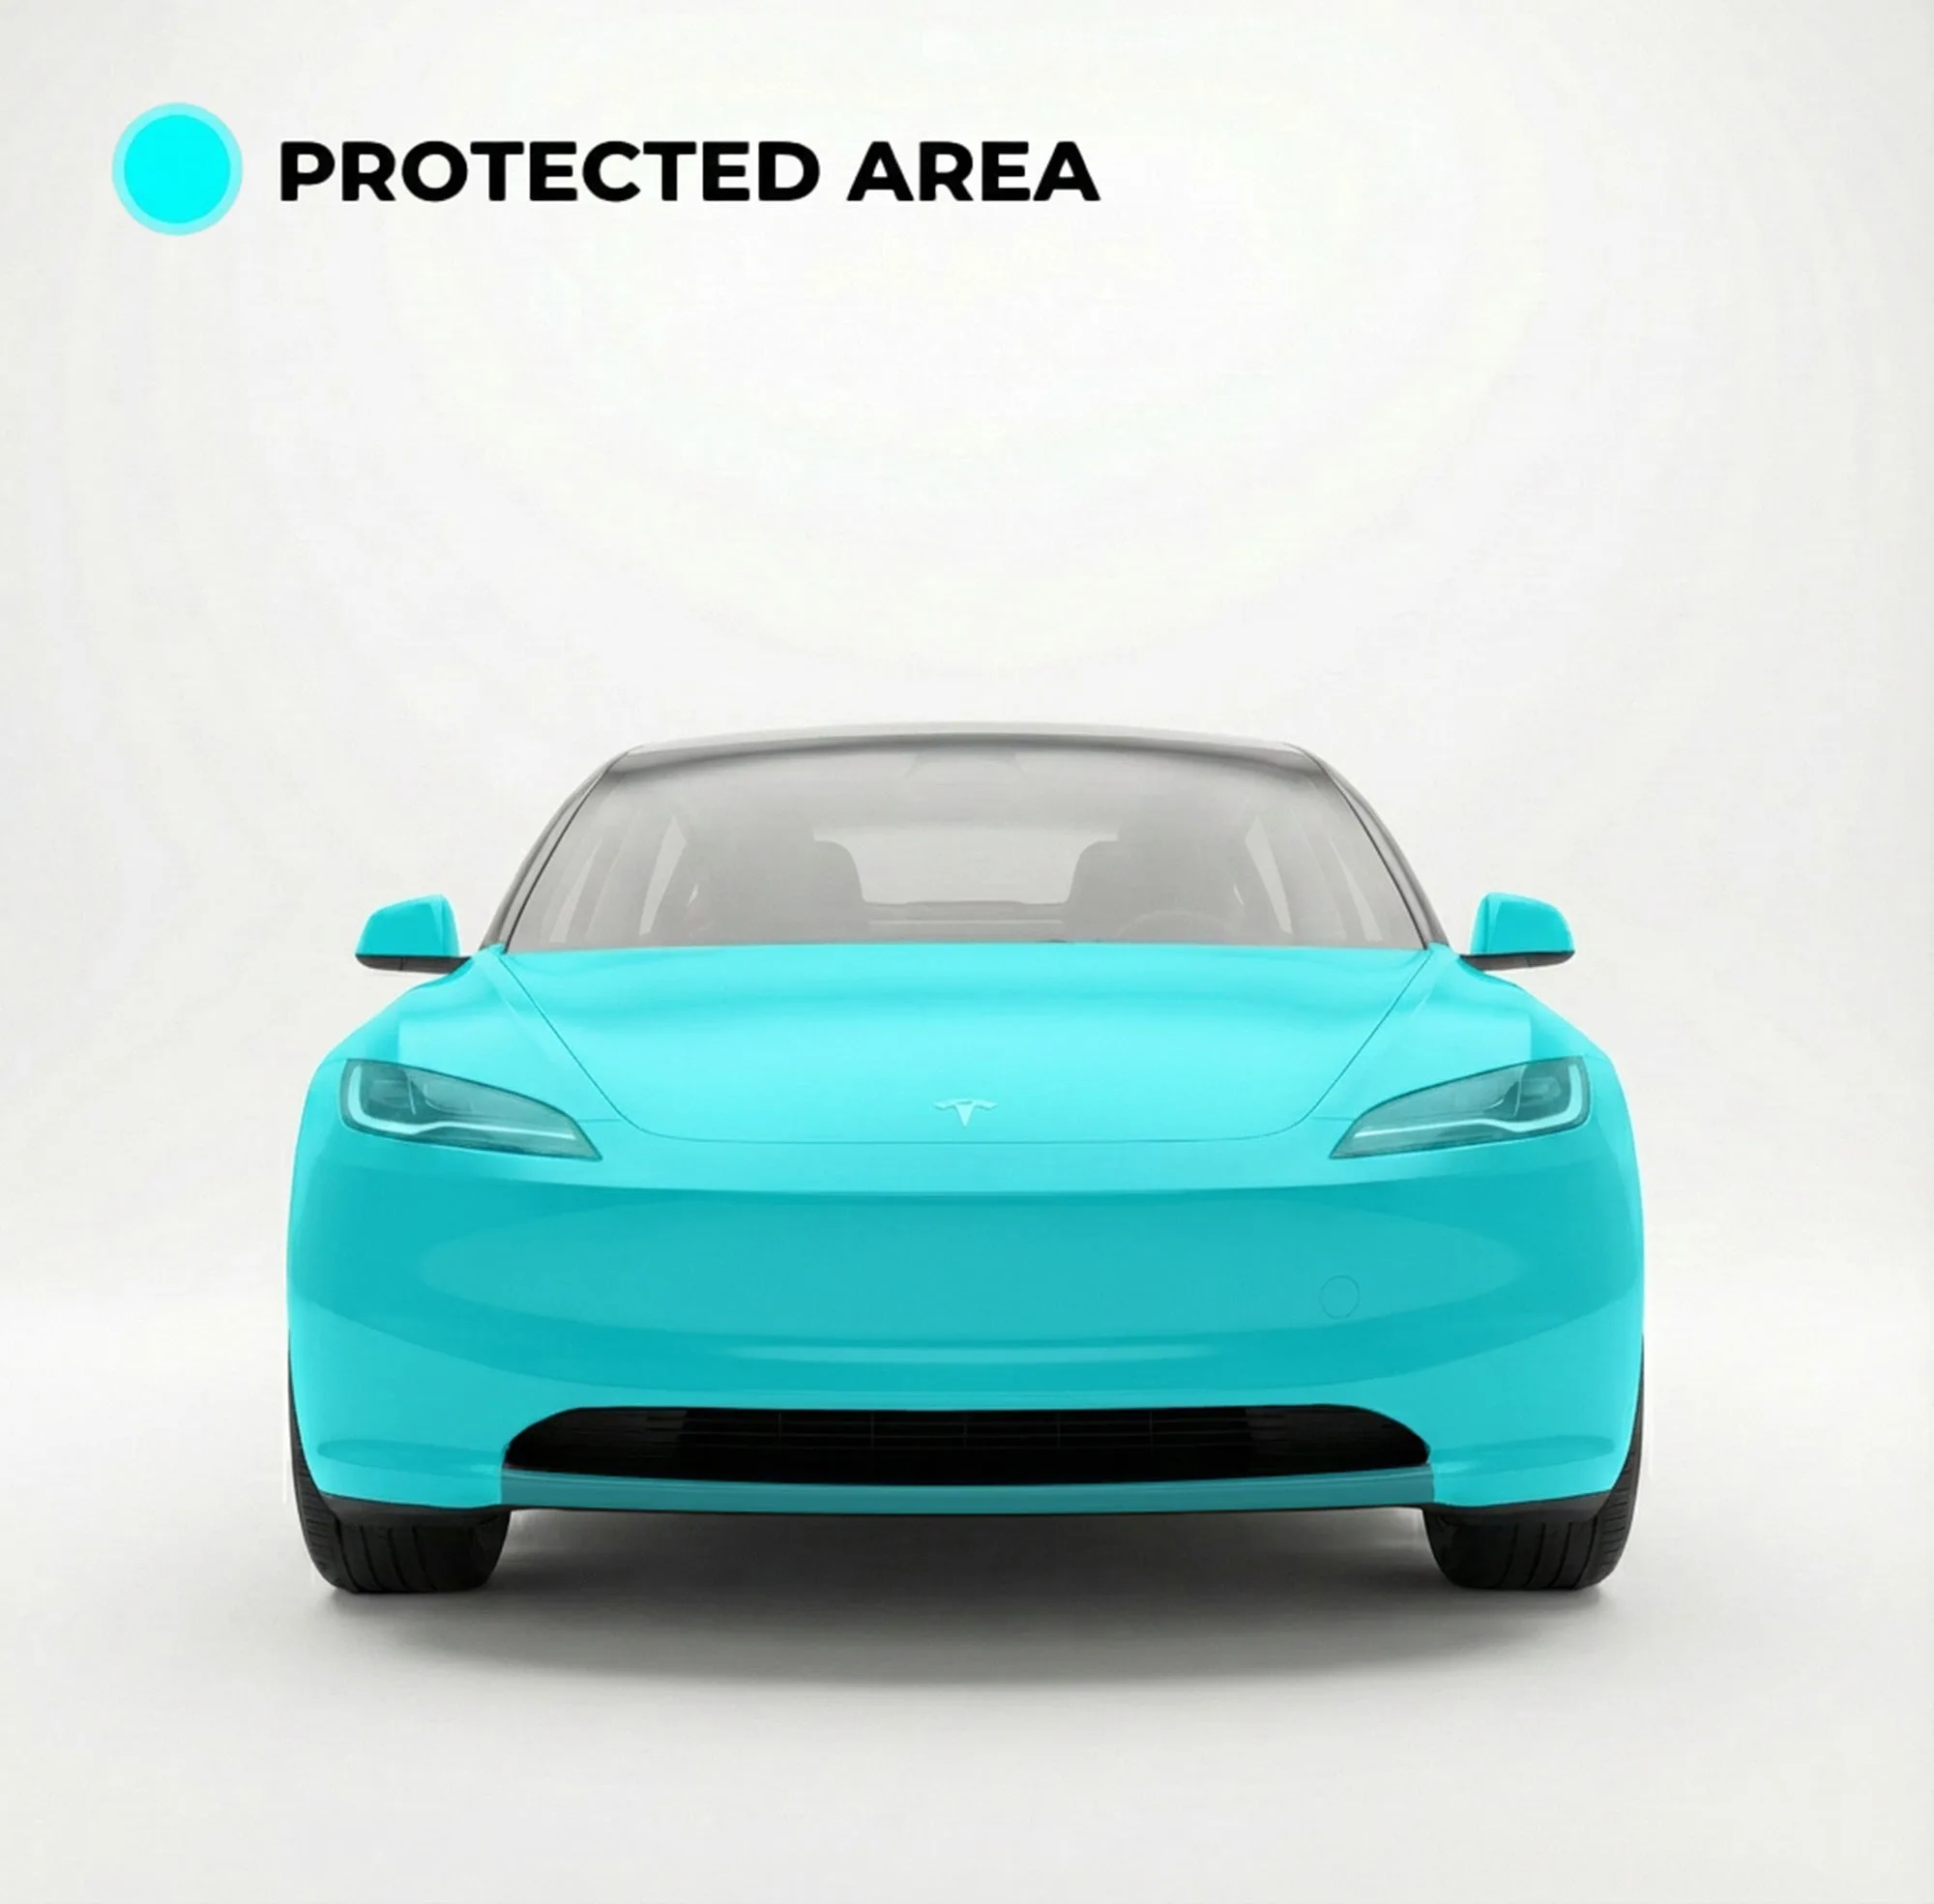
Tesla Refreshed Model 3 (Highland) Standard & Premium Front Body Pre-Cut PPF Kit for DIY Installation