Quick Answer
Installing a Quick Ship wall sconce is a straightforward DIY project if you follow the correct safety steps: turn off power, verify wiring, mount the bracket, connect wires, and attach the fixture.
Know Your Sconce Type
Before you start, identify whether your sconce is hardwired or plug-in. Quick Ship models like the Voile Wall Sconce are typically hardwired, meaning they connect directly to your home's electrical circuit. This requires basic electrical knowledge and comfort with wiring.
If you're not confident working with electricity, it's always safer to hire a licensed electrician. However, for those who are handy, the following steps will guide you through a safe installation.
Gather the Right Tools
Having the right tools on hand makes the job faster and safer. You'll need a voltage tester, screwdriver, wire strippers, wire nuts, and a drill with the appropriate bit for your wall material. For heavy fixtures like the Alla Wall Sconce, ensure your mounting bracket is securely anchored.
Check the manufacturer's instructions that come with your Quick Ship sconce—they often include specific mounting requirements or additional hardware.
Step-by-Step Installation Process
- Turn Off Power: Turn off the circuit breaker that supplies power to the wall switch or junction box. Use a voltage tester to confirm there is no electrical current before touching any wires. Always double-check with a voltage tester—even if you think the power is off.
- Remove Old Fixture: Unscrew and carefully remove any existing light fixture. Disconnect the wires and set the old fixture aside. Inspect the junction box to ensure it is securely mounted and can support the weight of your new sconce. If the junction box feels loose, tighten it or replace it before proceeding.
- Prepare the Wires: Strip about 3/4 inch of insulation from the ends of the house wires and the sconce wires. Use wire nuts to connect matching colors: black to black (hot), white to white (neutral), and green or bare copper to the ground wire. Ensure wire connections are tight and no bare copper is exposed outside the wire nut.
- Mount the Bracket: Attach the mounting bracket to the junction box using the provided screws. Make sure it is level and oriented correctly for your sconce's design, especially for models with a chain or sculptural shape. Use a level to avoid a crooked fixture—this is a common mistake.
- Attach the Sconce: Carefully tuck the wires into the junction box and place the sconce over the mounting bracket. Secure it with the provided screws, ensuring it is flush against the wall. For chain-style sconces like the Alla, adjust the chain length so the fixture hangs at the desired height. Do not pinch wires between the fixture and the wall—this can cause a short circuit.
- Install Bulbs and Test: Install the appropriate bulbs (check the fixture's label for wattage and type). Turn the power back on and test the sconce. If it doesn't work, turn off power and recheck your wire connections. If the sconce flickers or doesn't light, the most likely issue is a loose wire connection.
Sconces That Are Ready to Install
-
Quick Ship Voile Wall Sconce: The Voile Wall Sconce is part of the Tulle collection and is available through the Quick Ship program. This means it ships quickly and includes all necessary mounting hardware, so you can install it right away without waiting for custom orders.
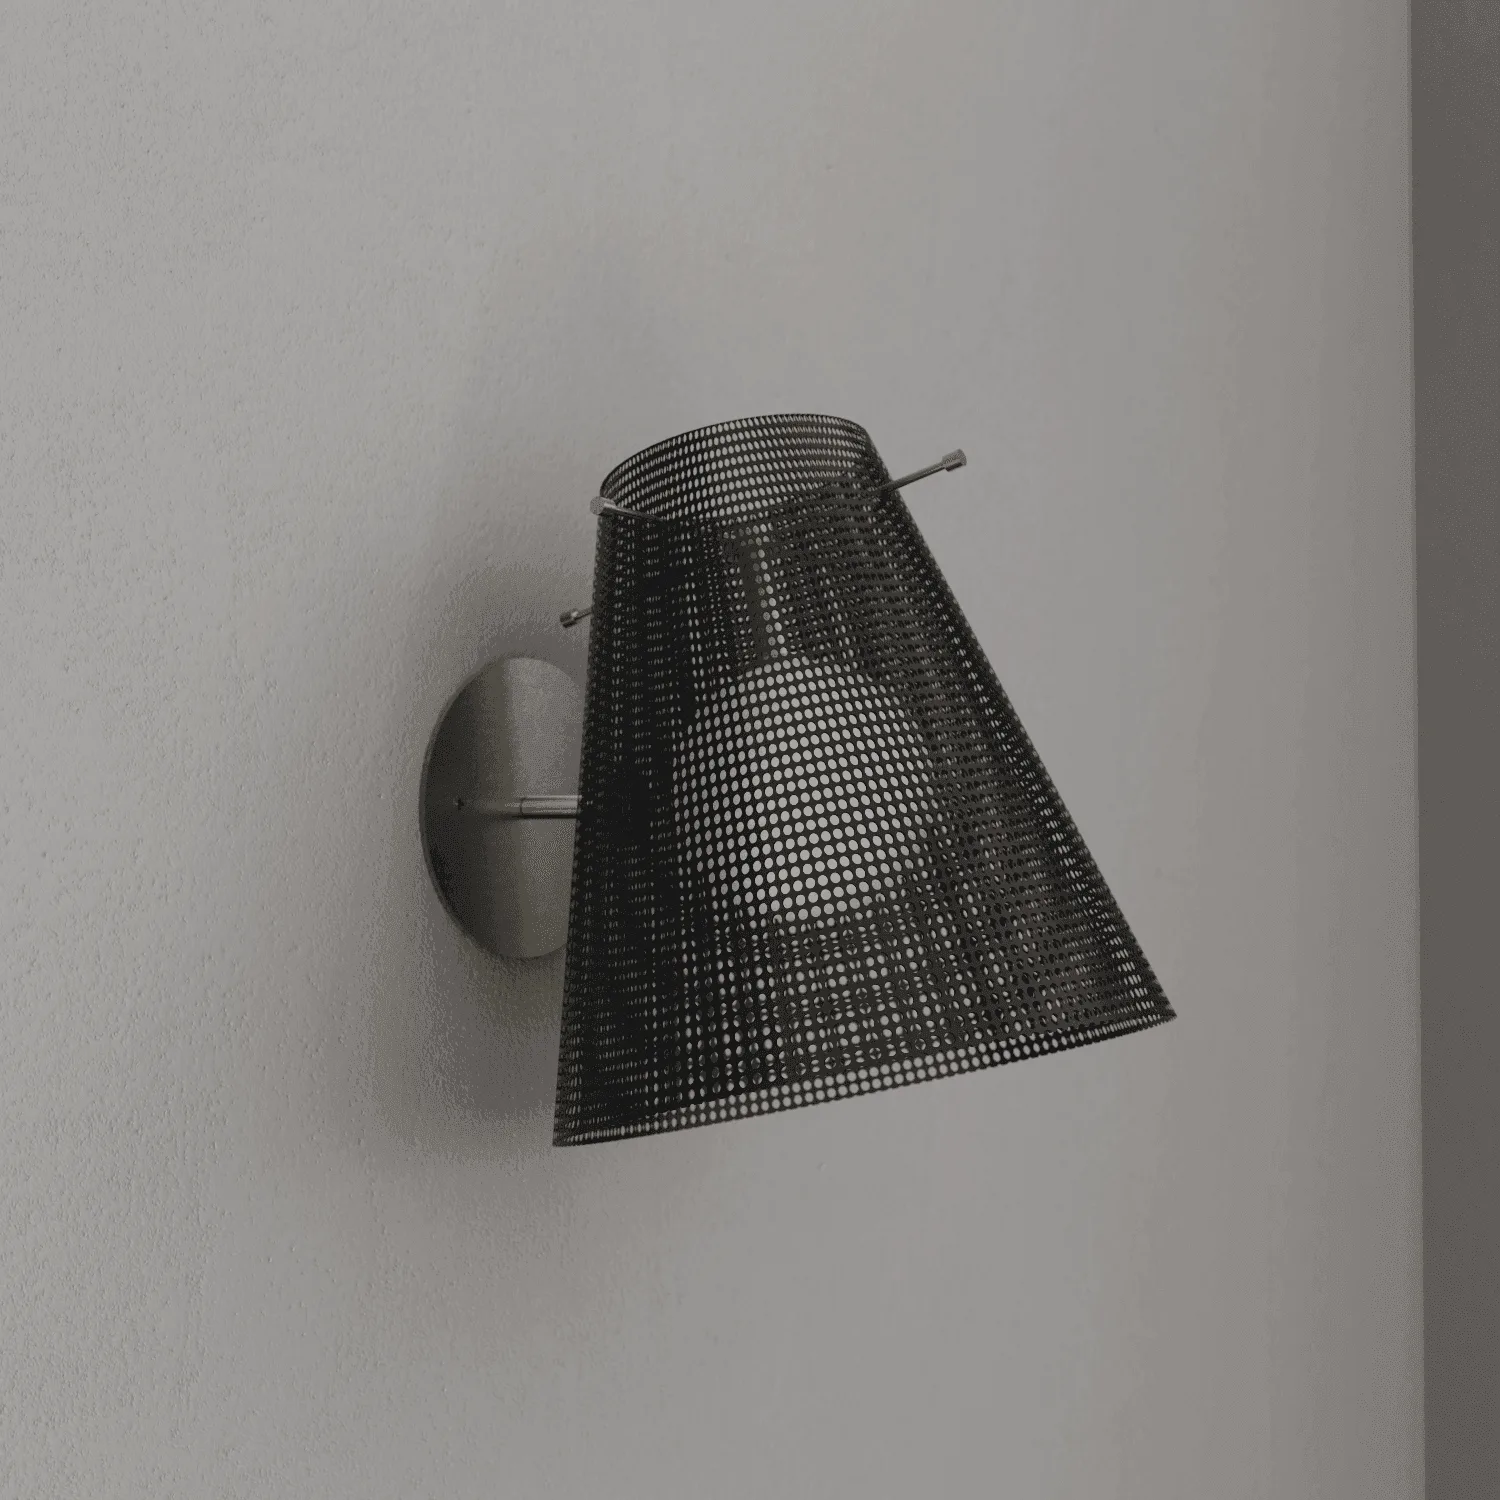
Quick Ship Voile Wall Sconce
-
Quick Ship Alla Wall Sconce: The Alla Wall Sconce features a delicate chain and is part of the Emily Del Bello x Blueprint Lighting Capsule Collection. Its unique design may require extra care during installation to ensure the chain hangs properly and the fixture is level.
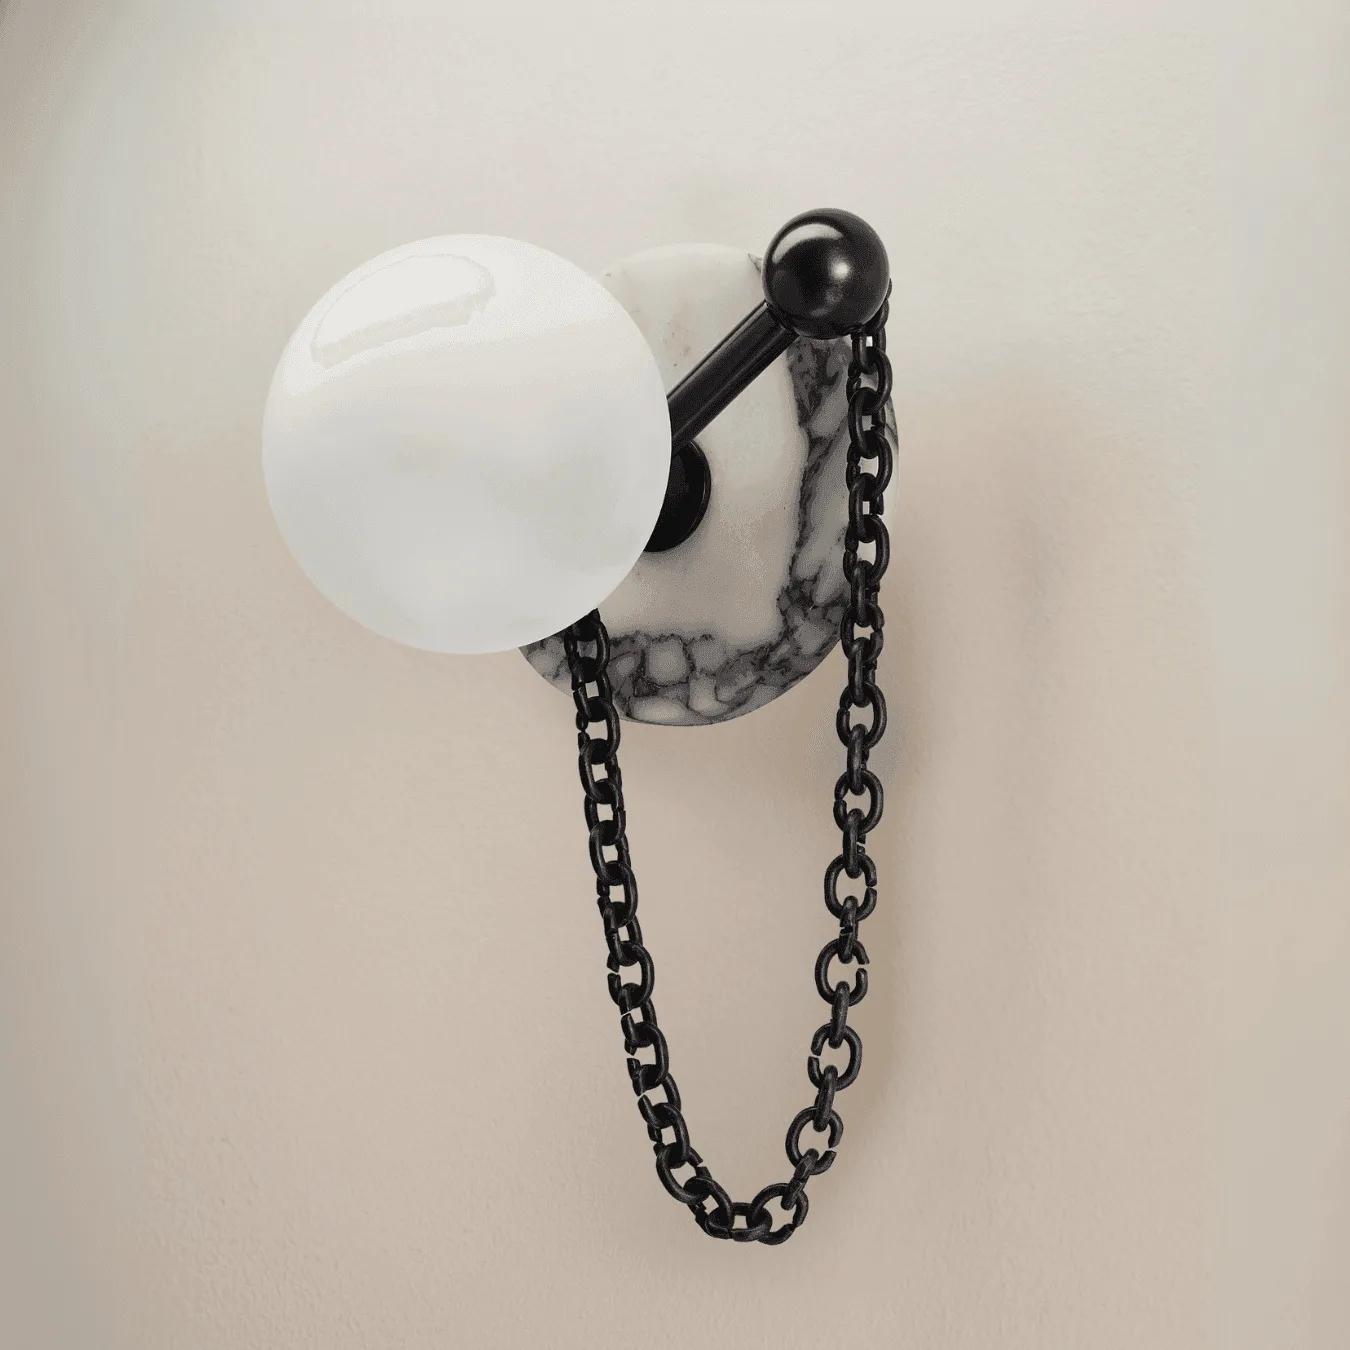
Quick Ship Alla Wall Sconce