Quick answer
Fit a tinted sliding rear windshield on a CFMOTO ZForce 950 by dry-fitting the panel first, cleaning the roll bar where clamps land, and tightening hardware in a crisscross pattern only after the sliding pane moves freely. Expect 45-90 minutes with basic hand tools. If your ZForce 950 uses a non-round rear cage section, measure the tube before ordering, because most sliding rear windshields clamp to round tubing.
A rear windshield changes how a ZForce 950 feels on dusty trails and cold morning rides. It cuts the backdraft that pulls grit into the cab, keeps rain off your shoulders, and a sliding pane gives you airflow on demand instead of forcing you to choose between a sealed cab and an open one.
The install itself is straightforward, but the details decide whether the panel stays quiet for seasons or rattles loose on the first rough section. This guide walks through the order of operations, the checkpoints that matter, and a few alternatives if a hard sliding panel is not the right fit for your machine.
Before you touch a bolt: fit and clearance checks
Park on level ground, remove the rear cargo or bed obstructions, and dry-fit the windshield against the rear cage before installing any hardware. On a ZForce 950, aftermarket roof and rear cage accessories can change where clamps land, so confirm the panel clears your roof line, harness bar, and any rear-facing lights. If you run a soft enclosure, check that the windshield does not pinch the fabric when the doors close.
Measure the rear cage tube diameter at each mounting point and compare it to the windshield's stated clamp range. Sliding rear windshields are typically built for round tubing, and a tube that falls outside the range will not clamp securely no matter how tight you crank it. This is the single most common reason a return happens, so measure twice before you commit.
- Checkpoint: the panel should sit flush against the cage with no more than light hand pressure before you tighten anything.
- If your cage has welded tabs or an aftermarket brace in the way, note the interference now rather than after hardware is installed.
Prep the cage and hardware
Wipe the roll bar sections where clamps will sit with isopropyl alcohol to remove dust, mud, and any residual protectant. Clamps that grip a dirty tube can slip under vibration even when torqued correctly. Lay out all brackets, bolts, and rubber pads so you can identify each piece before you are holding a panel in one hand.
If your kit includes rubber or foam gaskets, keep them with the matching bracket. Mixing up left and right brackets is a frequent mistake on asymmetric rear windshields, and it usually shows up as a panel that sits crooked no matter how you adjust it. A five-minute layout saves a full teardown later.
- Do not fully tighten any bolt until every bracket is threaded and the panel is aligned.
- Keep small hardware in a magnetic tray; dropped cage bolts love to disappear into the skid plate.
Mount the windshield and align the sliding pane
Start the upper brackets by hand, then the lower ones, leaving everything snug but movable. Slide the panel into position and check the gap around the perimeter. On a tinted rear window, uneven gaps are more than cosmetic: they let dust and water past the seal and can stress the pane when the cage flexes off-road.
Before final tightening, open and close the sliding section through its full travel. The pane should glide without binding or scraping the frame. If it catches, loosen the brackets and shift the panel slightly rather than forcing the slider, because forcing it can crack the pane or bend the track.
- Checkpoint: the sliding pane should move with light hand pressure and latch or lock positively at both ends of travel.
- If you plan to add a rear-view mirror, install it after the windshield so you can position it around the new sightline.
Torque, seal, and quiet the rattles
Tighten hardware in a crisscross pattern, a little at a time, so the panel seats evenly instead of pulling to one side. Snug is the goal, not maximum force; over-tightening clamps on round tubing can distort the bracket and create a stress point on the windshield. Recheck the slider after each pass.
Rattles usually come from three places: loose clamps, a slider that is not fully latched, or a panel contacting the cage at a single point. Add the supplied pads or a thin strip of closed-cell foam where the frame meets the cage, then re-test on a short ride. Re-torque after the first rough trail day, since vibration settles new hardware.
- Checkpoint: tap the frame lightly with your palm. A dull thud is fine; a metallic buzz means something is still loose.
- Re-check all fasteners after the first 50 miles of trail use.
Alternatives if a sliding hard panel is not right for you
Not every rider wants a rigid rear panel. A soft rear windshield installs with straps and rolls or folds out of the way, which suits owners who frequently remove the rear panel for hauling or who want a lower-cost option. Soft panels block dust and rear wind but flex more and typically do not include a sliding window.
If your priority is rear visibility rather than weather protection, a mirror and bag combo can solve the same problem from a different angle. The Rear View Side Mirrors & Center Shoulder Bag for Polaris RZR PRO XP/4 uses a CNC shell design with 6061 anodized aluminum and low-profile clamps intended to accept as many windshields as possible while retaining a secure fit, and the mirror folds in without damage. It is built for the RZR PRO XP platform, so treat it as a reference for how mirror-plus-storage setups work rather than a direct ZForce 950 fit.
- Choose a soft rear panel if you remove the rear windshield often; choose a hard sliding panel if you want year-round sealing and airflow control.
- Verify platform fitment before ordering any mirror or bag combo for a CFMOTO.
ZForce 950 rear windshield install steps
- 1. Dry-fit the panel: Hold the windshield against the rear cage with no hardware installed and confirm clearance at the roof line, harness bar, and any rear lights or enclosures. Checkpoint: the panel rests flush with light hand pressure. If it does not, stop and identify the interference.
- 2. Measure the rear cage tube: Use calipers or a wrap of tape and a ruler to confirm the tube diameter falls inside the windshield's clamp range. Mistake to avoid: assuming all ZForce 950 rear cage sections are the same diameter at every mounting point.
- 3. Clean and lay out hardware: Wipe clamp contact points with isopropyl alcohol and sort brackets, bolts, and pads by position before you start threading anything. Mistake to avoid: mixing left and right brackets, which makes the panel sit crooked no matter how you adjust it.
- 4. Hand-start all brackets: Thread upper and lower brackets by hand and leave them snug but movable so the panel can still shift into alignment. Checkpoint: every bolt starts by hand. A bolt that will not thread means the bracket is in the wrong position.
- 5. Align the sliding pane: Run the slider through its full travel and adjust the panel until the pane glides without binding or scraping the frame. Mistake to avoid: forcing a binding slider, which can crack the pane or bend the track.
- 6. Torque in a crisscross pattern: Tighten hardware gradually in a crisscross sequence, rechecking the slider after each pass, and stop at snug rather than maximum force. Over-tightening clamps on round tubing can distort brackets and stress the windshield.
- 7. Seal and silence rattles: Add supplied pads or closed-cell foam at any frame-to-cage contact point, then tap the frame to listen for buzzes. Checkpoint: a dull thud is fine; a metallic buzz means something is still loose.
Catalog facts that help you choose
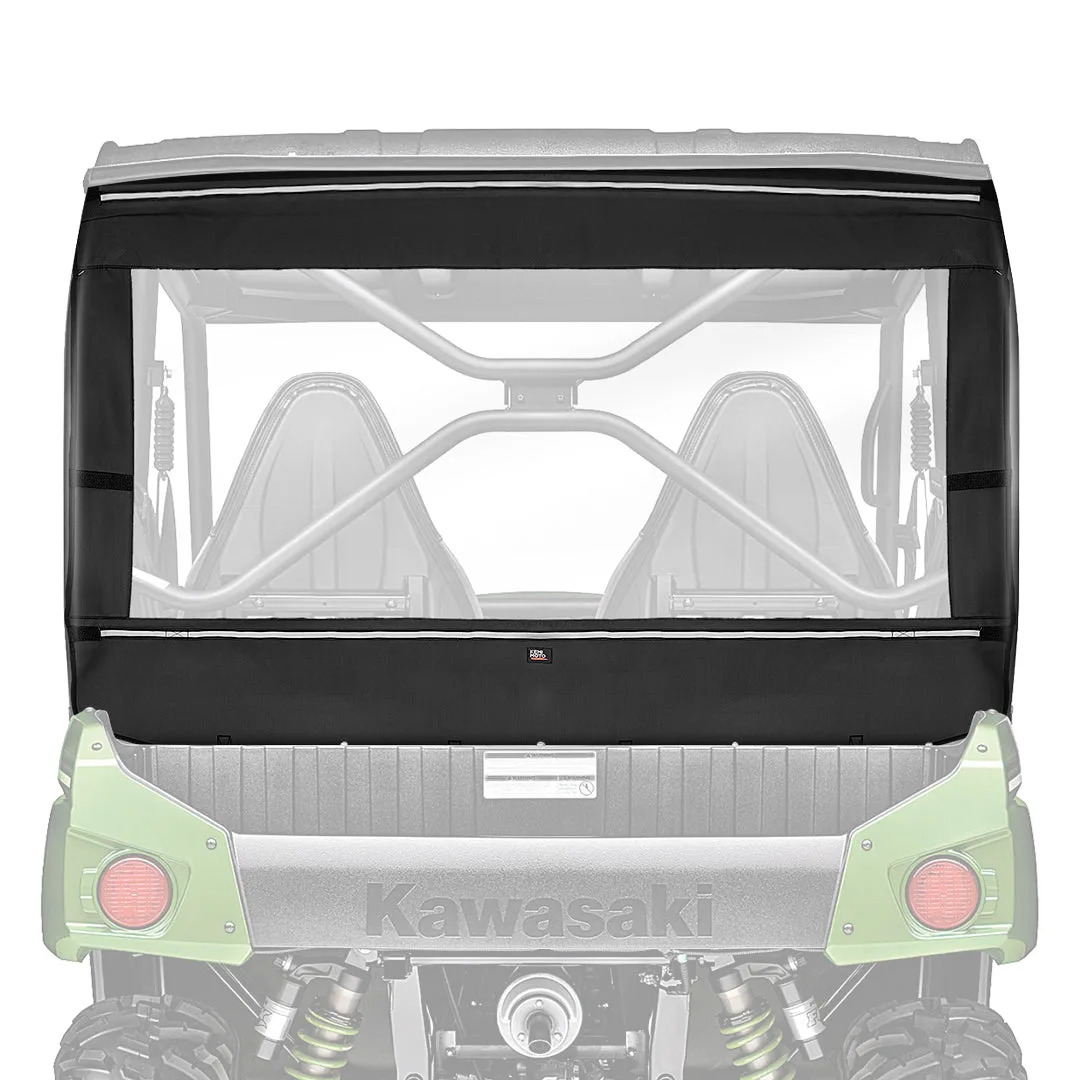
- Rear Soft Rear Windshield for Kawasaki TERYX 4 800: Kemimoto's rear windshield is designed to block dust and wind and provide a clear rearview, and installation involves placing the soft window at the back and tightening the straps. It shows the soft-panel approach: fast strap-on install, good dust and rear-wind blocking, but no sliding pane and more flex than a rigid tinted panel.
- Midsize 570 Rear Windshield for Polaris Ranger 500 / Crew 570 / ETX: The 1/4 inch thick UTV windshield for Polaris Ranger 570 is made of PC material described as shock-resistant and shatter-resistant, and it is intended to keep driver and passenger out of rain and dirt in any weather. It illustrates what a hard rear panel buys you: thicker material and all-weather protection, which is the same tradeoff you weigh when choosing a tinted sliding rear windshield for a ZForce 950.
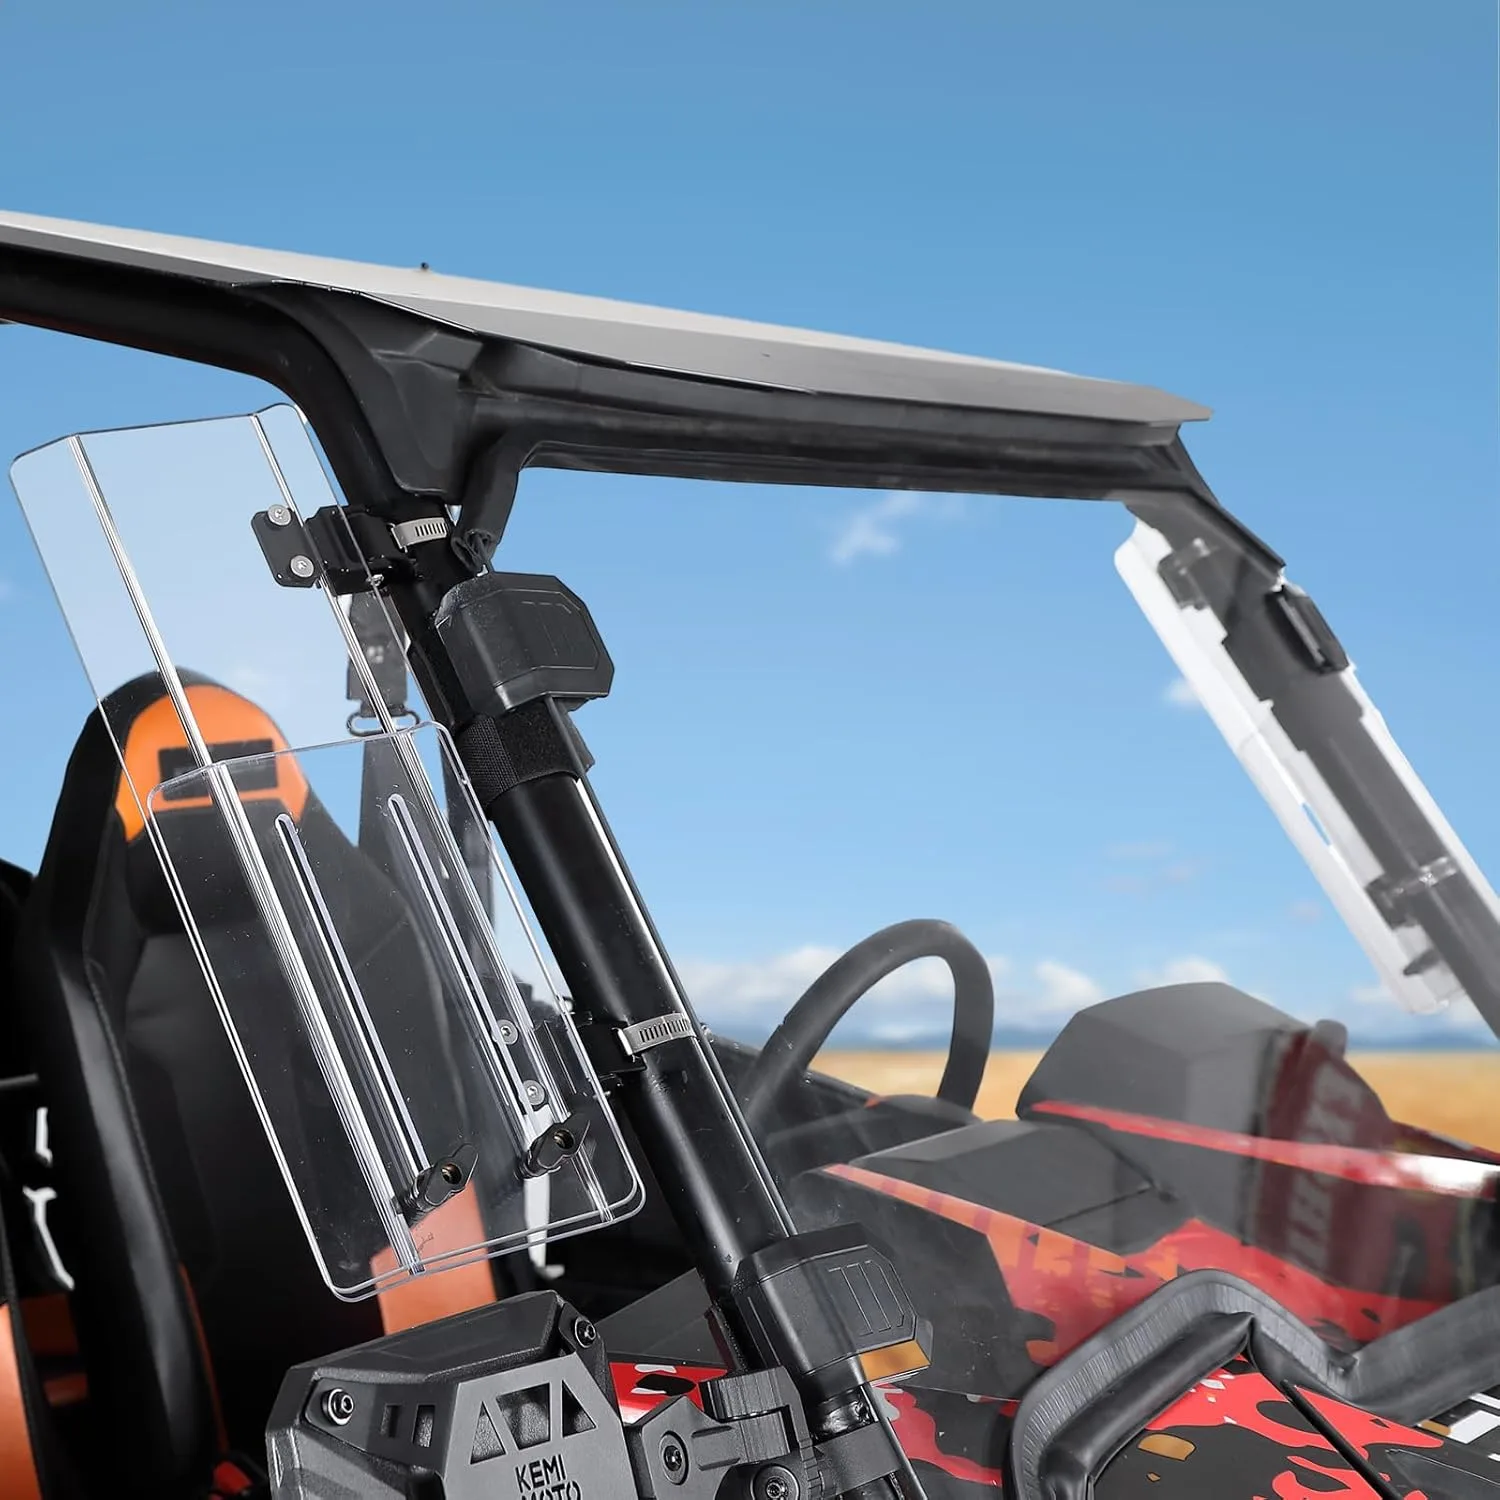
- 2PCS UTV Side Wind Deflectors for Can-Am / Polaris fit 1.5-2.2 inch Roll Bar: The side wind deflectors are designed for 1.5-2.2 inch roll cage models, are compatible with windshields except full airtight or heavy duty ones, and use a two-piece design for side compatibility. If you want to tune airflow after adding a rear windshield, deflectors clamp to round roll bars in a stated size range, and the windshield compatibility note is worth checking before you pair them.
A tinted sliding rear windshield is one of the few ZForce 950 upgrades that pays off every ride, as long as you measure the cage, align the slider before final torque, and re-check hardware after the first trail day. If a rigid panel does not suit how you use the machine, a soft rear windshield or a mirror-and-storage setup can solve the same dust and visibility problems a different way.