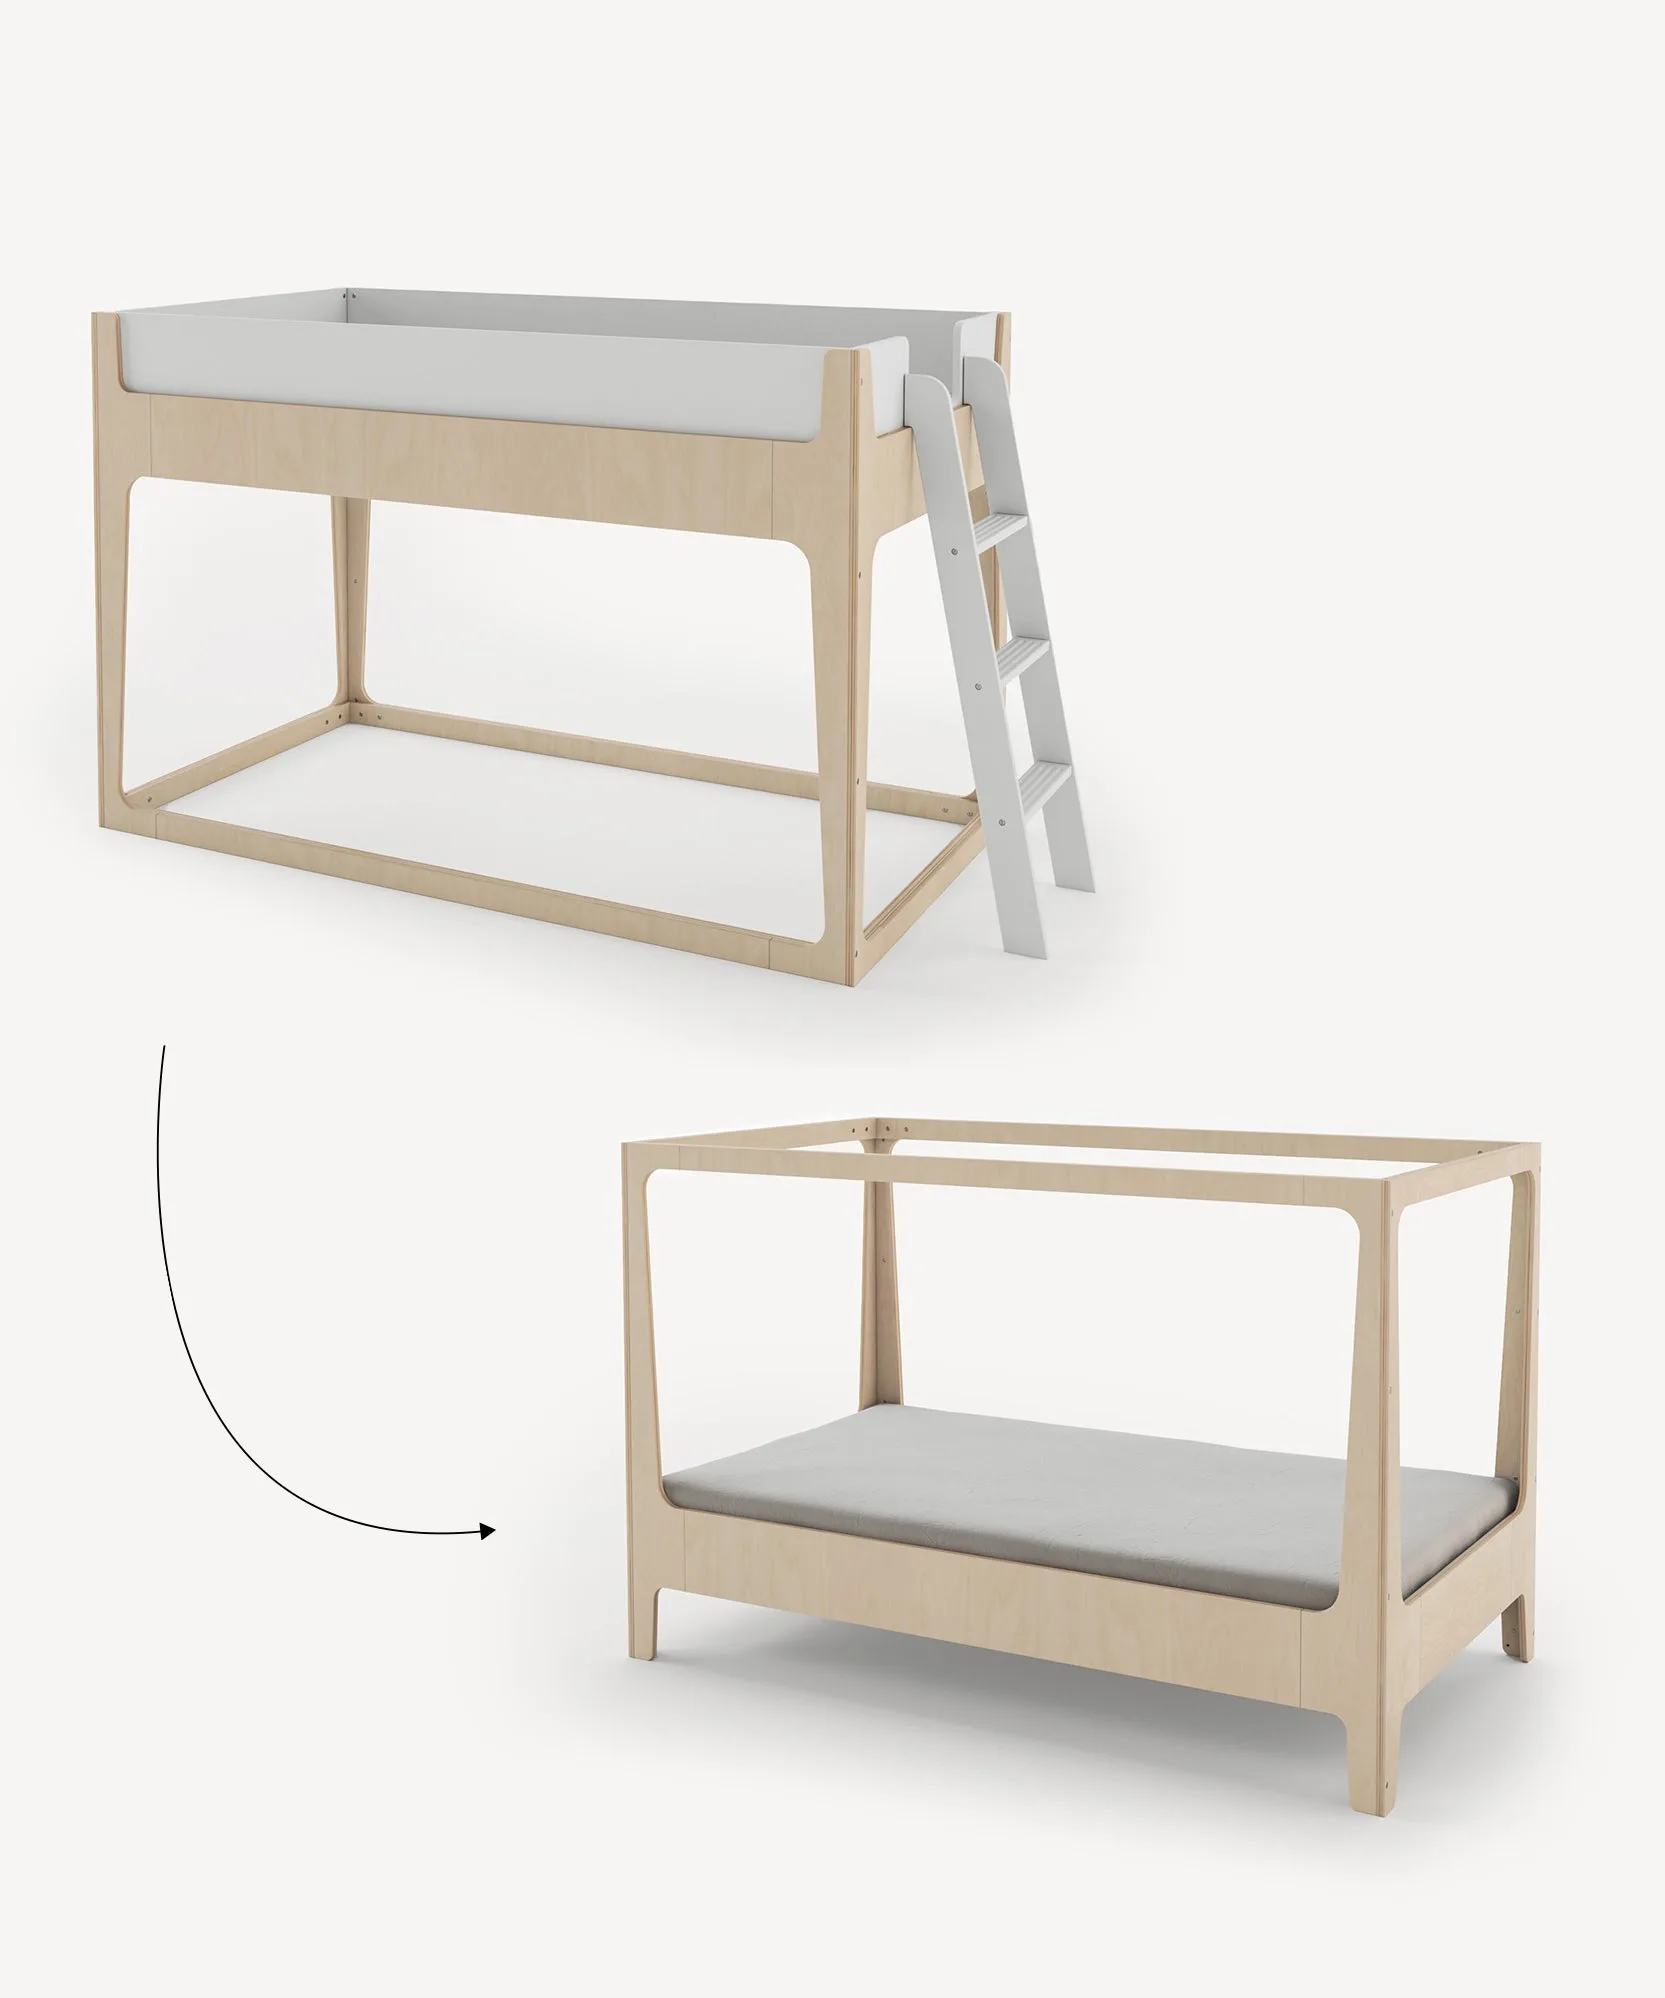
Adding a trundle bed to your child's room is a smart way to maximize space for sleepovers or growing siblings. The River Trundle hardware makes it possible to convert a standard twin bed into a functional trundle unit. While the process is straightforward, having a clear guide can save you time and frustration.
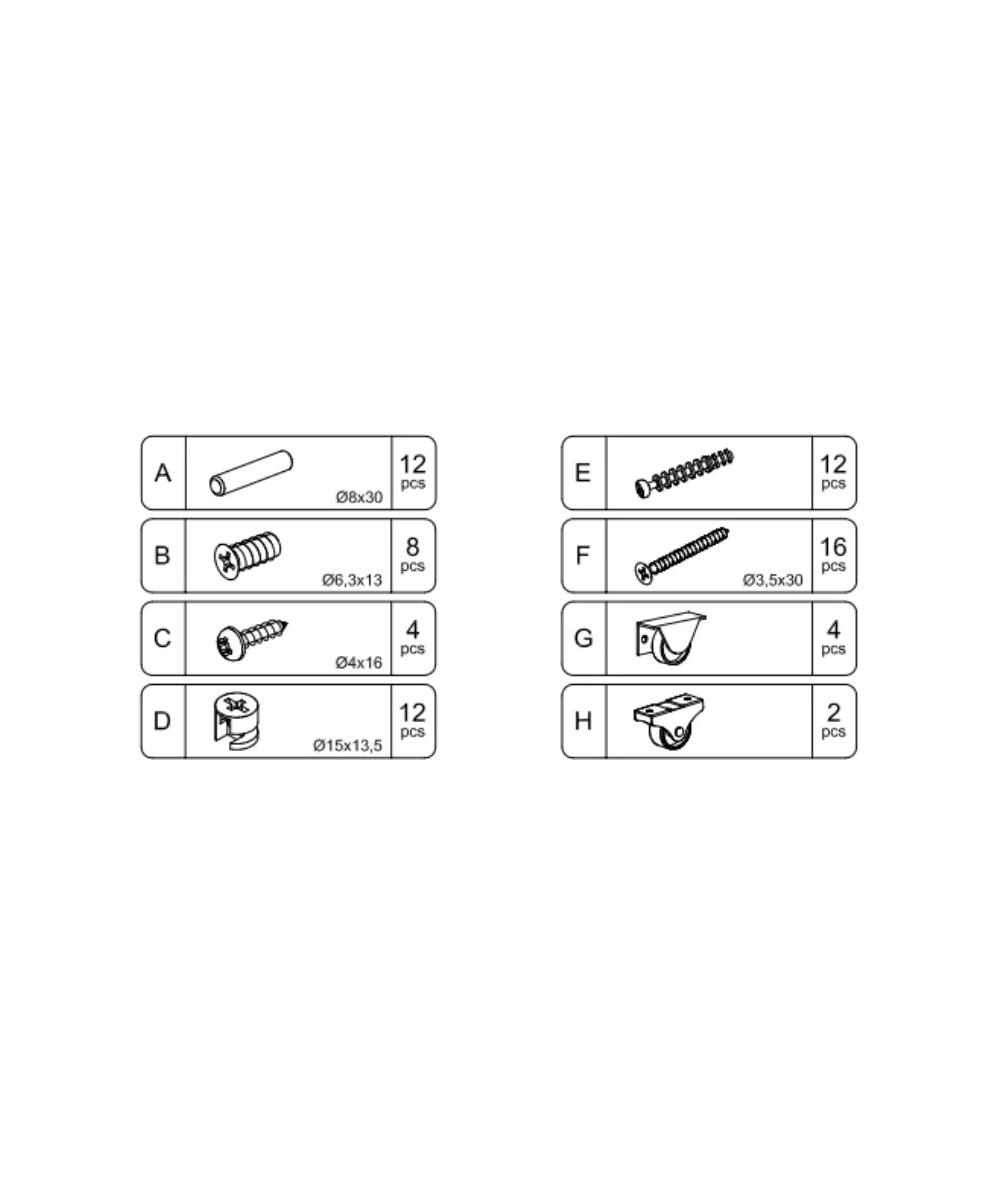
River Trundle hardware
This step-by-step guide walks you through installing the River Trundle hardware, from unboxing to final checks. Whether you're a seasoned DIYer or new to kids' furniture assembly, these instructions will help you get the job done safely and efficiently.
What You’ll Need Before Starting
Before you begin, gather the necessary tools: a Phillips head screwdriver, a rubber mallet (optional), a tape measure, and a level. The River Trundle hardware kit includes all screws, brackets, and rails needed for installation. Make sure you have a compatible bed frame—typically a twin-sized platform bed without a center support leg that would block the trundle.
Clear the area under the bed and remove any existing slats or supports. Check that the bed frame is sturdy and level. If you're installing on carpet, consider using a piece of plywood under the trundle for smoother rolling. Also, have a helper nearby—holding the trundle frame in place is easier with two people.
- Tip: Lay out all hardware pieces and compare them to the manual before starting.
Step 1: Attach the Side Rails to the Trundle Frame
Start by attaching the two side rails to the trundle bed frame. The rails are pre-drilled with holes that align with the brackets on the frame. Use the provided bolts and a screwdriver to secure them. Make sure the rails are oriented correctly—the glides should face upward and outward.
Tighten all bolts firmly but avoid overtightening, which could strip the threads. Once both rails are attached, test the sliding mechanism by pulling the trundle frame in and out. It should move smoothly without binding. If it sticks, check that the rails are parallel and the frame is square.
- Tip: Use a level to ensure the rails are even before tightening completely.
Step 2: Install the Mounting Brackets on the Bed Frame
Next, locate the mounting brackets that will attach to your existing bed frame. Measure the distance between the trundle rails and mark the corresponding positions on the bed’s side rails. The brackets should be spaced evenly and aligned with the trundle glides.
Screw the brackets into the bed frame using the provided screws. If your bed frame is made of solid wood, pre-drill pilot holes to prevent splitting. For metal frames, use the included self-tapping screws. Double-check that the brackets are at the same height on both sides to ensure the trundle sits level.
- Tip: If your bed frame has a center support leg, you may need to remove it or use a shorter trundle option.
Step 3: Attach the Trundle Frame to the Bed
With the helper, lift the trundle frame and align the glides on the side rails with the mounting brackets. Slide the glides into the brackets until you hear a click or feel them lock into place. Some kits require you to insert a locking pin or screw—check your manual.
Once attached, test the trundle by pulling it out fully and pushing it back in. It should glide smoothly without wobbling. If the trundle feels loose, adjust the bracket position slightly or tighten any set screws. Finally, place the mattress on the trundle frame and do a final test.
- Note: The River Trundle hardware is designed for a standard twin mattress up to 6 inches thick.
Installing River Trundle hardware is a manageable DIY project that adds valuable sleeping space to your child's room. By following these steps and taking your time with alignment, you'll have a smooth-operating trundle bed ready for guests. For more assembly guides on Oeuf furniture, check out our other hardware tutorials.