Quick Answer
Install Roman mosaic tile in a shower niche by first ensuring a waterproof membrane, then applying thinset, setting the mosaic sheets, and grouting with a flexible grout. The Mini Check in Carrara + Nero Marquina marble mosaic offers a classic, water-resistant option for this application.
Why Roman Mosaic Works in a Niche
Roman mosaic tile, like the Mini Check in Carrara + Nero Marquina, is naturally suited for shower niches because its small format and unglazed marble surface provide a low-maintenance, timeless look. The marble is dense and less porous than many ceramics, but it still requires a sealer after grouting to protect against moisture and soap scum. The mini check pattern adds visual interest without overwhelming a compact space, making it a popular choice for shower niche tile ideas.
Waterproofing Is Non-Negotiable
Before any tile touches the niche, the substrate must be waterproofed. A liquid or sheet membrane applied over cement board or foam backer ensures no moisture wicks into the wall cavity. Skipping this step is the most common mistake in mosaic tile waterproofing, leading to mold or delamination. Even though the marble itself is water-resistant, the assembly is only as good as its waterproof layer.
Step-by-Step Installation
- Prepare the Niche Opening: Cut the backer board or cement board to fit the niche opening, leaving a 1/8-inch gap around edges. Apply waterproofing membrane (liquid or sheet) over the entire niche cavity and overlap onto the surrounding wall by at least 2 inches. Let cure per manufacturer instructions. Ensure no gaps in membrane; a common mistake is missing corners or edges.
- Plan the Layout: Dry-fit the Mini Check mosaic sheets inside the niche. Mark cut lines for edges and corners. Use a wet saw with a diamond blade for clean cuts through the marble. Because the pattern is small, you can trim individual tiles with tile nippers for tight spots. Measure twice, cut once—especially at corners where sheets may need to be trimmed to maintain pattern alignment.
- Apply Thinset and Set the Mosaic: Mix a white, polymer-modified thinset mortar (gray can discolor white marble). Apply a thin, even layer to the niche back using a 1/4-inch square-notch trowel. Press the mosaic sheets into the thinset, using a grout float to embed them evenly. Check for lippage with a straightedge. Work in small sections; thinset skims over quickly, and repositioning mosaic sheets after they set can damage the marble.
- Grout and Seal: After 24 hours, apply unsanded grout (to avoid scratching marble) using a rubber float. Wipe diagonally to fill joints without dislodging tiles. Clean excess with a damp sponge. Once grout cures (72 hours), apply a penetrating sealer to the marble and grout lines. Reapply sealer annually. Using unsanded grout prevents scratching the polished marble surface; sanded grout can leave visible marks.
Tile Choice for Your Niche
-
Mini Check in Carrara + Nero Marquina: Mini Check in Carrara + Nero Marquina is a Roman mosaic tile from Zia Tile, pairing white and black marble in a small check pattern. Its unglazed marble surface and special shape suit detailed mosaic installations. The small check pattern and unglazed marble make it easy to cut and fit inside a niche, while the natural stone resists moisture when properly sealed.
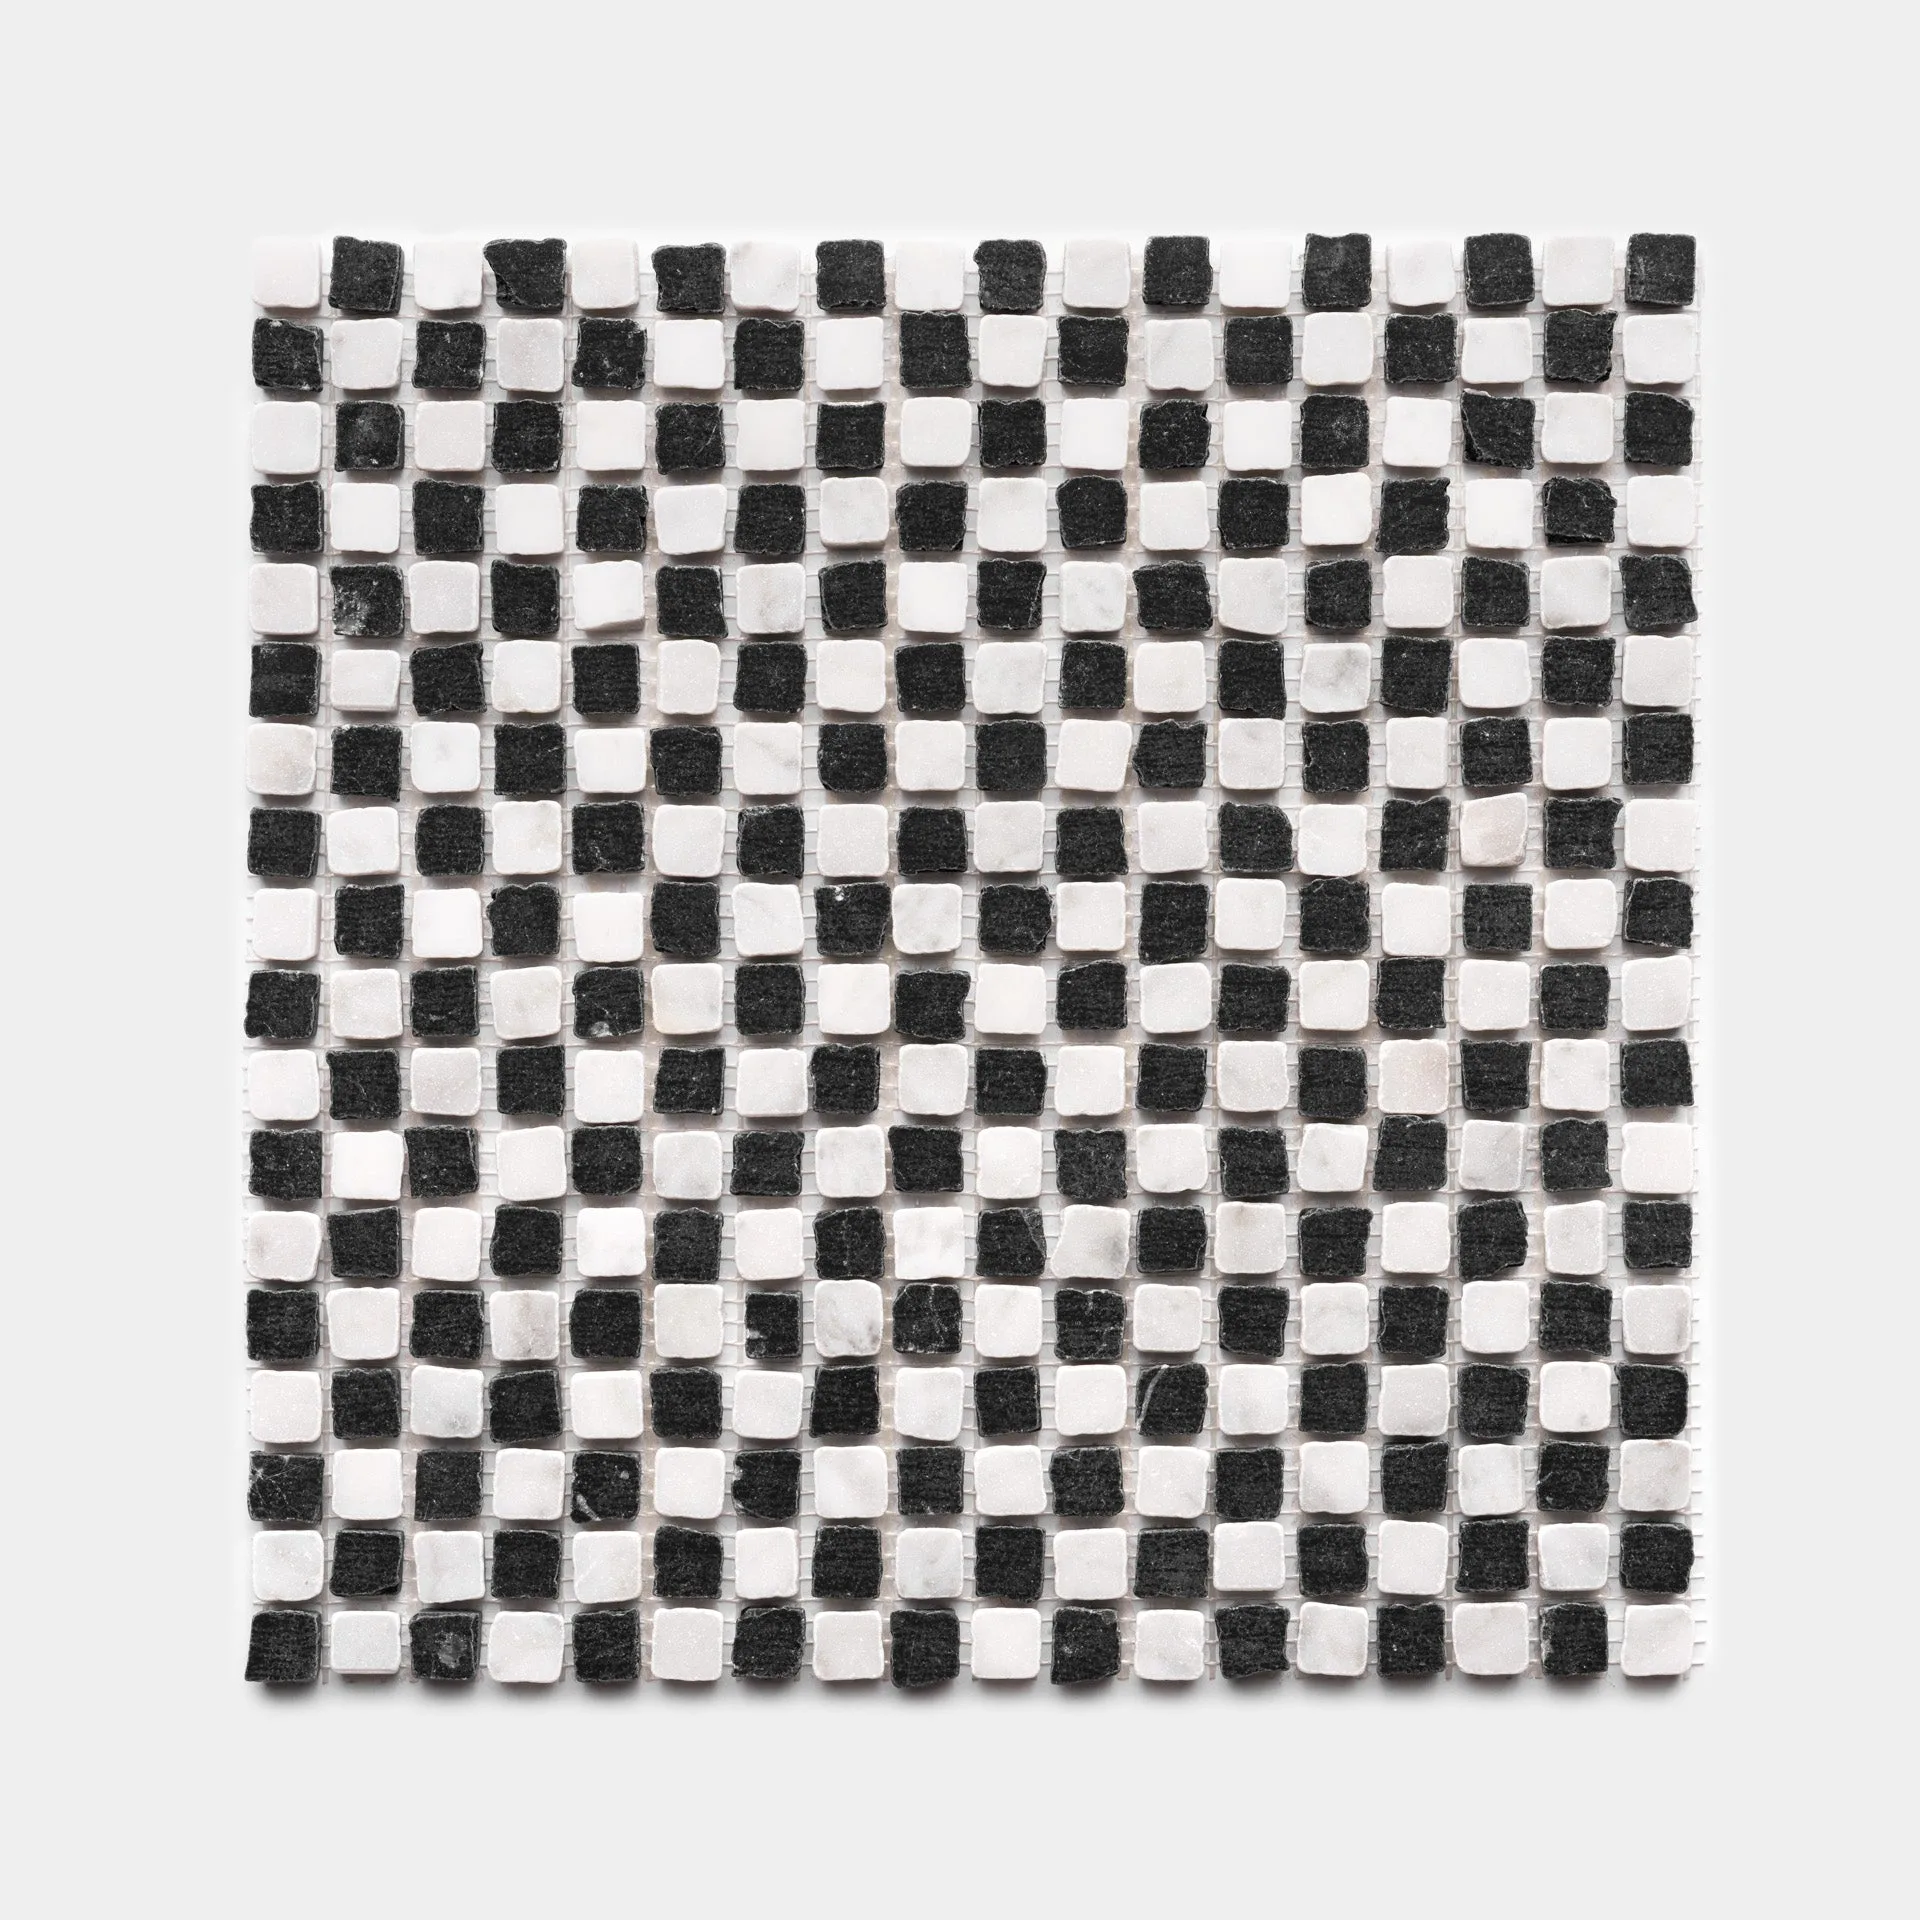
Mini Check in Carrara + Nero Marquina