Quick answer
Install Spacious Rubber 3D wood wall panels by preparing the wall, applying construction adhesive, cutting panels with a jigsaw, and aligning them carefully for a seamless look.
Why choose Spacious Rubber panels for your accent wall
The Spacious Rubber 3D Wood Wall Panel combines handcrafted detailing with solid wood construction, giving each panel a unique mosaic pattern. This makes it an excellent choice for a feature wall where you want natural warmth and texture without repeating patterns.
Because the panels are real wood, they require a stable, dry wall surface and careful handling during installation. The treated finish adds scratch resistance, but you should still work on a clean, padded surface to avoid dents.
Installation steps
- Prepare the wall and gather tools: Ensure the wall is clean, dry, and flat. Remove any old wallpaper or loose paint. Gather a tape measure, level, pencil, jigsaw with a fine-tooth blade, construction adhesive (recommended for wood), caulk gun, and a rubber mallet. Skipping wall prep can cause panels to warp or detach over time.
- Plan the layout and mark guidelines: Measure the wall width and panel width (11.8 inches). Mark vertical plumb lines every 11.8 inches using a level. For a centered design, shift the first line by half a panel width from the corner. Always check the wall for level; old houses often have uneven corners.
- Cut panels to fit edges and obstacles: Measure the gap at the end of a row or around outlets. Transfer measurements to the back of the panel. Cut with a jigsaw using a fine-tooth blade; cut from the back side to minimize splintering on the visible face. Wear a dust mask—real wood creates fine sawdust that can irritate your lungs.
- Apply adhesive and mount the panel: Run a continuous bead of construction adhesive on the back of the panel in a zigzag pattern, about 2 inches from each edge. Press the panel onto the wall along your guideline. Use a level to check plumb. Tap gently with a rubber mallet to seat it. Do not use too much adhesive—excess can squeeze out and be hard to clean from the wood texture.
- Align adjacent panels and maintain spacing: Butt the next panel against the installed one without forcing. Check the seam for gaps. Use spacers (e.g., 1/8-inch cardboard) if you want a slight reveal between panels. Continue row by row, checking level every few panels. Real wood expands slightly with humidity; leaving a tiny gap can prevent buckling.
- Finish edges and clean up: Install trim or molding around the paneled area to cover raw edges. Wipe away any adhesive squeeze-out with a damp cloth immediately. Let the adhesive cure for 24 hours before painting or adding shelves. Use paintable caulk at the top and bottom seams for a polished, built-in look.
Product facts
-
3D Wood Wall Panel | Spacious Rubber | 11.8×13.8": Handcrafted detailing: Each panel features individually placed wood pieces, creating a unique, artistic mosaic pattern. No two panels are identical, so you can create a one-of-a-kind accent wall, but you should expect slight variations in grain and color between panels.
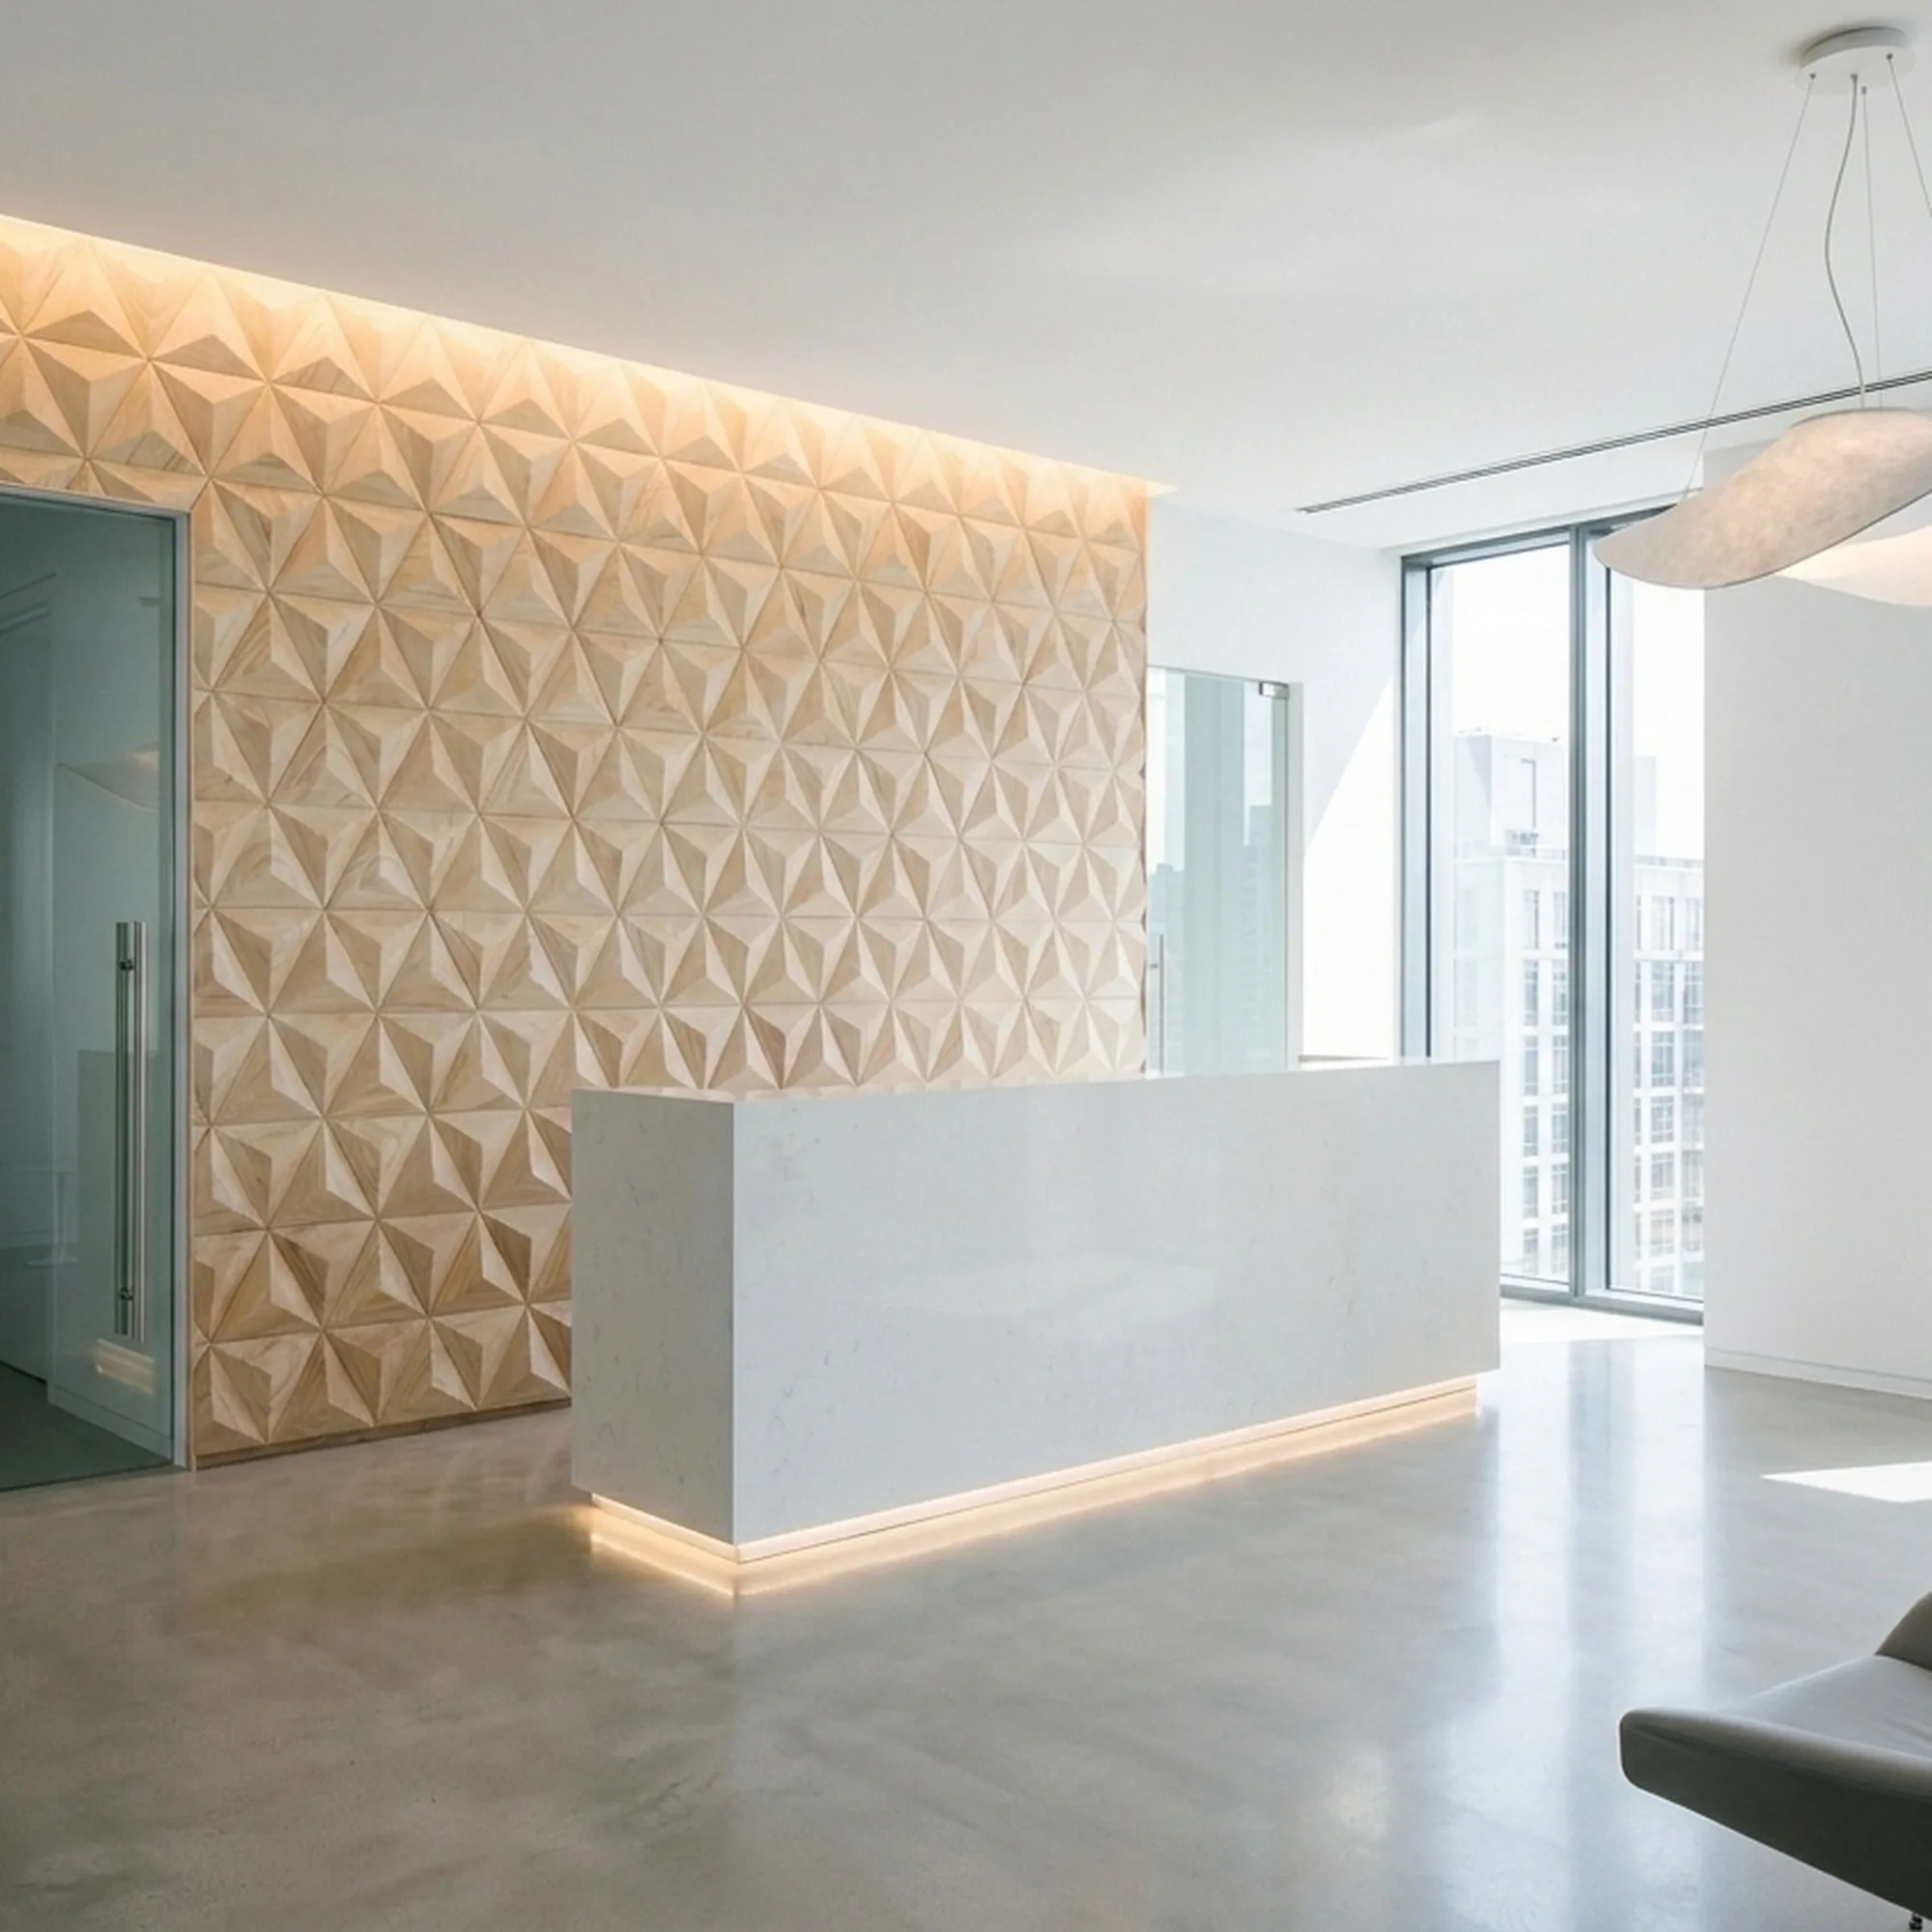
3D Wood Wall Panel | Spacious Rubber | 11.8×13.8"
-
3D Wood Wall Panel | Spacious Rubber | 11.8×13.8": Enhanced surface strength: Treated wood finish provides extra resistance against scratches and wear. The finish helps the panel hold up in high-traffic areas like hallways or living rooms, but you should still avoid dragging tools across the surface during installation.