Why Install a Synthetic Knot?
Installing a synthetic shaving knot into a brush handle lets you customize your shaving brush's feel and performance. Synthetic knots dry quickly, resist odor, and are gentle on lather. AP SHAVE CO offers two popular options: the Tuxedo Bulb Synthetic Shaving Knot and the G5C Synthetic Knots. Both are designed for easy installation into compatible handles.
Two Synthetic Knots to Consider
-
AP SHAVE CO TUXEDO BULB SYNTHETIC Shaving Knot: Extra dense synthetic hair for optimal lather generation. Bulb-shaped knot for precise application and comfortable feel. Available in a 24mm size to fit most brush handles. The Tuxedo Bulb knot is a dense, bulb-shaped option ideal for those who want a precise, comfortable application. Its 24mm size fits most standard handles.
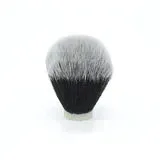
AP SHAVE CO TUXEDO BULB SYNTHETIC Shaving Knot
-
AP SHAVE CO G5C SYNTHETIC Knots (choose size): Ultra soft tips with stiff backbone for a more natural feel. Hair fibers imported from Japan. Available in sizes 20 mm to 28 mm. Fully interchangeable with handles that accept knots from 20 mm to 28 mm. The G5C knot offers a softer tip with a stiff backbone, mimicking natural hair. Its range of sizes (20-28 mm) allows it to fit many handles, including those not originally made for these knots.
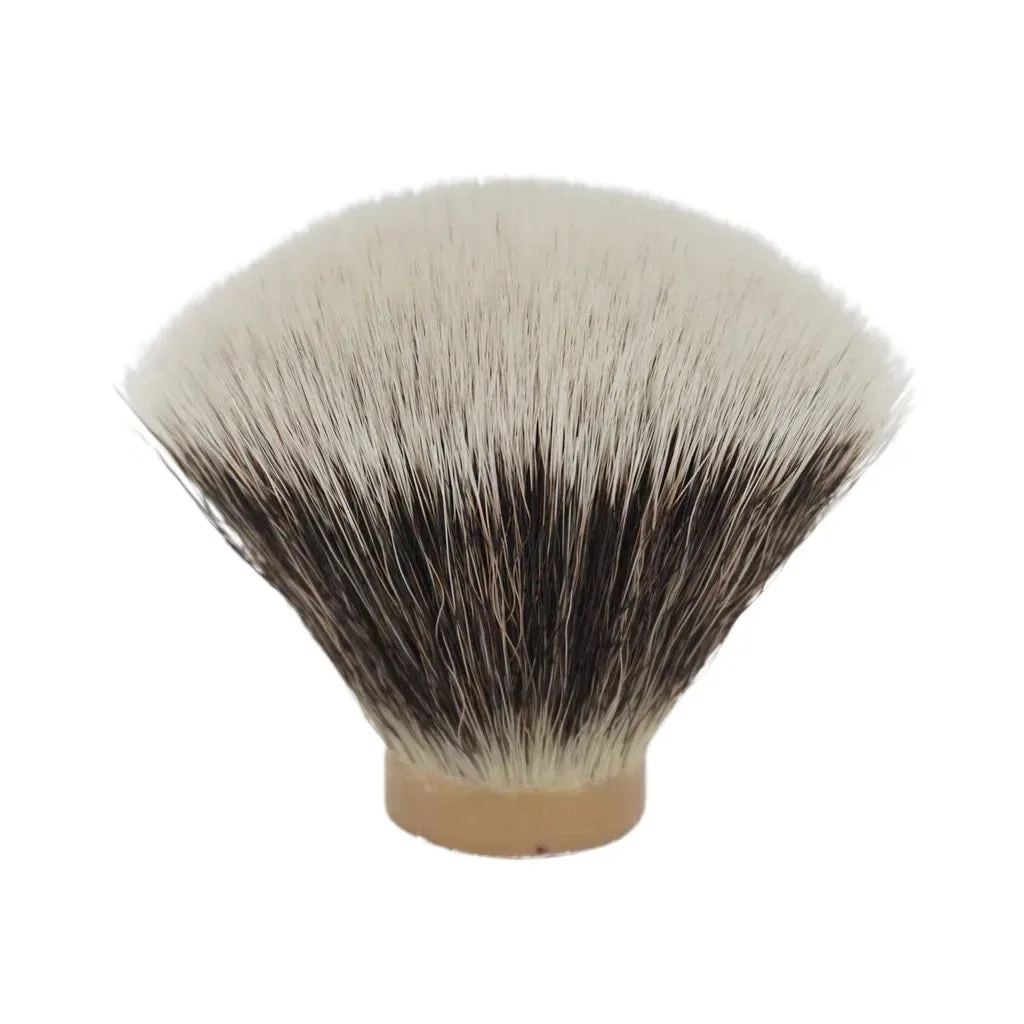
AP SHAVE CO G5C SYNTHETIC Knots (choose size)
How to Install a Synthetic Knot
Installing a synthetic knot generally involves preparing the handle, fitting the knot, and securing it. The exact method depends on your handle and whether you are replacing an old knot.
- 1. Remove the old knot (if replacing): If your handle has a knot, you may need to remove it. Methods vary by handle design. For handles with a threaded or press-fit knot, carefully twist or pull it out. For glued knots, you may need to soak the handle in warm water to soften the glue, then gently pry the knot out. Be careful not to damage the handle.
- 2. Clean and dry the handle socket: Ensure the handle's socket (where the knot sits) is clean and dry. Remove any old glue or debris. This helps the new knot sit flush and secure.
- 3. Check the knot size: Measure the diameter of the knot and the handle socket. The knot should fit snugly but not be forced. For the AP SHAVE CO Tuxedo Bulb (24mm) or G5C (20-28mm), ensure your handle's socket matches the knot size. If the knot is too loose, you may need to use a small amount of silicone adhesive to secure it. If too tight, do not force it; consider a different size.
- 4. Insert the knot: Gently press the knot into the handle socket. For a press-fit handle, it should slide in with light pressure. For a handle that requires adhesive, apply a small amount of silicone adhesive (not included) to the base of the knot before inserting. Align the knot so it is straight and centered.
- 5. Allow to set: If using adhesive, follow the manufacturer's instructions for curing time. For a simple press-fit, the knot is ready to use immediately. Do not use the brush until the adhesive is fully cured if you used any.
Handle Compatibility and What to Check
Not every handle is compatible. The AP SHAVE CO G5C knots are described as fully interchangeable with handles that accept knots from 20 mm to 28 mm. The Tuxedo Bulb knot is available in a single 24mm size. Before buying, measure the socket of your chosen handle. If the supplied information does not specify a handle's socket size, you may need to contact the handle manufacturer or measure it yourself. The installation process assumes a compatible handle; the supplied records do not cover handles that require special modification.
What the Supplied Information Does Not Cover
The product records do not include specific instructions for removing old knots, recommended adhesives, or drying times. The steps above are general best practices for brush knot installation. Always work in a well-ventilated area if using adhesives. For handles with a threaded connection, the installation is simpler and no adhesive is needed. The supplied information does not confirm whether these knots are pre-glued or require adhesive.