What the Mittstång 9 Pro Does for Your Tipi
The Mittstång 9 Pro is the center pole designed for Tentipi tipis in size 9, including models like the Safir, SafirFlex, Zirkon, ZirkonDuo, and Onyx. Its advanced construction uses hardened and alloyed aluminum to achieve high strength while keeping weight low. According to supplied information, this alloy is three times stronger than standard aluminum, making the pole a reliable core component for your shelter.
Installing the center pole correctly is key to a stable and comfortable pitch. This guide covers what you need to know before starting and the general sequence for setup, based on the available product facts.
Key Facts About the Mittstång 9 Pro
-
Mittstång 9 Pro: Avancerad konstruktion optimerad för hög styrka kombinerad med låg vikt. Den höga styrkan uppnås genom härdning och legering (tre gånger starkare än vanligt aluminium). The pole is strong enough to support your tipi in various conditions, yet light enough to carry and handle during setup. This combination is especially useful for campers who move sites frequently.
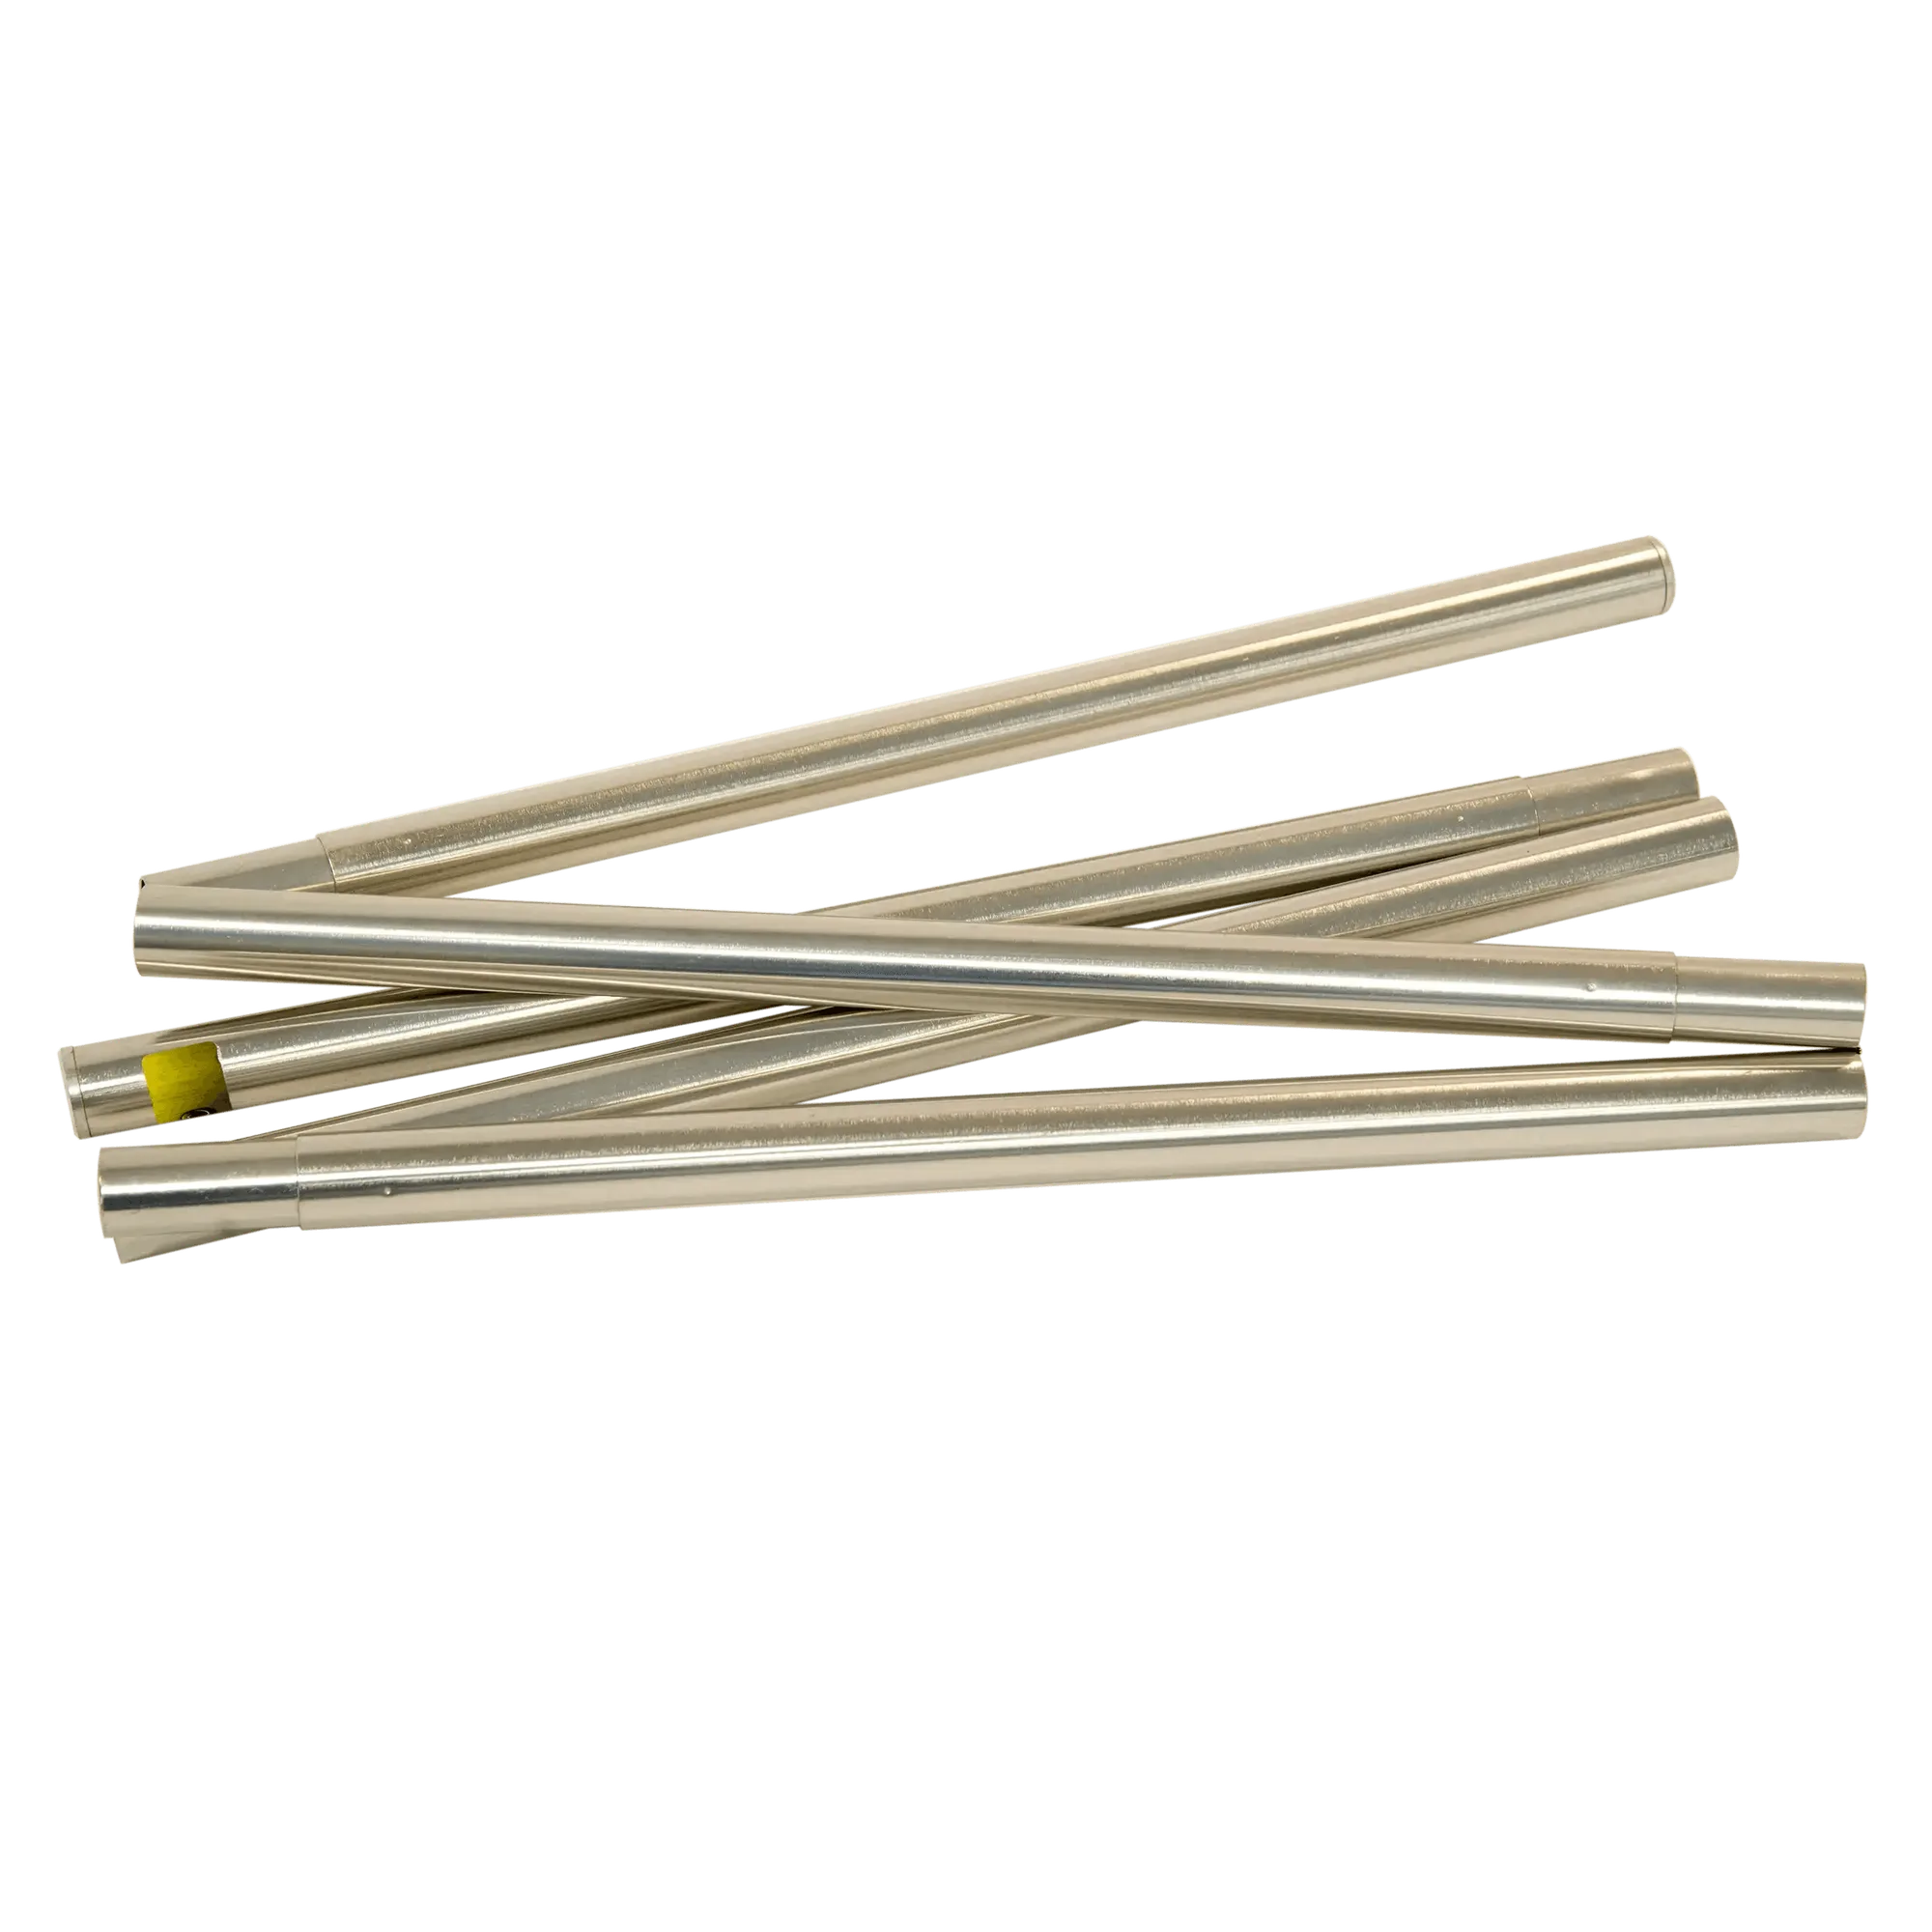
Mittstång 9 Pro
-
Mittstång 9 Pro: Passar alla tältkåtor i storlek 9 (Safir, SafirFlex, Zirkon, ZirkonDuo och Onyx). If you own any size 9 Tentipi, this pole fits. Always confirm your tipi model before purchasing to ensure compatibility.
General Setup Sequence for the Mittstång 9 Pro
The following steps are based on general pole installation practices. The supplied information does not include specific assembly instructions for this model, so always refer to your tipi's manual for model-specific details.
- Prepare the tipi: Lay your size 9 Tentipi flat on the ground with the interior facing up. Identify the center grommet or pole pocket where the Mittstång 9 Pro will be inserted.
- Assemble the pole sections: Connect the sections of the Mittstång 9 Pro by joining the ends securely. The pole is designed for easy assembly, but ensure each joint is fully seated to maintain strength.
- Insert the pole into the tipi: Place the bottom end of the assembled pole into the designated pocket or grommet at the tipi's center. The top end will later be raised to lift the structure.
- Raise the tipi: With the pole base secure, lift the top end of the pole to raise the tipi. This step may require assistance to control the fabric and avoid twisting.
- Secure the pole base: Once the tipi is upright, ensure the pole's base is stable on the ground. Some tipis use a pin or stake to lock the pole in place; check your model's design.
- Adjust the fabric and stake out: After the pole is in position, smooth the fabric around the pole and stake out the tipi's perimeter to achieve a taut pitch. This final step ensures the pole carries the load evenly.
What the Supplied Information Does Not Cover
The product record for the Mittstång 9 Pro does not include torque specifications, assembly diagrams, or safety warnings. For detailed installation instructions, refer to the manual that came with your tipi. If you are unsure about any step, contact Tentipi support or consult an experienced user.