Quick answer
Installing a two way toggle switch means replacing one switch in an existing pair, not inventing new wiring. Isolate the circuit at the consumer unit, prove it dead, photograph the old terminals, move the conductors across one at a time, and test both switch positions before you screw the plate back. The job lives or dies on one detail: getting the common terminal right at both ends.
What a two way switch actually does
A two way switch is a changeover device. It has a common terminal plus two traveller terminals, and it lets either of two switches control the same light independently. That is why a two way toggle switch wiring layout looks different from a one way switch: the travellers run between the two switches, and the switched live leaves the common at the second switch to feed the light.
This matters when you replace a switch rather than add one. You are not creating a two way circuit, you are swapping a component inside one that already exists. If the light currently works from two positions, the wiring is already there and your job is a straight transfer.
Before you touch a conductor
Isolate the lighting circuit at the consumer unit and lock or label it so nobody restores power while you are working. Then prove the switch is dead with a two-pole voltage tester on every terminal, including the earth. A neon screwdriver is not a substitute; it can read misleadingly on a circuit with shared neutrals.
Photograph the existing terminals before you loosen anything, and label each conductor with tape. In a two way circuit the colours are frequently reused as travellers, so colour alone tells you nothing about function. If your consumer unit has no spare way or the wiring looks damaged or overheated, stop and call a qualified electrician rather than pushing on.
Matching the switch to the plate you have
Check the depth of your back box before ordering. Decorative plates with a slim, flat, low-profile face still need room behind them for the switch block and folded conductors, and a shallow box makes even a simple swap awkward. If the plate is a multi-gang design, confirm how many separate lights it controls so you buy the right gang count rather than a plate you cannot fill.
Finish matching is the other practical consideration. Brass switch plates are usually bought to sit alongside brass cabinet hardware in the same room, so order the electrics and the joinery hardware together if you want the tones to line up.
Transferring the conductors
Move one conductor at a time from the old switch to the new one, matching function rather than colour. Keep the earth connected to the plate or box earth terminal throughout. If your new plate is metal, the earth connection is not optional.
Do not overtighten terminal screws on solid brass fittings. Brass is softer than the steel screws used in many budget switches, and a chewed terminal is difficult to recover. Fold conductors neatly and keep them clear of the fixing screws before you offer the plate up.
Testing before the plate goes on
Restore power and test the light from both switch positions before you fix the plate permanently. Then test again with the plate offered up but not screwed tight, so you can catch a conductor trapped against the box. If the light only works from one position, the common and a traveller are almost certainly swapped at one end.
Once both positions work, isolate the circuit again, secure the plate, and restore power for a final check. A two way light switch guide is only useful if it ends with that second test, because a fault that appears after the plate is screwed down usually means a pinched conductor.
Installation steps and the mistake to avoid at each one
- Isolate and prove dead: Switch off the lighting circuit at the consumer unit, lock or label it, then test every terminal with a two-pole voltage tester. Checkpoint: if the tester shows voltage anywhere, stop and find out why before continuing.
- Photograph and label the old terminals: Record which conductor sits in common and which two are travellers, then tag each one with tape. Mistake to avoid: trusting conductor colour, which is often reused as a traveller in two way circuits.
- Identify the common terminal on the new switch: Find the common marking on the new switch body and confirm it matches the function of the common on the old one, not its physical position. Mistake to avoid: assuming the terminals are laid out in the same order across brands.
- Transfer conductors one at a time: Move the common first, then each traveller, keeping the earth connected to the plate or box throughout. Mistake to avoid: overtightening brass terminals, which chews the metal and is hard to undo.
- Test both switch positions: Restore power and operate the light from both switches, then repeat with the plate offered up but not fully screwed down. Mistake to avoid: screwing the plate down before testing, which hides a pinched conductor.
- Secure the plate and re-test: Isolate again, fold conductors clear of the fixings, screw the plate down, then restore power for a final check from both positions. If the light fails only after the plate is fixed, loosen it and inspect for a trapped conductor.
Two way toggle switches worth fitting
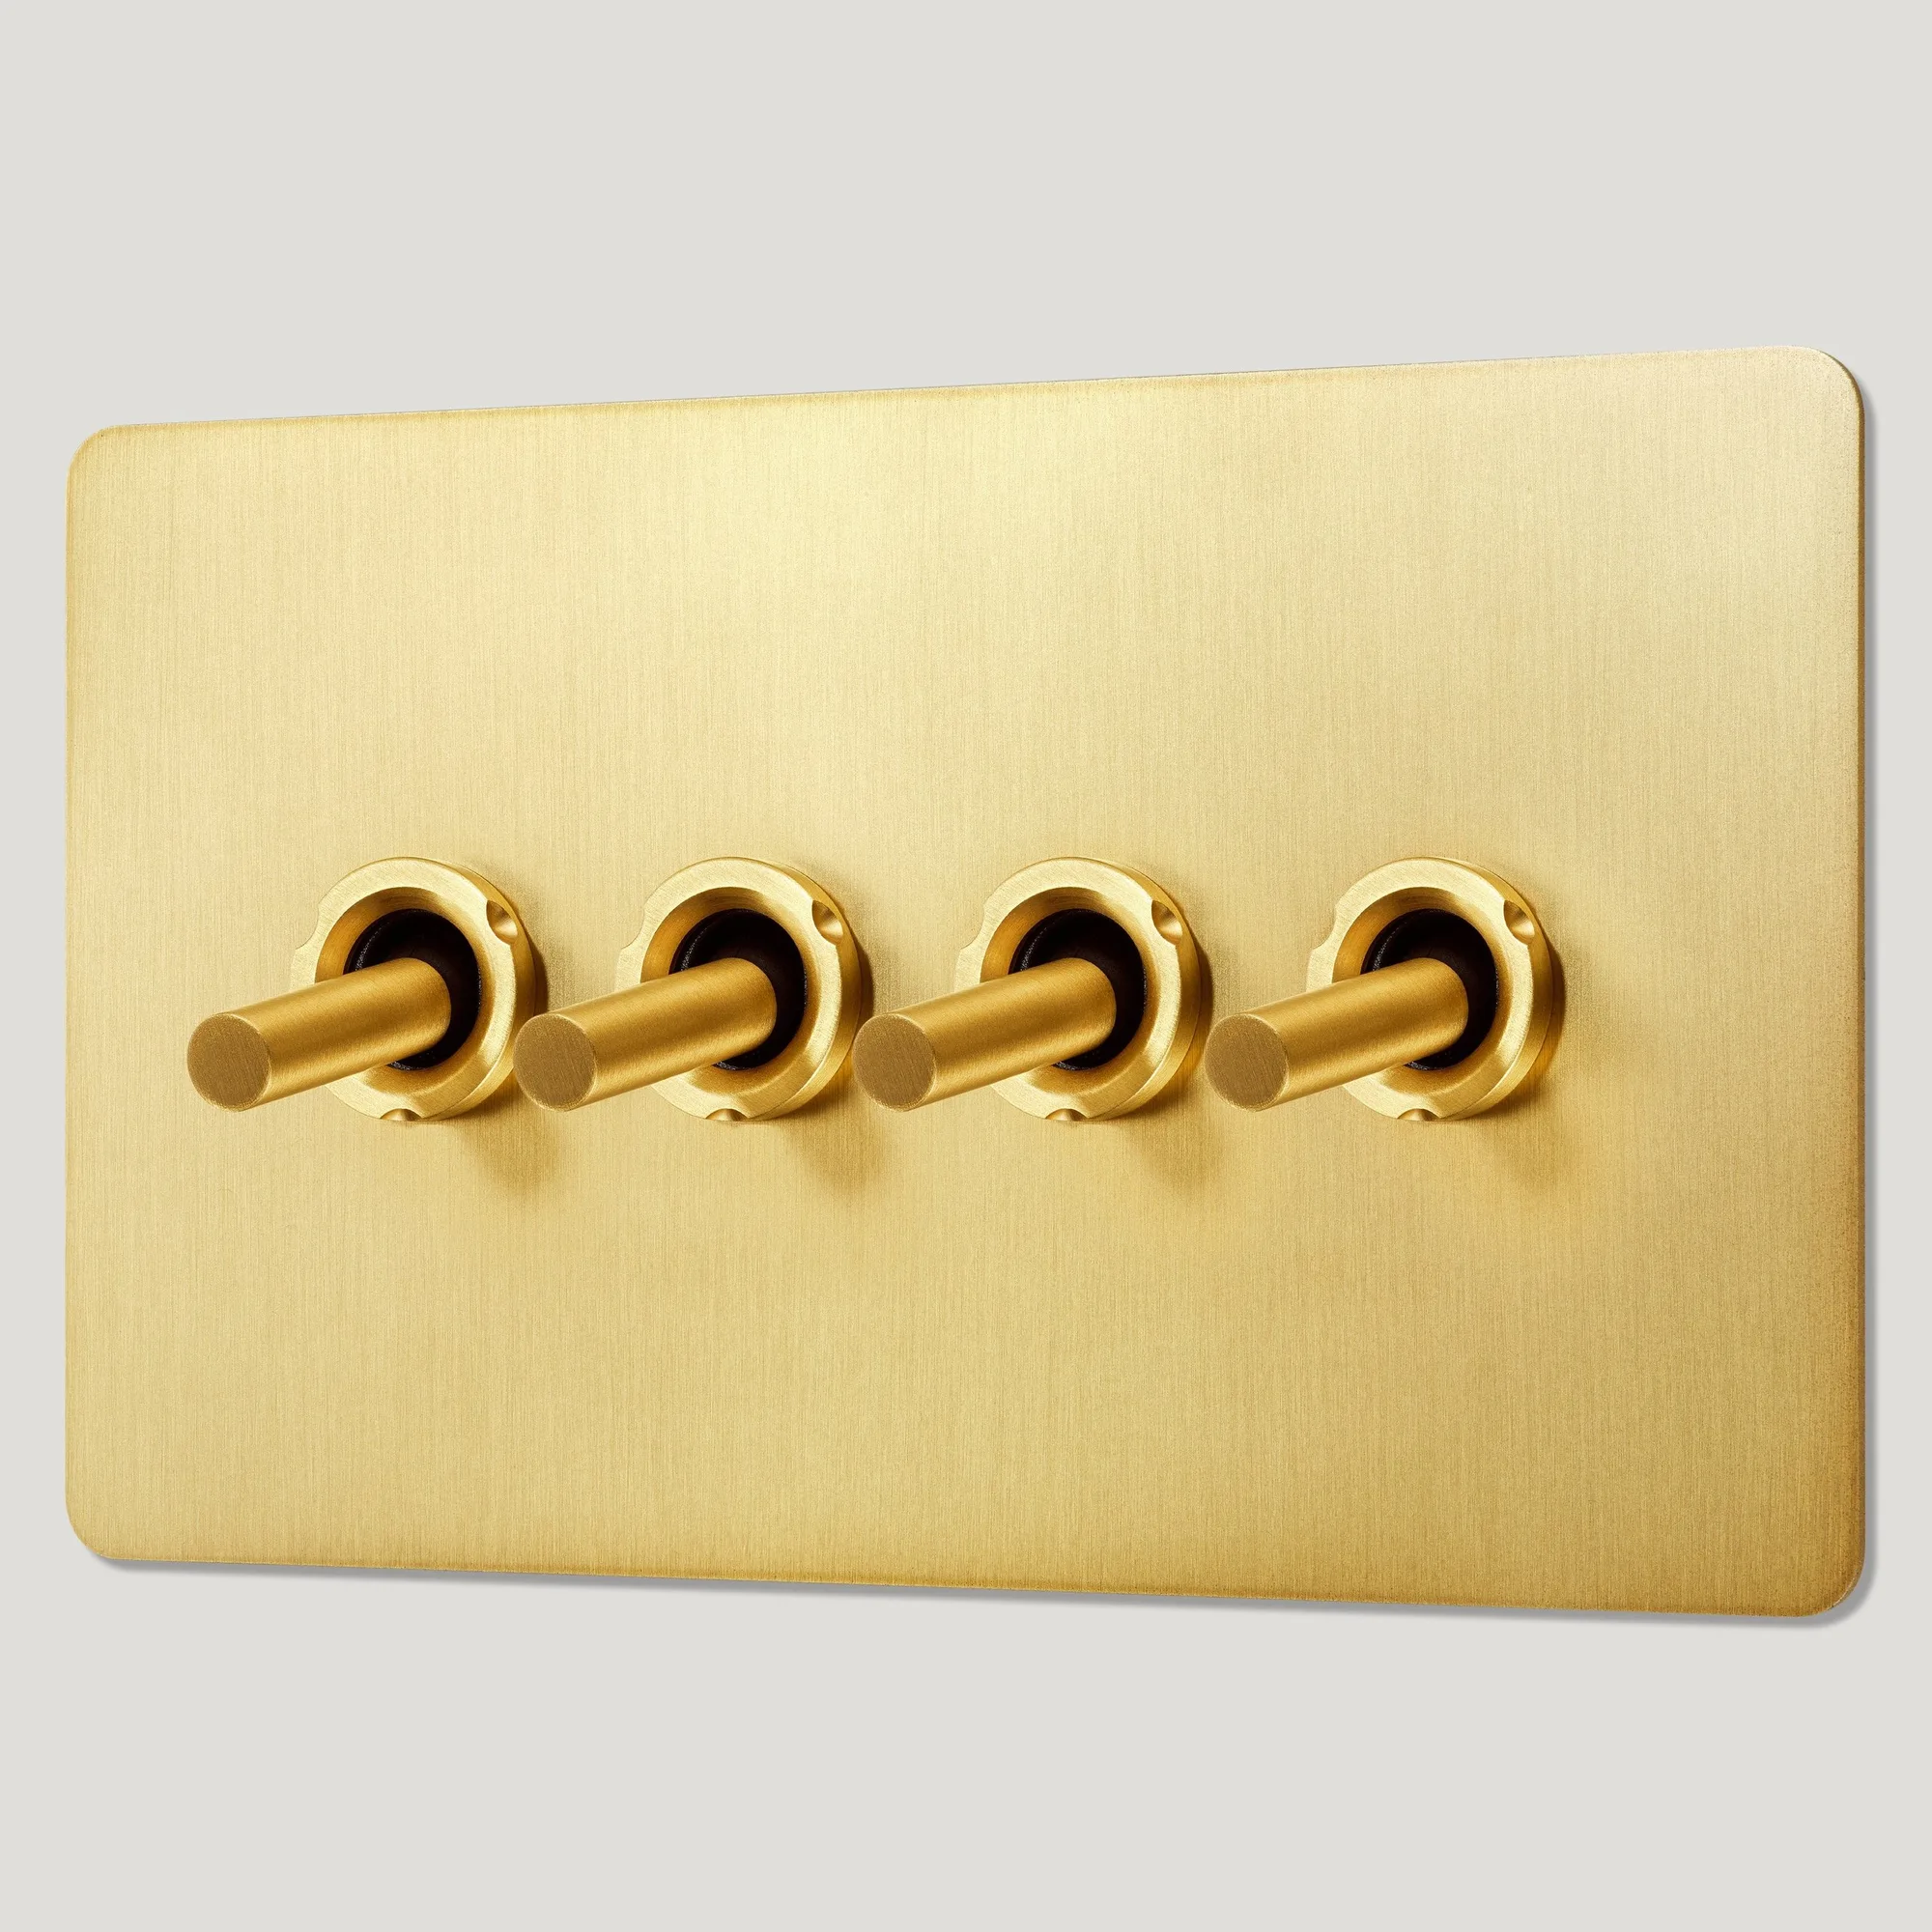
- MAXWELL 4G Two Way Smooth Toggle Light Switch - Brass: MAXWELL 4G Two Way Smooth Toggle Light Switch - Brass is a 4-gang two way switch, so it works on its own or as one of a pair to control up to 4 separate lights, each from two positions. Useful where a bank of four lights needs two way control from a second doorway, rather than fitting four separate single switches.
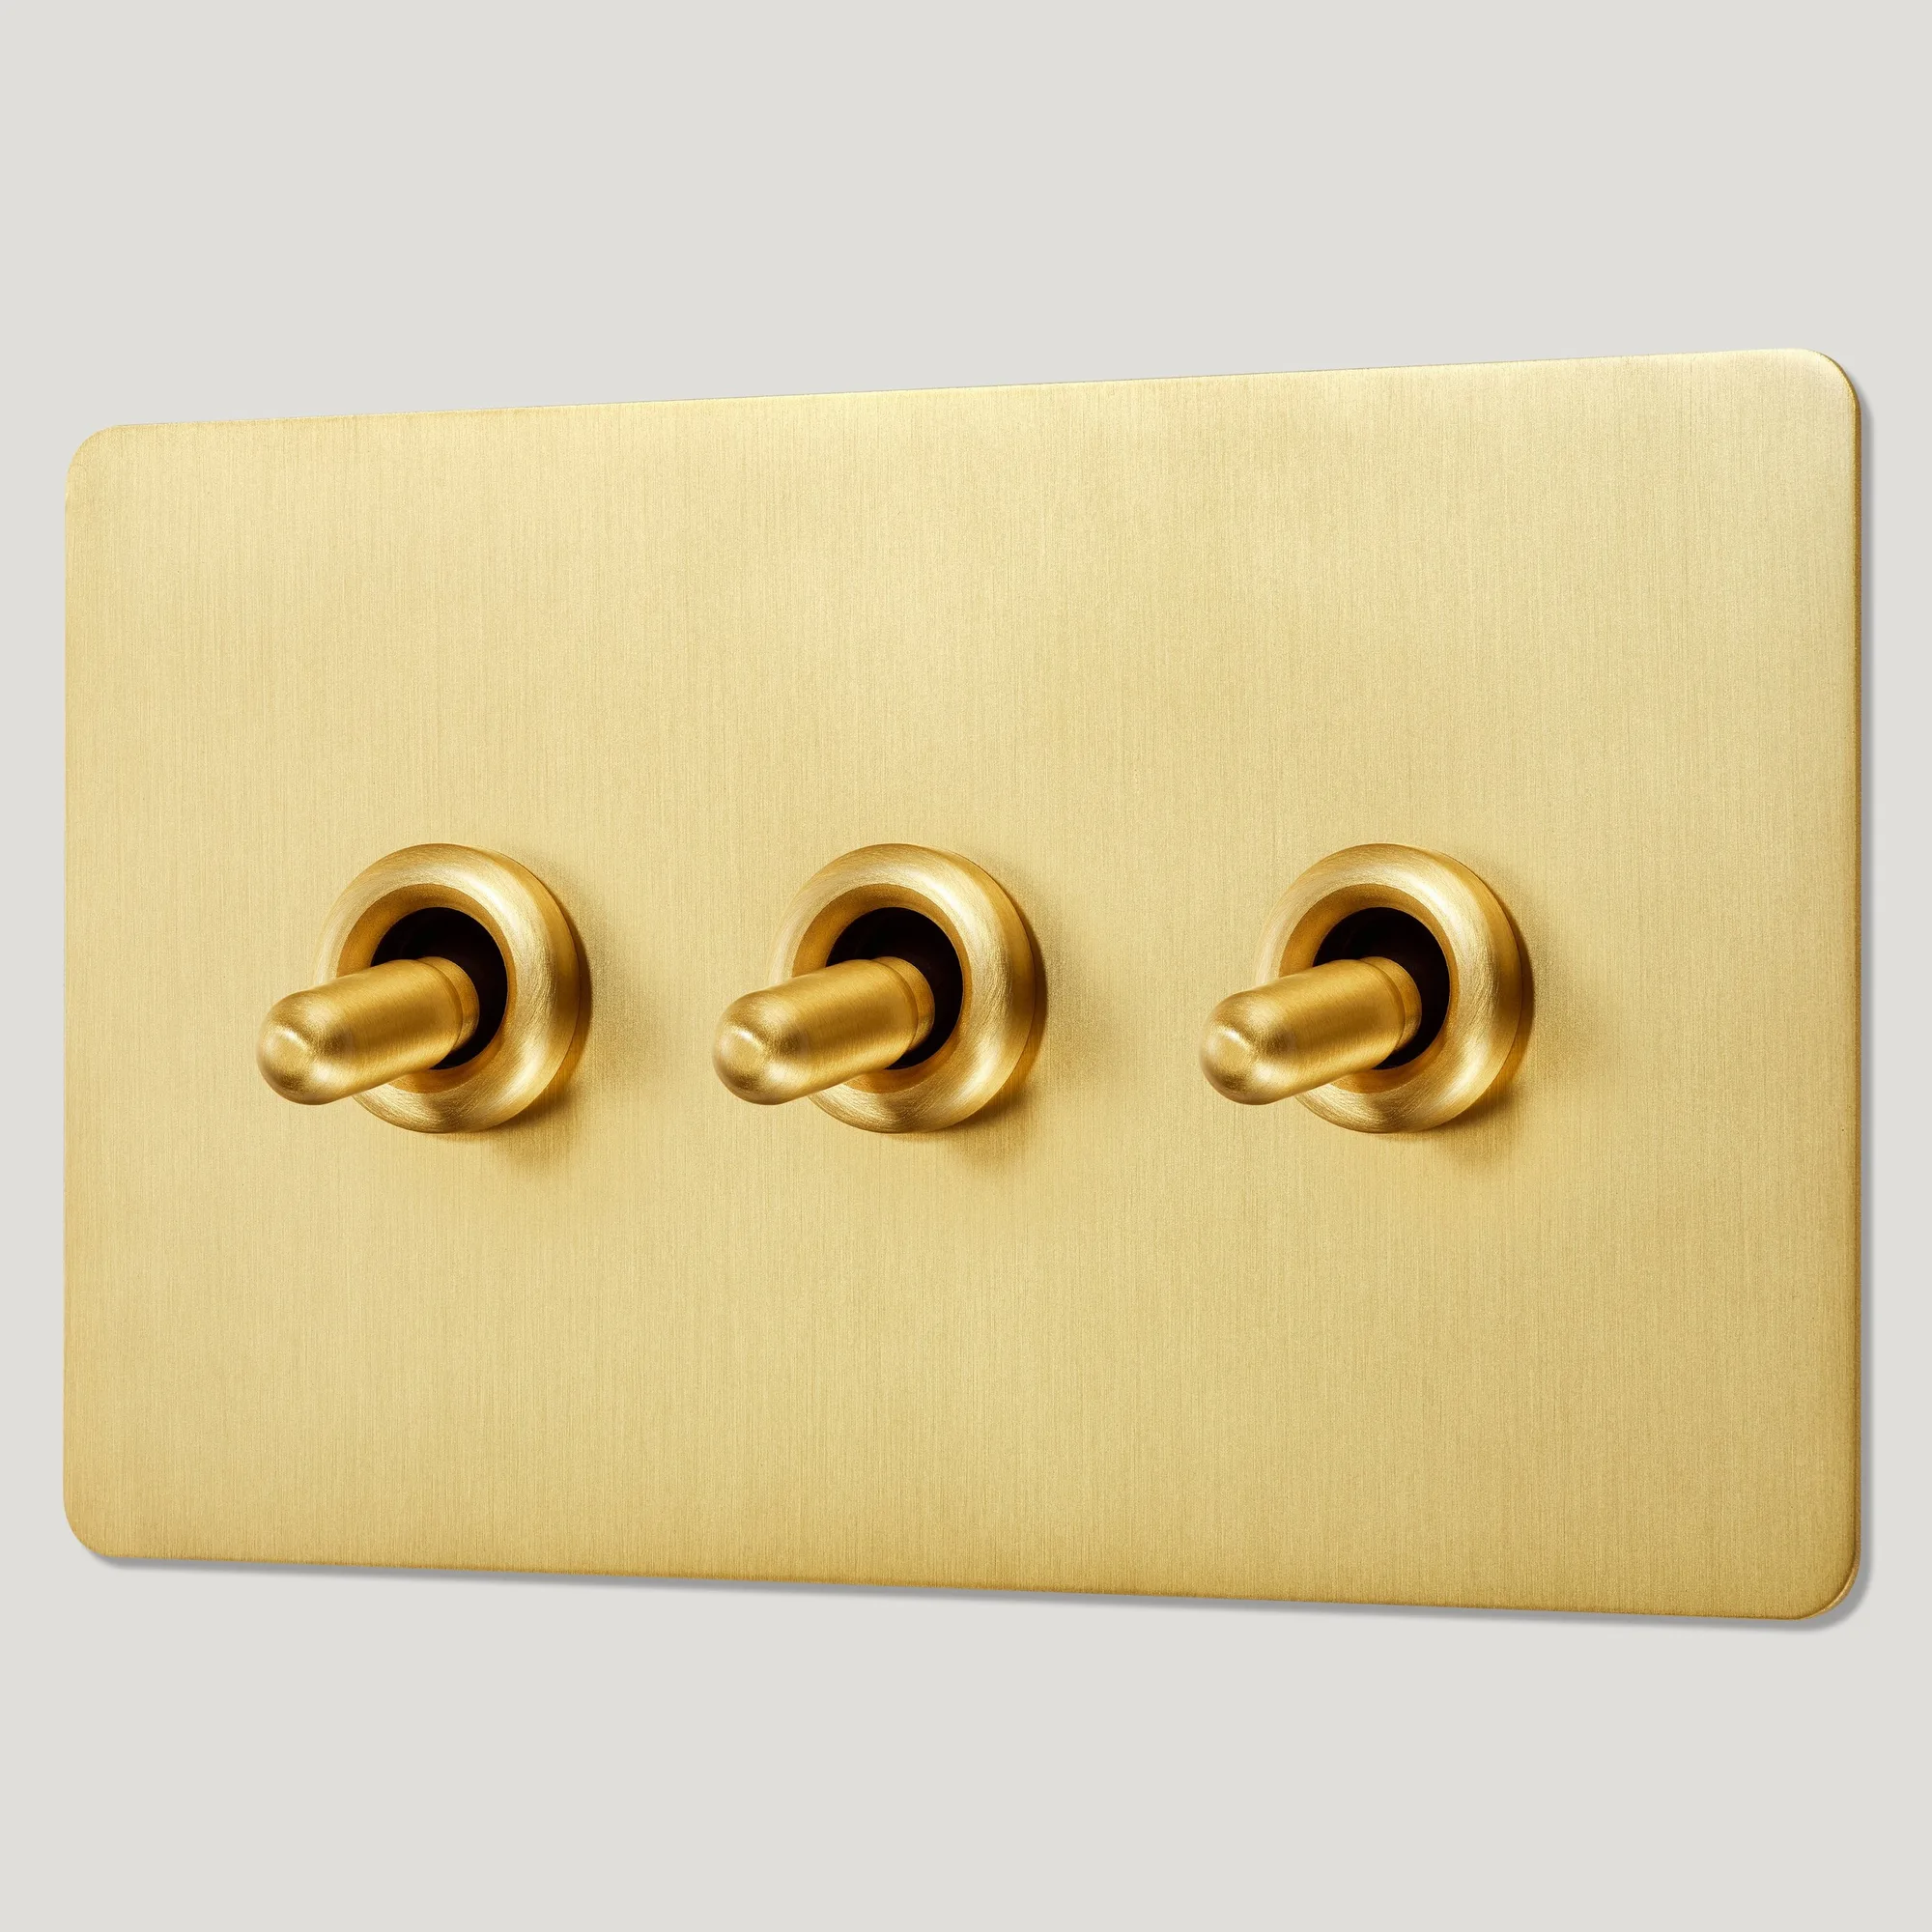
- PALO 3G Two Way Toggle Light Switch - Brass: PALO 3G Two Way Toggle Light Switch - Brass is a 3-gang two way switch with a modern, curved toggle profile, controlling up to 3 separate lights from two positions. A lower gang count suits smaller rooms, and the curved toggle gives a different look to the flatter Maxwell family.
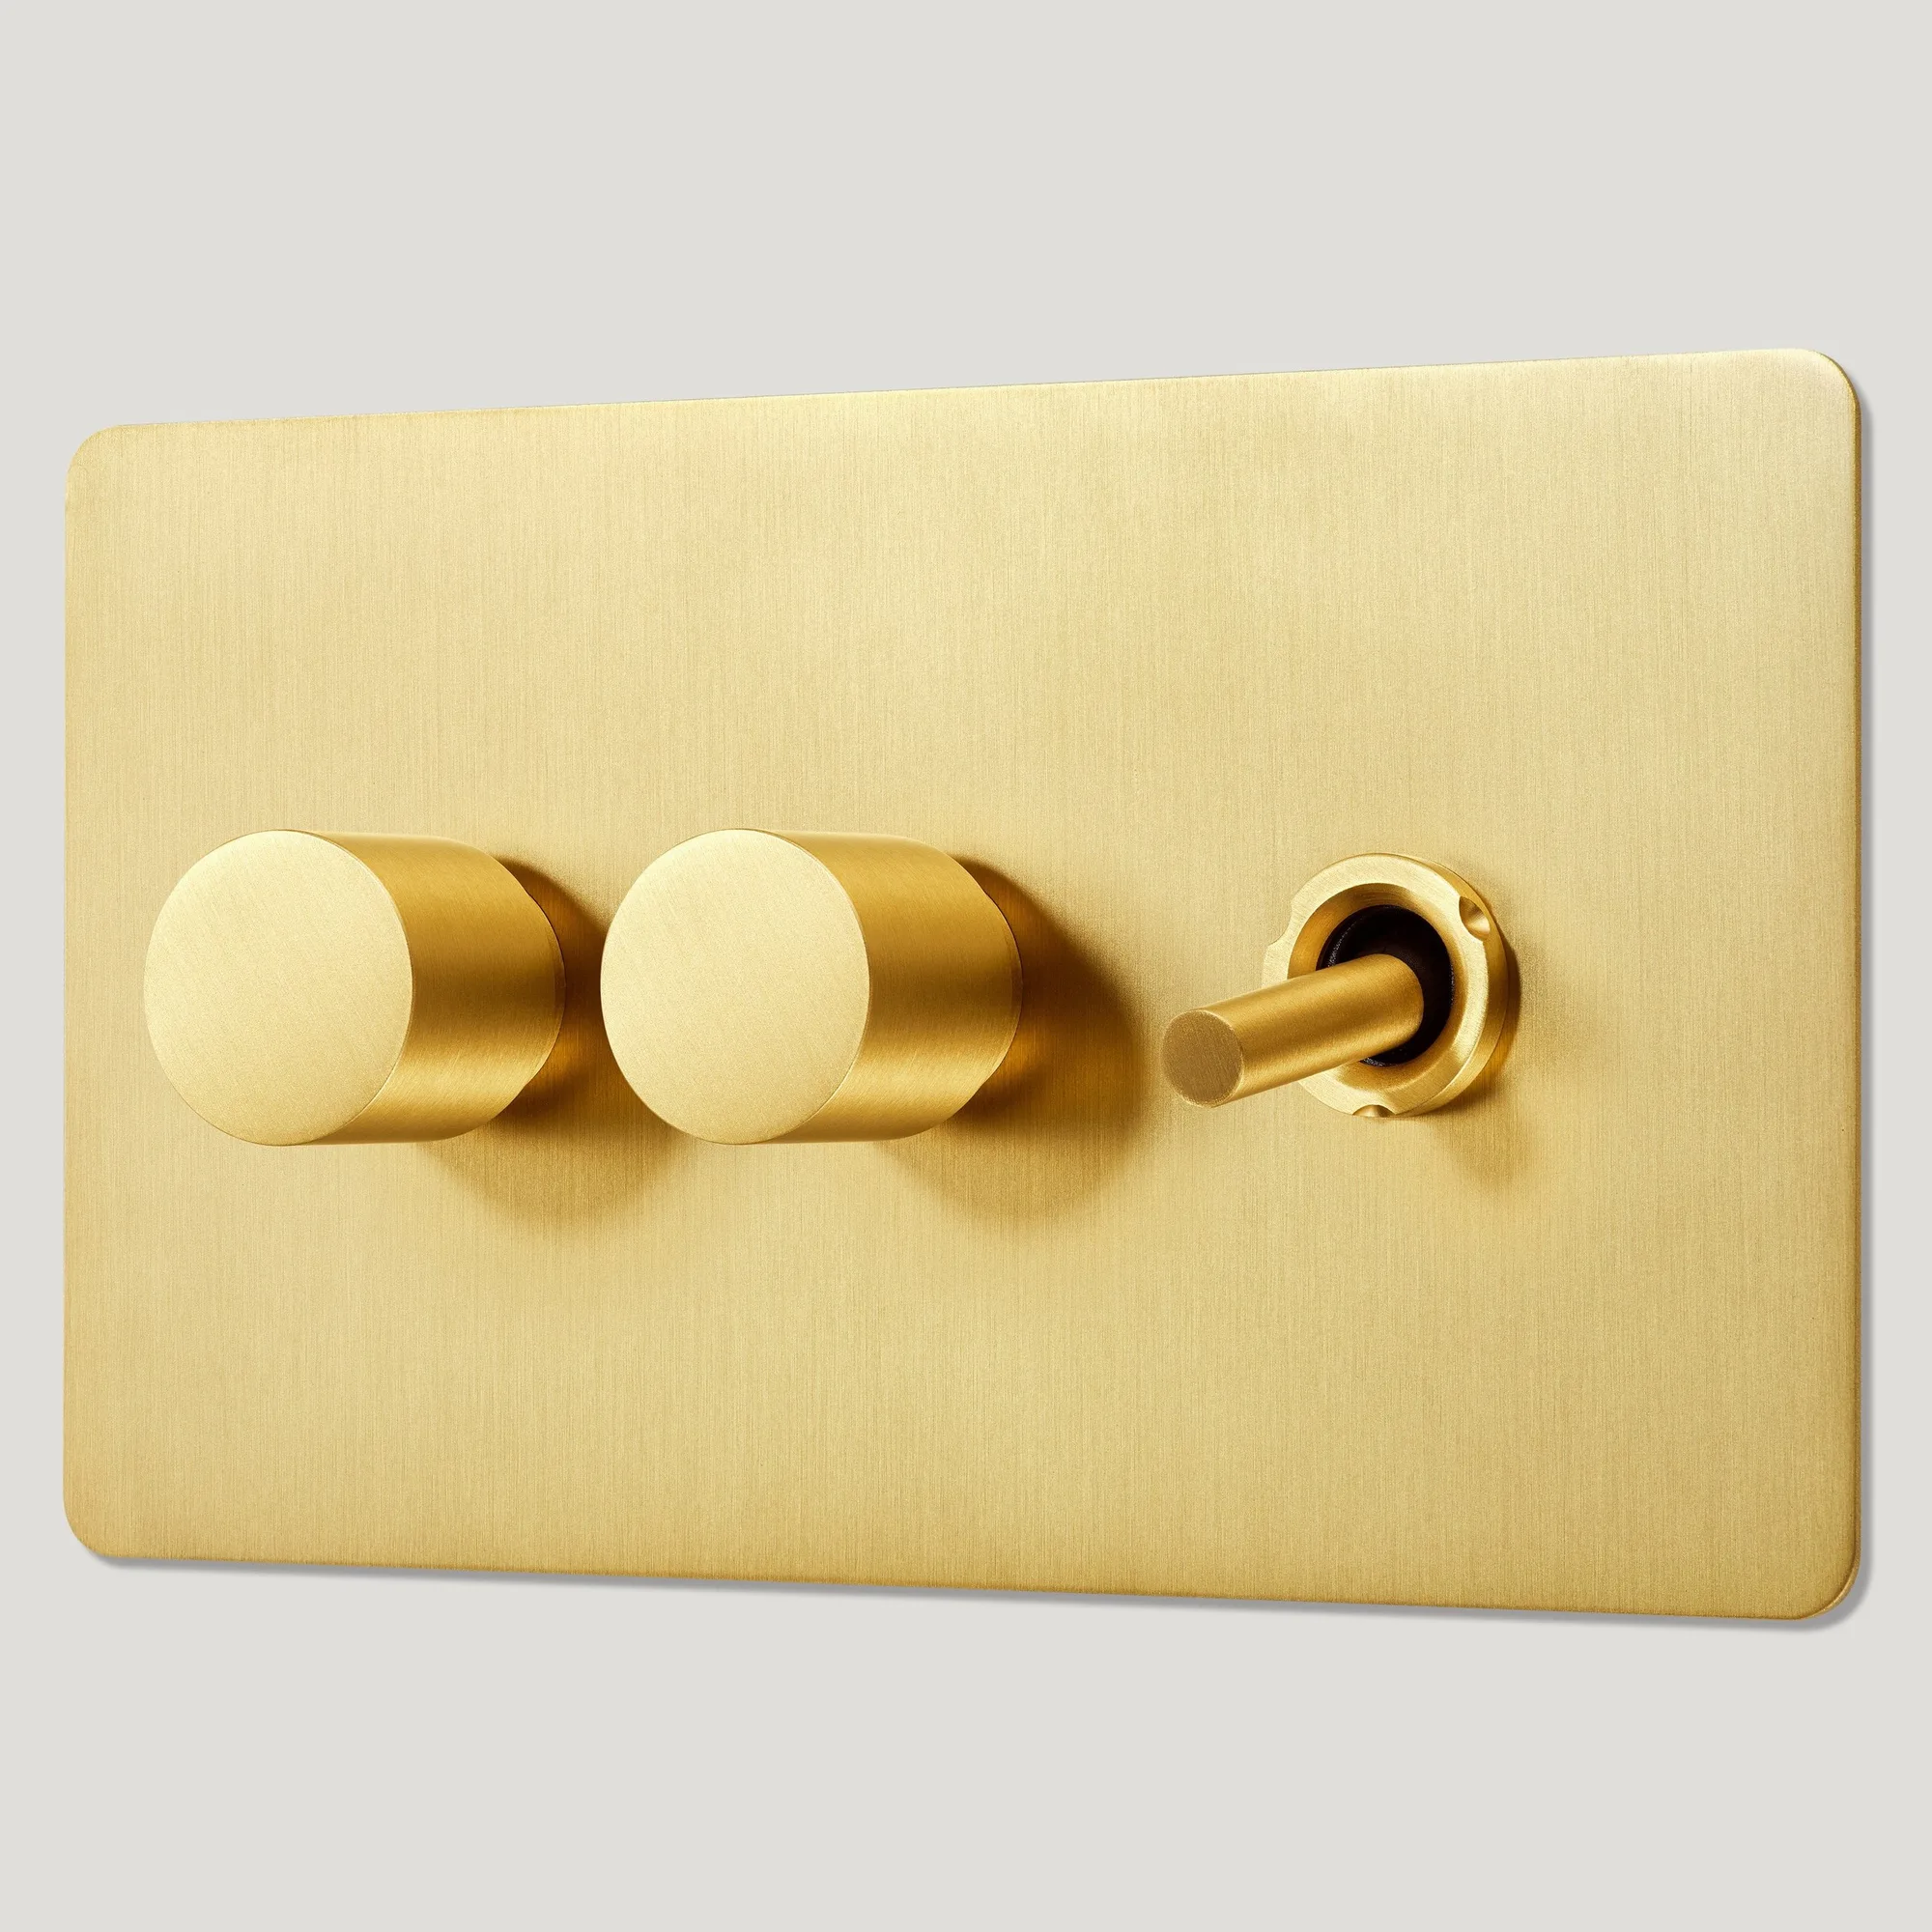
- MAXWELL 3G Smooth Mixed Light Switch 1 Toggle / 2 Dimmer - Brass: MAXWELL 3G Smooth Mixed Light Switch 1 Toggle / 2 Dimmer - Brass combines 1 toggle and 2 dimmers on one plate, with auto-detect leading or trailing edge dimming. Lets one plate handle lights you switch plus lights you dim, so you are not forced into a uniform control layout across a room.