Quick answer
Wiring a UTV universal horn kit with rocker switch is a straightforward DIY task. This guide covers mounting the horn, connecting the 12V power, and securing the rocker switch for a loud, reliable automotive-style horn.
Why a dedicated horn kit matters
A UTV universal horn kit with rocker switch gives you a proper automotive horn sound, which is much louder than a bicycle bell or a cheap buzzer. It also supports both short and long presses, so you can signal quickly or hold the horn for attention.
The kit includes a wiring harness and detailed instructions, but you still need to plan the routing to avoid pinching wires near moving parts or hot engine components.
Tools and materials you will need
Besides the horn kit, you will need a Phillips screwdriver, a 10mm wrench or socket, wire strippers, electrical tape or heat shrink, zip ties, and a drill with a 1/4-inch bit for the mounting bracket. A multimeter helps confirm power before you button everything up.
Installation steps
- Step 1: Choose a mounting location: Mount the horn on a flat, rigid surface under the hood or dash, away from direct heat sources and moving parts. Use the included bracket and drill two pilot holes. Common mistake: mounting the horn too close to the engine can cause the plastic to warp over time. Check clearance with the hood closed before drilling.
- Step 2: Run the power wire: Connect the red wire from the horn to a 12V power source, such as the accessory terminal on your fuse box or a dedicated 12V battery post. Use an inline fuse (not included) for protection. Common mistake: tapping into a circuit already near its amp limit can blow fuses. Verify the circuit can handle the horn's draw (typically 2-5 amps) by checking your UTV's fuse box diagram.
- Step 3: Ground the horn: Attach the black wire to a clean metal ground point on the frame. Scrape away any paint or rust for a solid connection. Common mistake: a poor ground causes intermittent or weak horn sound. Test the ground with a multimeter before final assembly.
- Step 4: Wire the rocker switch: Connect the switch wires according to the kit's diagram—usually one wire from the switch to the horn's positive terminal and another to the power source. The rocker switch fits neatly in a blank spot opposite the ignition switch on many UTV dashboards. Common mistake: reversing the switch polarity makes the horn stay on or not work. Label the wires before disconnecting anything if you're replacing an old switch.
- Step 5: Secure and test: Zip-tie all wires away from pinch points, sharp edges, and hot surfaces. Reconnect the battery and test both short and long presses. Common mistake: loose zip ties allow wires to rub against metal, causing shorts over time. Give the horn a final road test—it should be loud enough to hear over engine noise at trail speeds.
Product used in this guide
-
UTV Universal Horn Kit with Rocker Switch 12V: The UTV Universal Horn Kit with Rocker Switch 12V is easy to hook up, includes detailed instructions and an installation video, and sounds like an automotive horn. This means you can install it in under an hour without special wiring skills, and the loud output is effective for trail safety and signaling.
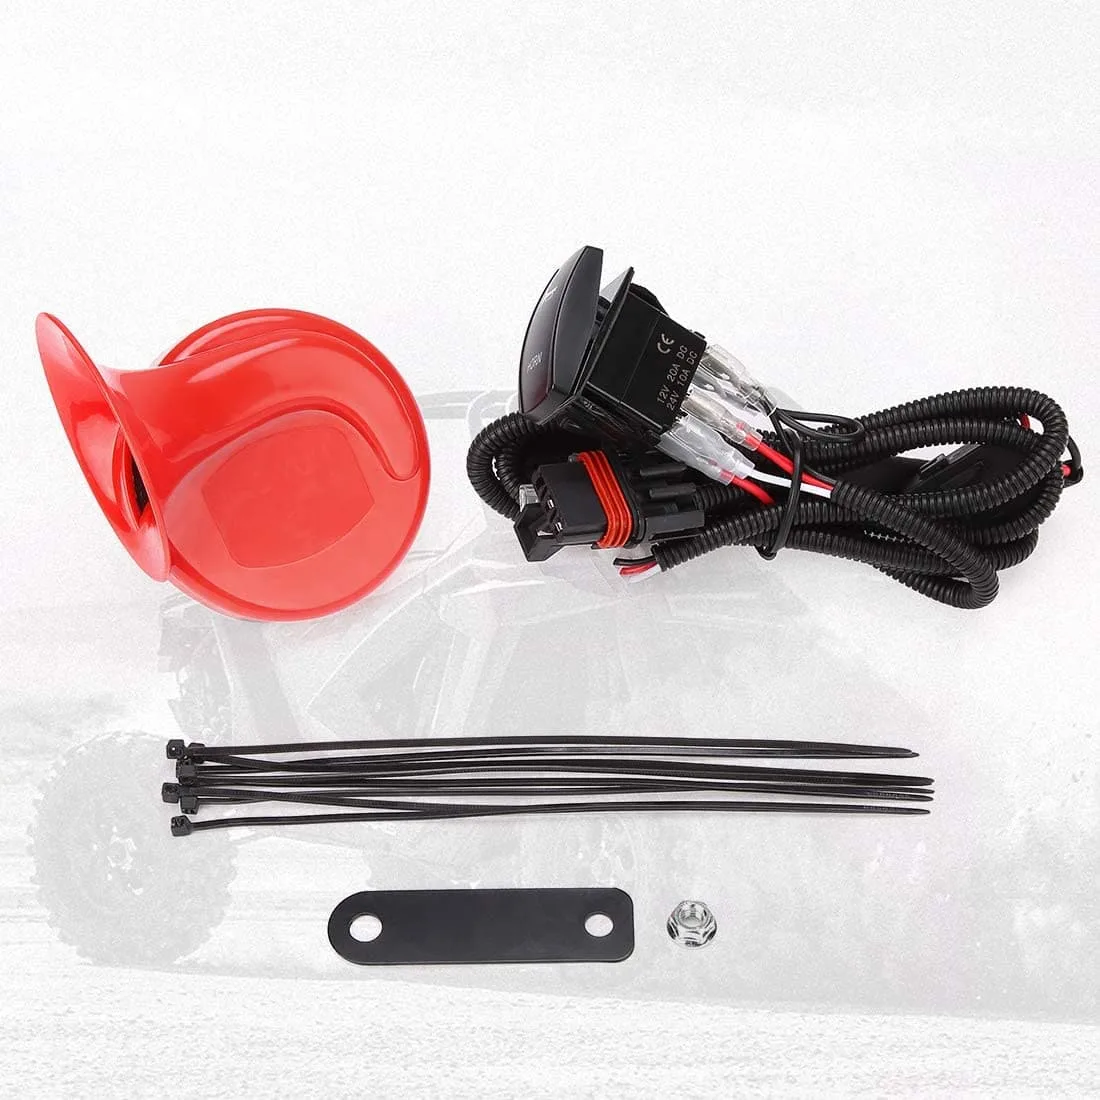
UTV Universal Horn Kit with Rocker Switch 12V