Quick Answer
Install your waketower speaker by planning the wiring route, mounting the bracket securely, running and connecting marine-grade wire, then testing the system before sealing everything up.
Why Marine-Grade Wiring Matters
Boat audio lives in a tough environment: sun, spray, and constant vibration. Standard car audio wire corrodes quickly, so use tinned marine wire and heat-shrink connectors for every connection. This one choice prevents most intermittent sound issues later.
Also, plan the wire run before you drill anything. Tower tubes often have internal channels, but not all do. If your tower is solid, you'll need to run wire along the outside with adhesive clamps. Check your tower's design first—it saves you from redoing the job.
Mounting Location Trade-Offs
Where you mount the speaker affects sound and wakeboard rope clearance. Higher on the tower throws sound farther but can interfere with rope path. Lower placement is easier to reach but may block boarding or create a spray zone.
Aim for a spot that clears the rope by at least a few inches at full swing. If you're not sure, dry-fit the bracket with tape and swing the rope to check clearance before drilling.
Waketower Speaker Installation Steps
- Plan the wire route and gather tools: Measure from the speaker location to the amplifier or head unit. Choose a route that avoids sharp edges and moving parts. Gather marine-grade wire, heat-shrink connectors, a drill with correct bits, wrenches, and a wire stripper. Check if your tower has internal wire channels before drilling any holes.
- Mount the bracket securely: Hold the bracket in place and mark the holes. Drill pilot holes, then bolt the bracket with stainless steel hardware. Apply marine sealant around the holes to prevent water intrusion. Use a level to ensure the bracket is straight—this affects the speaker angle and sound projection.
- Run the speaker wire: Feed the wire through the tower if channels exist, or along the outside with adhesive clamps. Leave a little slack at both ends to avoid tension. Avoid running wire next to power cables to prevent interference. Use a pull string or fish tape to make routing through tight channels easier.
- Connect the speaker and amplifier: Strip the wire ends, crimp or solder connectors, and heat-shrink each joint. Connect positive to positive and negative to negative. If using an amplifier, set the gain after installation. Double-check polarity—reversed wiring causes weak bass and poor sound quality.
- Test and seal the installation: Power on the system and play music. Verify both drivers (midbass and tweeter) produce sound. Check for rattles or vibration. Finally, seal all exposed connections and bracket holes with marine sealant. Test at moderate volume first, then increase to catch any distortion or loose parts.
Product Spotlight
-
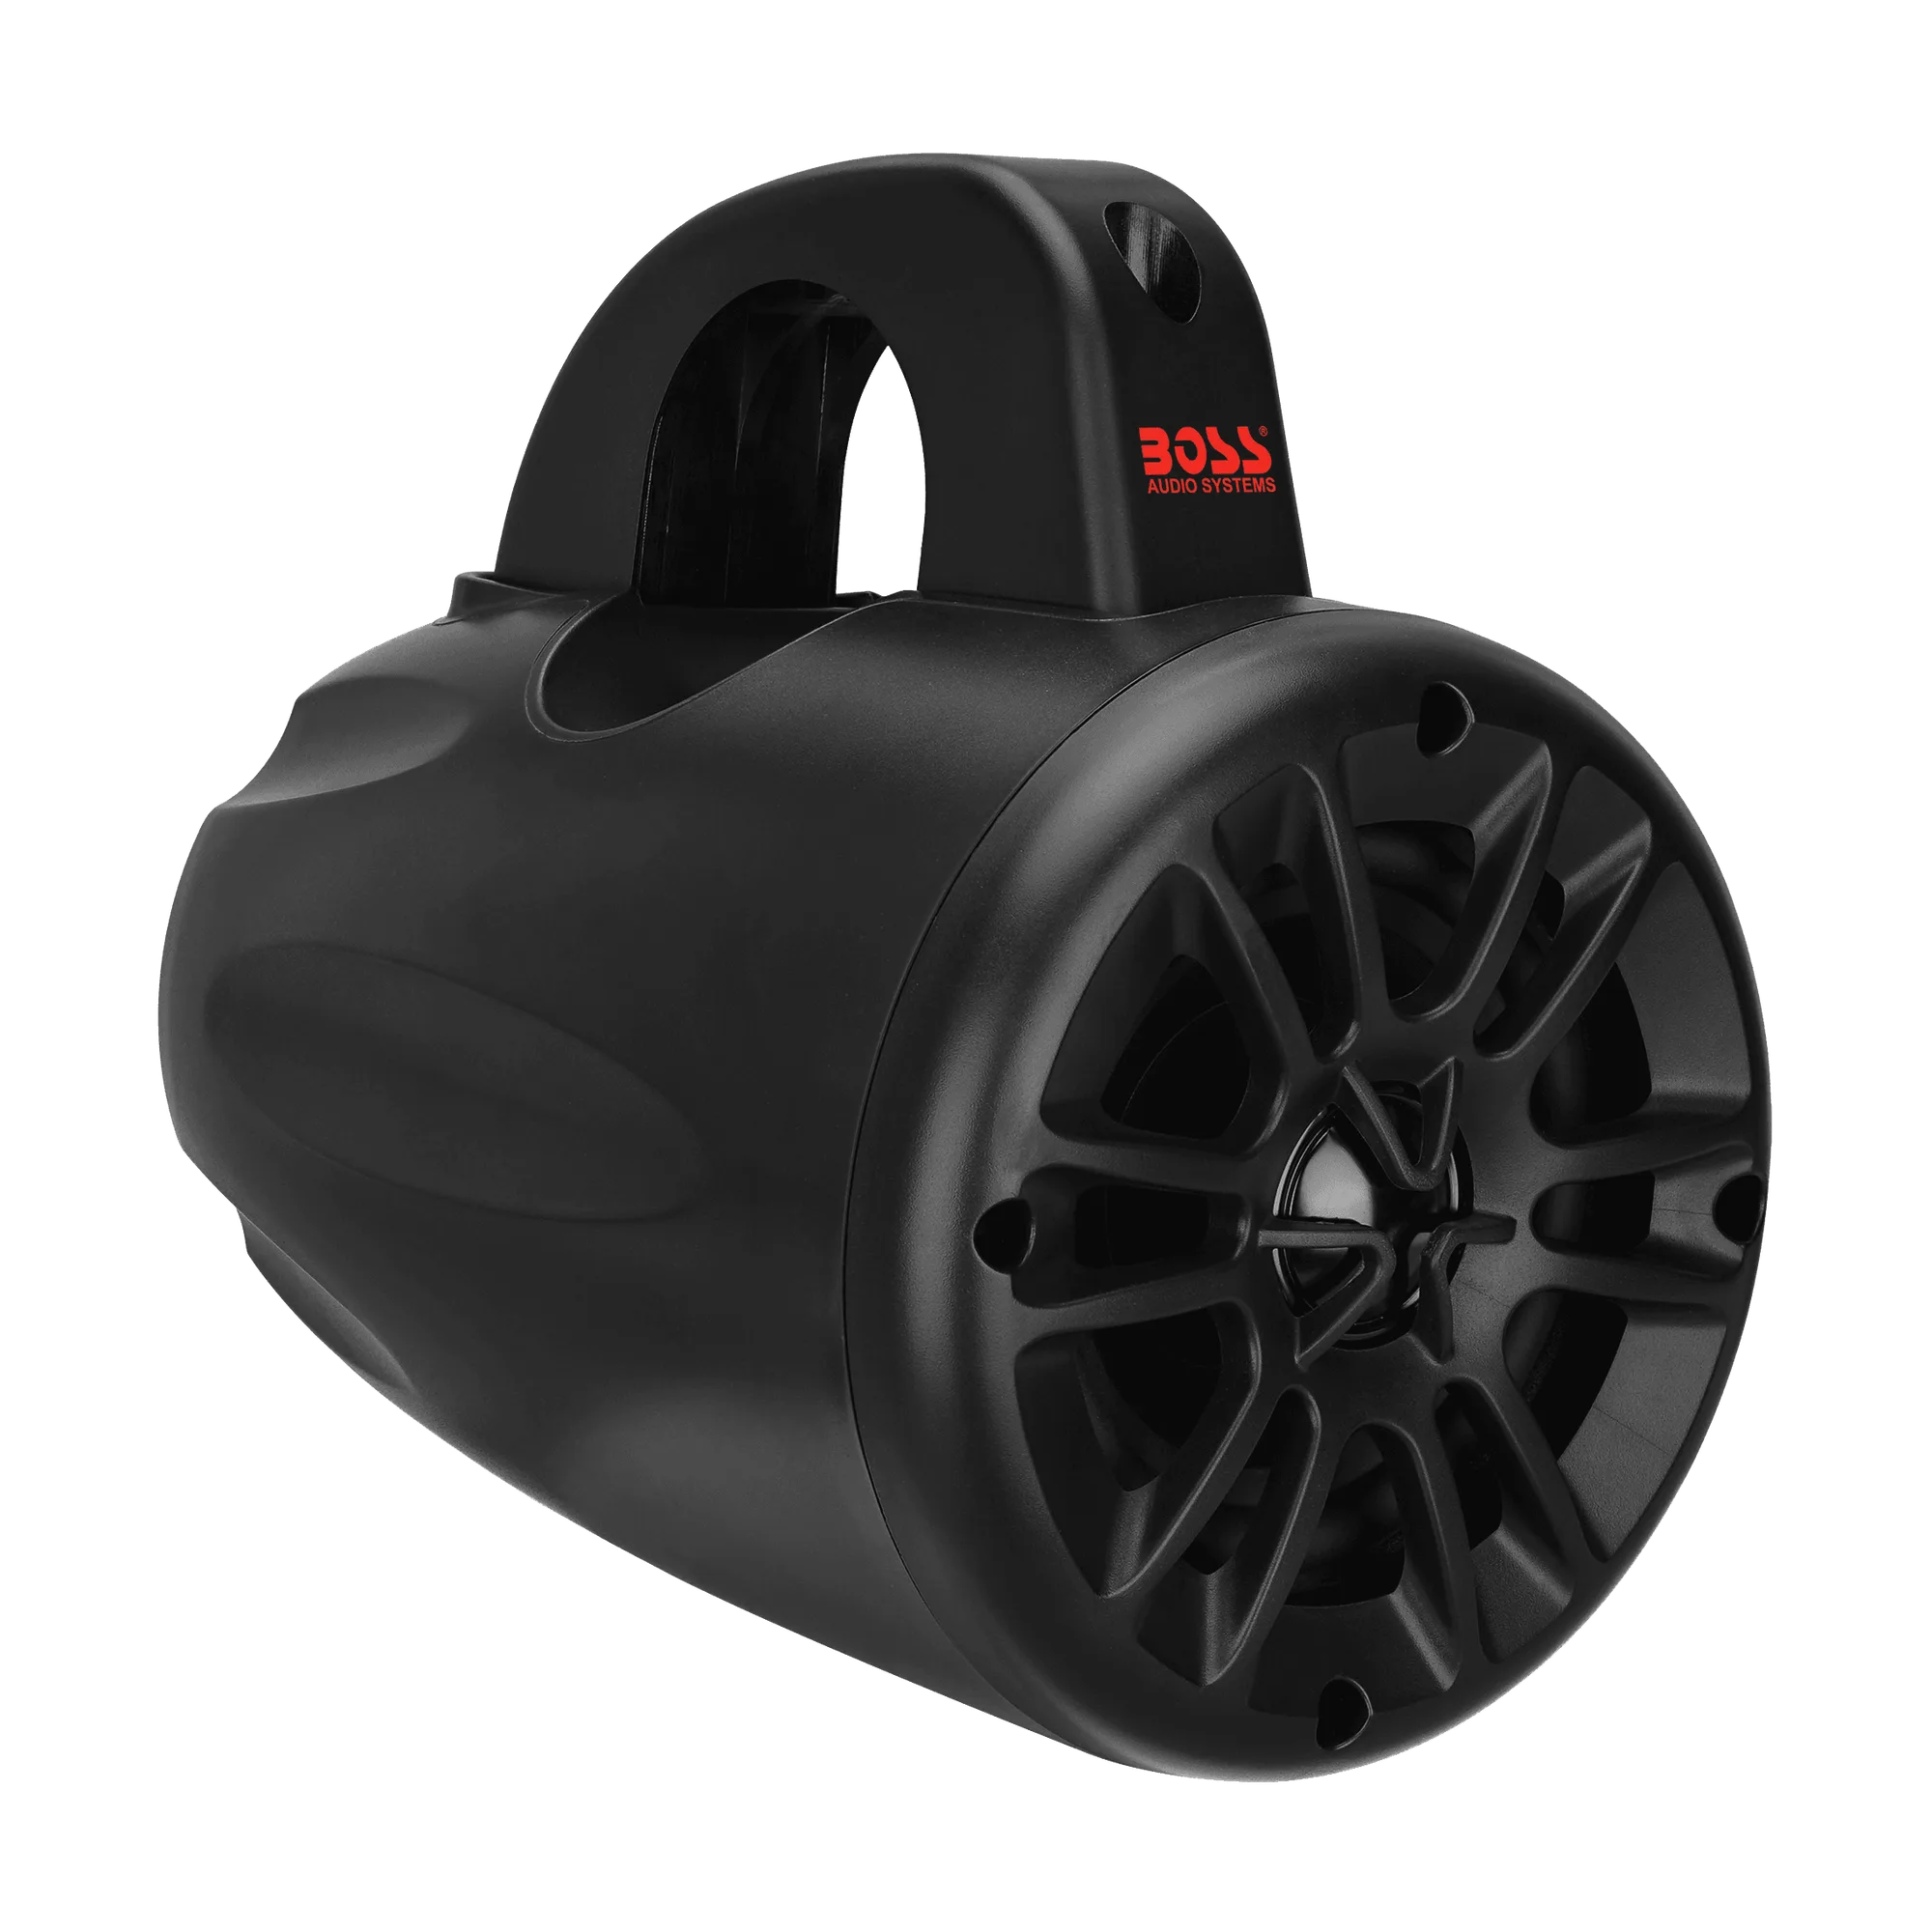
MRWT40: The MRWT40 is a 2-way system with a 4-inch midbass driver and a 1-inch dome tweeter, rated IPX5 for weather and dust resistance. Its weatherproof rating means it can handle direct spray and sun, making it a solid choice for exposed tower mounting without needing extra covers.
MRWT40