Quick answer
To install a wall light with a dimmable bulb for warm ambience, first choose a dimmable LED bulb with a warm color temperature, then wire the fixture to a compatible dimmer switch, and finish with secure mounting and a safety test.
Why bulb choice matters before you start
The bulb you select determines the ambience and whether dimming works smoothly. A dimmable LED bulb with a warm color temperature, like 2500K, creates a cozy glow, but you must confirm it is labeled dimmable—standard LEDs may flicker or buzz on a dimmer.
Also consider the bulb's shape and cap. A G45 globe with an E27 cap fits many wall sconces, but check your fixture's socket type and size before buying. If the bulb is too large, it may protrude awkwardly or touch the shade.
For outdoor or coastal installations, choose a fixture designed for damp or corrosive environments. A rustic brass wall light with a corrosion-resistant finish and a good surface guarantee adds durability without sacrificing style.
Trade-offs: dimmer compatibility and fixture placement
Not all dimmers work with every LED bulb. Check that your dimmer is rated for LED loads and that the bulb's packaging lists compatibility. If you already have a dimmer, test it with the bulb before finalizing the installation.
Wall light placement affects both function and wiring. Decide on the height and location before cutting holes—typically around 60–66 inches from the floor to the center of the fixture, but adjust for your room's proportions. Ensure there is no stud or pipe in the mounting area.
If you're replacing an existing wall light, the wiring may be simpler, but always verify the circuit is off and use a voltage tester.
Installation steps
- Turn off power and prepare the area: Switch off the circuit breaker for the wall light and use a voltage tester to confirm no power is flowing. Remove the existing fixture or install the mounting bracket if new. Never rely on the wall switch alone—always test the wires.
- Wire the fixture: Connect the fixture's wires to the house wiring: black to black (live), white to white (neutral), and green or bare copper to ground. Use wire nuts and wrap with electrical tape for a secure connection. Double-check that no bare copper is exposed after tightening the wire nuts.
- Mount the fixture: Attach the fixture to the mounting bracket with the provided screws. Ensure it is level and snug against the wall, but don't overtighten—this can crack the base or strip the screws. Use a spirit level to verify alignment before fully tightening.
- Install the dimmable bulb: Screw the dimmable LED bulb into the socket, being careful not to touch the glass with bare fingers—oils can shorten its life. If the bulb is too large for the shade, stop and choose a smaller size. Check that the bulb is fully seated but not forced.
- Test the dimmer and final check: Restore power and turn on the light. Test the dimmer from low to high to ensure smooth dimming without flicker or hum. If problems occur, verify the bulb is dimmable and compatible with your dimmer. If flickering persists, replace the dimmer with an LED-rated model.
Products that help
-
E27 Mini LED Gold-Capped Dimmable Bulb – Single: The Good Bones Lighting E27 LED Gold-Capped Filament Bulb features a classic G45 globe shape and emits an extra-warm 2500K light. This bulb provides the warm, atmospheric glow you want for a cozy room, and its E27 cap fits many standard wall sconces.
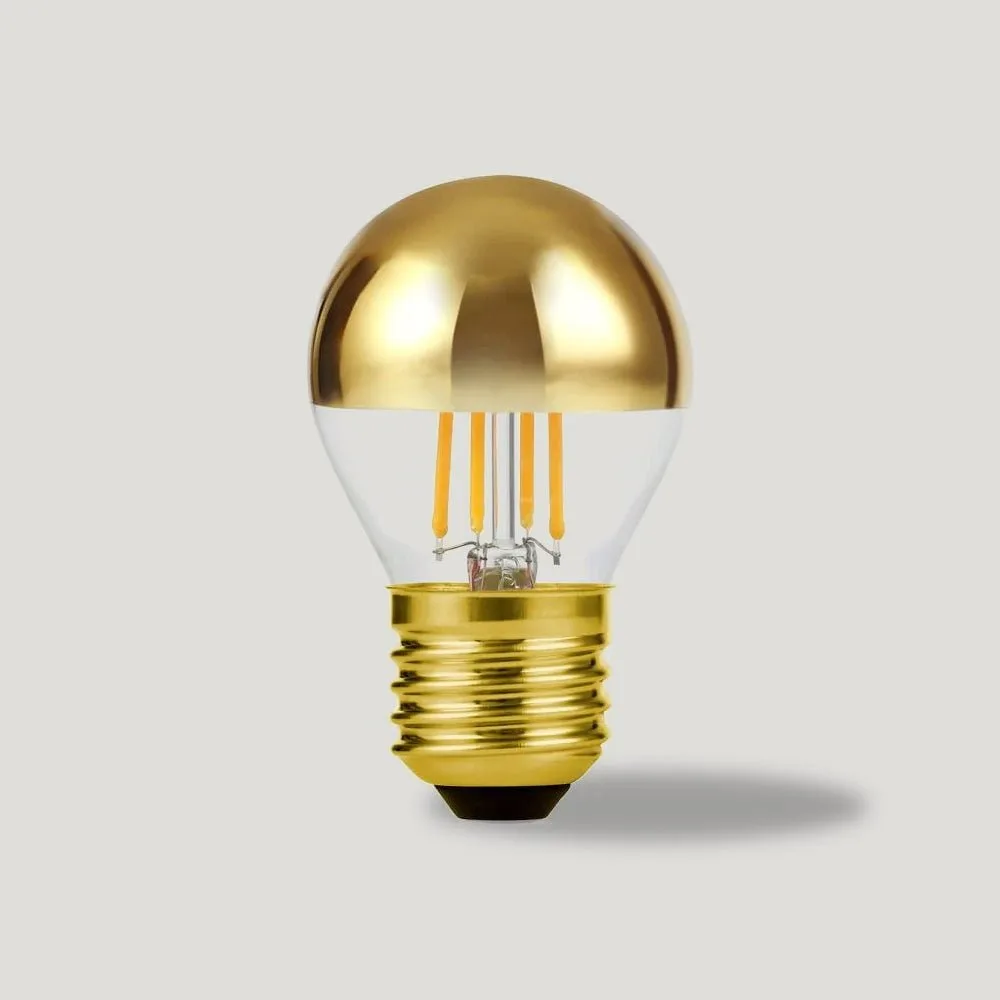
E27 Mini LED Gold-Capped Dimmable Bulb – Single
-
CANTO Wall Light - Rustic Brass: CANTO Wall Light in rustic brass offers both up- and downlight, is made from corrosion-resistant material, and is part of the Designed For Seaside range. This fixture suits coastal or humid environments while giving you flexible lighting direction, and its durable finish supports long-term use.

CANTO Wall Light - Rustic Brass