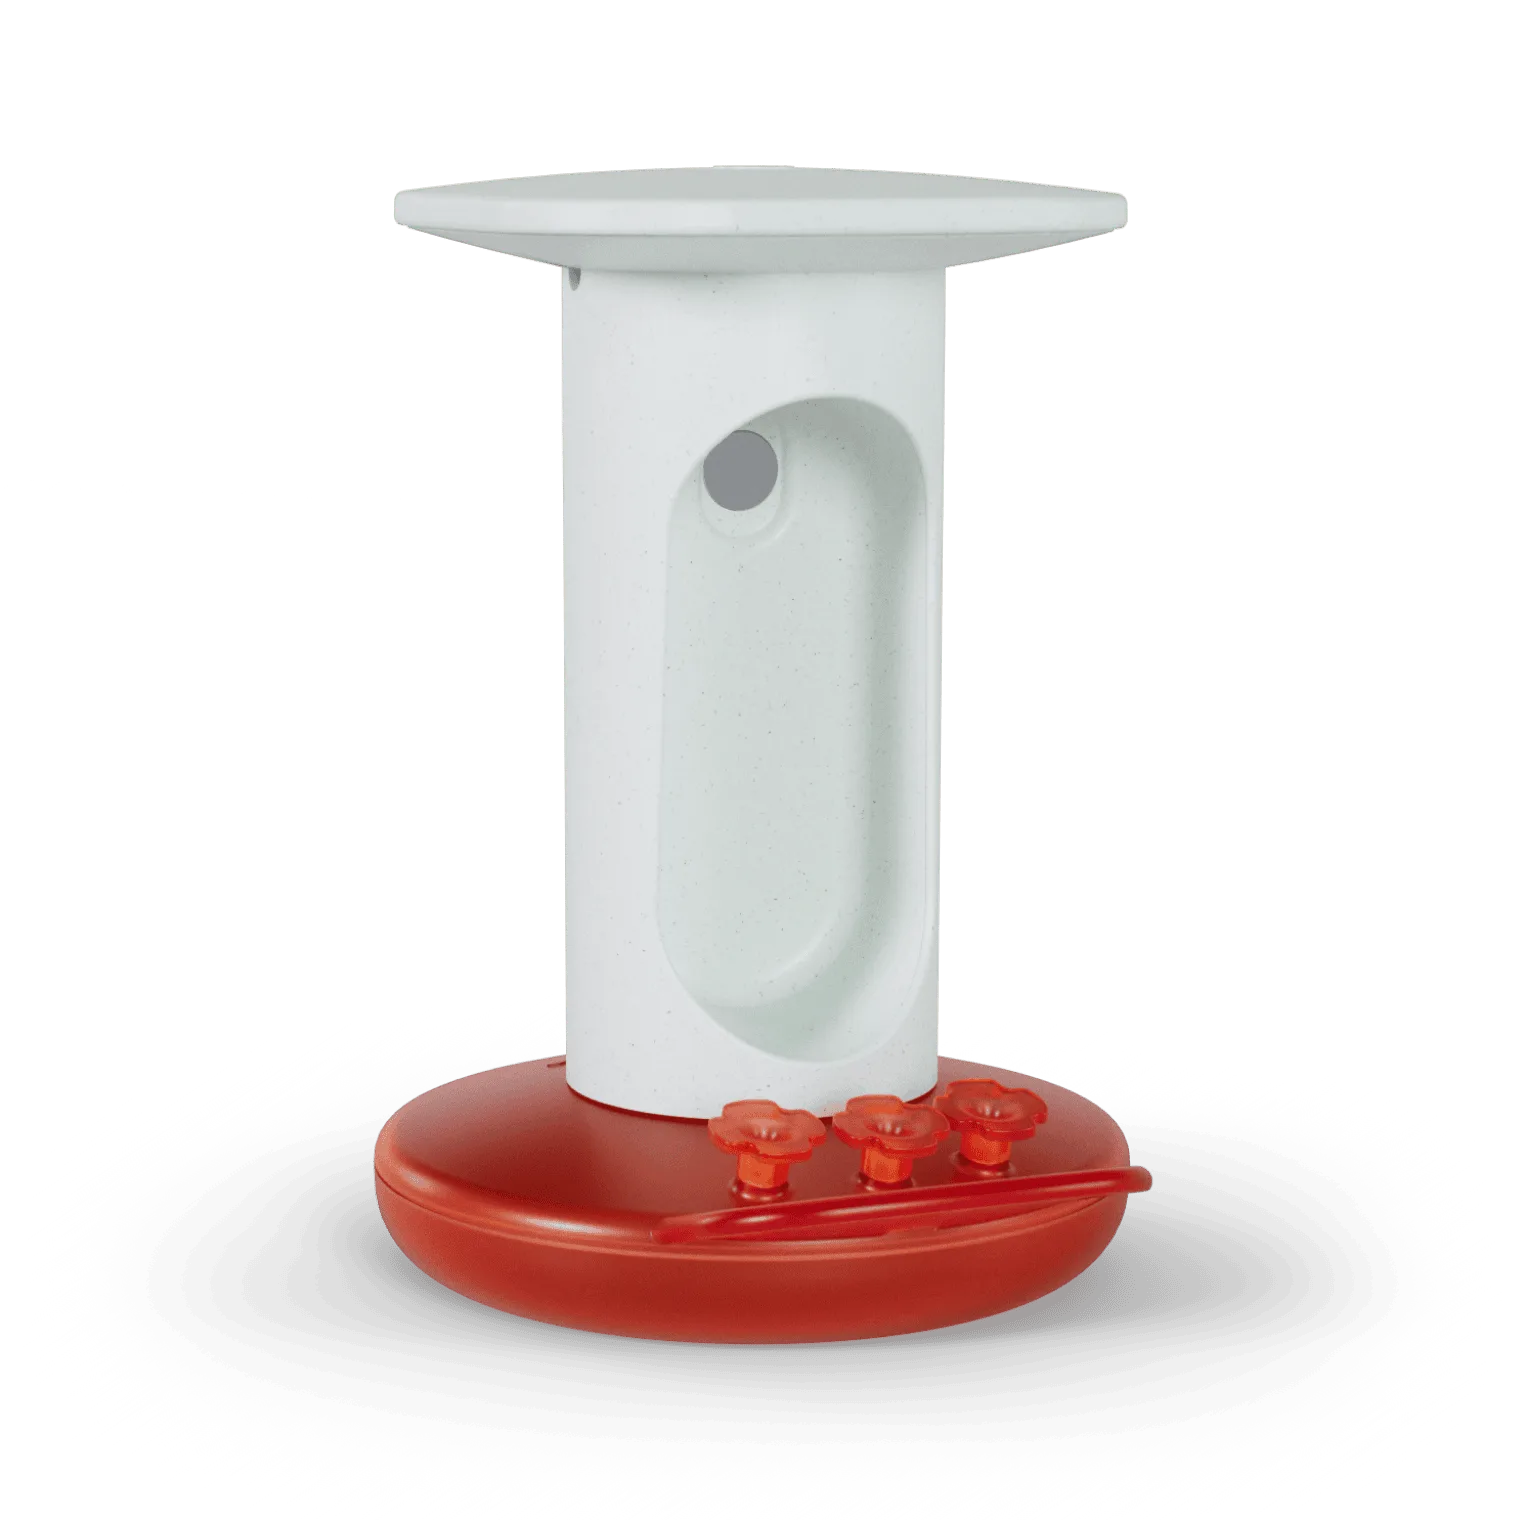
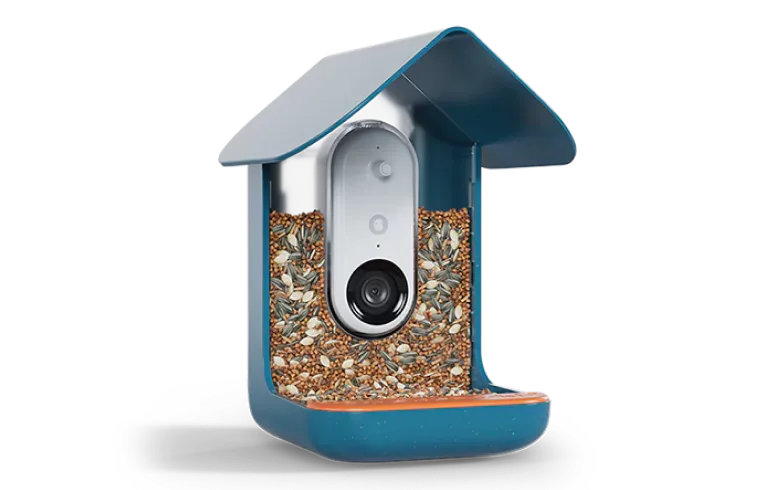
The Birdbuddy Wall Mount is a versatile accessory that lets you place your smart feeder on walls, fences, or posts — perfect for yards without sturdy trees or for achieving a specific viewing angle. Whether you want to watch hummingbirds up close from your window or keep the feeder away from ground predators, the Wall Mount provides a stable and adjustable platform for your Birdbuddy device.
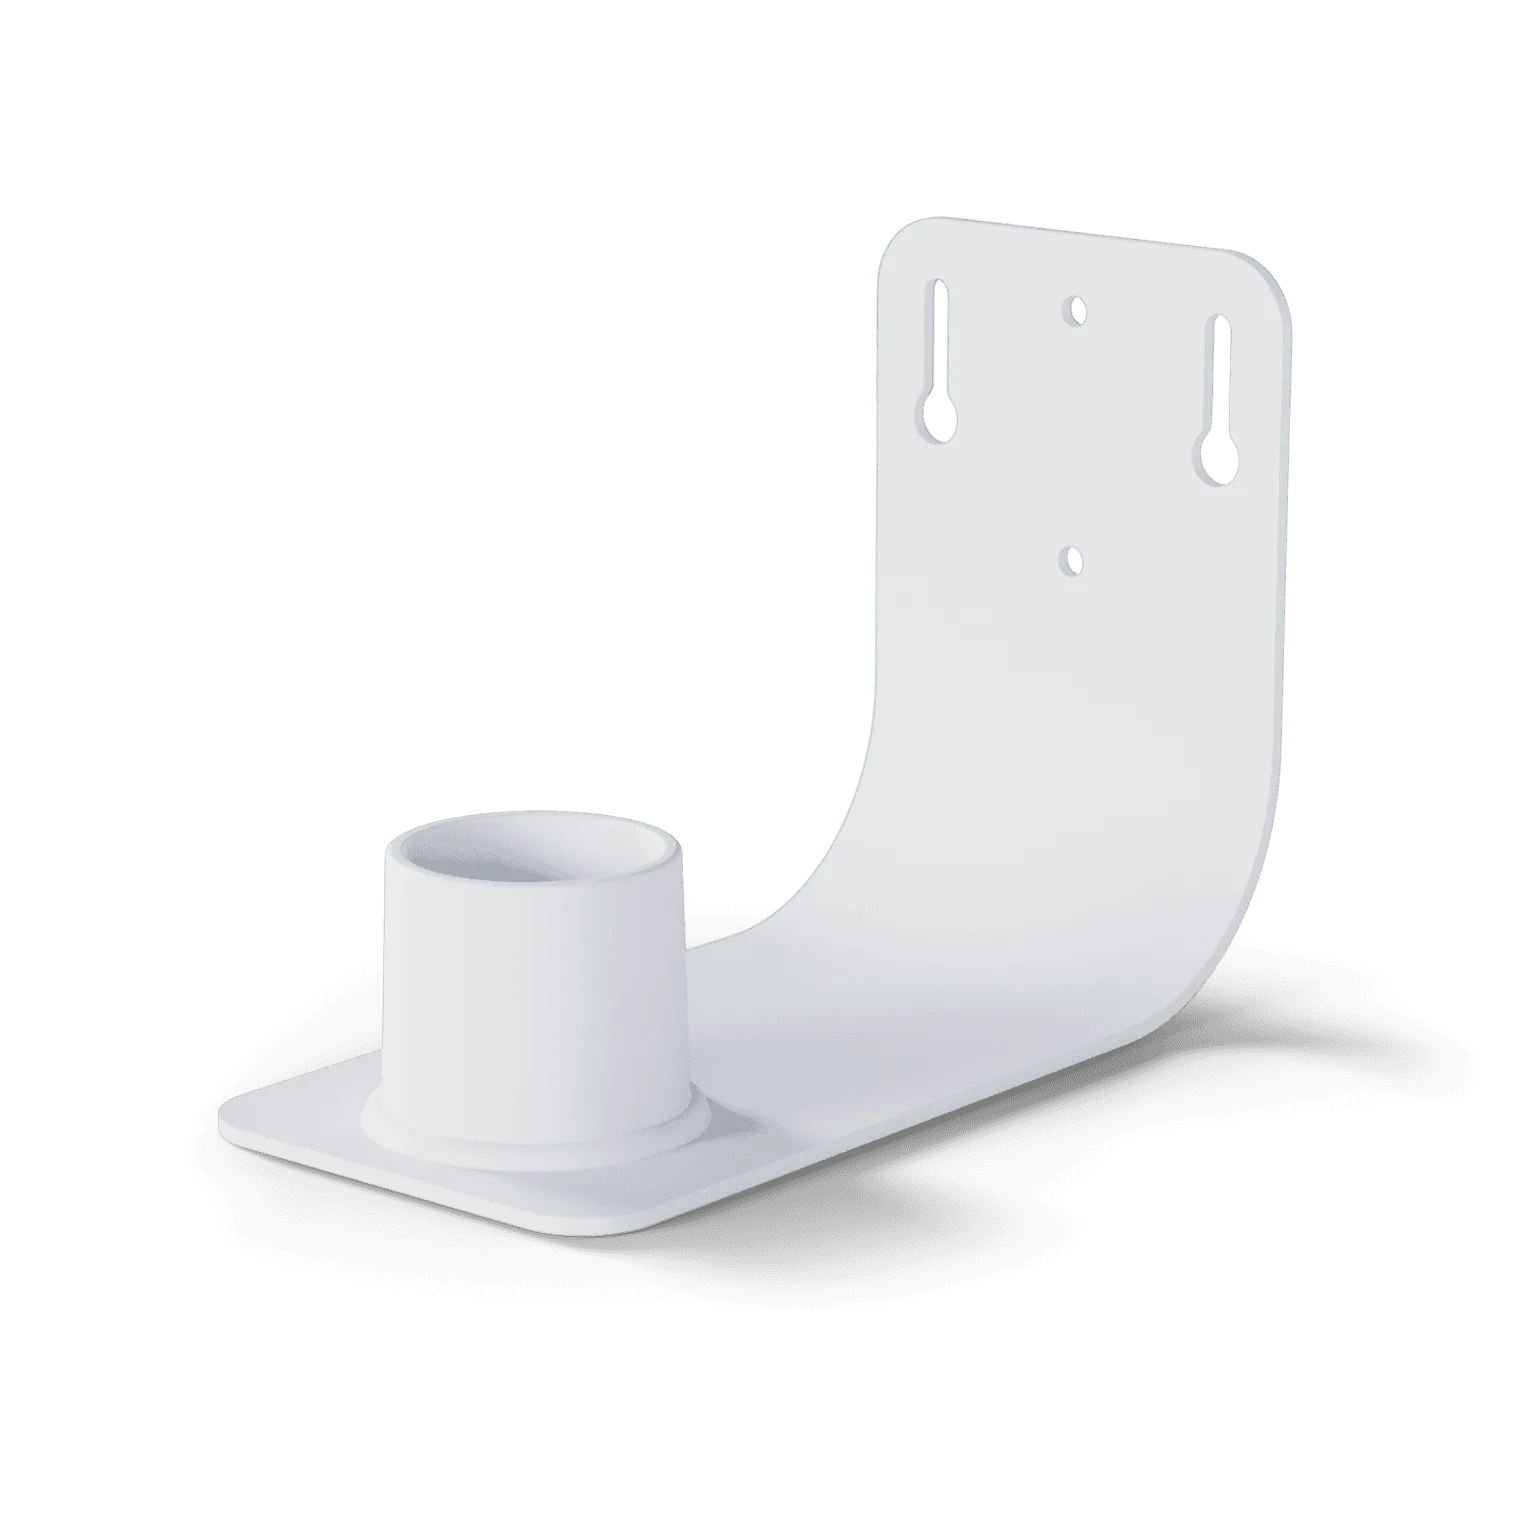
Wall Mount
Installing the Wall Mount is straightforward and requires only basic tools. In this guide, we’ll walk you through everything you need — from choosing the right location to securely attaching your feeder. By the end, you’ll have a professional-grade mount that keeps your birds safe and your camera feed clear, all while complementing other accessories like the Solar Roof or Perch Extender.
What You’ll Need Before Starting
Before you begin, gather the following tools and items: a drill with appropriate drill bits, a screwdriver (typically Phillips head), a level, a pencil for marking holes, and the Wall Mount kit itself (which includes the metal bracket, screws, and wall anchors). For wooden surfaces, you may only need screws; for brick or concrete, use the included anchors. A stud finder is helpful if mounting on drywall.
Also consider which Birdbuddy feeder you plan to attach. The Wall Mount is compatible with the standard Birdbuddy feeder as well as the Smart Hummingbird Feeder Pro and the Birdbuddy Pro Solar. If you have an existing feeder, ensure the mounting plate matches the bracket. Optional accessories like the Perch Extender can be added later for more bird-friendly perches.
- Safety tip: Always wear safety glasses when drilling into masonry or concrete.
Step-by-Step Installation Guide
First, choose a location that provides a clear view of the feeder from your preferred window or observation point. Hold the Wall Mount bracket against the surface and use a level to ensure it is straight. Mark the screw holes with a pencil. For brick walls, avoid drilling into mortar — use the brick face for a stronger hold.
Drill pilot holes at your marks. If using wall anchors, tap them into the holes with a hammer until flush with the surface. Next, align the bracket and drive the screws through the bracket into the anchors or directly into wood. Tighten securely but avoid overtightening that could strip the threads. Once the bracket is fixed, slide the feeder’s mounting plate onto the bracket until it clicks into place.
- For a more secure fit, apply thread-locking compound to the screws, especially in high-wind areas.
- Test the mount by gently tugging the feeder before filling it with seed or nectar.
Tips for a Secure and Long-Lasting Mount
To keep your Wall Mount performing well in all weather, consider a few maintenance steps. Check the screws every few months, especially after storms, and retighten if needed. If you live in a rainy climate, a dab of silicone sealant around the screw heads can prevent moisture from seeping into the wall. The metal bracket itself is weather-resistant, but pairing it with a Solar Roof can shield the feeder’s electronics from direct sun and rain.
For those using the Smart Hummingbird Feeder Pro, the Wall Mount provides an ideal way to position the feeder at eye level — perfect for capturing detailed footage of tiny visitors. If you have multiple feeders, you can install several Wall Mounts to create a bird-watching station. Adding a Perch Extender gives birds more landing space, which can improve camera focus and reduce crowding.
- Use a bubble level even after mounting to verify the feeder isn’t tilted.
Alternative Mounting Options
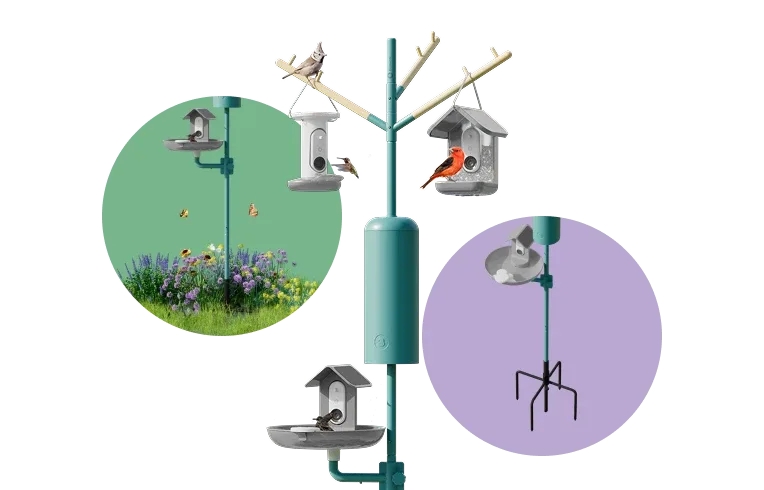
The Wall Mount isn’t your only option for placing your Birdbuddy feeder. If you prefer a pole-mounted setup, the Nature Station Essential offers a complete stand with multiple arms. For maximum solar charging, the Birdbuddy Pro Solar integrates the solar panel directly into the feeder and can be used with the Wall Mount as long as you have good sun exposure on the mount location.
If you already own a Smart Hummingbird Feeder Pro Solar, the Wall Mount is fully compatible — simply swap the included base with the mounting plate. This flexibility makes the Wall Mount a core accessory for Birdbuddy users who want to expand their setup without buying entirely new feeders.
The Birdbuddy Wall Mount is an easy, reliable solution for mounting your smart feeder on almost any vertical surface. With the right tools and a few minutes of work, you can create a safe and stable feeding station that brings birds right to your window. For the best experience, pair it with a Solar Roof to keep your feeder powered and weather-protected. Ready to upgrade your setup? Explore the Wall Mount today and see the difference a secure mount makes.