Quick Answer
You can install a wall planter without drilling using adhesive strips or hooks rated for the weight of your planter and soil. Clean the wall surface, apply the adhesive, press firmly, and wait 24 hours before hanging. For heavier planters, consider a freestanding or hanging option to avoid wall damage.
Renting often means you can't drill holes in the walls, but that doesn't mean you have to give up on vertical greenery. With the right adhesive hooks and a careful approach, you can hang a wall planter without leaving a trace when you move out. This guide walks you through the entire process, from choosing the right adhesive to mounting your planter securely.
Before you start, it's important to understand the weight limits of adhesive products and the surface you're working with. Not all walls are the same, and not all planters are light enough for adhesive mounting. We'll help you assess your situation and pick the best no-drill solution for your space.
Choose the Right Adhesive Hook or Strip
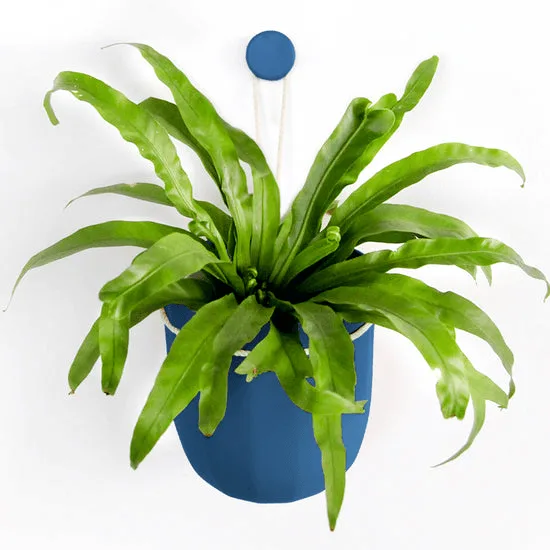
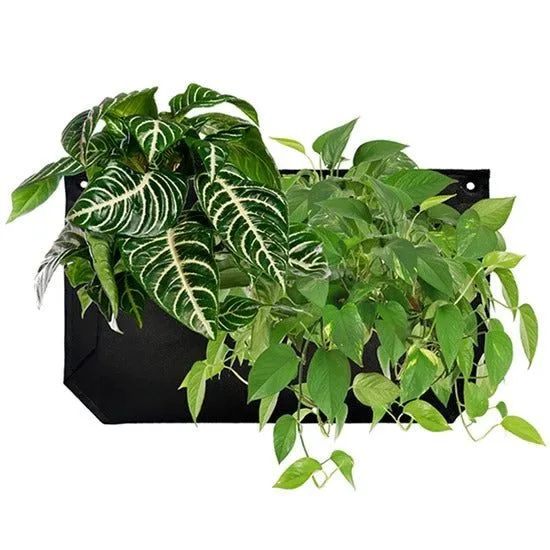
The key to a successful no-drill wall planter installation is using an adhesive product that can handle the weight of your planter plus soil and water. Look for adhesive hooks or strips that are specifically rated for the weight you need. For example, a small planter like the Loop White Hanging Planter might only need a lightweight hook, while a larger tiered planter like the Pocket 5 Chocolate Wall Planter requires heavy-duty strips.
Pocket 5 Chocolate Wall Planter
Also consider the surface. Adhesive products work best on smooth, clean surfaces like painted drywall, glass, or tile. Textured walls, wallpaper, or surfaces with a rough finish may not hold as well. If your wall is textured, you might need to use a different method, such as a freestanding planter or a tension rod system.
- Check the weight rating on the adhesive hook or strip package and compare it to the total weight of your planter and soil.
- For heavy planters, use multiple adhesive strips or a hook designed for heavier loads.
Prepare the Wall Surface
Clean the area where you'll apply the adhesive. Use a mild cleaner or rubbing alcohol to remove dust, grease, and any residue. Let the wall dry completely before applying the adhesive. A clean, dry surface ensures maximum adhesion.
If you're installing on painted drywall, be aware that some adhesives can pull off paint when removed. To minimize this, use products specifically designed for damage-free removal, and follow the removal instructions carefully. Test the adhesive on a small, inconspicuous area first if you're worried.
- Avoid applying adhesive to freshly painted walls; wait at least two weeks for the paint to cure.
Apply the Adhesive and Wait
Peel the backing off the adhesive strip or hook and press it firmly onto the wall for 30 seconds. Make sure it's level and positioned exactly where you want it. Then, wait at least 24 hours before hanging anything on it. This allows the adhesive to bond fully with the wall surface.
During the waiting period, do not disturb the adhesive. Keep the area dry and avoid touching it. Patience here prevents future accidents.
- Mark the spot with a pencil first to ensure accurate placement.
Hang Your Wall Planter
Once the adhesive has cured, attach your wall planter to the hook or strip. For planters with a keyhole or bracket, simply slide it onto the hook. For hanging planters, loop the hanger over the hook. Ensure the planter is balanced and secure before adding soil and plants.
If you're using a wall planter that doesn't have a built-in hanging mechanism, you may need to attach a wire or picture hanger to the back. Make sure the hardware is rated for the weight of the planter.
- Start with an empty planter to test the installation, then gradually add soil and plants.
Consider Alternative No-Drill Options
If your wall surface isn't suitable for adhesive hooks, or if your planter is too heavy, consider alternative no-drill solutions. A freestanding plant stand or a floor planter can achieve a similar vertical look without any wall damage. Alternatively, a tension rod between two walls can support hanging planters.
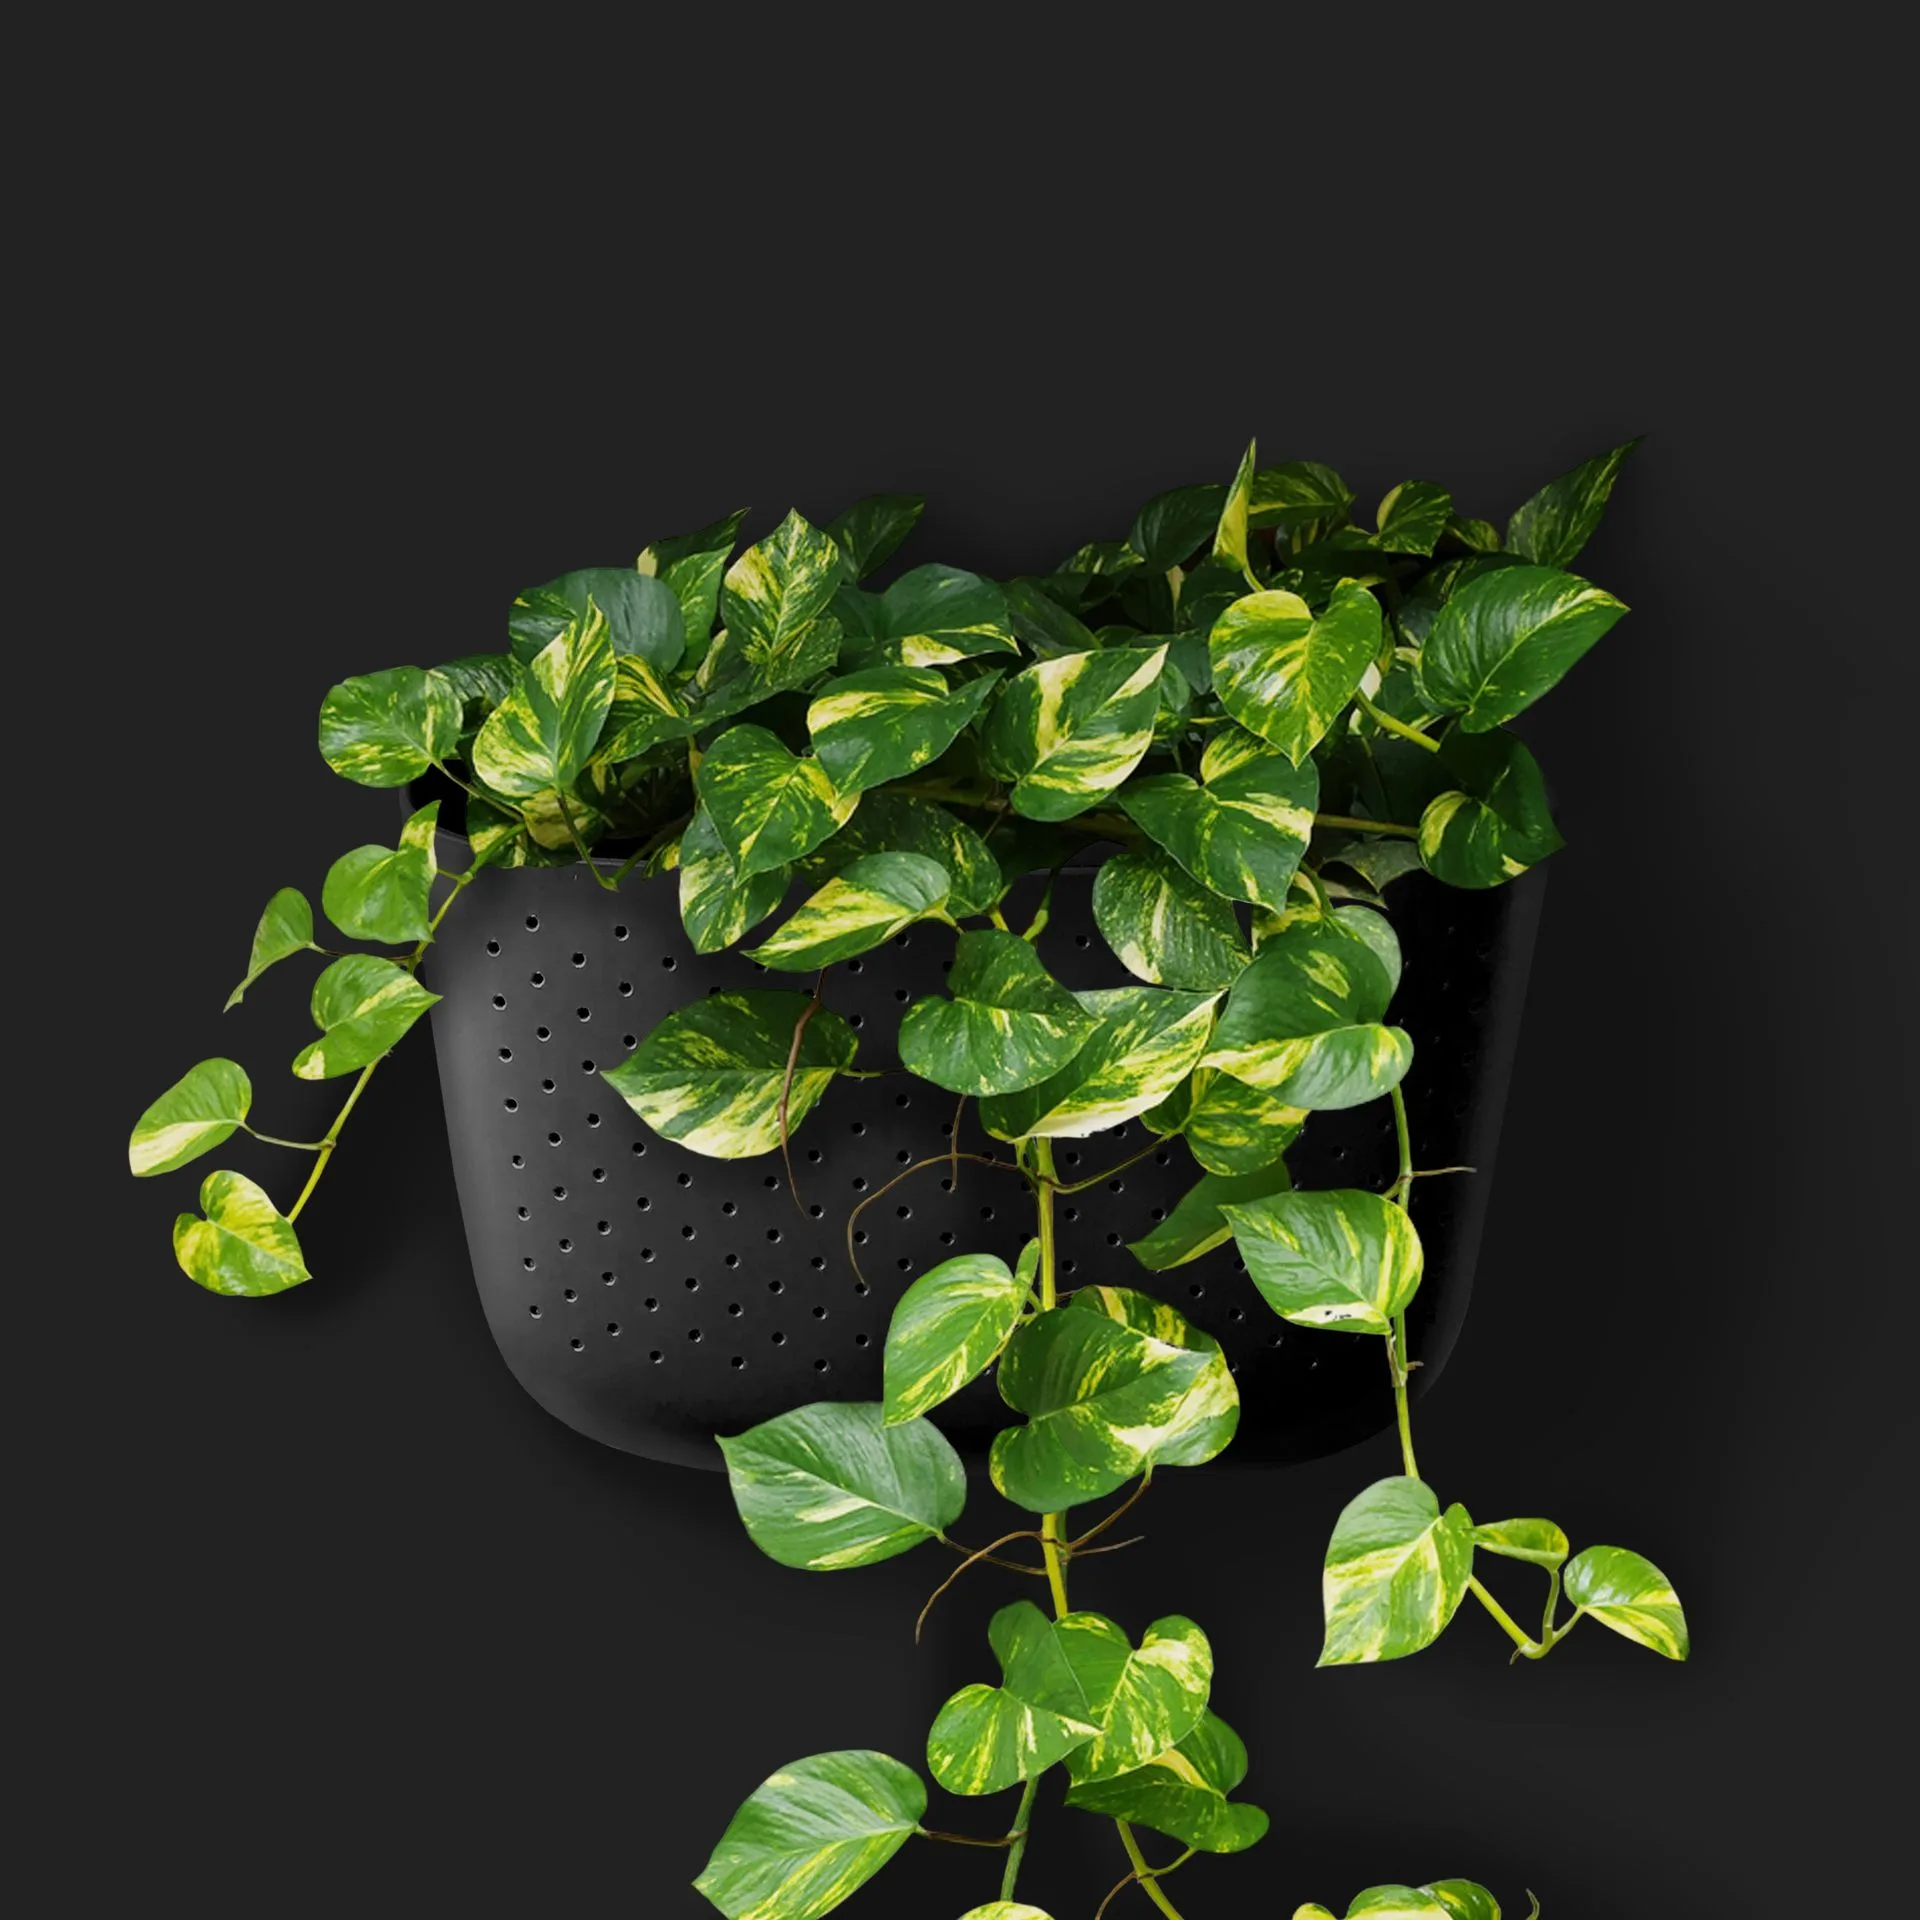
For a stylish and safe option, the Eco Black Wall Planter from WallyGro is lightweight and can be mounted with adhesive if you use the right strips. On the other hand, the Pocket 5 Chocolate Wall Planter is heavier and might be better suited for a floor stand or a wall that allows drilling.
- Always prioritize safety; if you're unsure about the weight capacity, choose a freestanding option.
Step-by-Step Installation
- Step 1: Choose the right adhesive: Select an adhesive hook or strip rated for the weight of your planter plus soil. Check the package for weight limits. A common mistake is underestimating weight; always err on the side of a higher rating.
- Step 2: Clean and dry the wall: Wipe the wall with rubbing alcohol and let it dry completely. Avoid textured or wallpaper surfaces. Skipping this step can cause the adhesive to fail.
- Step 3: Apply and wait: Press the adhesive firmly for 30 seconds, then wait 24 hours before hanging. Patience prevents accidents; don't rush the bonding time.
- Step 4: Hang and test: Attach the planter and gradually add weight. Test with an empty planter first. If the planter feels unstable, remove and reapply or choose a different method.
Product Facts
- Loop White Hanging Planter: The Loop White Hanging Planter from WallyGro offers a clean, modern way to display your favorite plants. Its simple white design complements a variety of decor styles, making it a versatile addition to any room or outdoor space. This lightweight planter is ideal for adhesive hooks, making it a great choice for renters who want to add greenery without drilling.
- Pocket 5 Chocolate Wall Planter: The Pocket 5 Chocolate Wall Planter from WallyGro is a practical and stylish solution for adding greenery to your walls. Designed for vertical gardening, this planter helps you maximize space while creating a beautiful display. Due to its larger size and weight, this planter may require a sturdier mounting solution, such as heavy-duty adhesive strips or a freestanding option, to ensure safety.
Installing a wall planter without drilling is a simple and effective way to enjoy vertical greenery while renting. By choosing the right adhesive, preparing your wall, and following these steps, you can create a beautiful display without damaging your walls. Remember to always prioritize safety and consider alternative options if your planter is too heavy for adhesive mounting.