Quick Answer
To introduce baby sign language with wooden blocks, start by choosing a few high-frequency signs like 'more', 'eat', and 'milk'. Use wooden blocks as visual props, pairing each sign with a block during play and daily routines. Consistency and repetition are key, so practice a few minutes daily and gradually expand your baby's signing vocabulary.
Baby sign language is a powerful tool for early communication, allowing your little one to express needs and feelings before they can speak. Combining this with wooden blocks adds a tactile, Montessori-inspired element that enhances learning. This guide provides a step-by-step approach to teaching your baby signs using wooden blocks, making the process fun and effective.
Wooden blocks are not just for building; they can be transformed into learning aids that support language development. By associating signs with physical objects, you create a multi-sensory experience that helps your baby remember and understand signs better. Whether you're a new parent or experienced caregiver, these steps will help you integrate sign language into your daily routine seamlessly.
Why Use Wooden Blocks for Baby Sign Language?
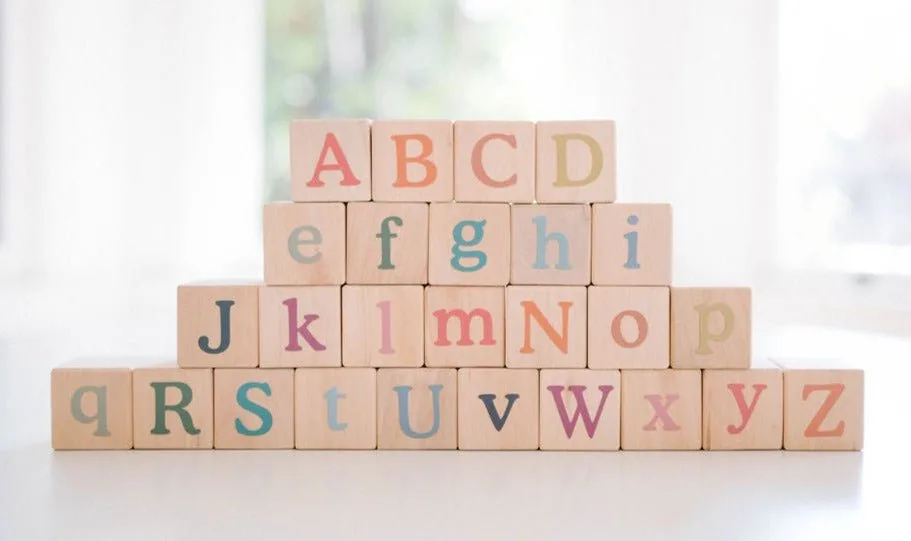
Wooden blocks are a natural, safe choice for babies, especially when compared to plastic toys. They are durable, non-toxic, and provide a satisfying weight and texture that engages a baby's senses. In Montessori education, natural materials are favored because they stimulate the senses without overstimulating, making wooden blocks ideal for focused learning activities.
When you use wooden blocks to teach sign language, you create a direct association between the sign and the object. For example, you can place a block on a tower and sign 'more' before adding another. This visual and physical connection reinforces the meaning of the sign, making it easier for your baby to grasp. Additionally, wooden blocks are versatile; you can use them for various signs like 'up', 'down', 'all done', and 'play'.
- Choose blocks with clear, simple shapes and no distracting colors to keep focus on the sign.
- Incorporate blocks into existing routines, like stacking during playtime or knocking down after signing 'all done'.
Selecting the Right Wooden Blocks
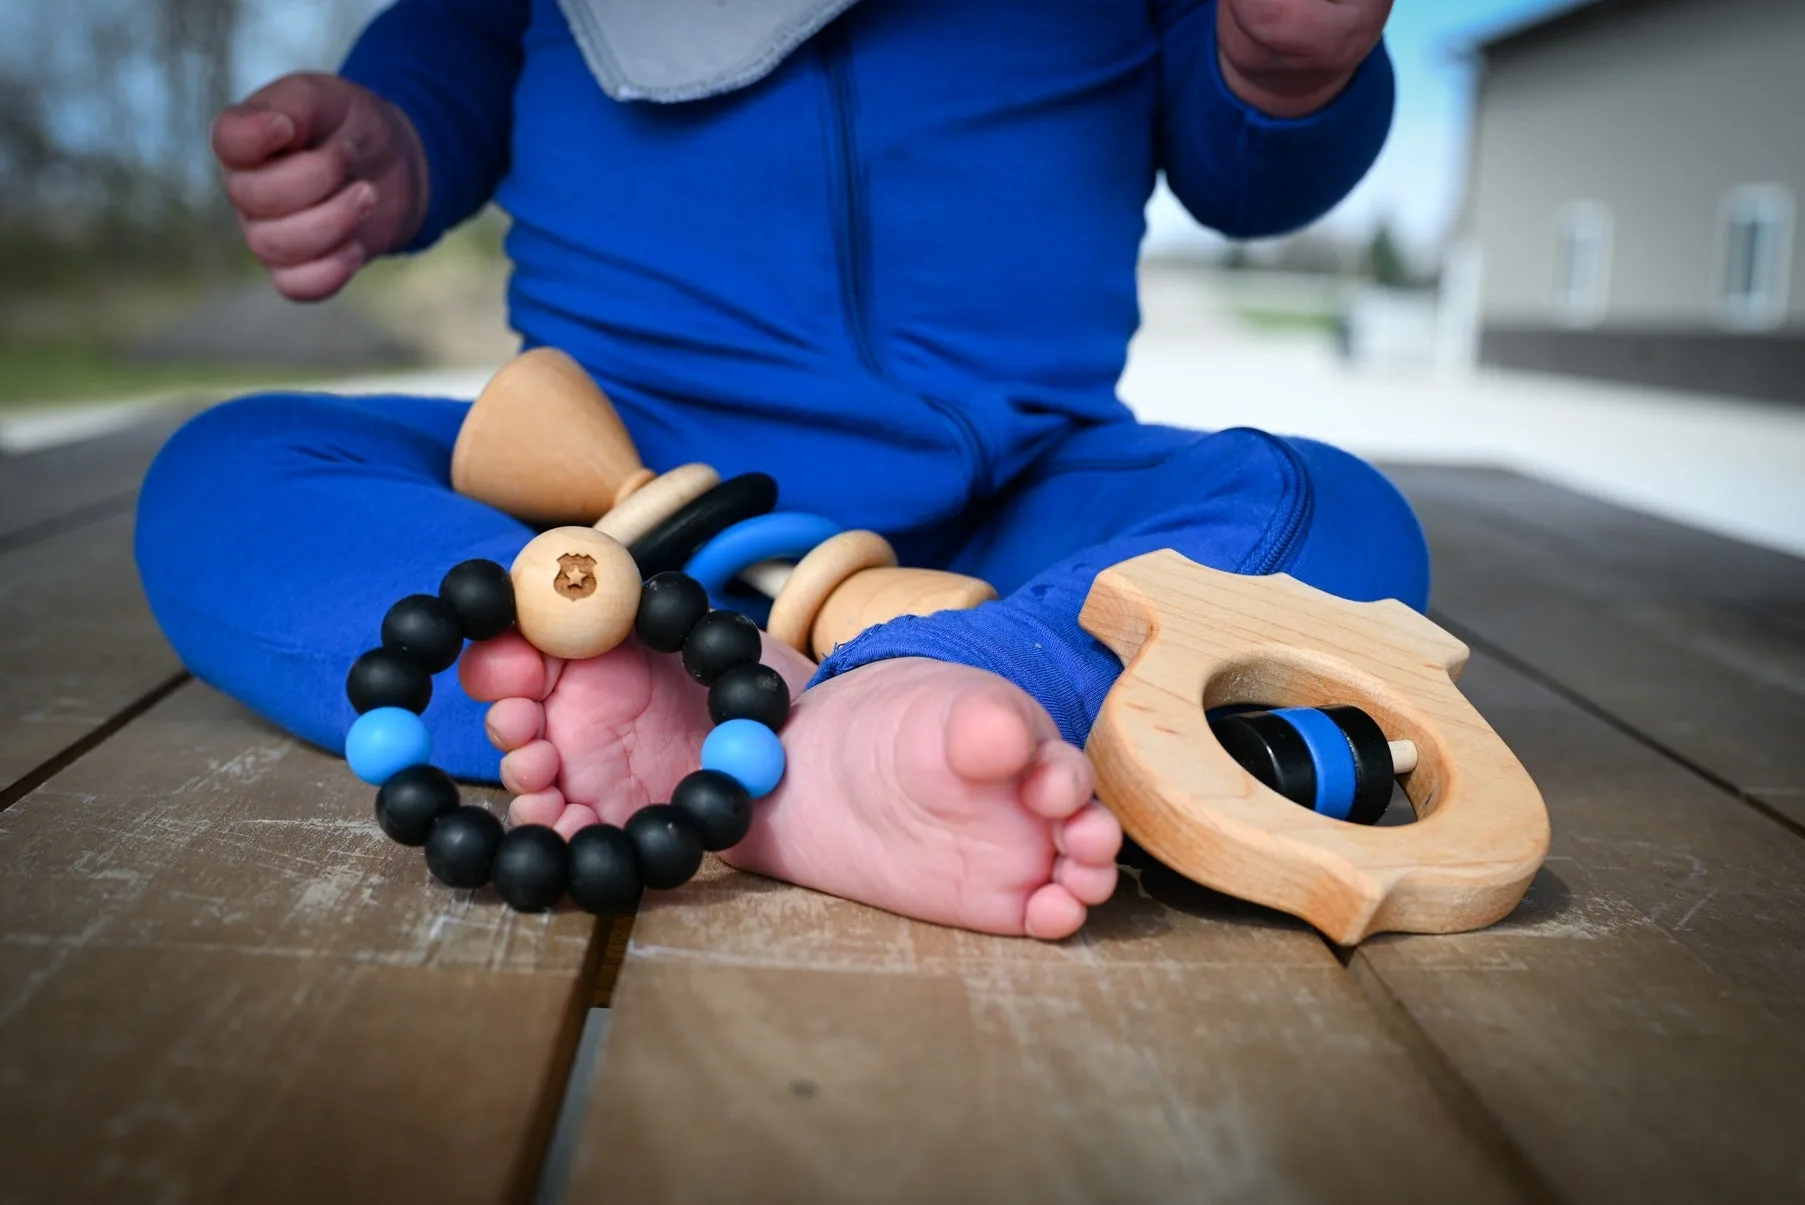
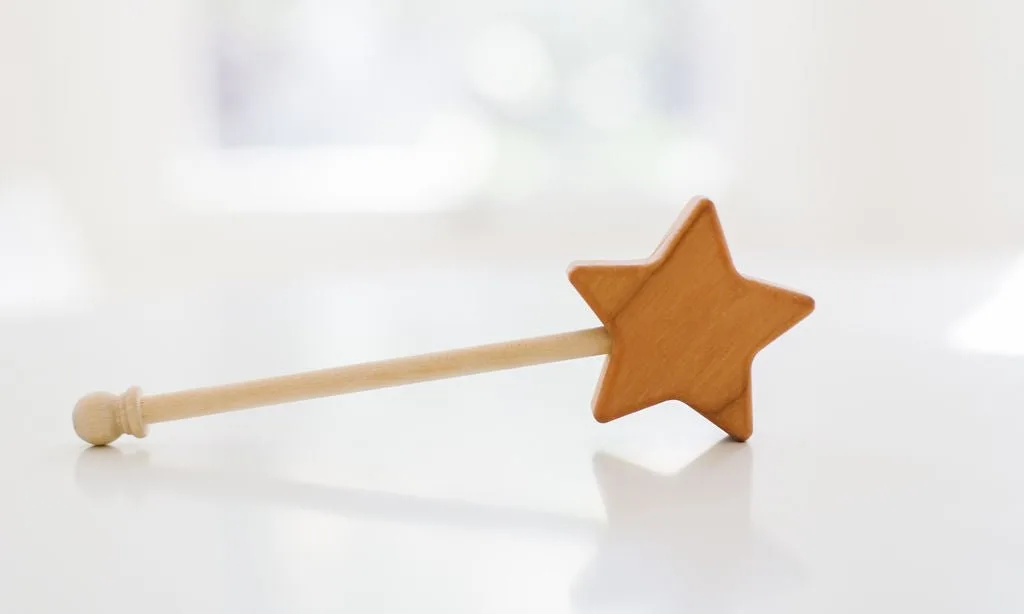
When selecting wooden blocks for sign language activities, consider the size and weight. Blocks that are too small may be a choking hazard, while overly large ones are hard for little hands to grasp. Look for blocks that are sanded smooth and made from safe, natural woods. Bannor Toys offers a variety of wooden toys that are perfect for this purpose.
For instance, the Moose Wooden Grasping Baby Toy is lightweight and easy for small hands to hold, making it an excellent prop for introducing signs like 'moose' or 'animal'. Similarly, the Giraffe Wooden Baby Grasping Toy is made from hard maple, which is naturally resistant to bacteria, ensuring a safe and hygienic learning tool. These toys can serve as engaging visual aids during signing sessions.
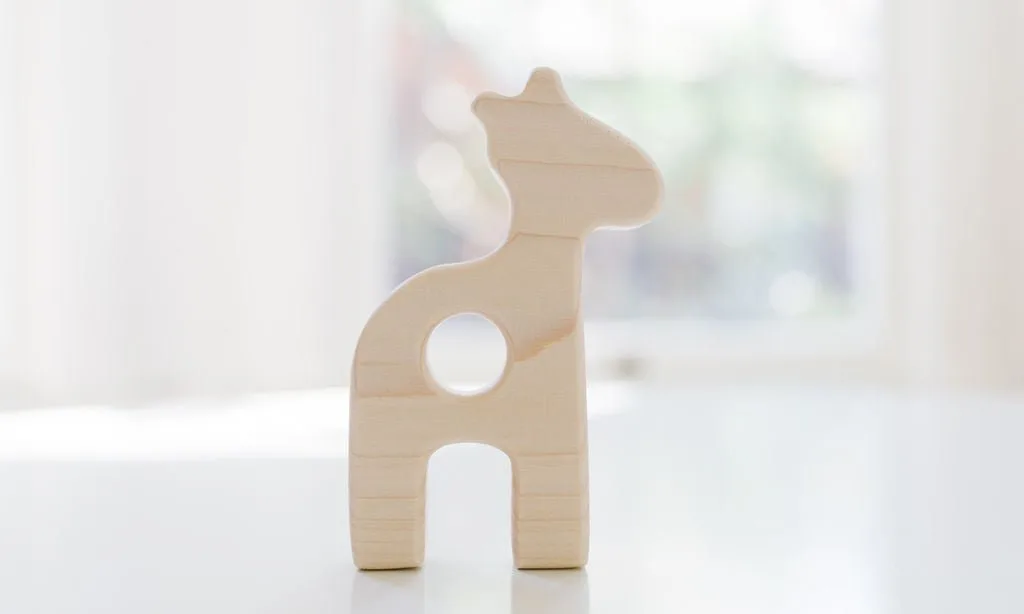
Giraffe Wooden Baby Grasping Toy
- Opt for toys that are sanded satin smooth to prevent splinters.
- Consider blocks with a grasping hole, which can be used to demonstrate signs like 'hold' or 'grab'.
Step-by-Step Guide to Teaching Signs with Wooden Blocks
Start with just a few signs that are relevant to your baby's daily life. Common first signs include 'more', 'eat', 'milk', 'all done', and 'play'. Use the wooden blocks as a visual anchor: for 'more', you can stack two blocks and sign 'more' before adding a third. Repeat this consistently during playtime.
As your baby becomes familiar with the signs, gradually introduce new ones. For example, you can use a wooden block to represent 'block' and sign 'block' before handing it to your baby. This helps your baby associate the sign with the object itself. Remember to always pair the sign with the spoken word to reinforce language development.
- Keep sessions short (5-10 minutes) to maintain your baby's attention.
- Use a happy, enthusiastic tone to make signing feel like a game.
Incorporating Daily Routines
Consistency is crucial when teaching baby sign language. Incorporate signs into everyday activities: sign 'eat' during meals, 'milk' during bottle time, and 'all done' when your baby finishes a meal. Use wooden blocks during playtime to sign 'play', 'build', or 'stack'. This repetition helps your baby learn signs in context.
You can also create a dedicated signing time with wooden blocks. Set aside a few minutes each day to sit with your baby and practice signs using blocks. This not only reinforces the signs but also strengthens your bond through focused interaction. Over time, your baby will start to mimic the signs, and eventually, they will use them spontaneously to communicate.
- Place a basket of wooden blocks in a visible spot to remind you to practice.
- Involve other family members so your baby sees signs used by different people.
Step-by-Step Guide to Teaching Signs with Wooden Blocks
- Choose Your First Signs: Select 3-5 high-frequency signs that relate to your baby's daily needs, such as 'more', 'eat', 'milk', 'all done', and 'play'. Ensure you know the correct ASL signs by referencing reliable sources. Start small to avoid overwhelming your baby and yourself.
- Gather Your Wooden Blocks: Collect a few wooden blocks or grasping toys from Bannor Toys, like the Moose or Giraffe toys. Ensure they are clean and safe for your baby to handle. Use toys that are sanded smooth and free of sharp edges.
- Introduce the Sign with the Block: During playtime, hold up a block and clearly sign the word while saying it aloud. For example, sign 'more' as you stack another block. Repeat this action several times. Consistency is key; repeat the same sign with the same action each time.
- Incorporate Signs into Daily Routines: Use the signs during meals, diaper changes, and playtime. For instance, sign 'eat' before giving a snack, and 'all done' when your baby finishes. This reinforces the meaning in real-life contexts. The more your baby sees signs used naturally, the faster they'll learn.
- Be Patient and Consistent: Babies may take weeks or months to start signing back. Continue to model signs without pressure. Celebrate any attempt your baby makes to mimic the sign. Patience and positive reinforcement are essential for success.
Product Facts: Bannor Toys for Sign Language Learning
- Moose Wooden Grasping Baby Toy: This moose toy is perfect for little hands trying to hold things! Lightweight and adorable, this toy will go everywhere with you! All toys come sanded satin smooth and left natural with no finish. The moose is approximately 3.5"x 3.5" with a grasping hole in the center. The lightweight design and grasping hole make it easy for babies to hold, allowing you to use it as a prop for signs like 'hold' or 'animal' during your signing sessions.
- Giraffe Wooden Baby Grasping Toy: Our giraffe grasping toy is made using hard maple which is naturally resistant to bacteria and it is non-splintering wood, so it's safe for baby to play with for hours! Its lightweight and easy to hold, working on all those gross motor skills that are so important early on! All toys come sanded satin smooth and left natural with no finish. The safe, bacteria-resistant material and easy-to-hold shape make it a hygienic and practical choice for interactive signing games, encouraging your baby to engage with the toy while learning signs.
Teaching your baby sign language with wooden blocks is a rewarding experience that fosters early communication and strengthens your bond. By following these steps and using quality wooden toys from Bannor Toys, you can create a fun and effective learning environment. Start with a few simple signs, be consistent, and enjoy the journey of watching your baby communicate with you. For a hands-on start, consider the Moose Wooden Grasping Baby Toy to make your signing sessions even more engaging.