Quick answer
To iron on a patch perfectly, preheat your iron to the cotton setting with no steam, place the patch adhesive-side down on a flat, heat-safe surface, cover it with a thin cotton cloth, and press firmly for 20–30 seconds. Let it cool completely before moving the item. For long-term durability, especially on items you wash often, reinforce the edges with a few hand stitches.
Iron-on patches are a quick way to personalize jackets, jeans, and bags, but they only stay put if you apply them correctly. A patch that peels after one wash usually means the heat or pressure was off, or the fabric wasn't prepped. This guide walks you through the exact steps to get a secure bond every time, using methods that work for most fabrics and patch types.
You don't need special equipment—just an iron, a hard surface, and a little patience. Whether you're applying a hand-embroidered patch like the Lily of the Valley | Hand Embroidered Iron-on Patch or a simple store-bought design, the principles are the same. Follow these steps and you'll avoid the common pitfalls that lead to curling edges and fallen patches.
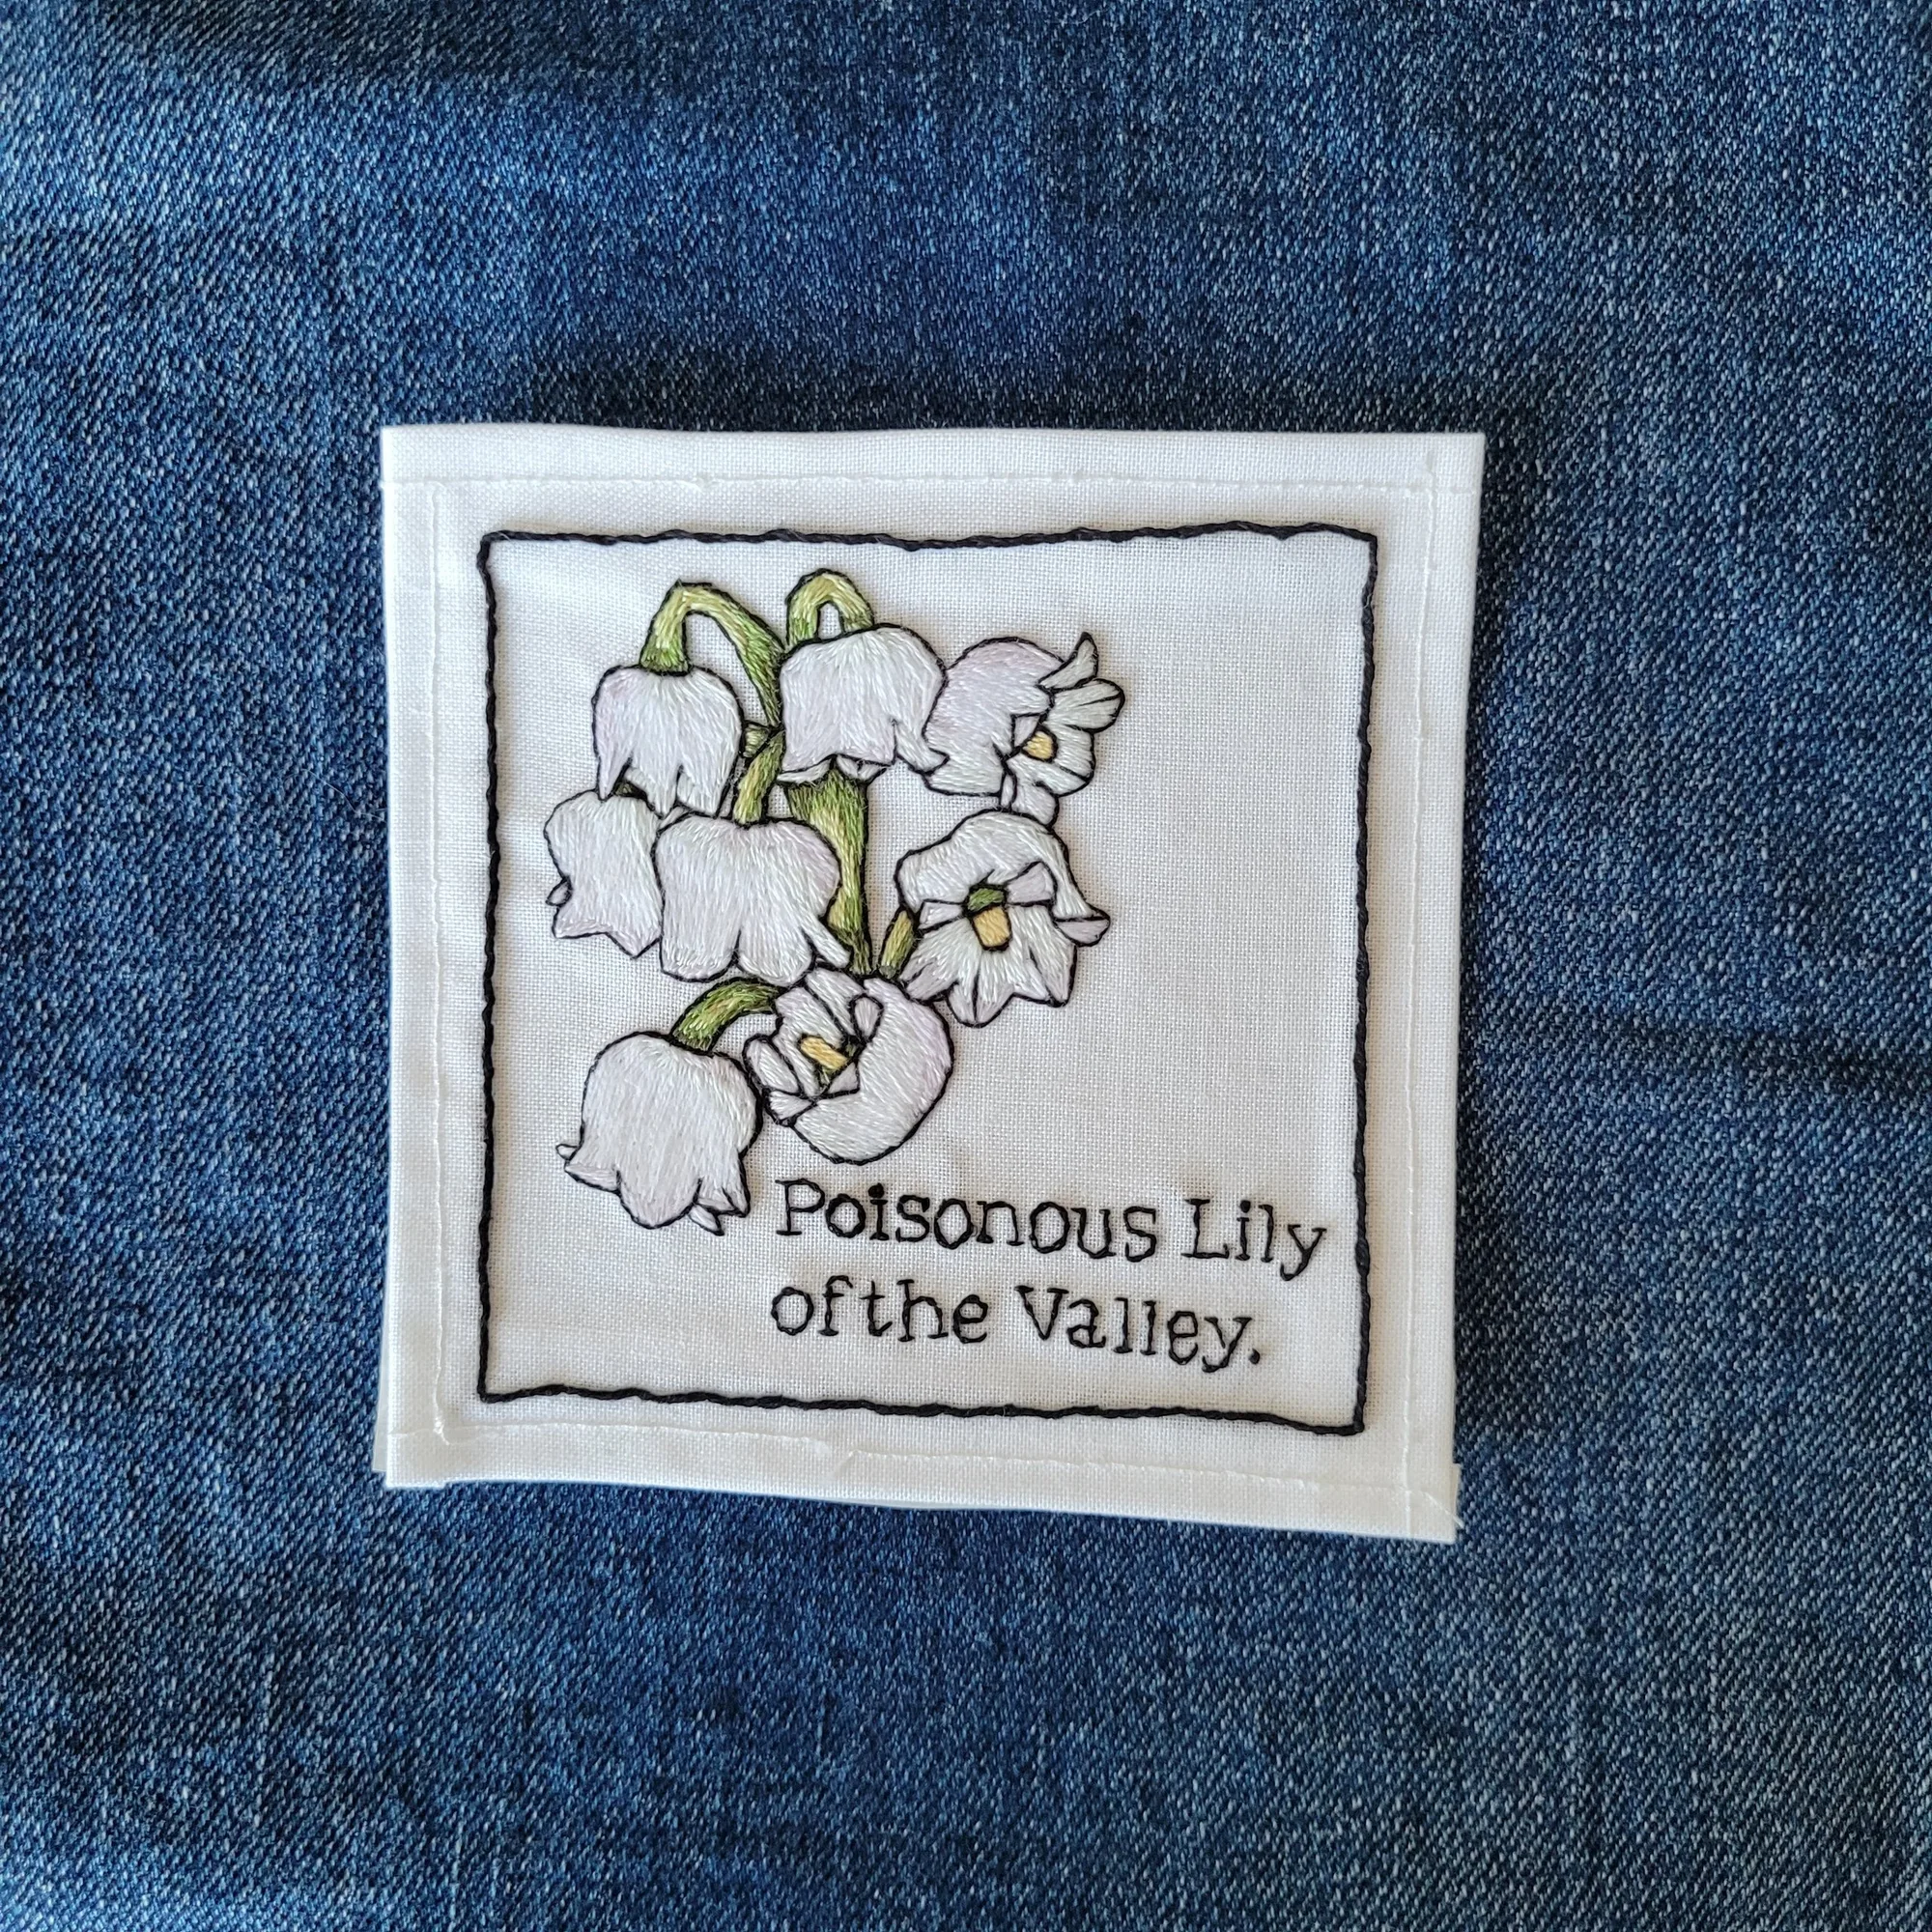
Lily of the Valley | Hand Embroidered Iron-on Patch
Preparation: What You Need Before You Start
Gather your tools: an iron, a thin cotton cloth (like a pillowcase or tea towel), a hard, heat-safe surface (an ironing board works, but a wooden cutting board covered with a towel is even better), and your patch. Avoid using a mesh ironing board if possible—the cushioning can prevent even pressure. Set your iron to the cotton setting and turn off the steam. Steam can interfere with the adhesive and cause the patch to lift.
Check the fabric you're applying the patch to. It should be clean, dry, and flat. If it's wrinkled, iron it first. For delicate fabrics like silk or nylon, test a small area with the iron to ensure it won't melt. If you're unsure, place a scrap of the fabric under a cloth and press for a few seconds. If it survives, you're good to go. Also, pre-wash new garments to remove sizing, which can block adhesion.
- Never use steam—it's the most common reason patches peel.
- A hard surface gives you better pressure than a squishy ironing board.
Step-by-Step Ironing Process
Position the patch exactly where you want it. If it's a symmetrical design, measure from seams or use painter's tape to mark the spot. Once you're happy, place the patch adhesive-side down. If your patch has a paper backing, peel it off first. Then cover the patch with your thin cotton cloth. The cloth protects the patch's embroidery or print from direct heat and prevents scorching.
Press the iron down firmly on the cloth over the patch. Hold for 20–30 seconds without moving the iron. Don't slide it back and forth—that can shift the patch. For larger patches, work in sections: press one area, then overlap and press the next. After pressing, remove the iron and let the patch cool completely before testing edges. If any corner lifts, re-press for another 10–15 seconds. Always check the manufacturer's instructions for specific heat settings.
- Use firm, even pressure—think of it as sealing, not gliding.
- Let it cool before touching; the adhesive bonds as it sets.
Common Mistakes and How to Avoid Them
The biggest mistake is not using enough heat or pressure. Irons vary, so if your patch doesn't stick after the first try, increase the temperature slightly (within fabric limits) and press longer. Another error is ironing directly on the patch—this can melt synthetic threads or ruin the design. Always use a cloth barrier. Also, don't rush the cooling phase; moving the item too soon can break the bond.
If you're applying a patch to a curved surface like a sleeve or a bag pocket, it's harder to get even pressure. In that case, iron the area flat first, then use the tip of the iron to press around the curve. For tricky spots, consider stitching the patch instead. And remember: even with a strong iron-on bond, washing can degrade the adhesive over time. That's why many makers recommend adding a few stitches for security.
- If the patch lifts after cooling, re-press with more pressure—don't just turn up the heat.
- For curved areas, press in sections and use the iron's tip.
Aftercare: Washing and Long-Term Wear
To keep your patch looking good, wait at least 24 hours before washing the garment. Turn it inside out and wash in cold water on a gentle cycle. Avoid bleach and fabric softener, which can weaken the adhesive. Tumble dry on low or hang dry. If you notice edges starting to lift after several washes, you can re-iron them using the same method, or secure them with a few hand stitches.
For patches on items that get heavy wear—like backpacks or kids' clothing—stitching is the most reliable long-term solution. Even a simple running stitch around the perimeter can make a huge difference. If you're not confident with a needle, a tailor or dry cleaner can do it inexpensively. But with proper application, many iron-on patches stay put for years.
- Wait 24 hours before first wash to let the adhesive fully cure.
- Inside-out, cold wash, low dry—heat is the enemy of longevity.
Iron-On Patch Application Steps
- Preheat and prep: Set iron to cotton, no steam. Place garment on a hard, heat-safe surface. If the fabric is wrinkled, iron it flat first. Checkpoint: Iron is hot and dry, fabric is smooth.
- Position the patch: Peel off any paper backing. Place patch adhesive-side down exactly where you want it. Use painter's tape to mark placement if needed. Checkpoint: Patch is straight and centered.
- Cover and press: Lay a thin cotton cloth over the patch. Press the iron down firmly for 20–30 seconds. Do not slide the iron. For large patches, press in overlapping sections. Checkpoint: Even pressure, no movement.
- Cool and check: Remove iron and let the patch cool completely (about 5 minutes). Gently test edges. If any corner lifts, re-press for 10–15 seconds. Checkpoint: Edges are sealed and flat.
- Reinforce (optional but recommended): For items that will be washed often or endure heavy wear, sew a few stitches around the patch edges using a needle and thread. Checkpoint: Patch is secure for the long haul.
Product facts that affect ironing
- Lily of the Valley | Hand Embroidered Iron-on Patch: This patch is hand stitched on off-white cotton fabric and uses Heat-n-Bond ultra-hold backing. The maker recommends adding a few stitches to keep the patch in place because ultra hold may degrade over time. Even with a high-quality iron-on backing, stitching is the most durable option, especially for frequently washed items. This patch's hand-stitched nature means it may be more delicate than mass-produced patches, so extra care during ironing (lower heat, more pressure) is wise.
- The Devil's Lettuce | Waterproof Vinyl Sticker: This is a waterproof vinyl sticker, not an iron-on patch. It is laminated for extra protection but not UV proof and will fade with prolonged sun exposure. It's important to know the difference: stickers are for smooth, hard surfaces like laptops or water bottles, while patches are for fabric. Don't try to iron a sticker onto clothing—it won't work and could ruin the sticker and your iron.
With the right heat, pressure, and a little patience, your iron-on patches will stay put through wear and washing. Remember to always use a cloth barrier, let the patch cool completely, and consider adding stitches for extra security. Whether you're personalizing a jacket with a hand-embroidered patch or adding a fun design to a tote bag, these steps will help you get a professional result every time.