Quick answer
Freeze purees in small, single-serving portions as soon as they cool, label every container with the food and the date, and thaw only in the fridge or in a warm water bath — never on the counter. Use frozen purees within about 1 to 3 months for the best quality, and always check the label before you reheat.
Why portion size and container choice decide how well freezing works
Freezing works best when portions are small and containers leave a little headroom, because food expands as it freezes. A 4 oz container is a practical first-stage portion, so you thaw only what your baby will actually eat instead of a large block you have to refreeze. Twist-on lids that seal securely also keep ice crystals and freezer odors out, which is what makes food taste stale after a few weeks.
If you use a freezer tray, freeze the puree solid first, then pop the cubes into a labeled bag or container. That flat-freeze approach lets you stack portions without a bulky tray taking over the shelf, and it makes it easy to grab two cubes instead of a whole batch.
How to label frozen baby food so you never guess
Write the food and the freeze date on every container before it goes in the freezer, not after. A strip of masking tape and a permanent marker works, and so does a label that survives moisture. If you freeze several batches in one session, label as you fill so you do not end up with a row of identical-looking jars.
Keep a simple first-in, first-out rule: move older containers to the front and use them first. When you thaw a portion, add the thaw date if you plan to keep it in the fridge for more than a day.
- Food name and freeze date on every container
- Older containers moved to the front
- Thaw date added once the food moves to the fridge
Baby food freezer storage times at a glance
For the best flavor and texture, plan to use frozen purees within about 1 to 3 months. That range is a quality guideline rather than a hard safety deadline, and it assumes the food was cooled quickly, packed in a sealed container, and kept at a steady freezer temperature.
The bigger risk is repeated thawing and refreezing, which degrades texture and gives bacteria more chances to multiply. Freeze in the smallest portions you will actually use so you are not thawing more than you need.
Thawing baby food puree without cutting corners
The fridge is the safest place to thaw: move the portion down the night before and let it thaw slowly. If you need it sooner, set the sealed container in a bowl of warm water, or thaw and warm it gently in a water bath — then stir and test the temperature before feeding.
Avoid leaving purees on the counter to thaw at room temperature, and do not refreeze a portion that has already been thawed and warmed. Once your baby has eaten from a container, discard what is left rather than saving it, because saliva introduces bacteria.
Your freezer-to-highchair routine, step by step
- Cool the puree before it goes in: Let cooked puree cool to room temperature first, then portion it into small containers. Common mistake: sealing hot food traps steam, which turns into ice crystals and makes the puree watery. Checkpoint: the puree should be cool to the touch before the lid goes on.
- Portion into single servings: Fill 4 oz containers or freezer tray wells to a practical first-stage size, leaving a little headroom for expansion. Common mistake: overfilling to the rim, which can pop the lid or crack a jar as the food freezes. Checkpoint: one container equals one meal, not a whole batch.
- Label food and date immediately: Write the food name and freeze date on each container before it enters the freezer, and move the oldest portions to the front. Common mistake: labeling later from memory, which leads to mystery containers and wasted food. Checkpoint: every container is readable at a glance.
- Freeze flat, then organize: If you use a tray, freeze the cubes solid, then transfer them to a labeled bag or container so they stack neatly. Common mistake: leaving cubes loose in the tray, where they pick up freezer odors. Checkpoint: portions are sealed and stacked, not scattered.
- Thaw in the fridge or a warm water bath: Move the portion to the fridge the night before, or set the sealed container in warm water if you need it sooner. Common mistake: thawing on the counter at room temperature, which gives bacteria a window to grow. Checkpoint: thawed food is kept cold until you are ready to warm it.
- Warm, stir, and test before feeding: Warm gently, stir to even out hot spots, and check the temperature on your wrist before offering a spoonful. Common mistake: reheating the same portion more than once or refreezing what has already been thawed. Checkpoint: discard leftovers from a container your baby has already eaten from.
Containers that make this routine easier
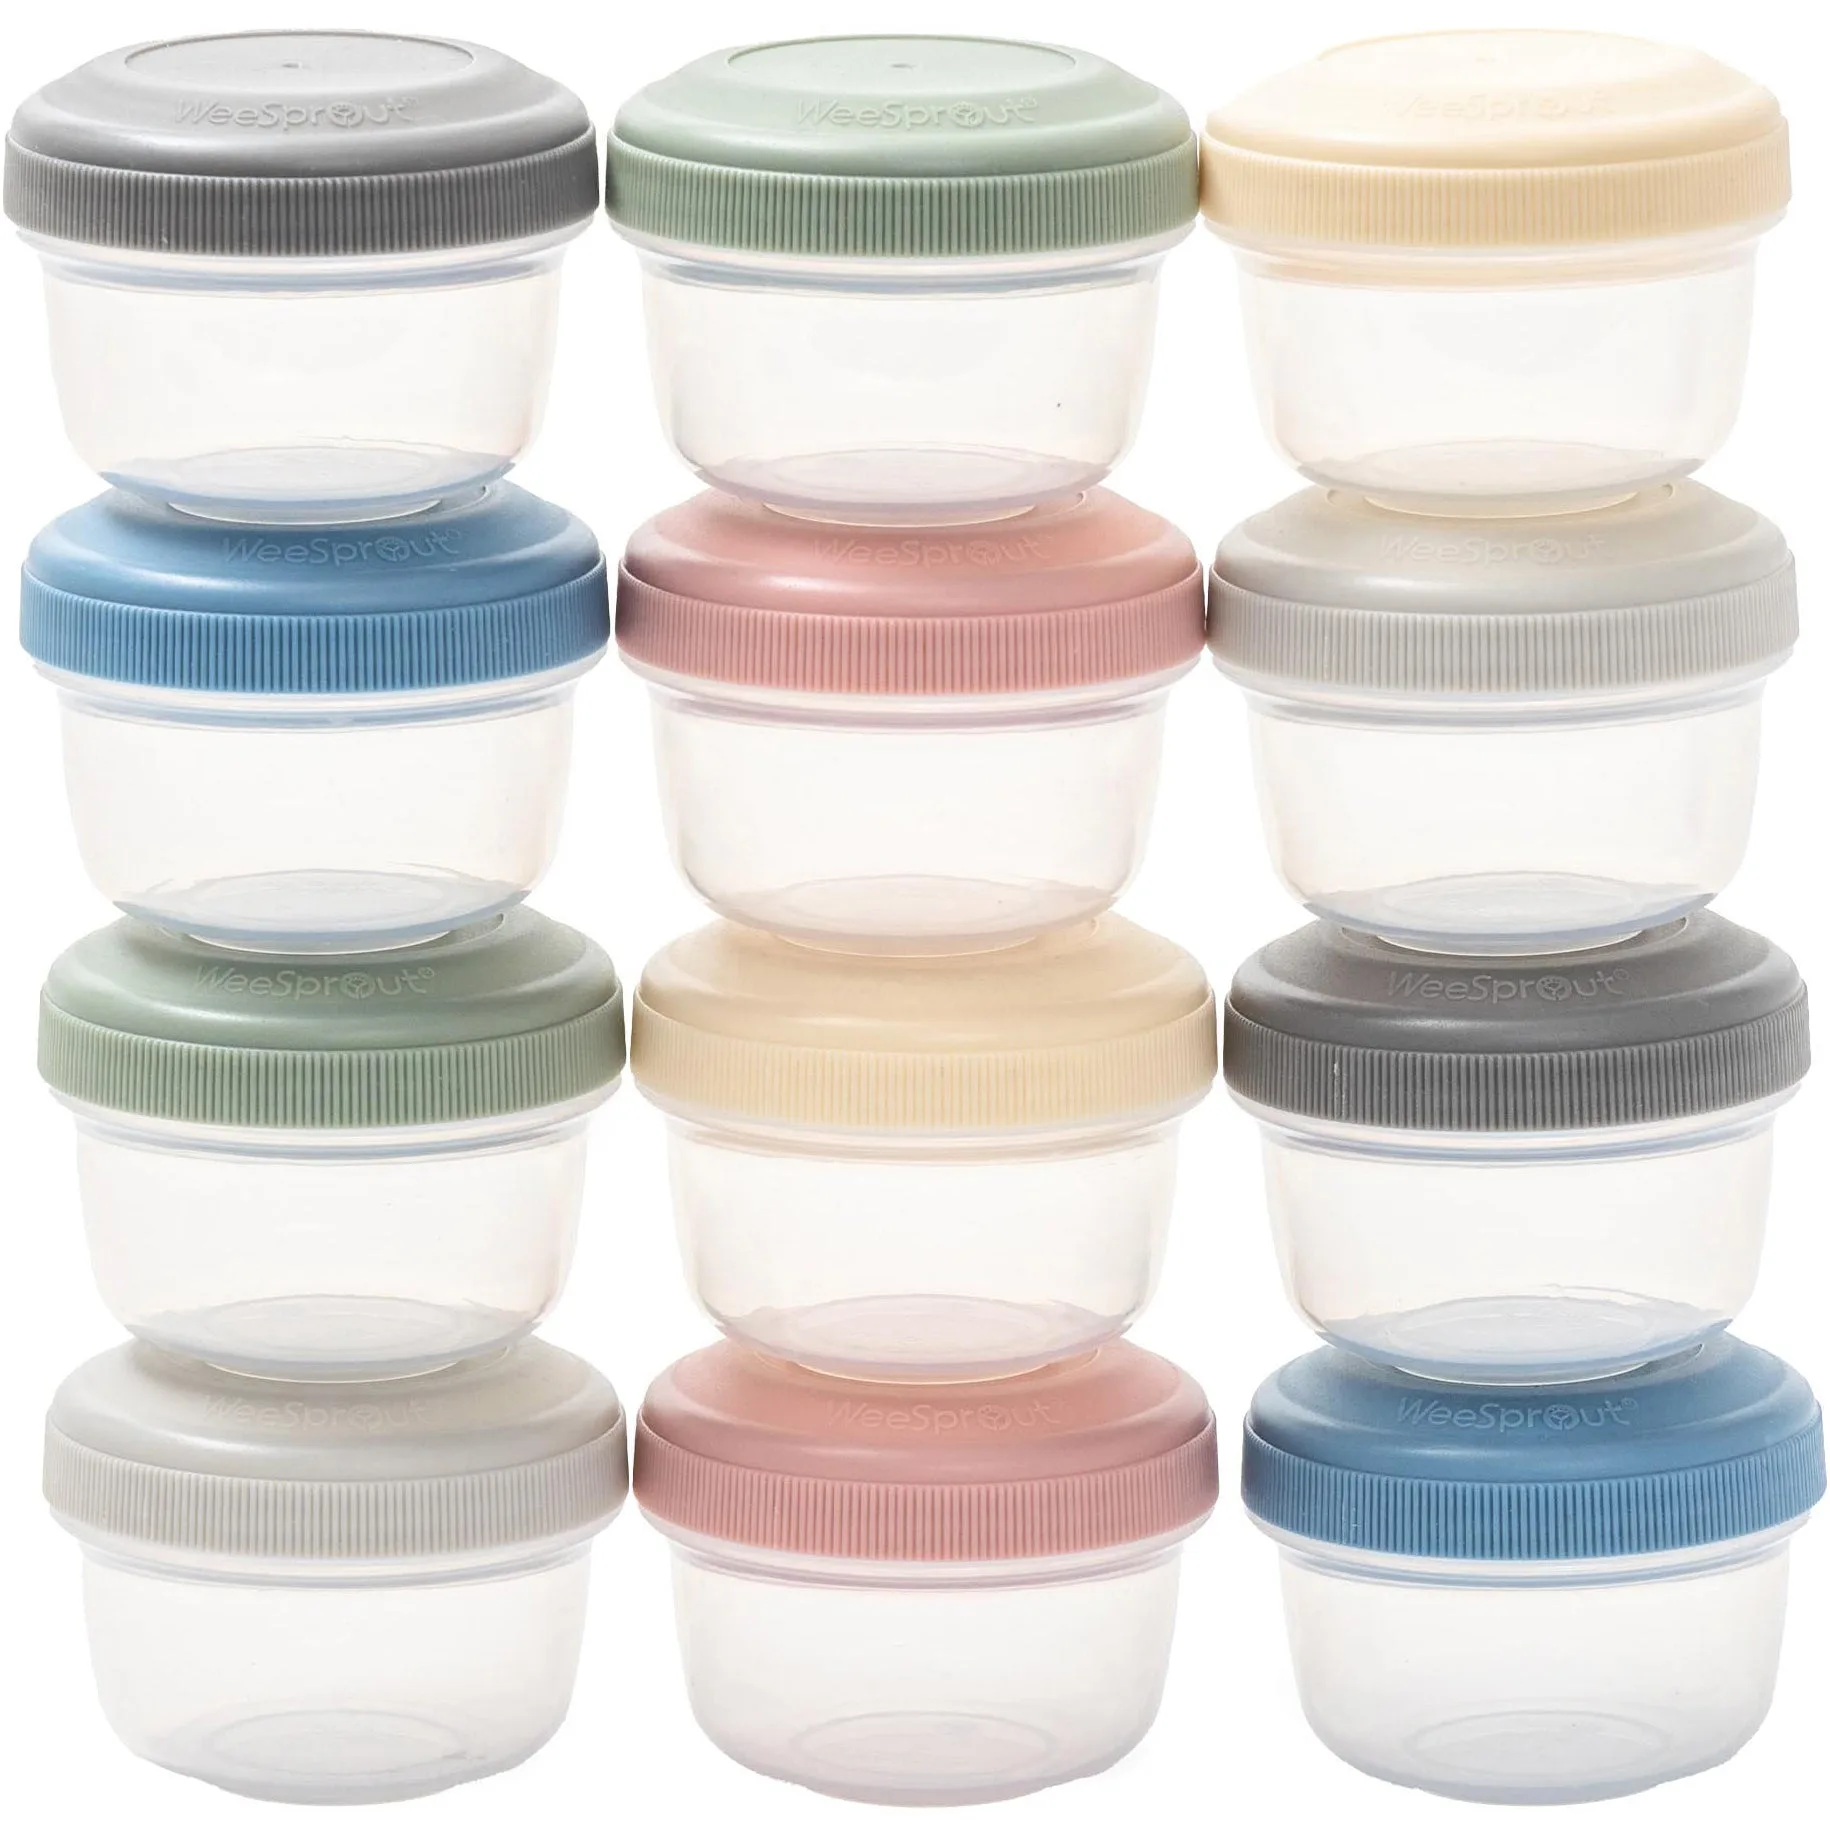
- Plastic Baby Food Storage Containers (Set of 12): Each 4 oz container is portioned for first-stage feeding, and the twist-on lids create a secure, leakproof seal. You can freeze, stack, and grab a single portion without hunting for a matching lid or thawing more than your baby will eat.
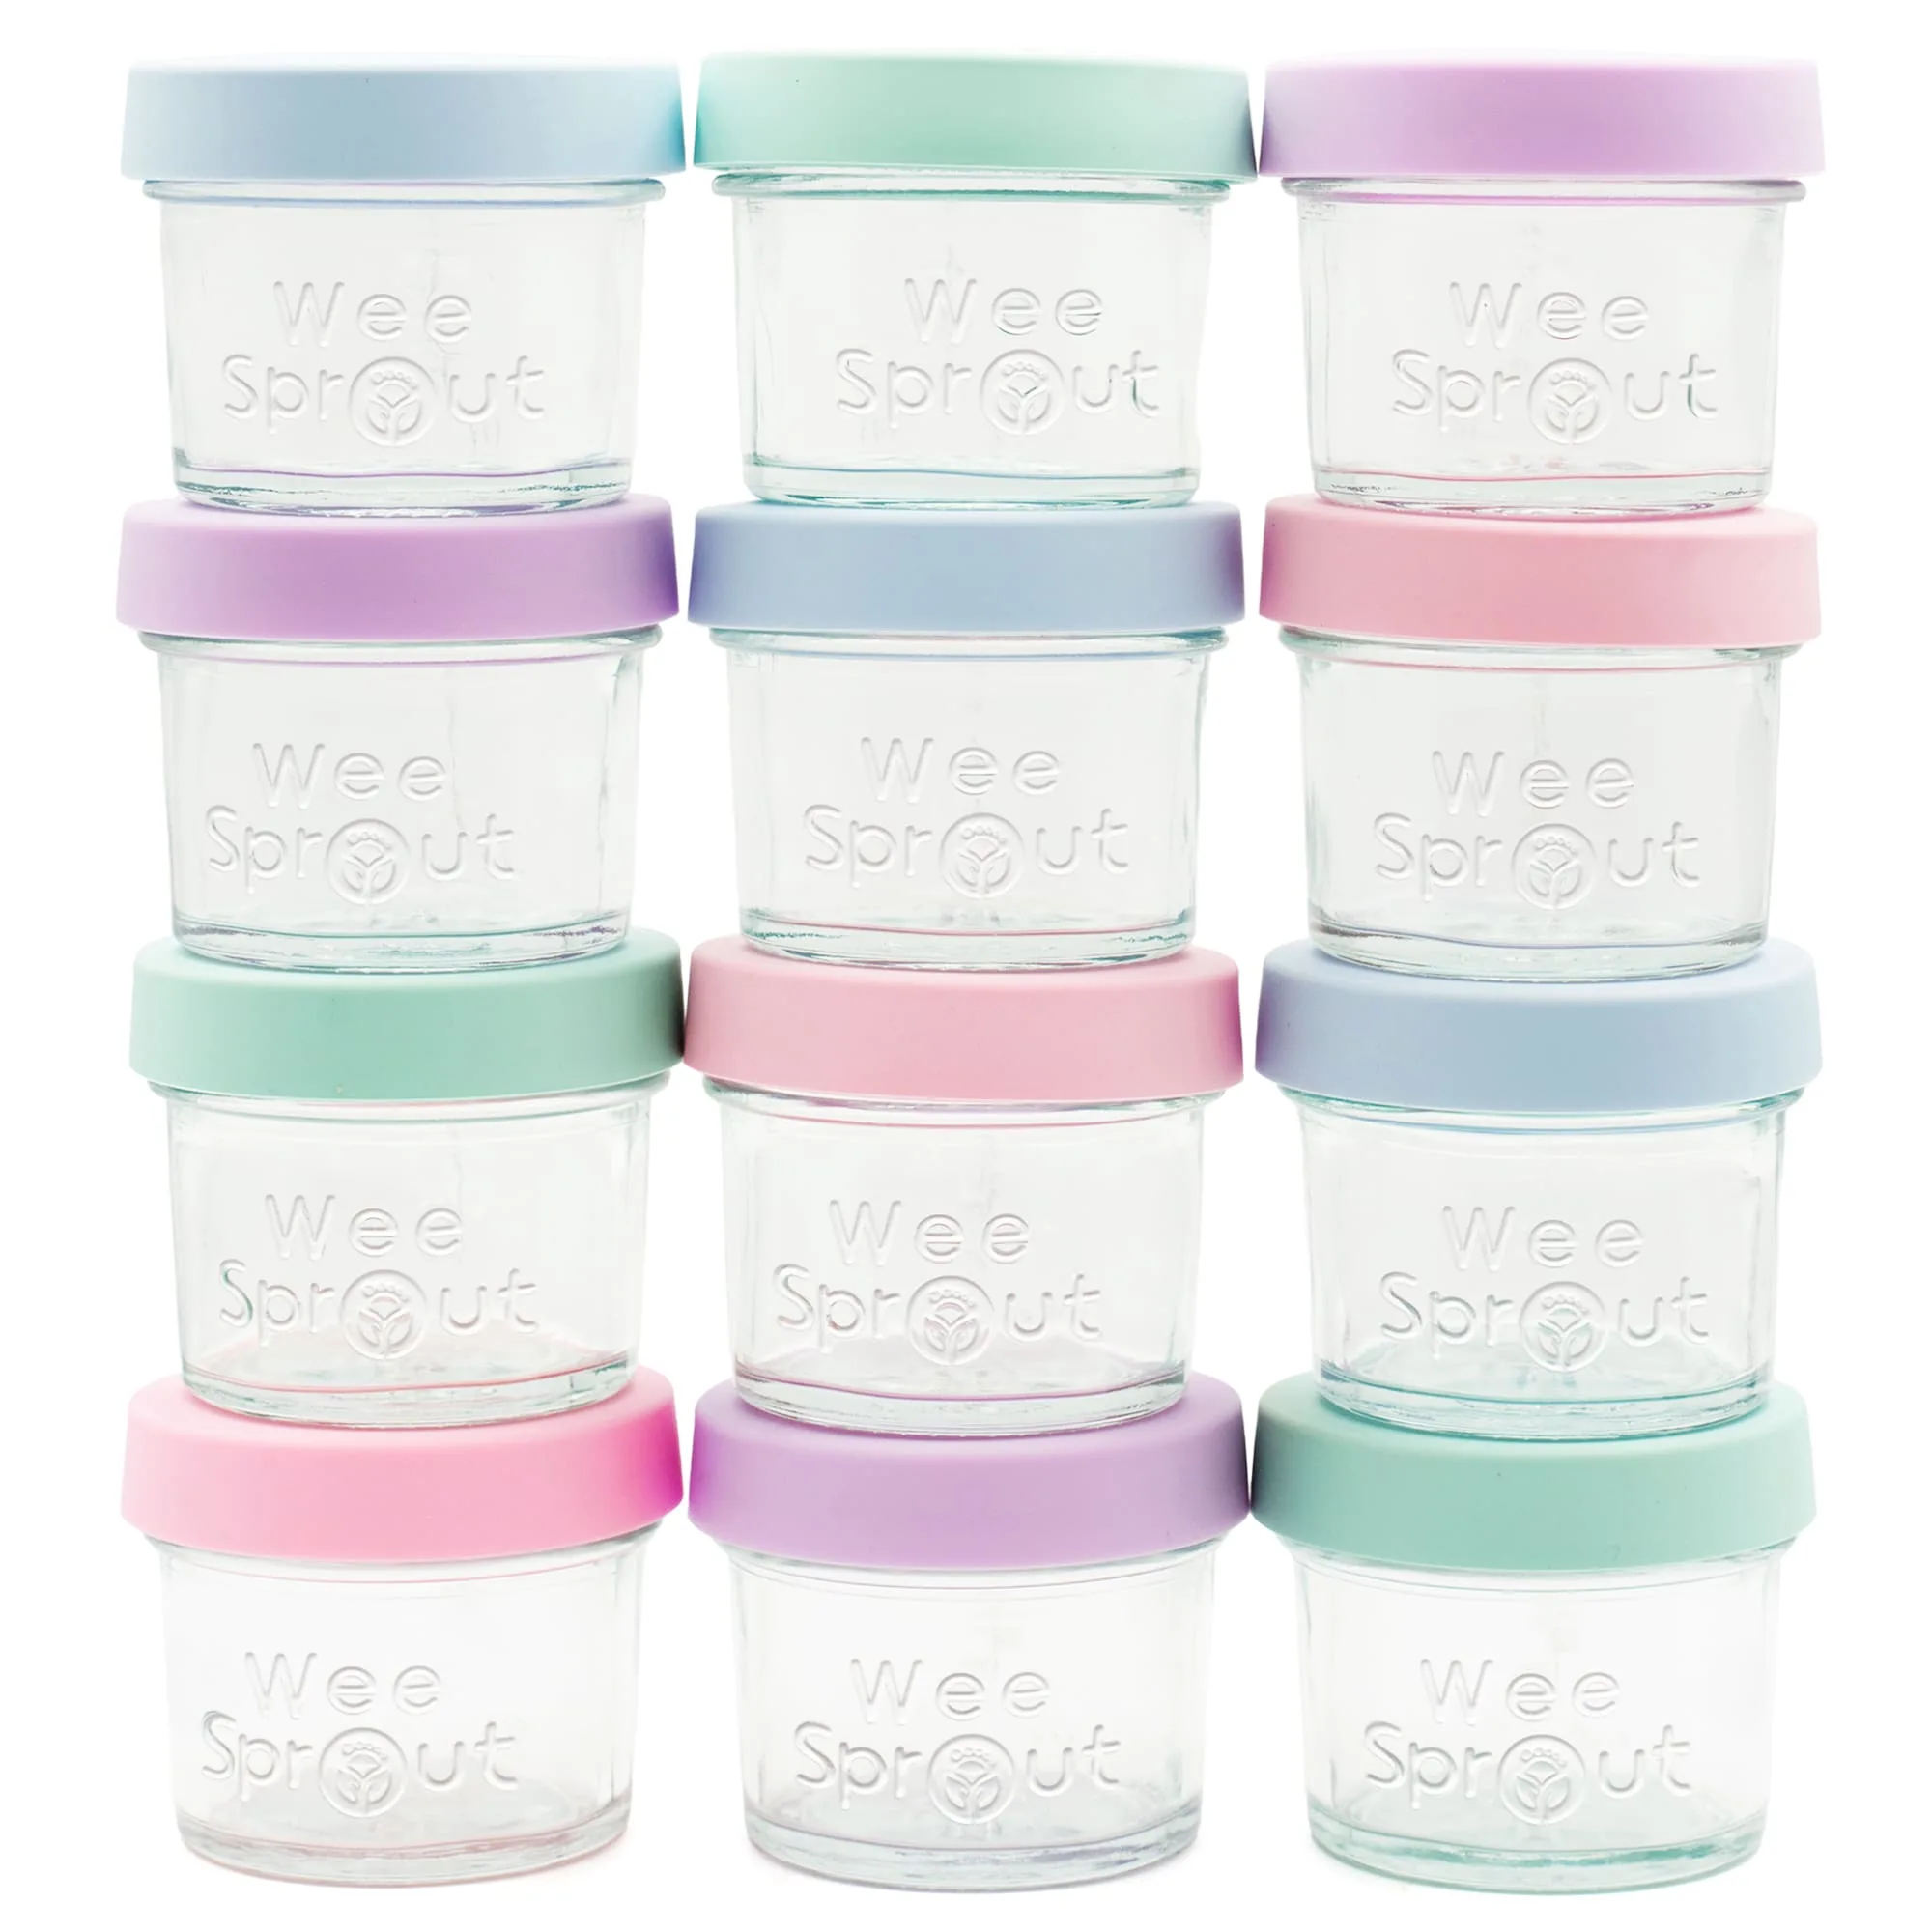
- Glass Baby Food Storage Jars – 4 oz & 8 oz Mixed Set (12-Pack): This mixed set includes both 4 oz and 8 oz glass jars, so storage can grow with your child. Small jars cover early purees, while the larger size handles bigger toddler portions without forcing you to buy a second set.
- Glass Baby Food Storage Jars – 4 oz (Set of 12): A 12-pack of 4 oz glass jars supports batch prepping several make-ahead meals at once. If you cook once a week, having a full set of matching small jars keeps labeling and rotation simple.