Quick answer
Rinse and empty the reservoir after every use, then once a week wash the removable parts in warm water with mild soap and let everything air-dry fully before reassembling. Replace the tip every three months, or sooner if it looks worn, and descale with a diluted white vinegar or citric acid solution whenever you see mineral buildup or notice weaker pressure.
Why a water flosser gets dirty in the first place
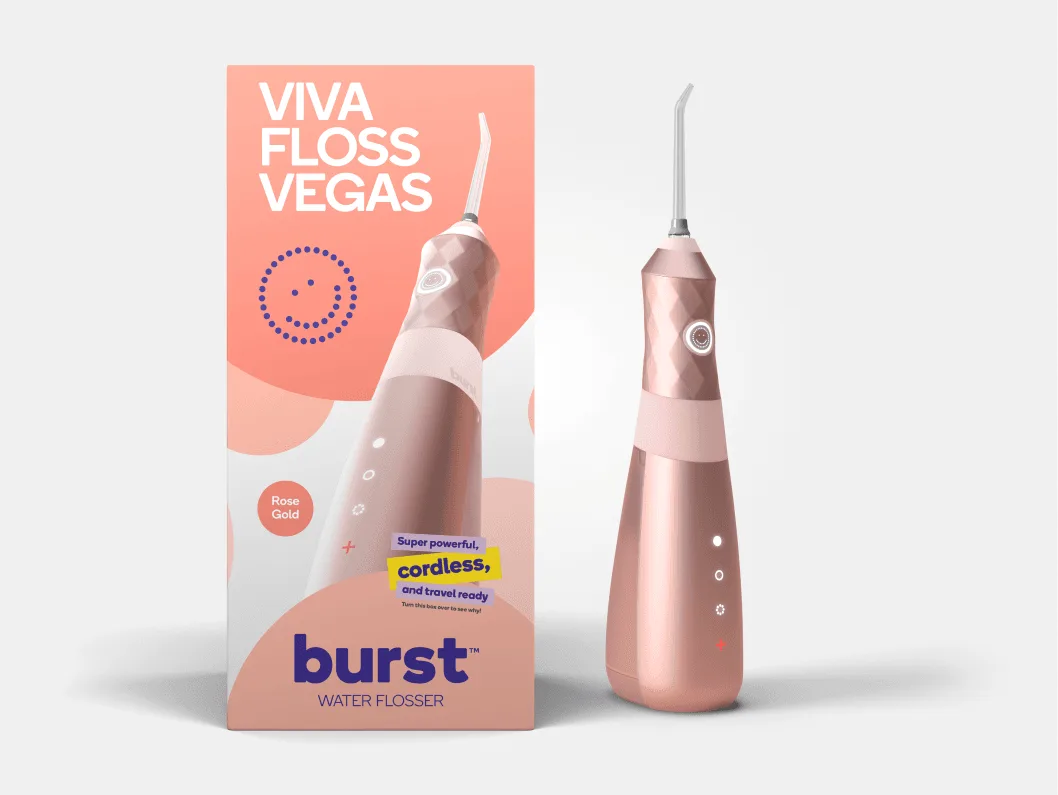
water flosser
Every session leaves a thin film of water, saliva, and toothpaste residue inside the reservoir, the handle, and the tip. That film is what feeds water flosser mold and the cloudy, slimy feeling people notice after a few weeks. The fix is not a deep clean once a year; it is removing the standing water that lets growth start. If you use tap water with high mineral content, you also get limescale, which shows up as white crust around the reservoir base and inside the tip. That crust narrows the water channel, so the stream weakens and sprays unevenly even when the motor is fine.
What to clean daily, weekly, and monthly
Daily: empty the reservoir, run the unit for a few seconds to push out leftover water, and wipe the exterior with a dry cloth. Weekly: remove the tip and reservoir if your model allows it, wash both in warm water with a drop of mild dish soap, rinse thoroughly, and stand them upside down to dry. Monthly: inspect the O-ring or seal at the base of the tip, check the reservoir for film or spots, and descale if you see crust. If you share the unit with anyone else, each person should use their own tip, and you should clean the handle connection point more often because it stays damp.
How to descale a water flosser without damaging it
Mix one part white vinegar with two parts warm water, or use a citric-acid descaler made for small appliances. Fill the reservoir, run the unit briefly so the solution reaches the internal lines, then let it sit for 15 to 20 minutes. Empty it, refill with clean water, and run the full reservoir through until the vinegar smell is gone. Never use bleach, and do not put the handle or base in a dishwasher unless the manual specifically says it is dishwasher safe. If your unit has a removable reservoir and tip, clean those separately so you are not flushing loosened minerals back through the pump.
When the problem is the tip, not the unit
A water flosser that suddenly sprays sideways, dribbles, or feels weaker often just needs a new tip. Tips wear out, and the small opening can clog with mineral deposits or toothpaste residue. Soaking the tip in warm vinegar water can clear a mild clog, but if the stream is still uneven after soaking, replace it. A fresh tip also matters for hygiene, since the tip is the part that touches your gums and sits in a damp environment between uses. Keeping a spare on hand means you are not tempted to stretch one tip for six months.
Your weekly water flosser maintenance steps
- Empty and dry after every use: Pour out remaining water, run the unit for two or three seconds to clear the internal line, and leave the reservoir off or open to air out. Standing water is the main cause of odor and film. If you skip this, weekly cleaning becomes much harder.
- Wash removable parts weekly: Remove the tip and reservoir, wash them in warm water with a drop of mild soap, rinse well, and let them dry completely before putting them back. Do not reassemble while damp. Trapped moisture between the reservoir and base is where mold starts.
- Check and clear the tip: Inspect the tip opening for white crust or a bent nozzle. Soak it in warm vinegar water for 15 minutes if it looks clogged. If the stream is still weak or sprays sideways after soaking, replace the tip rather than forcing it.
- Descale monthly or when pressure drops: Run a one-to-two vinegar-and-water solution through the reservoir, let it sit 15 to 20 minutes, then flush with a full reservoir of clean water. Never mix vinegar with bleach, and do not soak the motor base. Only the water-contacting parts should get the solution.
- Replace the tip every three months: Mark it on your calendar or pair it with your toothbrush head change. Keep a spare tip so you are not caught with a worn one. A new tip is the cheapest way to fix a water flosser that feels like it is not working as well as it used to.
- Troubleshoot before you replace the unit: If the unit will not turn on, check the charging contacts and make sure the reservoir is seated. If it runs but pulses weakly, descale and replace the tip first. Most water flosser not working complaints trace back to a clogged tip, mineral buildup, or a loose reservoir, not a dead motor.
Parts that keep the routine going
- Water Flosser Tip: Replacement water flosser tip for BURST oral care devices; helps maintain hygiene by allowing regular tip changes; simple to install and use. A fresh tip restores a focused stream and removes the part most likely to harbor residue, so you can replace it on schedule instead of guessing.
- Kids Water Flosser: Kid-friendly design to encourage daily flossing habits; helps reach tight spaces that traditional floss can miss; easy for children to handle. If a child uses the same counter space or shares a bathroom, a dedicated kids' unit makes it easier to keep their tip separate and their cleaning routine consistent.
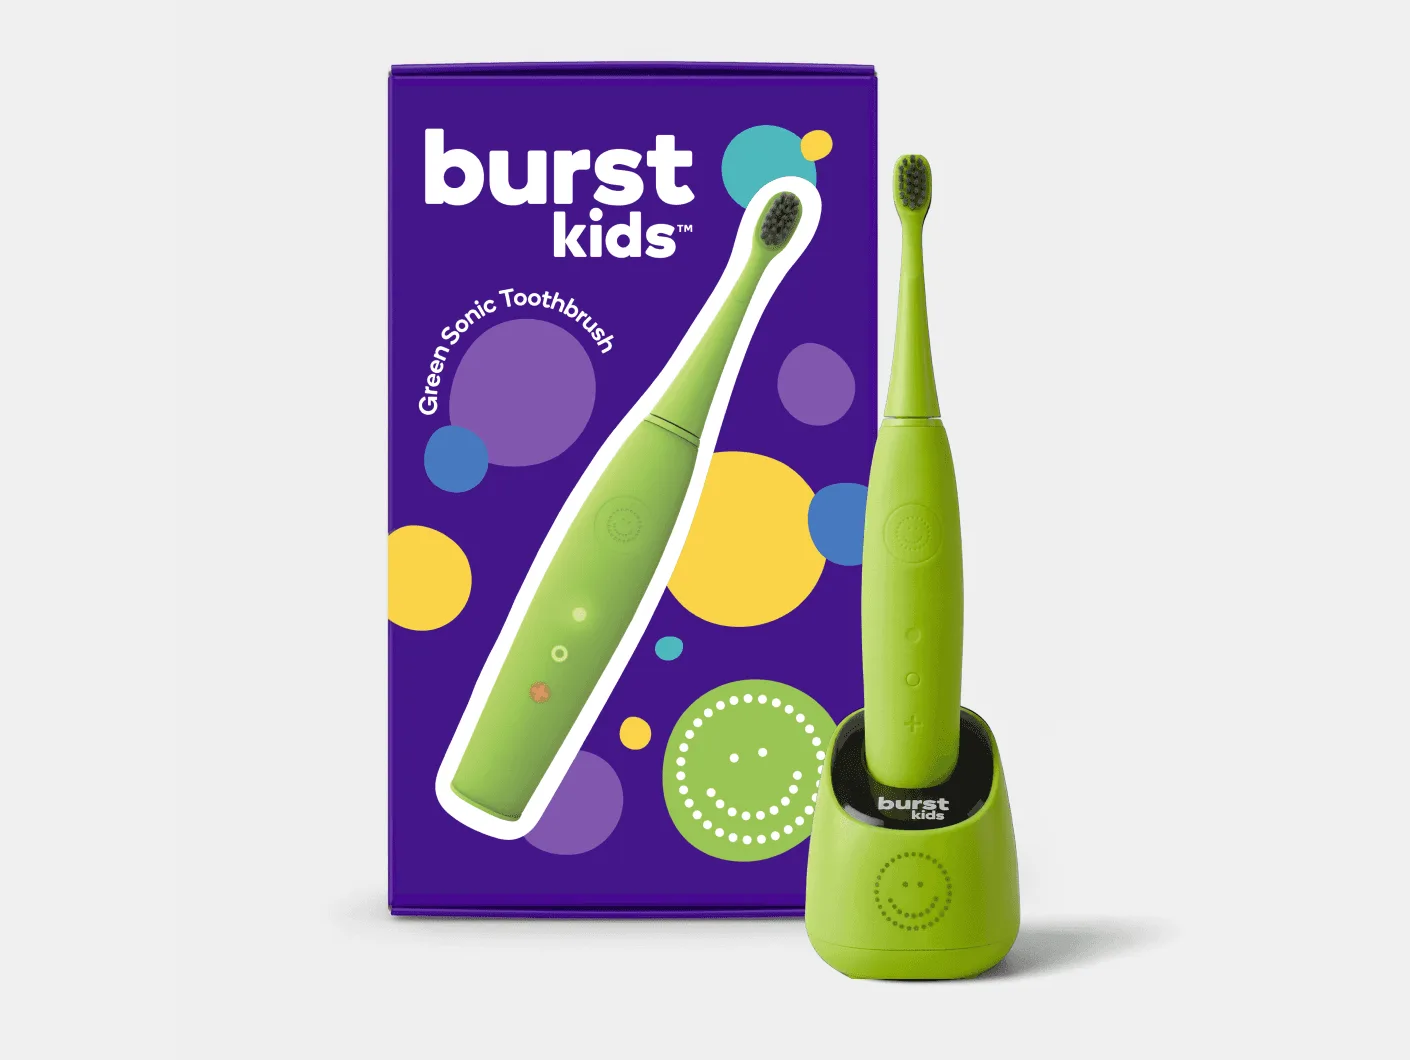
- Kids Replacement Head: Replacement brush head for BURST kids' toothbrush models; easy to swap out for regular brushing routines; made by BURST Oral Care, a brand backed by dental professionals. Replacing brush heads on the same schedule as water flosser tips keeps the whole family's oral care supplies from quietly wearing out at different times.